
Once the app is created and the data is saved, you can configure the app as follows:
Creation of the Secret
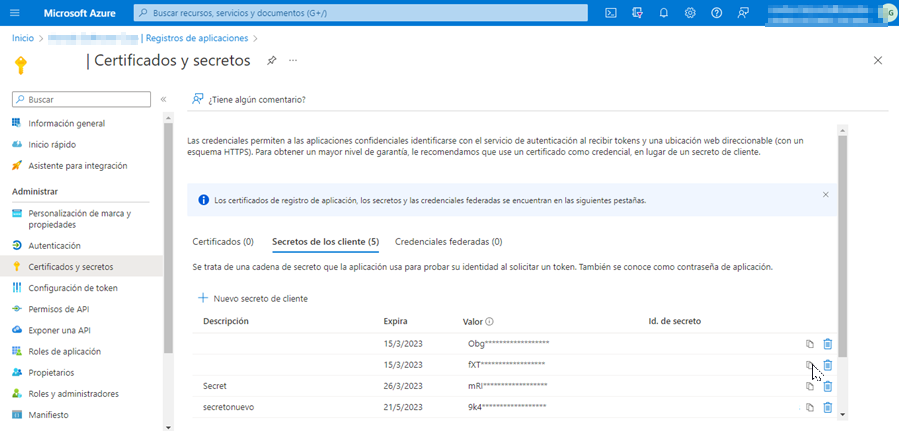
1. To create the secret, log in to the Azure portal > Microsoft> Menu Enter ID > Application Registrations > select the created application from the available list.
2. In the Administer Select the option Certificates and secrets > and in the information view, click the New client secret.
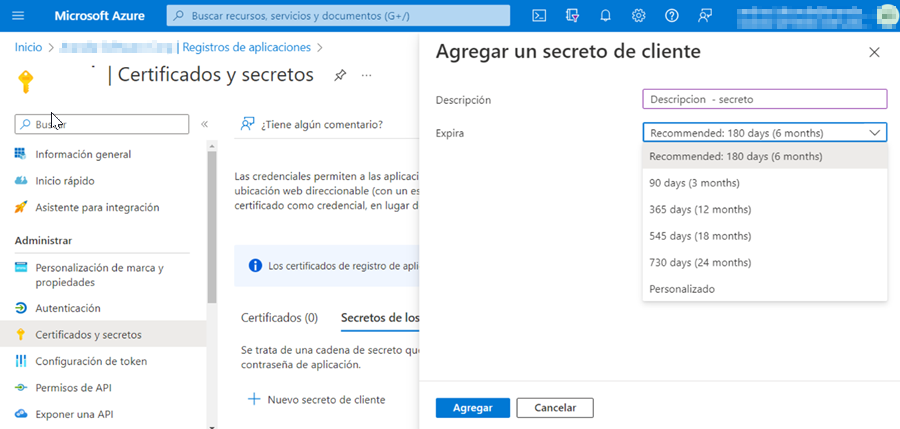
3. In the window Add a client secret fill in the field Description, define the duration of the secret in the field Expires and click the Add.
⚐ Note: It is recommended not to forget the configured duration time. In case of expiration, if it is not updated, authentication will fail.
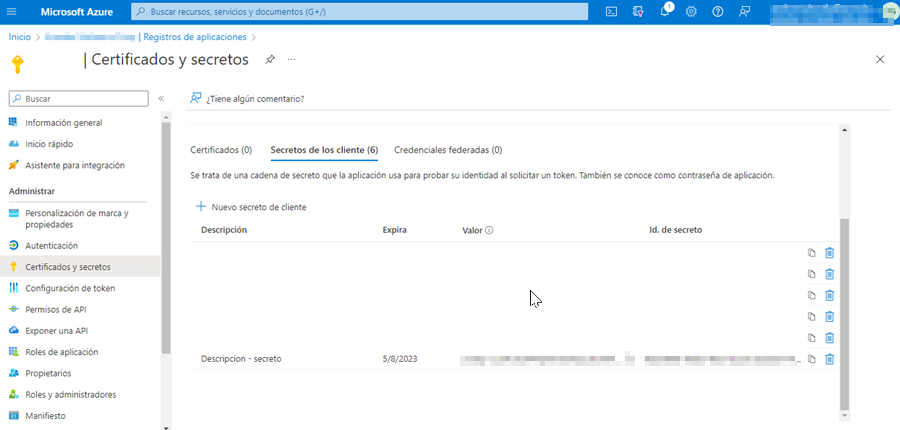
4. The value of secrecy is only visible when it is created; save the value for later use or refer to during any configurations required on Aranda products.
- Secret Customer Value = Secret Client.
Configure API permissions
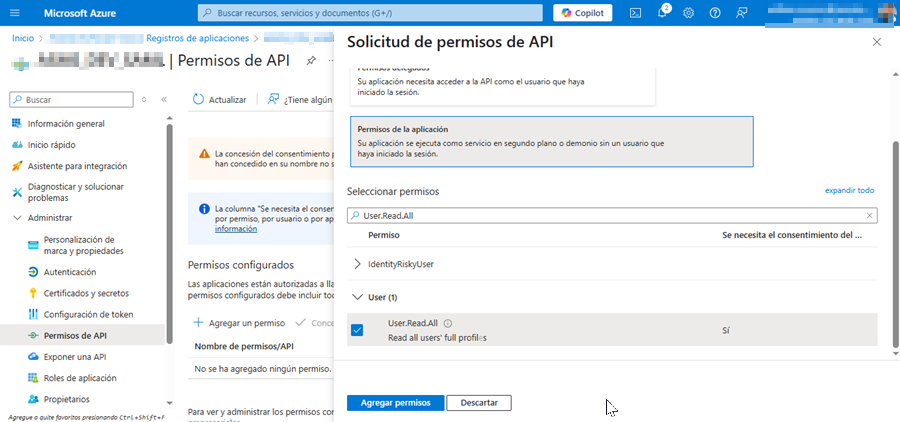
1. To configure API permissions, enter the Azure portal > Microsoft’> Menu Enter ID > Application Registrations > select the created application from the available list.
2. In the Administer from the main menu, select the API permissions > and in the information view, in the Configured Permissions section, click Add a Permission.
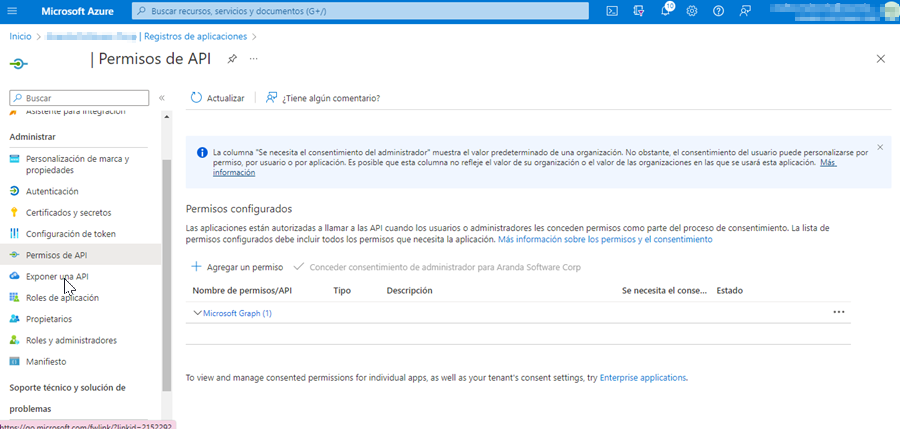
3. In the window Request API permissions, select the Microsoft Graph > and then Application Permissions, enable permissions according to your requirements: User.Read.All (Allows you to read information from all users in the directory.) and Group.Read.All (Allows you to read information from all groups in the directory.) . Click Add permission.
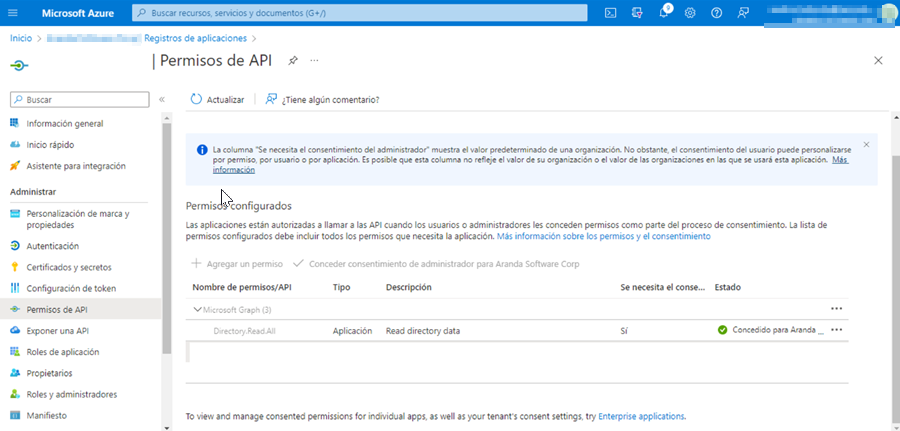
Once this process is complete, you can finish syncing with Azure AD.