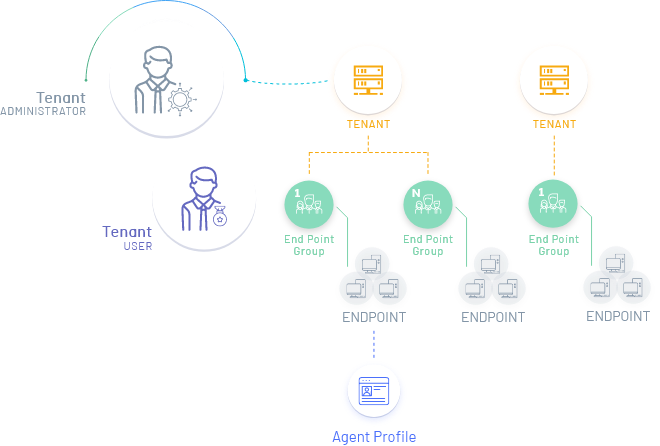
In this configuration stage from Intel EMA, the permissions are defined at the hierarchy level in the application, where the local administrator creates the tenants, then the Endpoint groups, endpoint and agent profile.
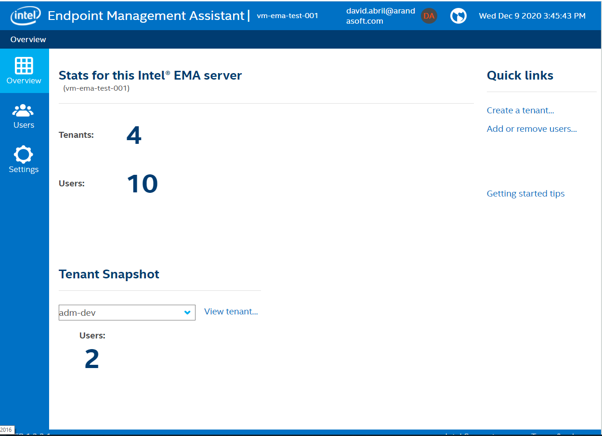
1. Log in to the Enpoint Management Assistant console as a Global Administrator, with the user configured during installation. In the Overview option of the main menu you can view the defined states.
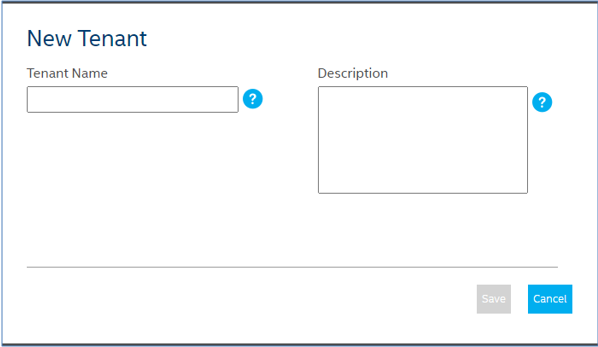
Create the tenants to use
2. To create the tenant in the Quick Links section of the information view select the Create a Tenant option. The window to enter name and description is enabled.
This is the tenant that will integrate with ADM (If you are going to use the EMA instance to synchronize different ADM instances, you must create a tenant for each instance, it is recommended to use the client name to differentiate).
3. When the configuration is complete, click Save.
Create the tenant users
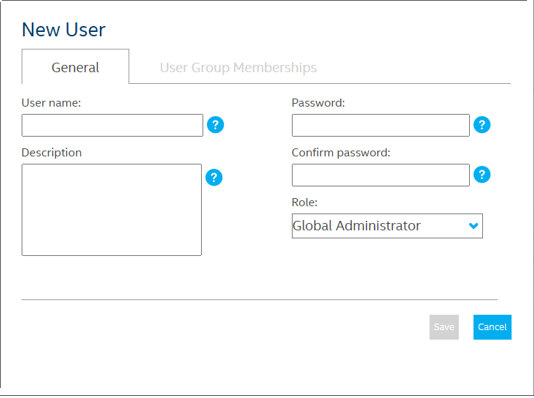
4. To create additional users to the tenant (Global administrator, tenant collaborator, etc.) in the Quick Links section of the information view select the Add or Remove Users option. The Manage Tenants and Users window is enabled where you can complete the respective information.
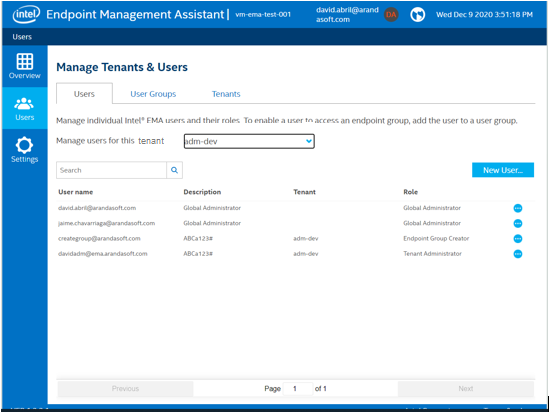
5. In the Users Tab, select the New User button and in the window that is enabled you can enter information such as user name, description, password and role associated with the user.
6. When completing the configuration click Save.