When you have the application created and have the data saved, you proceed to configure the application as follows:
How to set up authentication
1. You enter the Azure portal > Azure Active Directory > Menu > Application Logs > select the created application from the list that appears in the view.
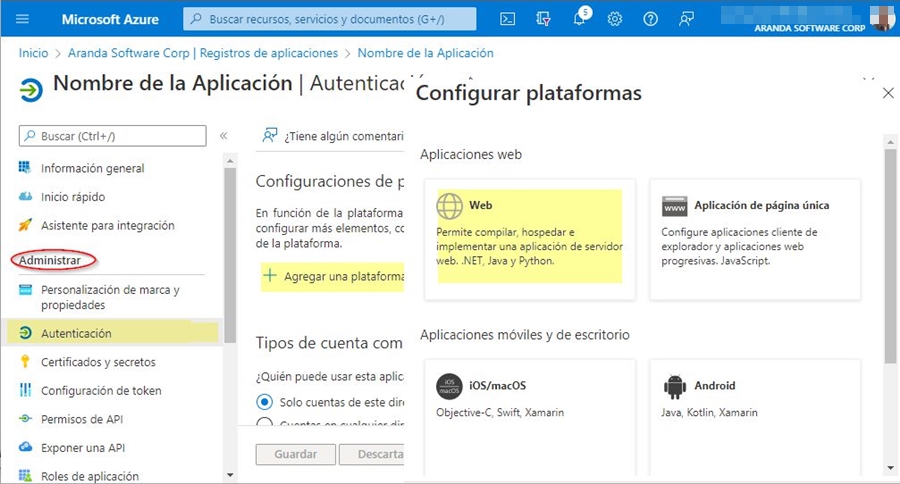
2. In the Administer Search and select > Authentication then in Add a platform, select the Web.
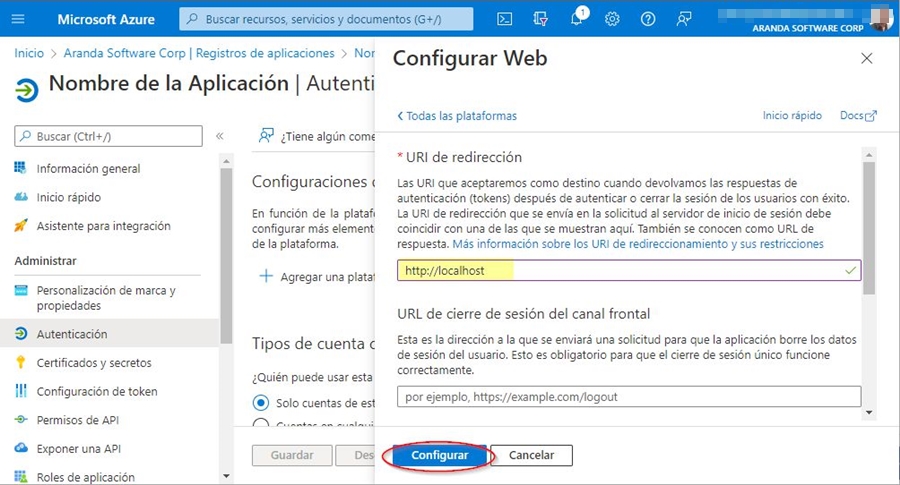
3. In the redirect URI field, we add the following value http://localhost, and then select Configure.
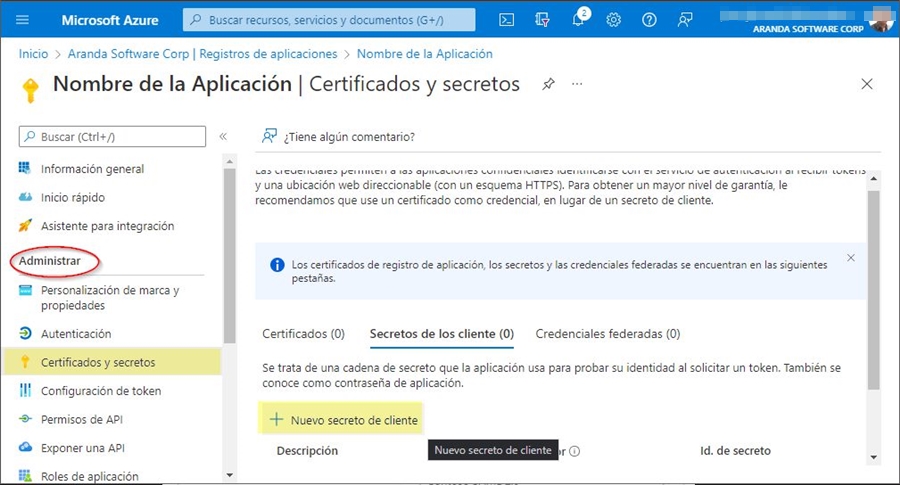
Creation of the Secret
1. To create the secret, enter the Azure portal > Azure Active Directory > Menu > Application Logs > select the created application from the list that appears in the view.
2. In the Administer Search and select Certificates and secrets > Then click New client secret.
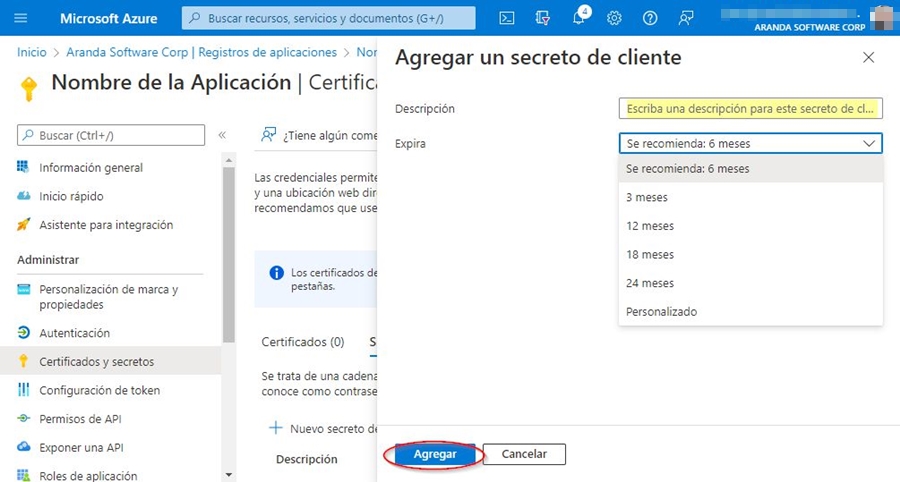
3. At the Hearing Add a client secret fill in the field Description, configure the Expires which corresponds to the duration of the secrecy. Then select Add (It is important to always keep this duration in mind since, when it expires, if it is not updated, authentication will fail.)
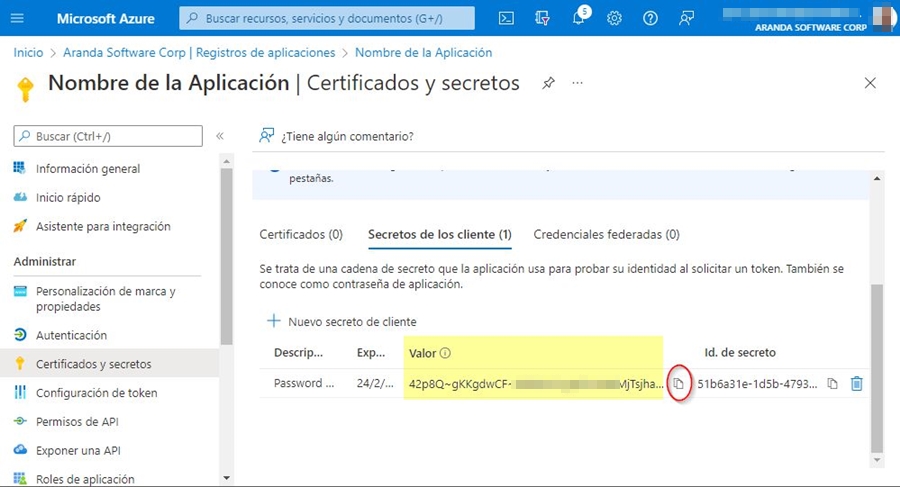
4. The value of the secret is only visible when it is created, so it must be saved for later use and retained for the configurations required in Aranda products.
- Client Secret Value -> Client Secret.
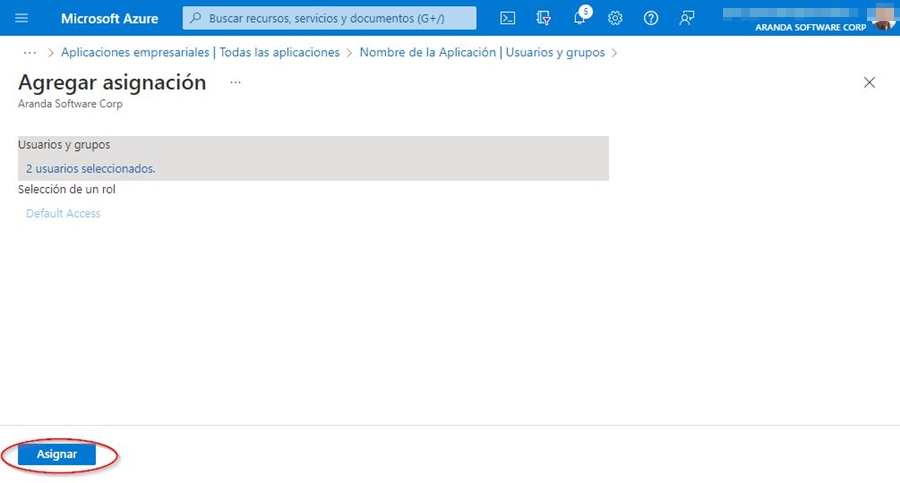
User and group settings
In this configuration, the email account(s) that will be able to access the application are associated.
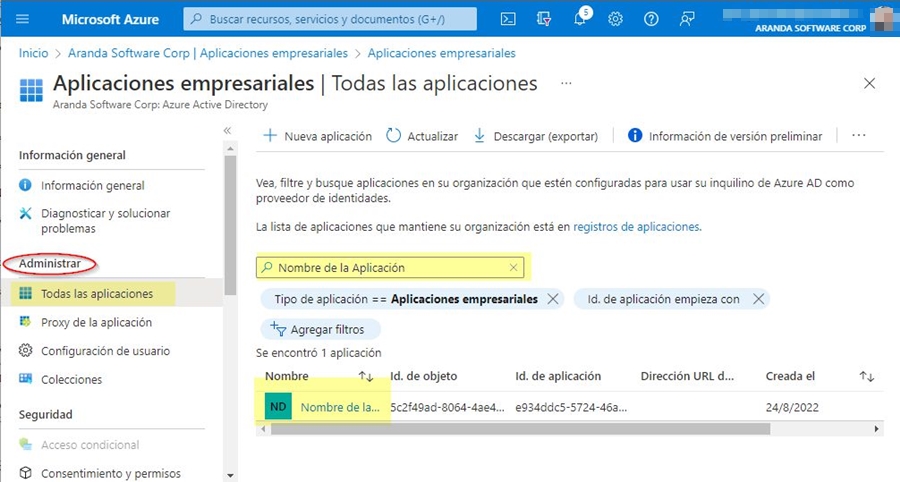
1. You enter the Azure portal> Menu> Azure Active Directory> Business Applications> select the created application from the list that appears in the view.
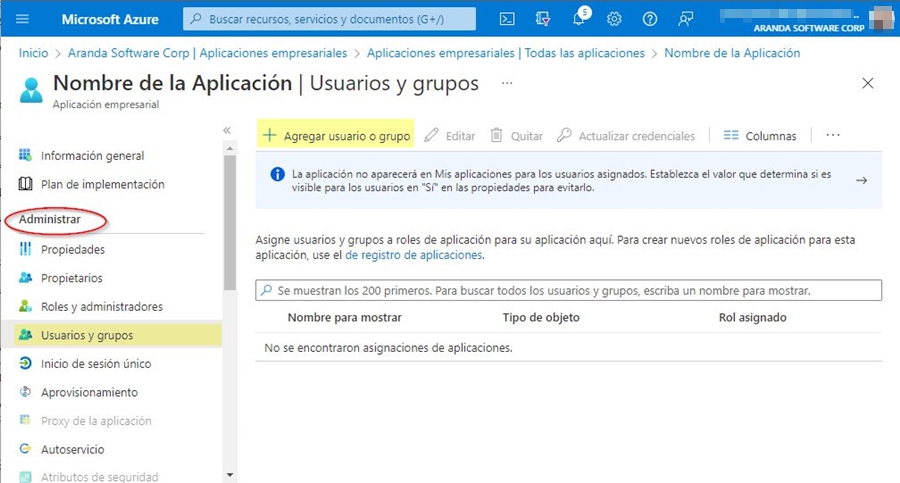
2. In the Administer Search and select Users and groups> and then Add User or Group.
3. In the Add Mapping view, select None selected> Then look for the email account(s) you want to add, when you have all the emails selected click on Select.
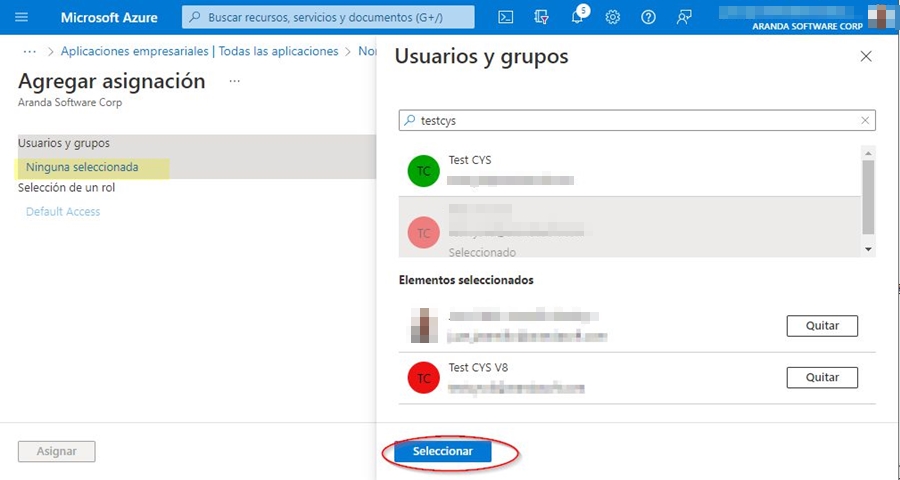
4. Finally select Assign.