
How to apply for the Google Refresh Token
For refesh request_ token, you must use the Postman desktop application and perform the following actions:
1. Create a new collection in Postman and select OAuth 2.0 in the authorization type.
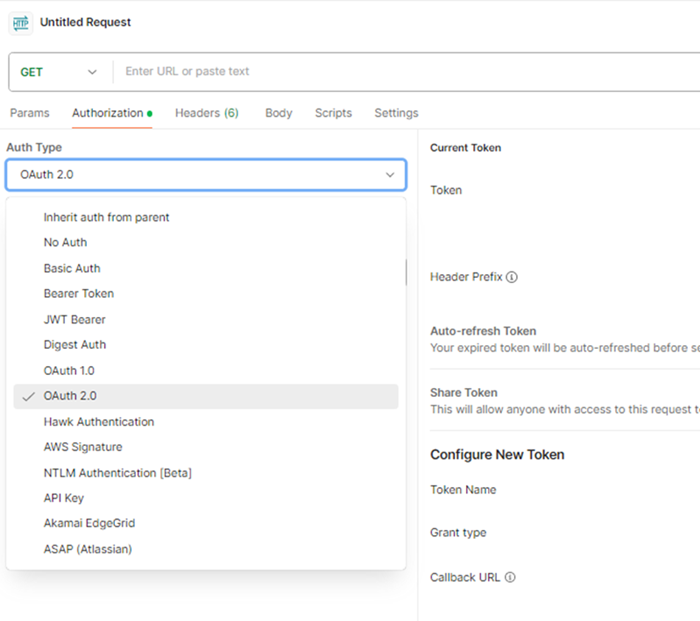
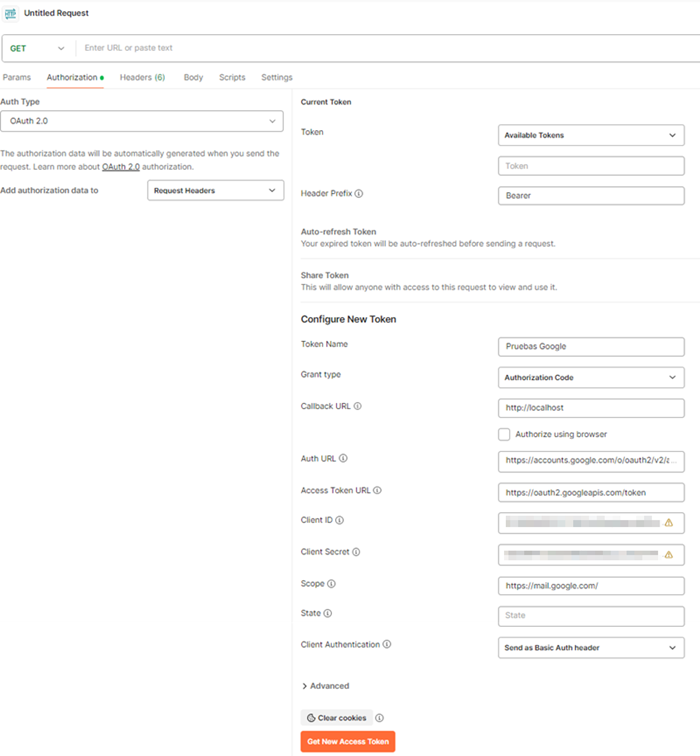
2. In the view, enter the fields as follows:
| Field | Description |
|---|---|
| Type | OAuth 2.0 |
| Add auth data to | Request Headers |
| Access Token | Availabe Token |
| Header Prefix | Bearer |
| Token Name | Name you want for the token |
| Great Type | Authorization Code |
| Callback URL | http://localhost |
| Auth URL | https://accounts.google.com/o/oauth2/v2/auth?access_type=offline |
| Access Token URL | https://oauth2.googleapis.com/token |
| Client ID | Enter the value of Application ID (client). |
| Client Secret | Enter Secret Customer Value. |
| Scope | https://mail.google.com/ |
| State | It can be left blank. |
| Client Authentication | Send as Basic Auth header |
3. When entering all the information select Get New Access Token.
⚐ Note: To ensure the correct generation of the Refresh_Token, check the URLs entered and make sure they do not contain line breaks or white spaces, both at the beginning and at the end.
4. The Google Account sign-in window is enabled; Enter the email and password to which the Refresh Token is required to be generated.
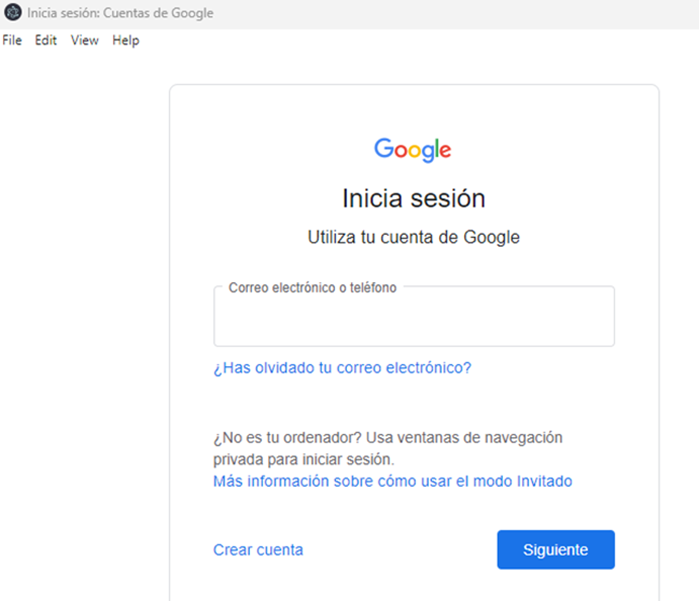
5. The session must be held with accounts associated with the organization; If the entry is successful, the session prompts them to accept the required permissions.
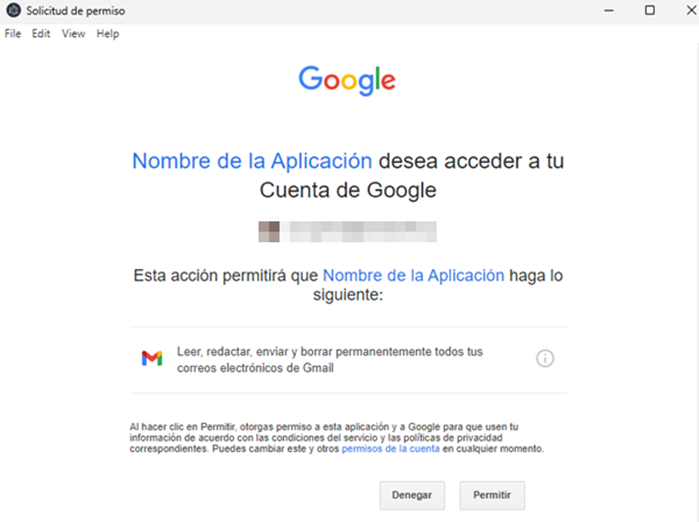
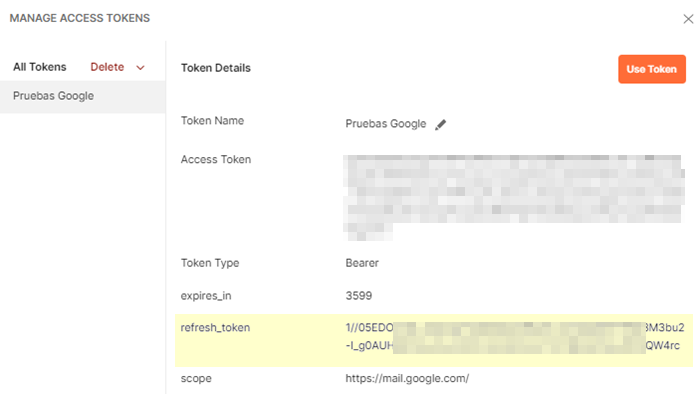
5. When accepting permissions, copy and save the refresh_token, as it will be used in the Mail and Case creator settings in Aranda applications.
⚐ Note: A refresh token may stop working for reasons such as:
- The user revokes permissions to the app.
- The refresh token is not used for six months.
- The user changed the password and the refresh token contains Gmail permissions.
- The user account exceeded the maximum amount of (live) refresh tokens granted.
For more information, please consult Google’s documentation: Update token expiration