Next, we will show the work order flow integrated with ASMS using a test AFLS model, keep in mind that each model has a different flow of states, the names and number of states can vary using a different model. To know in detail the mapped statuses between ASMS and AFLS, see the AFLS configuration by project.
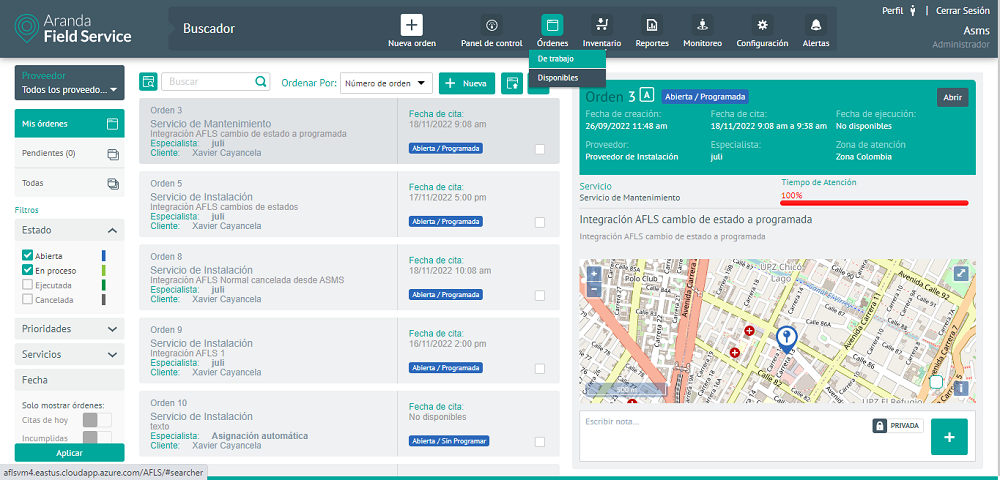
1. Log in to the AFLS console as an Administrator user. In the header menu select the Orders and Working.
2. In the main menu of the AFLS console, you can search for and select the Work Order. In the Work Order Detail view, select the Open to enter the work order.
⚐ Note: If the work order ID is unknown, the specialist user can open the work order from the ASMS specialist console when viewing the Field Tasks. View the Field Task from ASMS

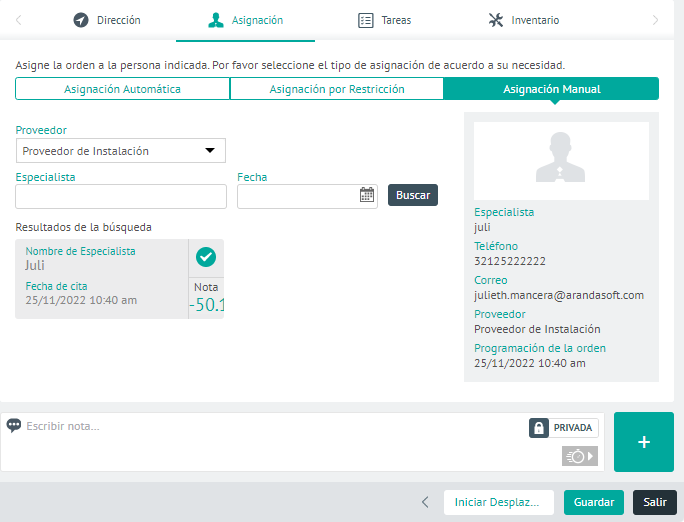
3. In the Work Order detail view, select the Allocation and the Manual Assignment You will be able to relate a specialist to the work order and manually search for the specialist.
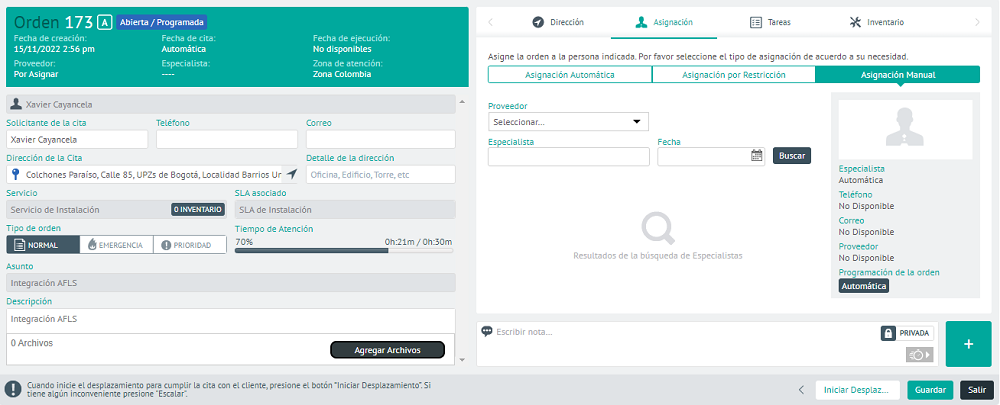
4. Select a provider and click the To find.
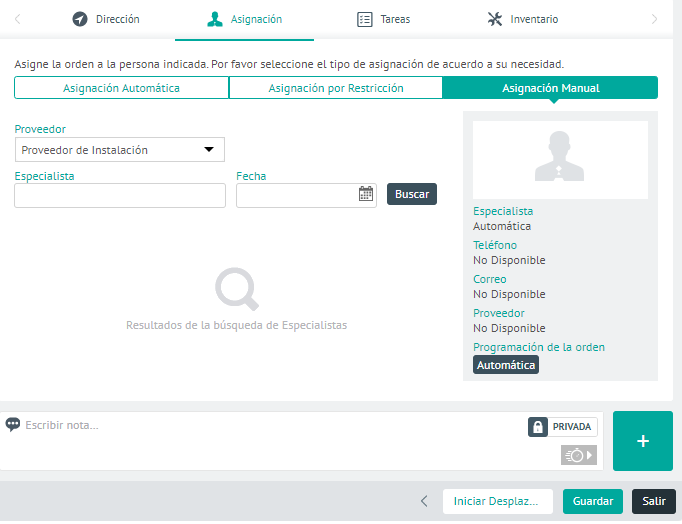
5. In the search results you will be able to see the list of available specialists; Select the appropriate specialist and click the Save.
⚐ Note: Before managing the work order, it is important to bear in mind that if you have additional fields configured as mandatory in ASMS, you must fill in the additional field approved from AFLS, since when making the change of status, if the mandatory fields are not sent, it will not be possible to notify from AFLS to ASMS.
6. In the Work Order detail view, select the Additional Fields and fill in the respective fields as follows:.
- In the General Work Order Additional Fields: Additional fields created for work orders are displayed.
- In the Additional fields for work order given the service: The additional field created in the model is displayed.
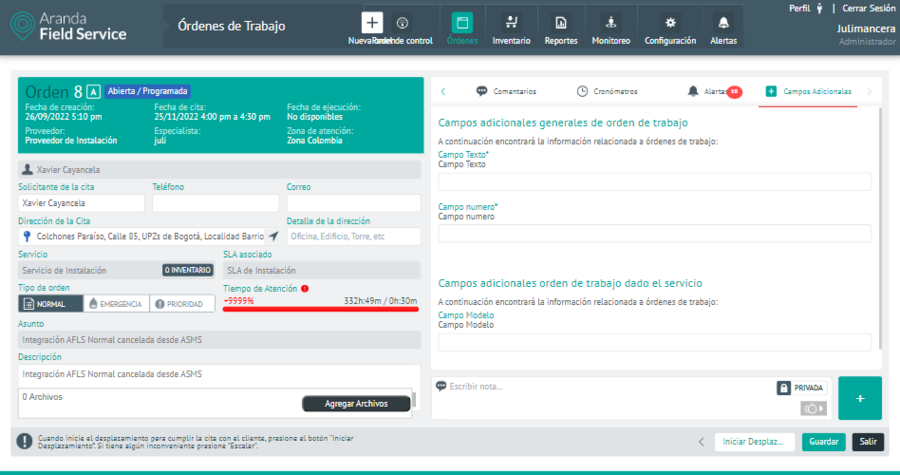
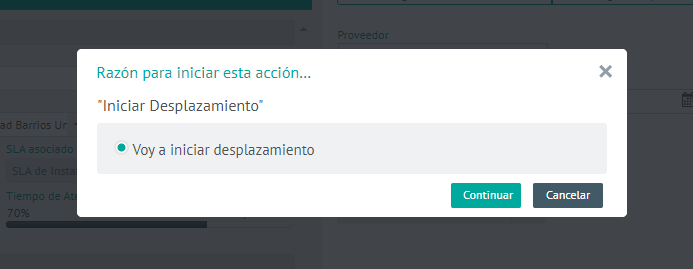
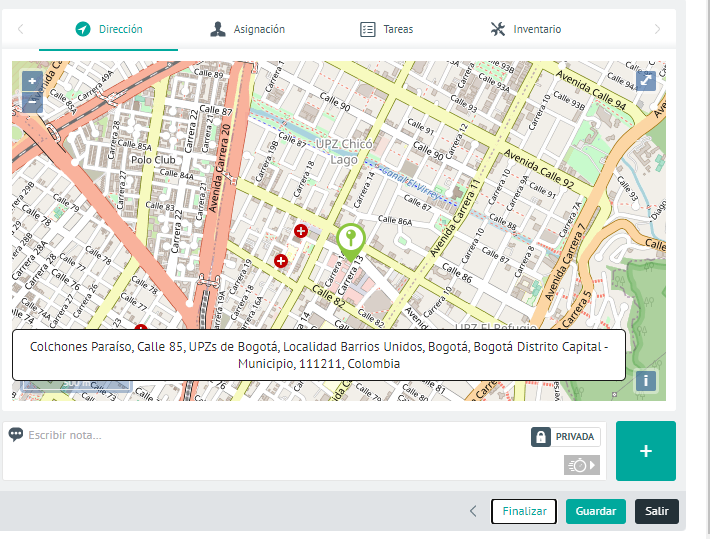
7. In the Work Order Detail view, click the Start scrolling to perform the work order status change. Next, the user must select the reason to advance the status of the task and click on the Continue.
⚐ Note: If the buttons to change states are locked, go to the AFLS Configuration Console in the Service Catalog from the main menu, select the Models and in the Detail view select the Edit Model. In the model editor, select the Workflow Select the status and assign the permission to the required roles so that you can perform order management from the web console.
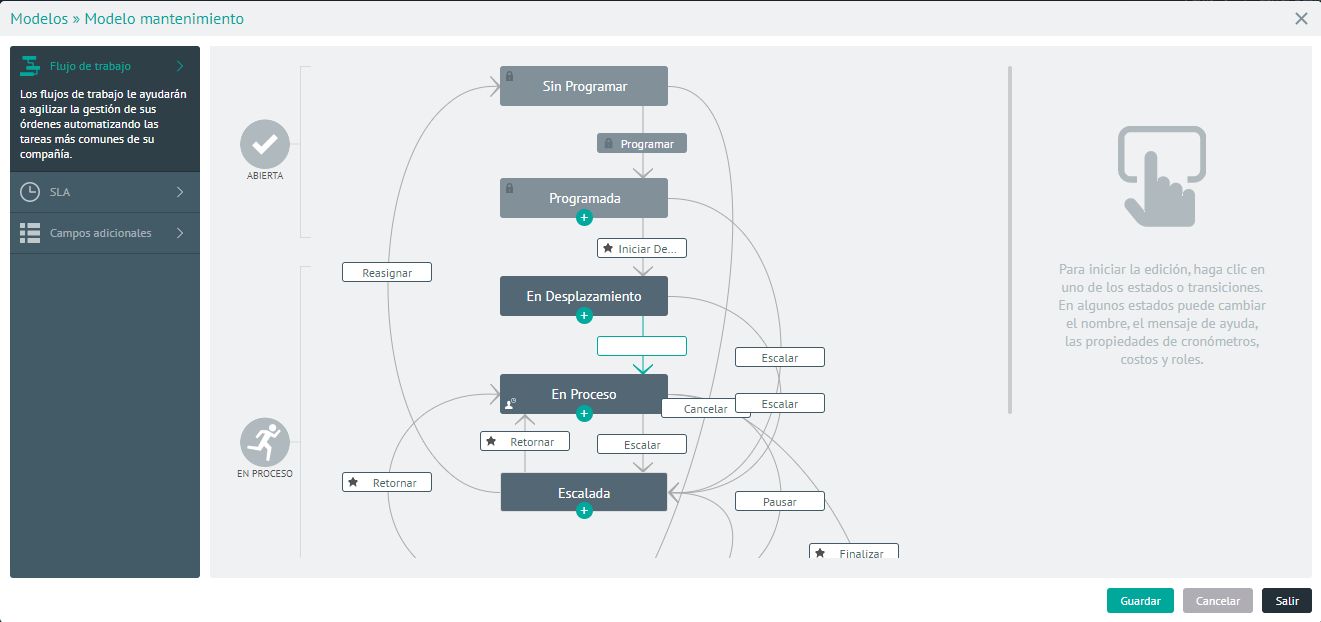
To configure the statuses of a model allowing work order management, refer to the Configuring the workflow for your organization in the AFLS manual,


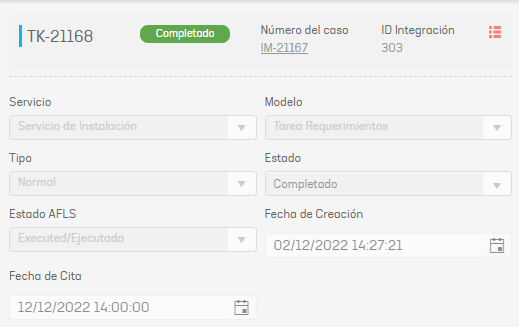
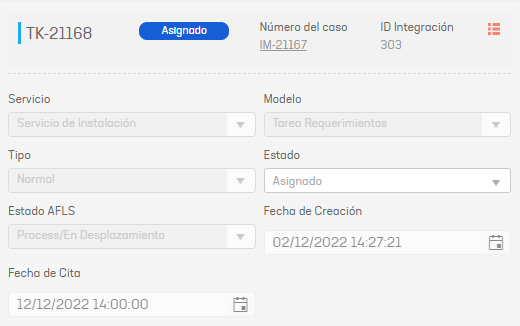
8. Once the status change has been configured, it can be displayed in the ASMS Specialist Console in the field AFLS Status.
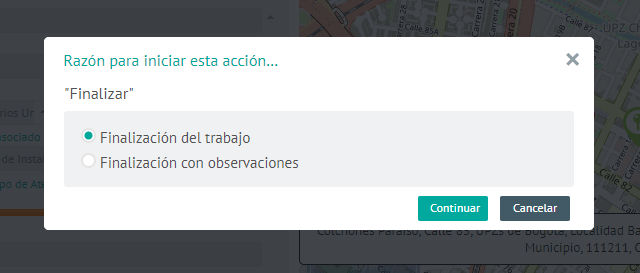
9. To finalize the work order in the AFLS console, click the End. Select the reason why the work order is to be terminated, and click the Continue. Finally, the work order will go to the Executed state.
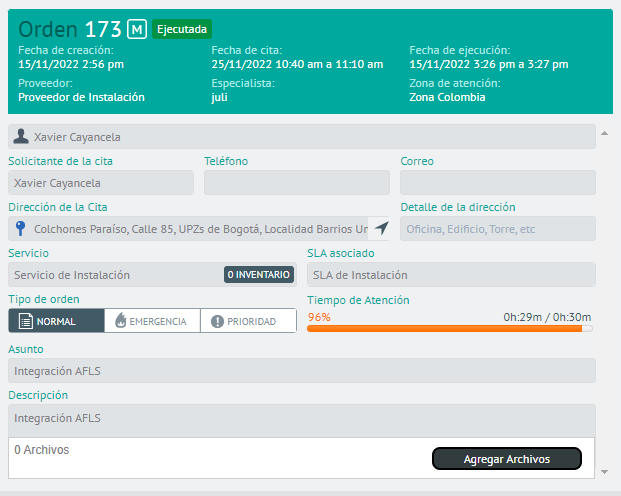
10. The status change of the Field Task related to the work order must be reflected in the ASMS Specialist Console.