
⚠ Important:
- The Aranda Query Manager AQM web console installation process is only for OnPremise Environments.
- Due to version incompatibility, it is recommended not to install AQM with ASMS on the same server.
1. Double-click on the installer file and you will see the welcome screen. Confirm the installation by clicking the Following.

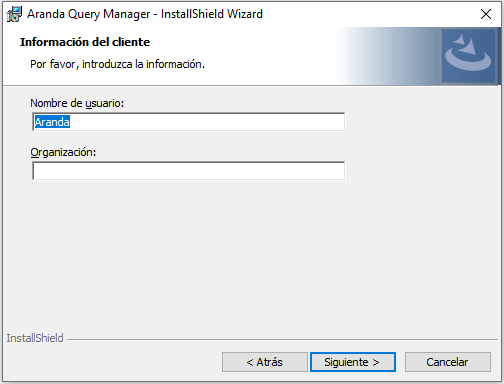
2. In the window Customer Information, enter the user name, organization, and click Following.
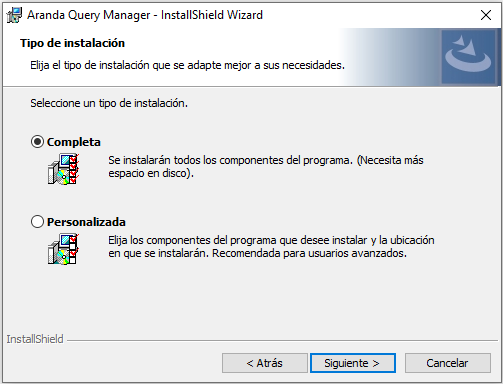
3. In the window Type of installation You can configure the following options:
- Complete: All sites and services will be installed on the default routes.
- Custom: You will be able to select the sites or services you want to install.
⚐ Note: By default, select the installation type Complete. In the case of separating the solution layers (Web, Application) on separate servers, select the Custom.
⚠ Important: If you are performing a custom installation, do not modify the installation path.
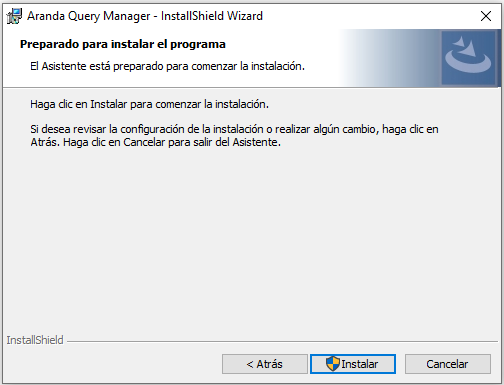
4. Setting the installation type, in the window Preparing to install the program, click Following and then on the Install.
5. When the installation process is finished, click the End.