
Selecting Parameters to Create the Case
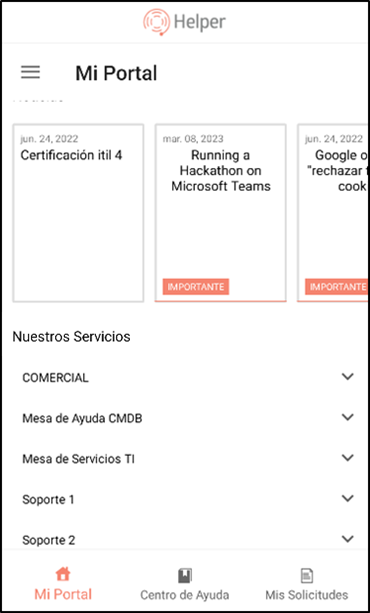
1. To create a case, on the Aranda Helper mobile console taskbar, select the My Portal and in the Our Services You will be able to view the list of projects in which the user in session is associated.
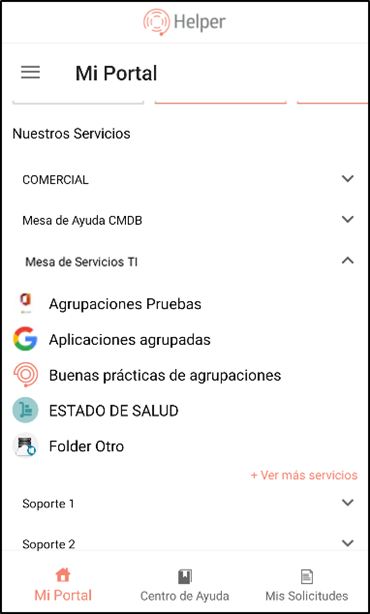
2. Select the project in which you are going to register the case; if the selected project allows you to create Requirement, Incident or Change type cases, a list will be displayed with the Service Group (when you have service groupings) or Services.
If the project is enabled only for request creation, you will be able to access the request record.
If the project has more than 5 associated services, select the option See more services.
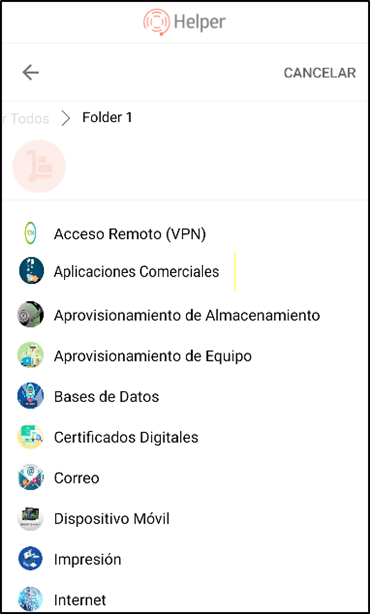
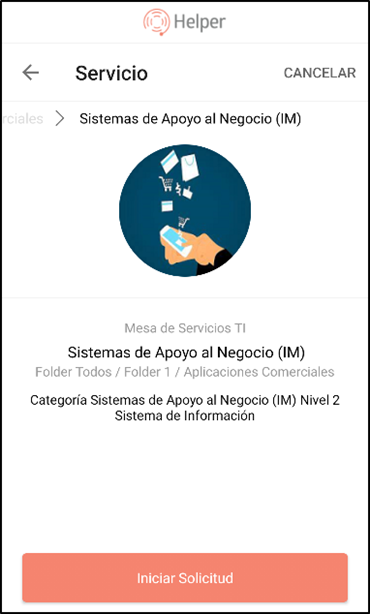
3. Select the service in which the case is to be registered; You will be able to view the list of categories related to the selected service and associated with the user in session.
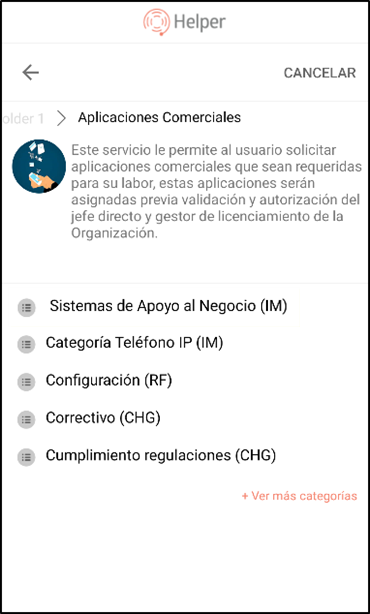
4. Select the category from the generated list. On this screen, the user will be able to view the details of the service. If the service has more than 5 associated categories, the option is enabled. See more categories.
5. Once you have selected the service and category, you can confirm the start of the case creation, return to select another service, or cancel the creation. To continue creating the case, click the Start Application.
6. The window is enabled to fill in the fields to create the case. Click the Send.
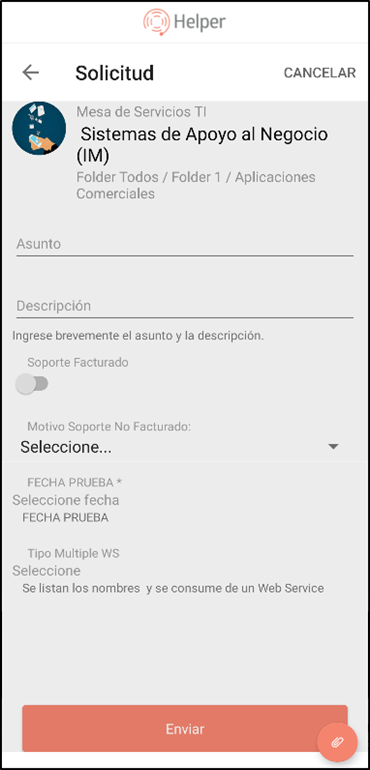
⚐ Note: Fields marked with an asterisk (*) are mandatory.
At the end you will be able to view the filing number of the created case.
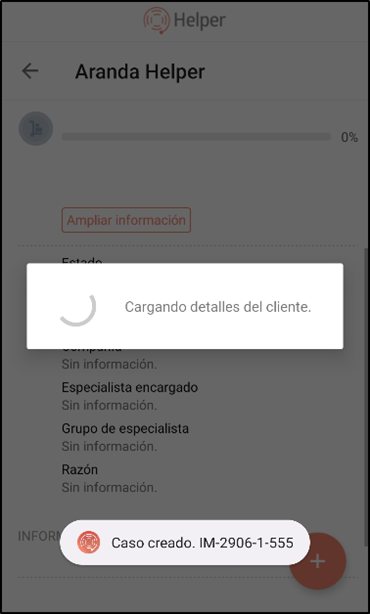
7. At the end of the registration of a case, the Aranda Helper application gives the user in session, a view with the details of the case, in which they can attach files or add notes if required. This is done through a floating menu that displays the symbol of a plus sign (+).
