1. On the taskbar of the Aranda Helper mobile console, select the My Requests. The user in session will be able to filter the requests according to the following criteria:
- All: In this option you will be able to view the list of cases registered in all the projects associated with the user in session, regardless of their status.
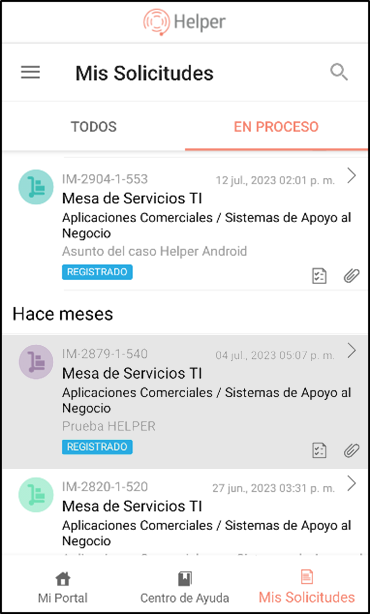
- In Process: In this option you can view the cases registered in all the projects associated with the user in session in which there is active management.
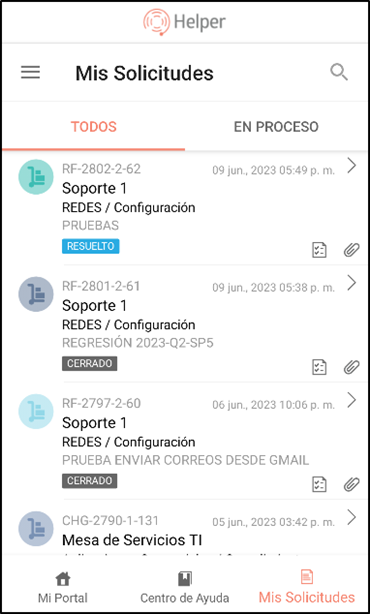
⚐ Note: It is possible to use the search engine to select a specific case.
2. The request list groups the basic information of the case with data such as: Case ID, date of registration, Project Name, service/category in which the case is associated, subject and current status of the case
|Note|If the case is of the request type, the service/category will not be displayed in the basic information of the case.|
View Case
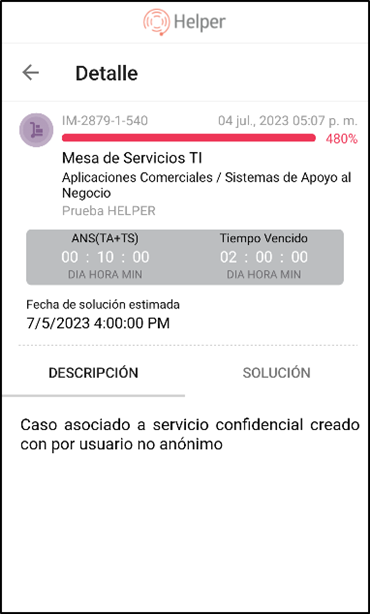
3. In the list of requests, select the basic information of a case. In the window that is enabled you will be able to view the detail and complete information of the case.
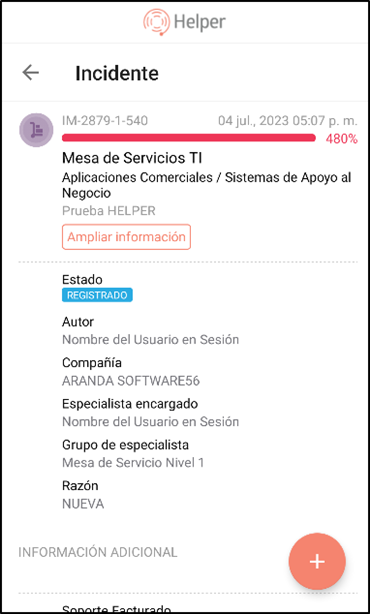
4. When selecting the More information, you will be able to view detailed information of the case related to data such as: times, dates, description and solution associated with the case.
5. In the case detail, you will be able to view the additional fields and will have the following buttons enabled for the consultation of information related to the case:
| Button | Description |
|---|---|
| All: | By selecting this button, you will be able to view all the available information related to the case, including additional fields, attachments, notes, and conversations. |
| Attachments: | Selecting this button will take you to a section where all attachments associated with the case will be listed. |
| Notes: | By selecting this button, you will be able to access a specific section where all the notes related to the case are registered. |
| Conversations: | Selecting this button will open a section showing all the conversations or interactions recorded through the chat. |
⚐ Note: These buttons provide a simple and organized way to access the specific information that the user may need in relation to the case at hand.
Add Annotation and/or Attachment to a Created Case
6. When viewing the details of a case, a floating menu is presented at the bottom right of the screen showing the symbol of a plus sign (+). Selecting on this symbol takes you to the following additional options:
- Attachments: By selecting this option, the user will be able to attach a file from their phone or take a photo directly with the camera. This file is automatically added to the case as a relevant attachment.
- Add Note: Selecting this option will open a text box where the user can enter an annotation related to the case. Once this action is complete, the note will be added to the case as a public note, visible to all users involved.