Prerequisites:
1. Enter the link: hosting-bundle-installer
Download the file
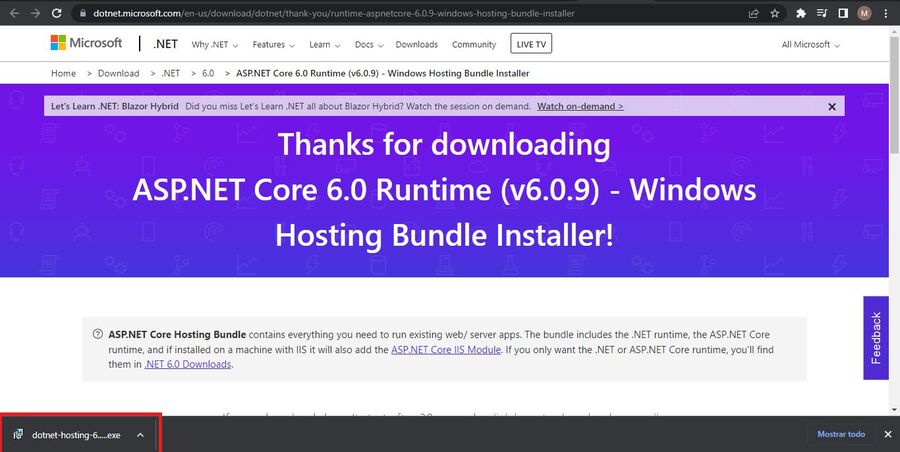

This must be the result of the installation of the ASP.NET

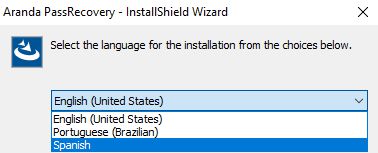
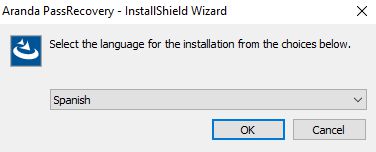
2. Run the file Aranda.ARP.Installer.9.0.0.X.exe, then the setup wizard will give you the option to select the installation language. Select the desired language and click the Accept

3. Click the Following.
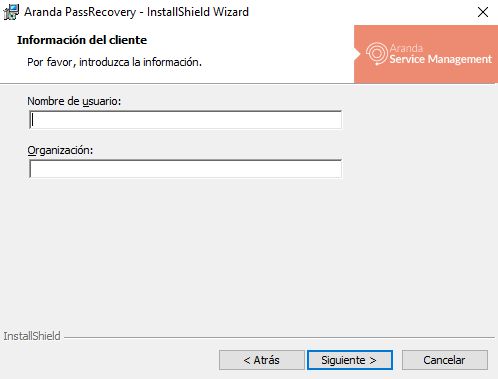
4. Fill in the information corresponding to (Username) and (Organization) and then click on the Following
5. Select the installation type, if you select the (Complete) All components will be installed, if with the (Personalized) You can go ahead and select which components to install. Click the Following

6. The components of the system are then loaded.
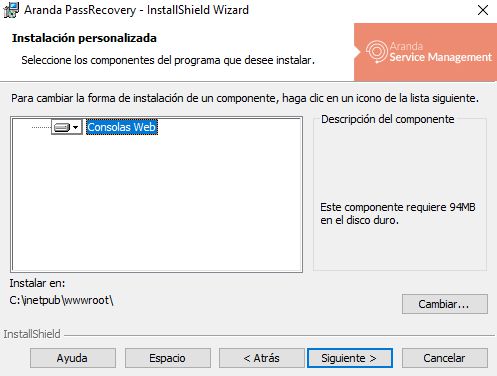
If required, modify the installation path, then click on the OK button.
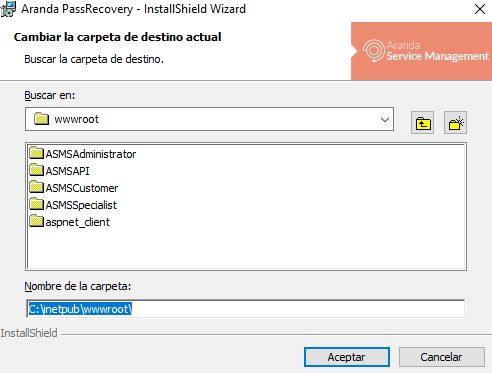
To continue, click on the Next button.

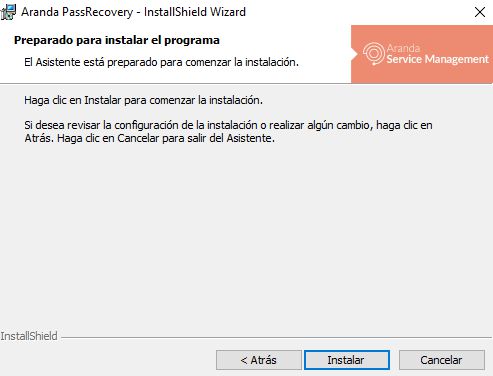
7. To start the installation process, click the Install
8. The installation has been carried out successfully.
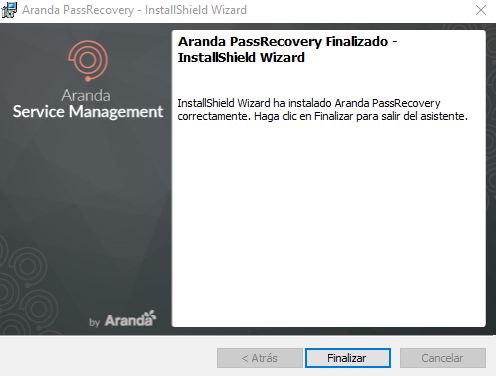
9. Click the End and make the following configurations:
- Update the minimum database to the next available version (9.5.28).
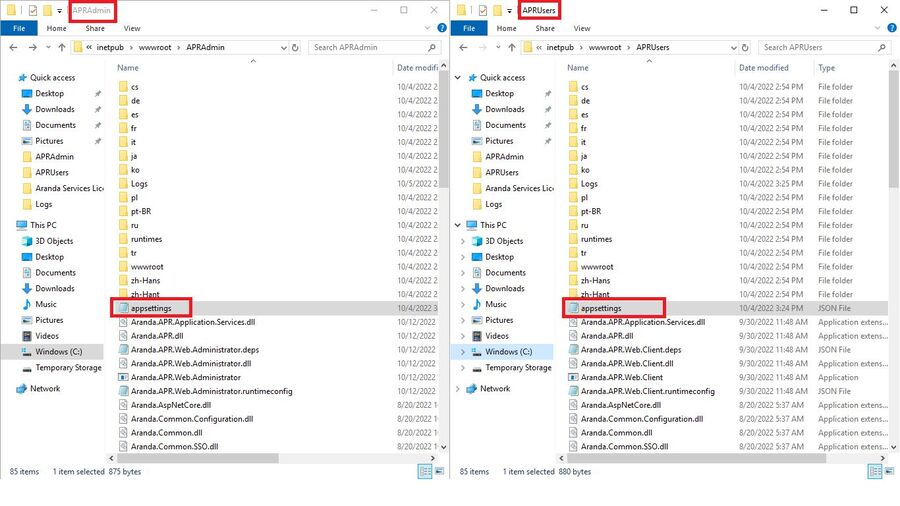
- Configure the connection string for the sites (APRAdmin) and (APRUsers):
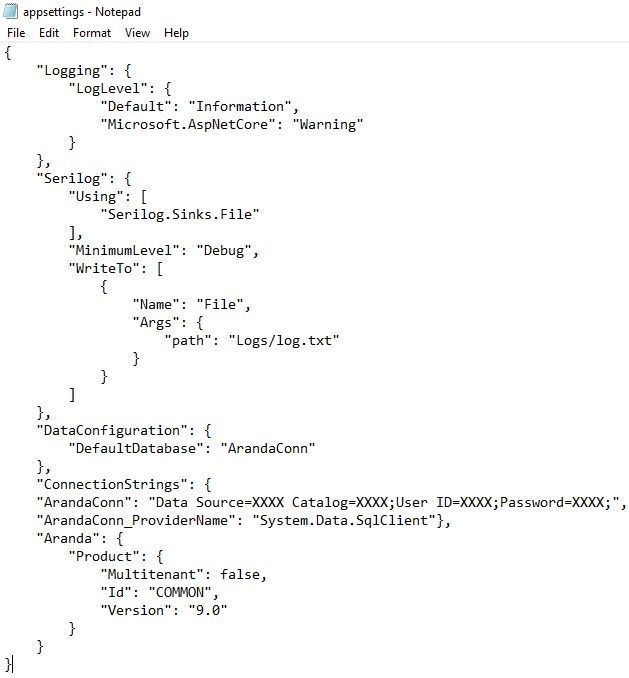
10. To configure the connection string for sites APRAdmin and APRUsers you must go to the installation folder of the sites, and enter the AppSettings of each:
Connection string data:
| Campo | Descripción |
|---|---|
| Data Source | Nombre del servidor de la base de datos |
| Catalog | Nombre de la base de datos |
| User | Usuario para la conexión a la base de datos |
| Password | Contraseña para la conexión a la base de datos |
Example:
  "ConnectionStrings": {"ArandaConn": "Data Source=SERVIDOR;Initial Catalog=BD;User ID=USUARIO;Password=PASSWORD;Encrypt=False;TrustServerCertificate=False
  "ArandaConn_ProviderName": "System.Data.SqlClient"    },