
View Online Agents
1. On the left side of the console you can see the list of online agents or specialists.
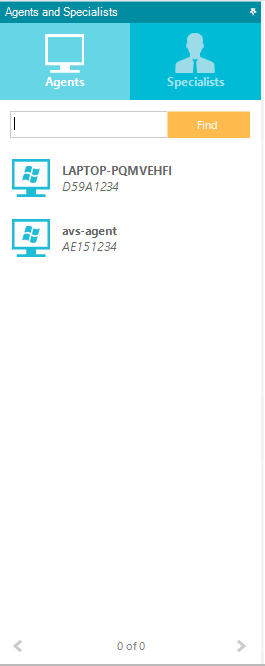
2. As you can see, each Agent has a unique SessionID and this is accompanied by the name of the machine.
3. On the Online Specialists You will be able to see the list of specialists who are connected.
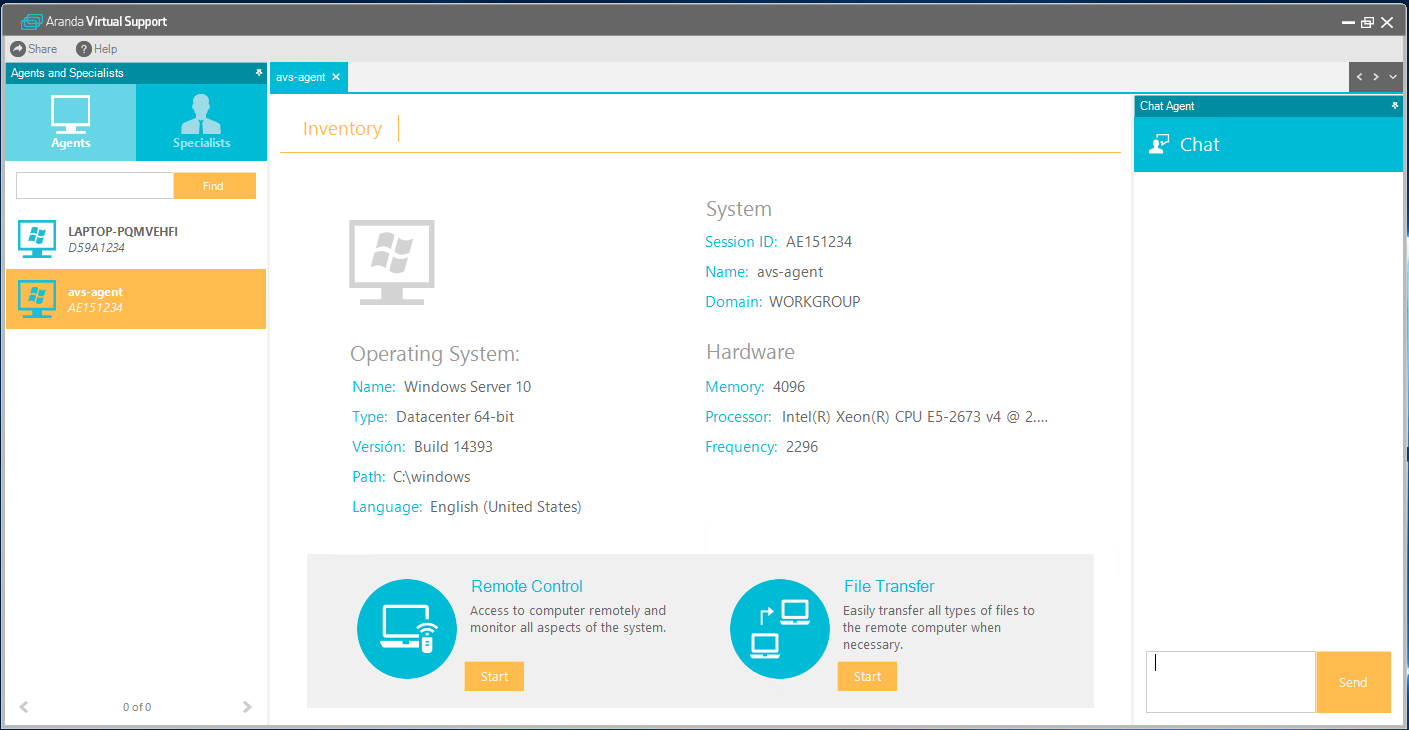
View inventory
To view an agent’s inventory, double-click on it or right-click and select the option Open
| SessionID | Agent identifier. |
| State | Agent Status (Online/Offline) |
| GUID | Unique identifier of the software. |
| Name | Name of the Machine. |
| Domain | The domain in which the workstation is registered. |
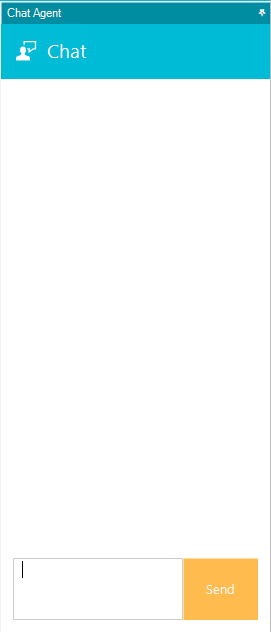
Chat service
To start a chat conversation with an agent, go to the agent’s inventory, then the chat will appear on the right side of the window.
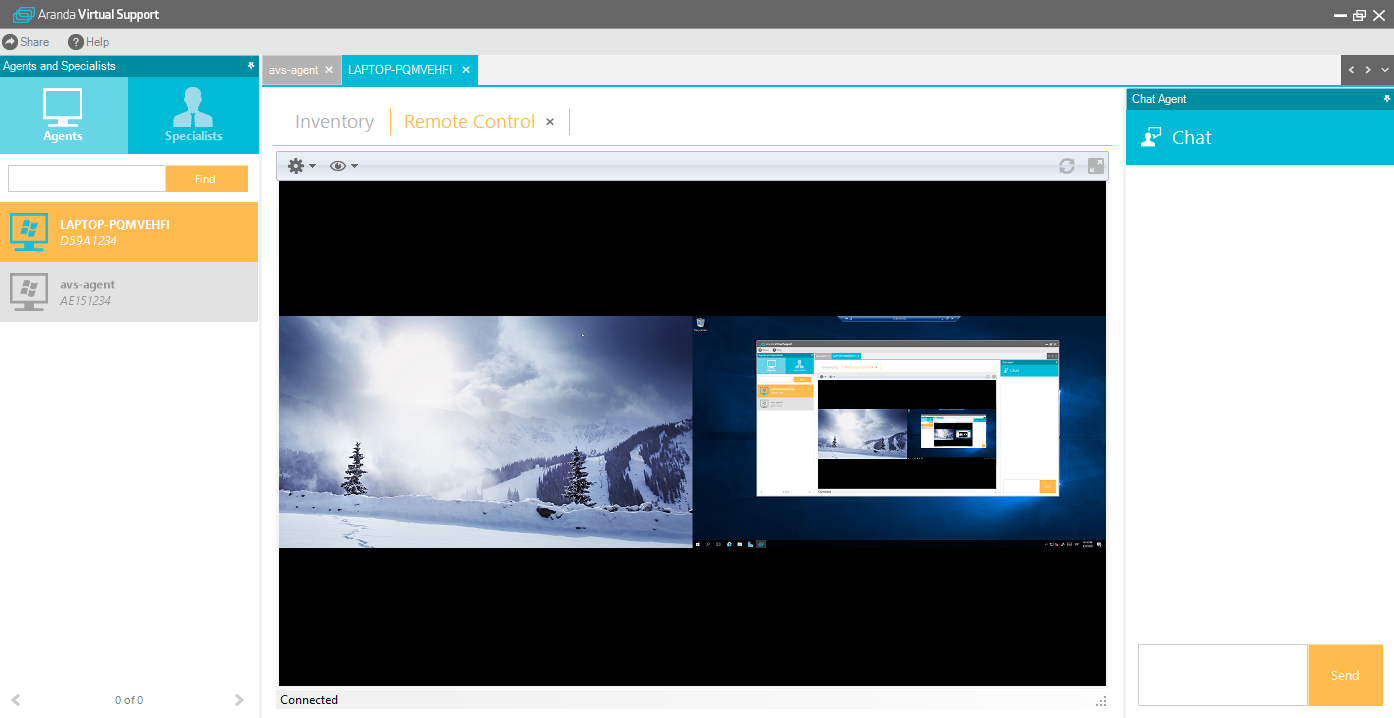
Remote Control Service
To take remote control of an agent, locate yourself in the agent’s inventory and click on the Start in Remote control. You must then enter the password to access the agent
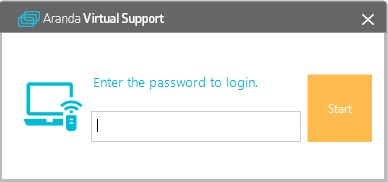
Once you have entered the password, click on the Accept. The AVS remote control interface will then load.
Control Options
At the top of the console you will see the Options The following functions will be listed below:

- Tomar Control Visual: Está función le permitirá tomar control únicamente visual del agente es decir el especialista solo podrá observar las acciones que realiza el usuario más no podrá interactuar con la máquina del agente.
- Enviar Ctrl. + Alt. + Supr.: Le permitirá enviar a la maquina remota el comando Ctrl. + Alt. + Supr. El cual Abrirá el administrador de tareas de la estación de trabajo o bloqueará la sesión actual.
- Enviar Ctrl. + Esc.: Esta función le permitirá enviar a la estación remota el comando Ctrl. + Esc. Para que se cargue el menú inicio.
- Configuración

| Take Visual Control | This feature will allow you to take visual control of the agent only; that is, the specialist will only be able to observe the actions performed by the user but will not be able to interact with the agent’s machine. |
| Enable Beep | Enable the Board Beep of the remote PC. |
| Show local cursor | Displays the local computer’s cursor. |
| Enable Desktop Resize | Allows the specialist to resize the desk according to their need. |
| Color Quality | It allows you to adjust the color quality with which the remote machine’s desktop looks (8, 64, 256, Full Color) This to make control over the remote machine faster. |
| Encode | Image compression format (RAW, SRLE, HexTile) RAW being the highest compression quality. |
| Frequency | Processor operating speed. |
| Operating system | Operating system installed on the agent’s machine. |
| Guy | OS Type (Enterprise, Professional, Basic, Etc.) |
| Version | Installed Service Pack Version |
| Route | Operating system installation path. |
| Language | O.S. Language |
| Enable Copy/Paste | It allows the clipboard to be shared between the local toll machine and the one that is being taken over remotely. |
The console allows you to take multiple machines into remote control, file transfer, or chat simultaneously.
View Display Properties
On the top of the console, you’ll see the See . The following functions will be listed below:
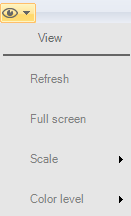
| Refresh Screen | Refresh the remote desktop. |
| Full Screen | Maximize remote desktop. |
| Climb | You can adjust the remote desktop to its actual size or use 50% to 200% zoom. |
| Color Level | It allows you to adjust the color quality with which the remote machine’s desktop looks (8, 64, 256, Full Color) This to make control over the remote machine faster. |
Change password
In the main menu, display the Help item and select the change password option.

Una vez se despliega la pantalla puede agregar el nuevo password y debe confirmarlo. Se recomienda una contraseña superior a 6 caracteres con mayúsculas, minúsculas números. Puede actualizar la contraseña cuantas veces considere.

File Transfer Service
1. To transfer a file to an agent or to receive a file from an agent, go to the agent’s inventory and click on the Start in Transfer Files. The file transfer interface will then load.
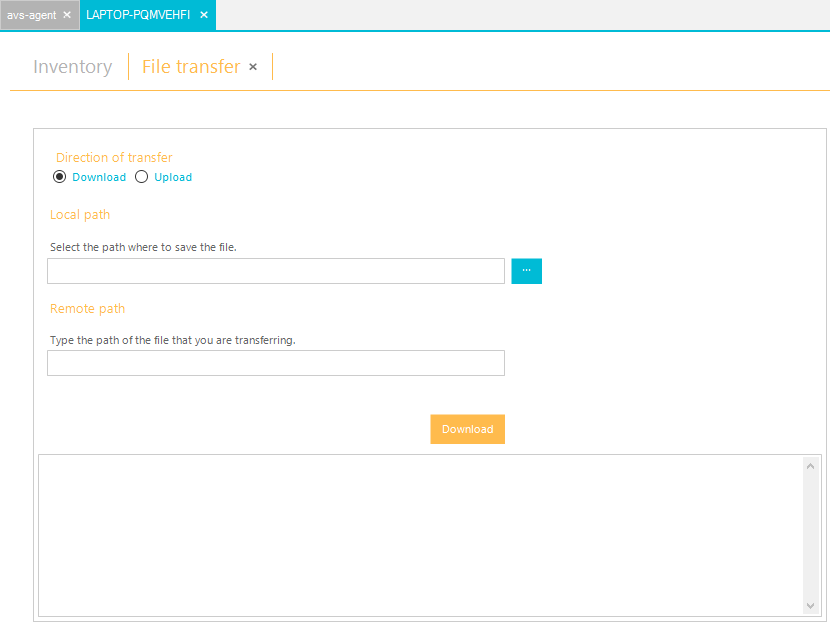
2. Select whether you want to download or send a file to or from the remote machine.
3.. If you selected download in the Local File field, click the Examine and type the name of the file you want to save.
4. In the Remote File field, type the exact path of the file that you want to download and that is located on the remote agent machine.
5. Finally, click the Download.
6. If you need to send a file to the remote agent, in the Local archive Select the file to be sent and in the Remote Archiving Enter the exact path where the agent will be able to locate the submitted file.
Find an Agent
1. To search for an agent, select the search engine on the left side of the console.
2. Enter the agent’s name or SessionID.
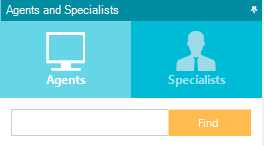
3. When you click on Find you will be able to see at the bottom a list of agents with a name or SessionID equal to the text entered.
Chat with specialist
1. To start a chat with a specialist, in the Specialists panel, double-click the specialist you want to have a conversation with.
2. A tab is enabled in the console that displays the conversation chat with that agent.
Submit SessionID and Agent Installers
1. To send the SessionID to an agent, locate yourself in the top toolbar of the console and go to Share -> SessionID.
2. A screen will appear with the specialist’s SessionID and also the agent installer download links for that customer.
3. Clicking on Mail will automatically send the email with the information to the customer.
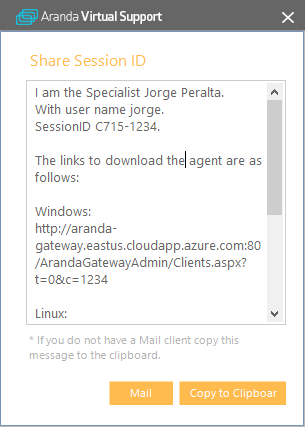
If you do not have the email you can click on the Copy to clipboard option
IMPORTANT: If the host is not displayed in the URLs, you may not have configured the host in AVS Web Admin in -> Gateway Configuration if so, go to Ports & Host. After setting it up, you will need to restart the Aranda Gateway service on the server where it was installed.
View Help
1. At the top of the console you will see the menu Help. The following functions will be listed below:
- Online Help: This feature will send you to the Aranda Software support page. http://www.arandasoft.com/soporte.php
- Comments: This will allow you to upload a new instance of your email through which you can send your suggestions regarding AVS.
- Log Files: This will allow you to observe all the logs stored by the AVS console.
- Configure Notifications: Select the notifications you want to be executed:
- Show on-screen message when notifying
- Play sound when notifying
- Agent Status Change
- Changing Specialist Status
- Service Request
- Agent Chat
- Chat with Specialist
- About AVS.
-
Displays the description of the AVS console.