


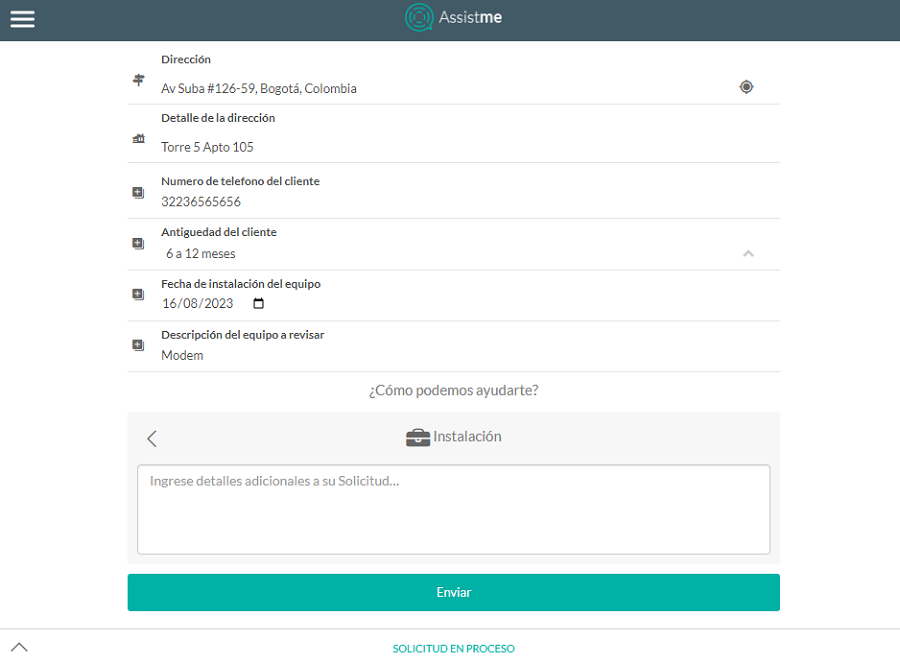
The home screen allows the creation of a work order in AssistMe in a very simple way, it is only necessary to enter the information of address, select a service, place a description of the same and if necessary add the information of the Additional fields for the application, then click on the Send.
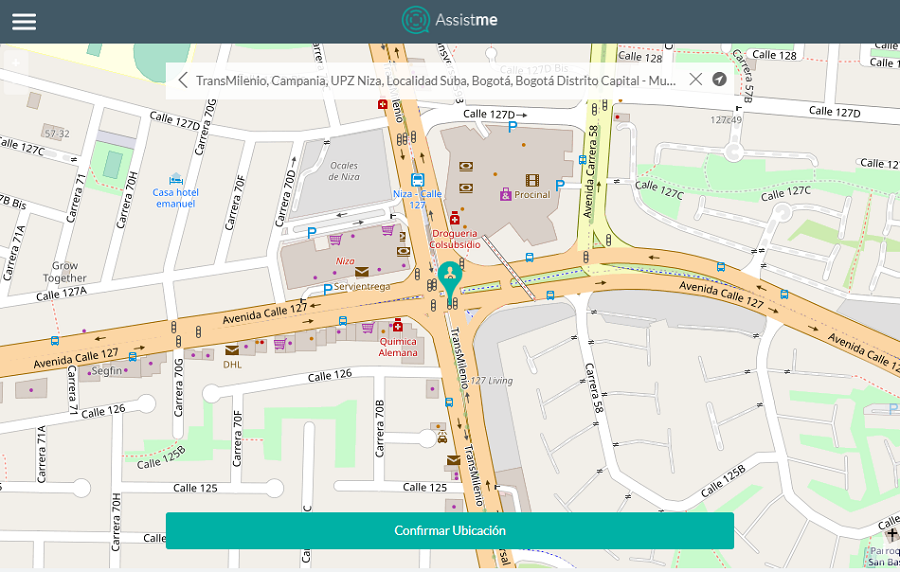
By clicking on the address A map screen is displayed so you can search for the location by scrolling through the map, or you can type the address into the field and then click the Confirm Location.
⚐ Note:
- 1. The service name shown on the screen is the one configured in AFLS for the Assistme channel. The name should be short and with a clear description.
- 2. The additional fields are displayed when the configuration is made in the web console in the Configuration option > Additional fields > Work orders, when there are no additional fields configured, only the options of address, address detail and list of services are displayed.
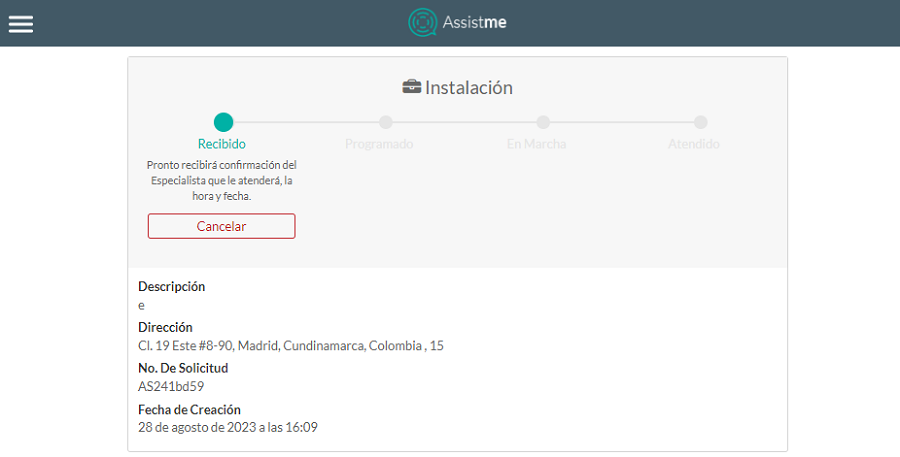
Luego de hacer clic en el botón Enviar, el sistema muestra una pantalla con el estado inicial de la orden, en este caso “RECIBIDO” y con la siguiente información de la solicitud: descripción, dirección, No. de Solicitud y fecha de Creación
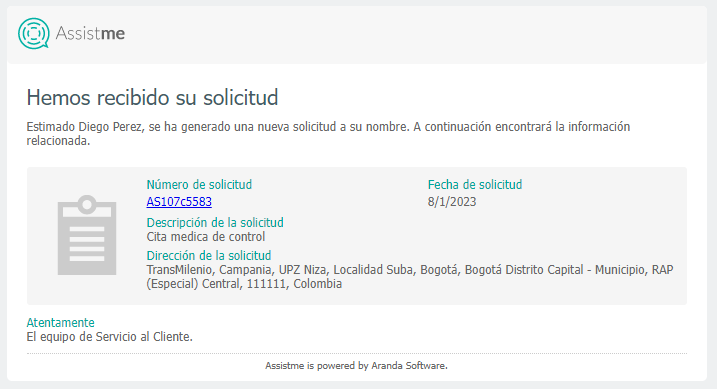
In this way the work order is registered in AFLS, the customer is sent an email with the notification of the registration of the request, here is an example:
Additional fields
They are displayed when the Configuring Additional Fields for Work Orders in the web console.
When you select the edit  All fields with update permission are enabled, after making the additional field information settings for the request, select the save
  where the following confirmation message is displayed Updated Information.
Application attachments
Allows you to upload a file to the request if necessary.
When you select the Upload file the Windows Explorer window is displayed where you can search and select the file to import in the request.
Messages in the request
After creating an order from AssistMe It will be possible to send messages (public notes) from the request to dispatchers, monitors or specialists. It will be displayed as follows:
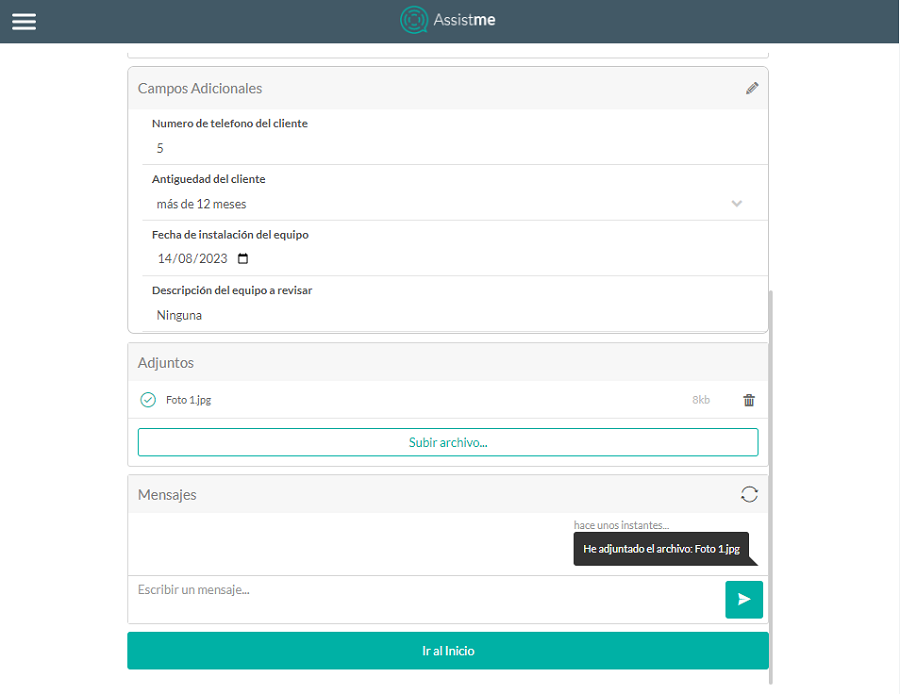
These messages will be displayed at the bottom of the request showing the interaction between the dispatcher, monitor, or specialist and the end user. It should be noted that messages can only be sent while the request is in the states Received, Scheduled, or Ongoing.
⚐ Note: While the user is within the order, click the refresh icon to refresh the received messages.
- 2. The Go to top allows you to go back to order creation.