
The user with the administrator role will be able to create, edit, and delete additional fields that are required to add specific information for categories such as Customers, Mobile Users, Web Users, Companies, Services, Work Orders, and Location.
Creating Additional Fields
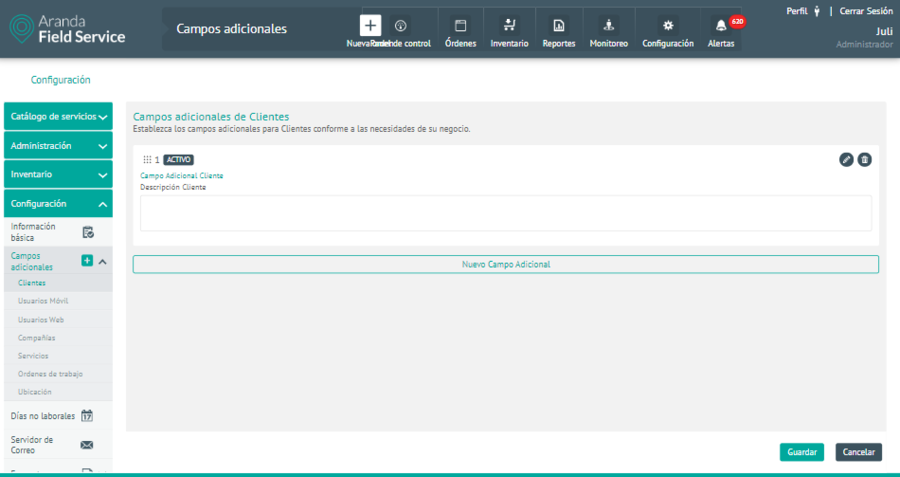
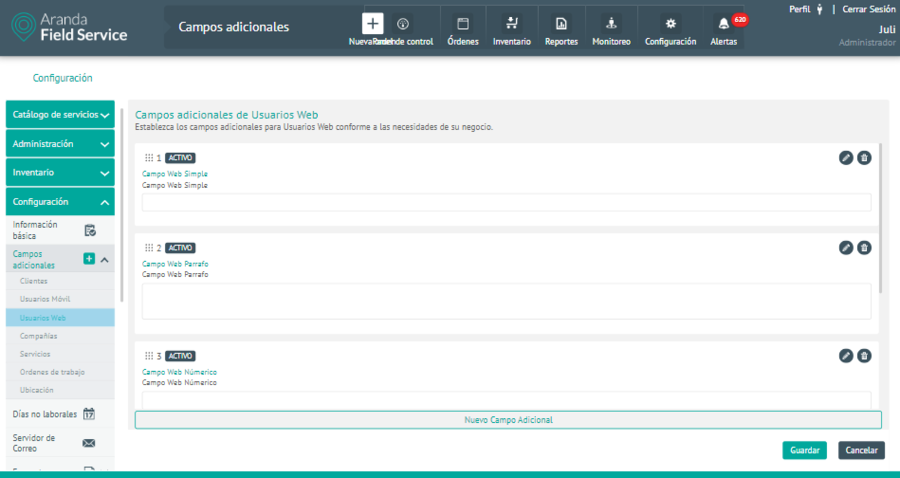
1. To Create Additional Fields, go to the AFLS configuration console, in the section Configuration from the main menu, select the Additional Fields. In the drop-down menu, select the category to configure the additional field (Customers, Mobile Users, Web Users, Companies, Services, Work Orders, and Location).
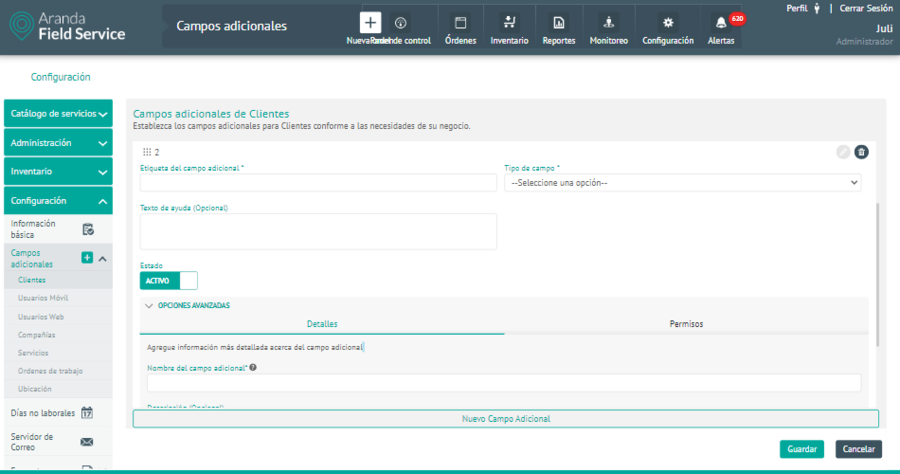
In the Additional Fields Detail view, select the New Additional Field where you can complete the following information.
| Fields | Description |
|---|---|
| Additional field label: | Name of the additional field |
| Field Type: | Set the additional field type from the following options: Plain Text, Paragraph Text, Numeric, Date, or List of Options. |
| Help Text: | Optional supplementary information for the additional field. |
| State: | It can be Active or Inactive, thus determining whether the field can be used or not. |
2. In the advanced options of the Additional Fields window, you can configure the details and permissions of the additional fields
On the Details The following information can be configured:
| Fields | Description |
|---|---|
| Name of the additional field: | The name with which the field is saved in the database. |
| Description: | Optional field that allows you to save more detailed information about the additional field. |
On the Permissions You can turn on permissions that allow you to control the following actions:
| Permissions | Description |
|---|---|
| Visibility: | The role can view the information in the additional field. |
| Writing: | The role can modify the information in the additional field. |
| Obligatory: | This action allows you to save the information after filling in the additional field information. |
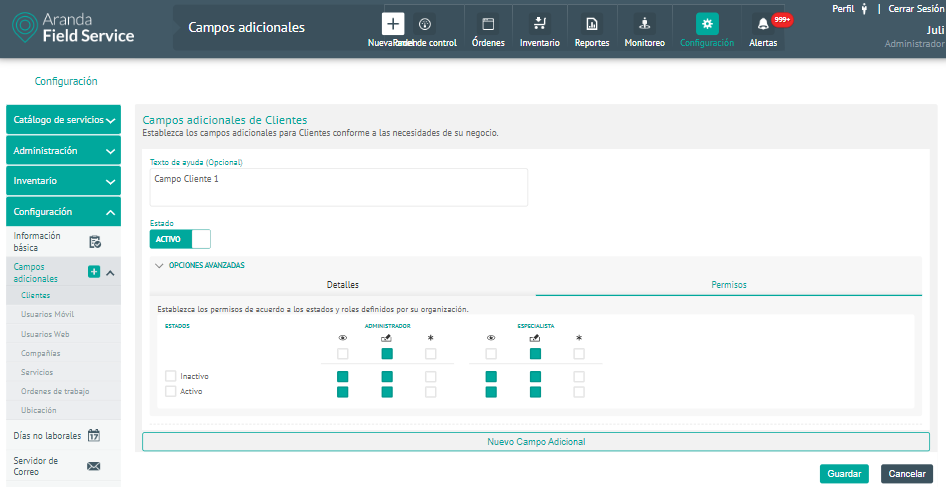
⚐ Note: For permissions in the additional fields of the work orders category, only one permission is enabled that is general for all work order statuses: Additionally, you can configure these permissions in each of the states.
3. After configuring the additional fields for the selected category (Customers, Mobile Users, Web Users, Companies, Services, Work Orders, and Location), click Accept or Discard in the corresponding window, to confirm the changes made.
Once created, the fields will look like this:
4. To edit an additional field, in the detail view, select a record from the existing additional fields and select the Edit to modify the required information.
5. To delete an additional field, in the detail view select a record from the list of existing additional fields and select the icon to delete the associated information.
6. When you finish setting up the additional field, click Save in the Detail View of the AFLS Configuration Console, to confirm the changes made.