


⚠ Important: The address IP or the name DNS server where the ConServer it must remain fixed.
If the IP or the DNS change after installation, agents they will lose connectivity, being necessary Reinstall or reconfigure them to re-establish communication.
⚐ Note: Before proceeding, the Repserver must be correctly configured from the ADM Management Console. See Configuring the Repserver. Additionally, the Conserver must be configured and with the service started. See Configuring the Conserver.
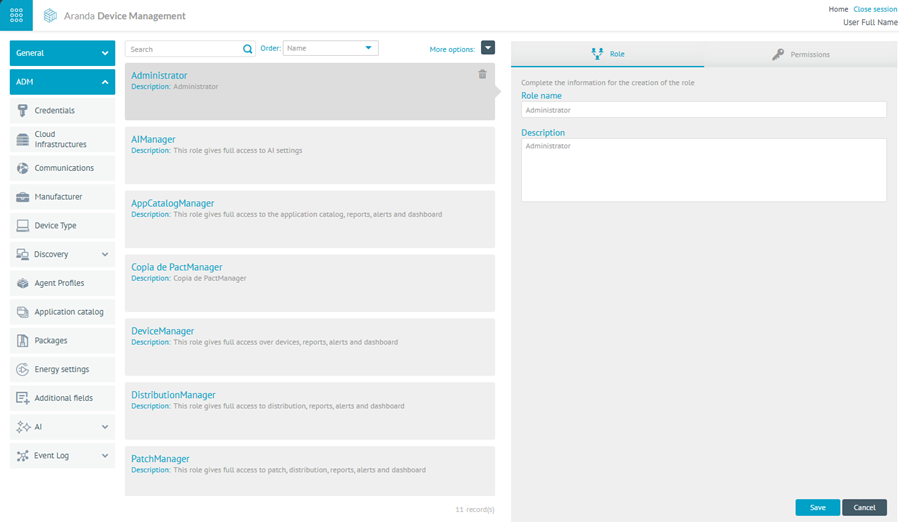
1. To configure the conserver, go to the ADM Management Console, in the ADM Configuration from the main menu select the option Communications. In the information view, you can perform the Repserver Configuration and the Conserver Configuration.
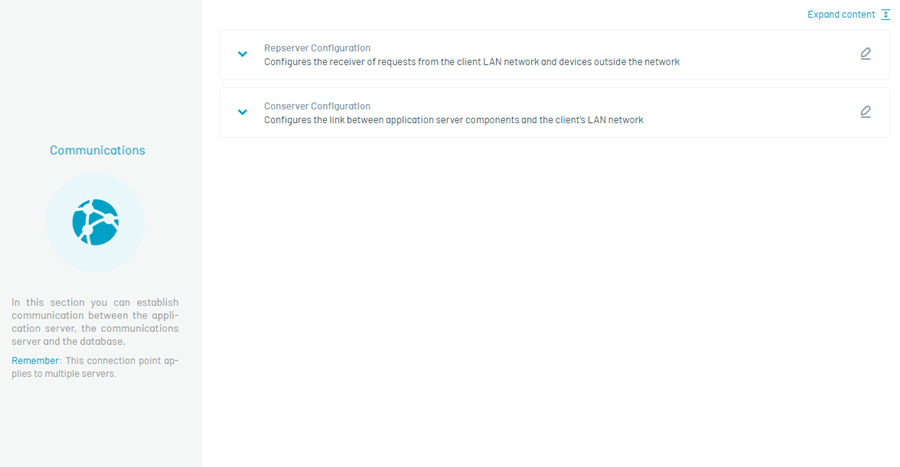
2. Click the edit icon in the Conserver Configuration and manage the list of Servers.
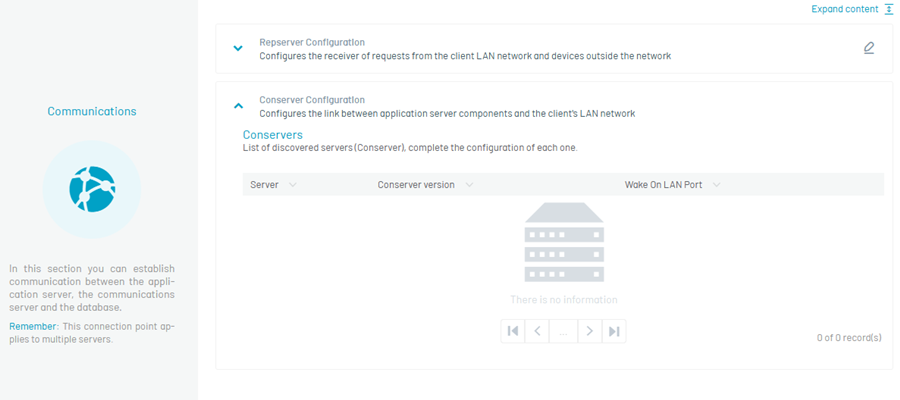
The section is listed Servers: “List of discovered servers (Conserver), complete the configuration of each one.”
- If no Conserver has been discovered, an empty state with no information is displayed.
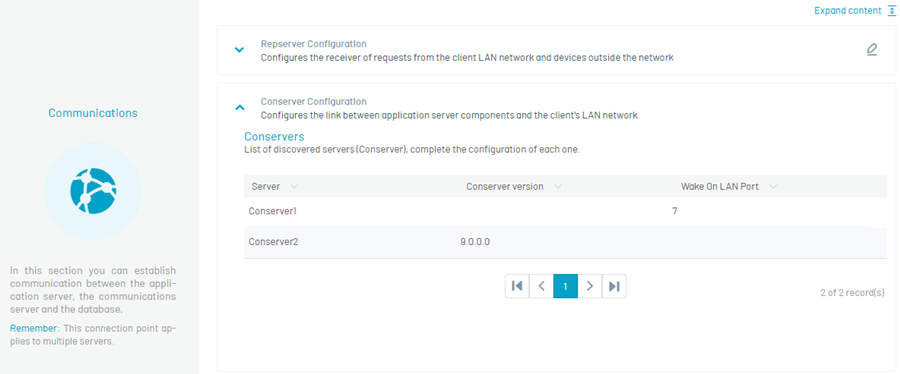
- If there are discovered Conservers, they are listed in a sortable table with the columns Server (name of the host where the Server was installed), Version Conserver and Wake On LAN Port.
⚐ Note: If a Conserver does not appear in the list, validate that it is correctly configured and that your service is started.
3. Select a Conserver by name in the Server to open your detail modal, where you can configure:
| Field | Description |
|---|---|
| Connection node URL | Address through which the Repserver establishes communication with the Conserver. In the OnPremise, the customer manages its own infrastructure and can define this URL based on its network configuration. |
| Trust Server Certificate | A box that allows you to trust the certificate presented by the server where the Conserver is installed. |
| Local or internal address | Address used by ADM agents to communicate with the Conserver. This field is mandatory and editable; it is automatically populated with the address configured in the Conserver, but can be modified according to the needs of the environment. |
| Version | Installed version of the Conserver, automatically detected. When no recent information is available, the field displays the value Unknown. |
| Wake On LAN Port | Port used by the Conserver for remote device power-up, when this functionality is configured. For more information, see the Requirements for Remote Start-Up. |
| State | Enable or disable the use of the Conserver: while in Inactive, the system will not be able to consume it. When you first access this setting, the field is displayed in Inactive. |
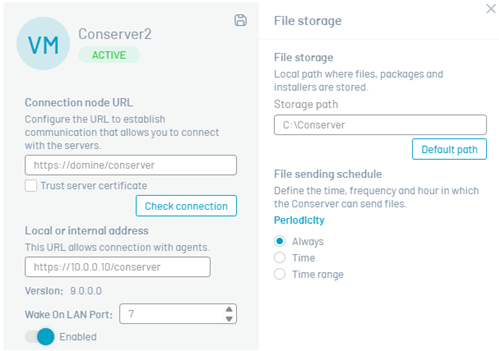
In the same modal, the File storage Allows you to configure:
| Field | Description |
|---|---|
| File storage | Local path where the Conserver stores the package and installer files; includes a button to reset to default. |
| File Sending Schedule | Defines the frequency at which the Server can send files: Always, Hour or Range of hours. |
Click the save icon to apply your changes.
⚐ Note: Each Conserver must be included within the Agent’s profile.
4. To add the conserver to the agent’s profile, in the ADM Configuration from the main menu, select the Agent Profiles. In the information view, select a record of the agent profiles that you want to modify. In the detail view, display the General Module and in the countryside List of available conservers, search for and select the name of the Server to include. When finished, click Save
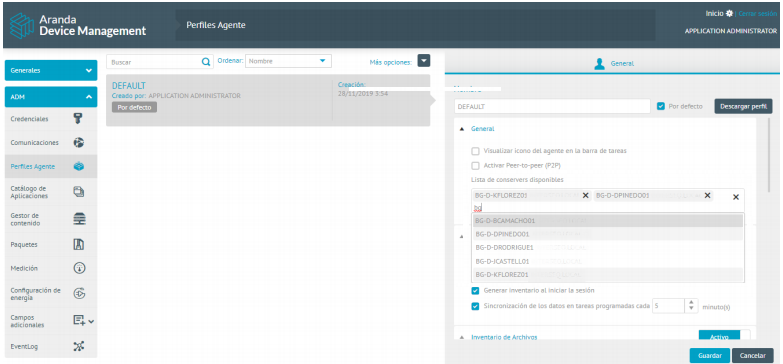
⚐ Note: In case of losing the connection with a Conserver, the Agent will try to re-establish communication with the conservers stored in the Conserver list.