
The configuration of the communication components can be divided into 3 stages
- 1. Configuring the Repserver
- 2. Configuration of the Conserver in Installation in Cloud Environments
- 3. Configuration of the On-Premise On-Premise On-Premise On-Premises On-Premises On-Premise Servers
Configuring the Repserver
⚐ Note: When you first access the ADM Management console, you need to configure the address of the communications node.
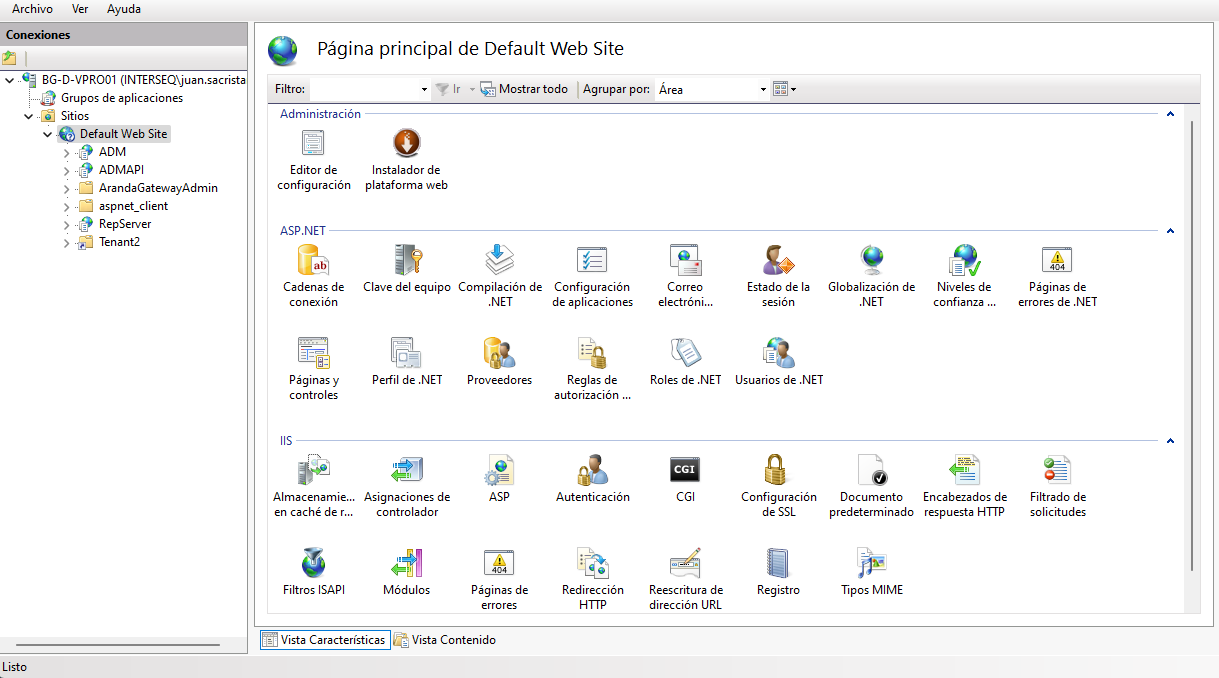
1. To obtain the address of the communications node, enter the IIS (Internet Information Services), in the local domain, select the Sites , Default Sites and Rpserver
2. Click Examine (navigate) the port and a browser will open with the URL of the web application. In this case the URL is https://localhost/Repserver/Replace localhost by the device’s IP address or name.
3. Log in to the ADM Management Console, in the ADM Configuration from the main menu, select the Communications . In the information view you will see a tree whose main node is the RepServer, this will always be visible and only one should exist in an active state. All Conservers that communicate to it are displayed from the RepServer.
4. In the detail view of the repserver, on the Configuration Identify the field Communications node address and paste the device’s IP address defined in step 1.
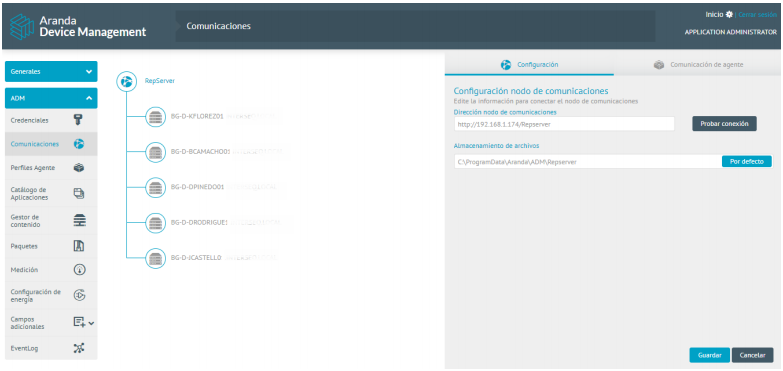
5. In the field File storage, enter the path where the files will remain temporarily, then click Test Connection and Save. At the end, a screen should be displayed informing that the Repserver is online.
Configuration
6. In the detail view of the repserver, on the Configuration you will be able to view the Almacenamiento del Blob Storage. In this section, enter the connection string for the storage account.
⚐ Note: - The connection string must be generated from a storage account created in Azure, after that, a container must be created, where all the inventories processed in their entirety will be displayed.
- On this storage account, take the connection string.
7. Click Test Connection and Save. At the end you will be able to see an informative message that indicates Successful connection test.
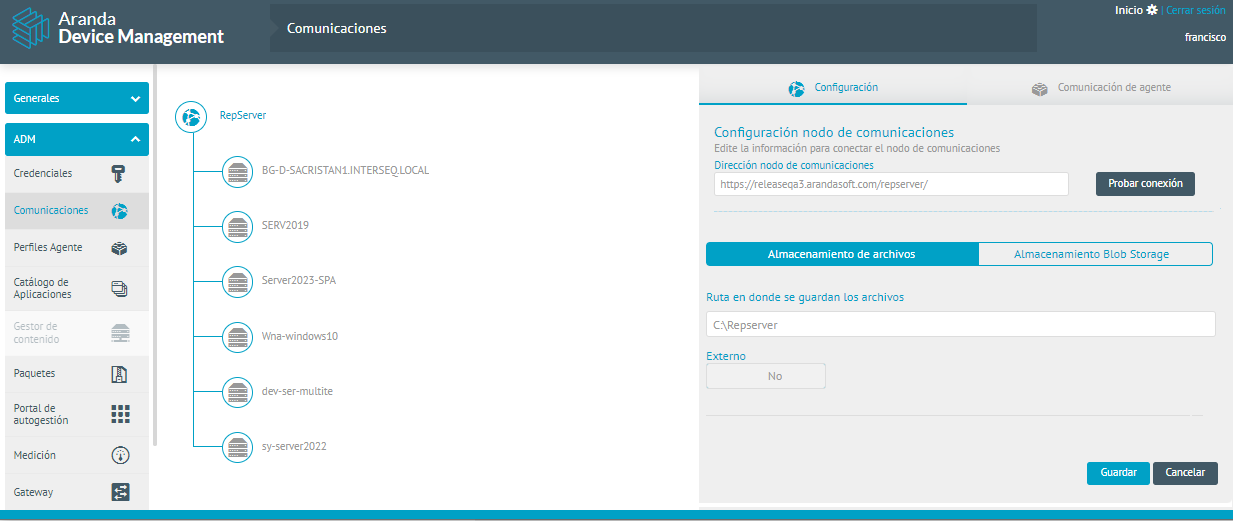
8. In the File storage, when you change the default C:\Repserver path, a confirmation message will be issued stating Changing the path or storage type could result in information loss, when you click Accept, immediately the information that has been entered in the Blob Storage section is lost.
Agent Communication
9. In the detail view of the repserver, on the Agent Communication You can define the following information:
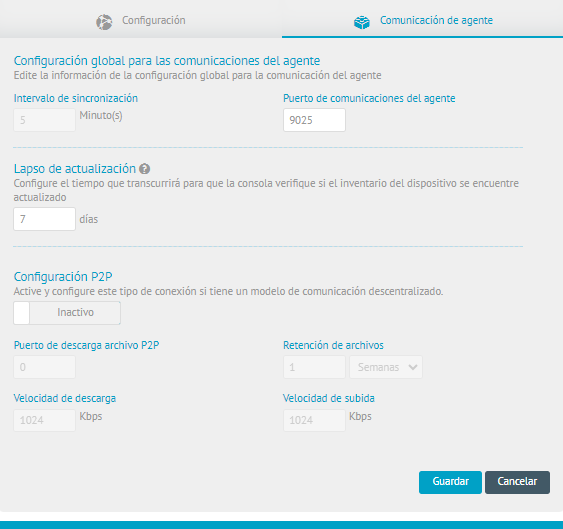
Global Settings: In the Global Settings section for agent communications, you must enter the information for the synchronization intervals and the designated port.
Update Lapse: In this section, you can change the time in days that the console will validate whether a device’s inventory is up to date.