
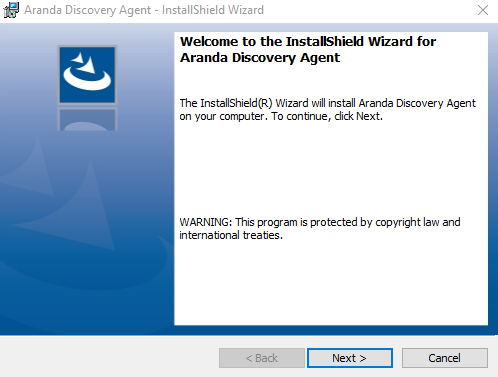
1. Run the installer Aranda.Discovery.Agent.x.x.x.exe
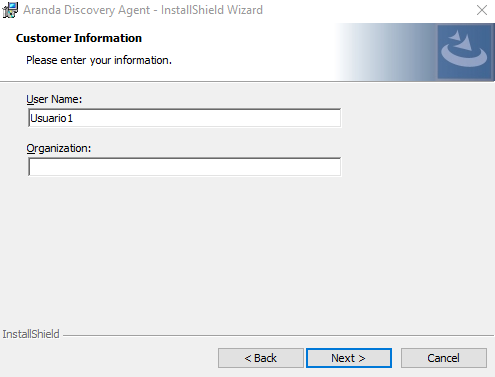
2. In the Customer Information window, enter the user name, organization, and click Following. These fields may be left empty.
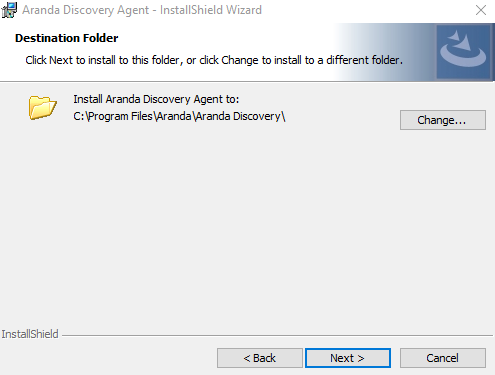
3. In the Destination Folder window, you can change the installation path of the service or leave it by default where the installation suggests, then click Following.
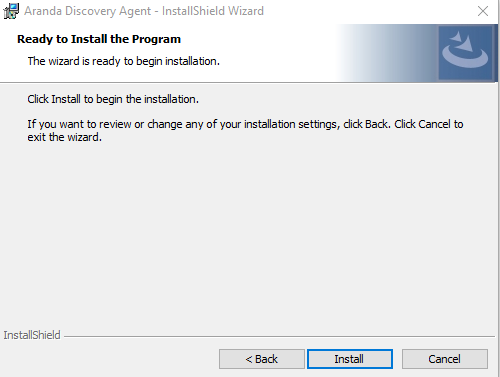
4. Click Install; You must have permissions as a machine administrator.
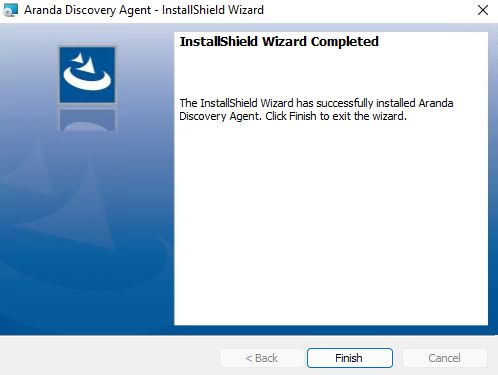
5. When the installation process is finished, click the End.
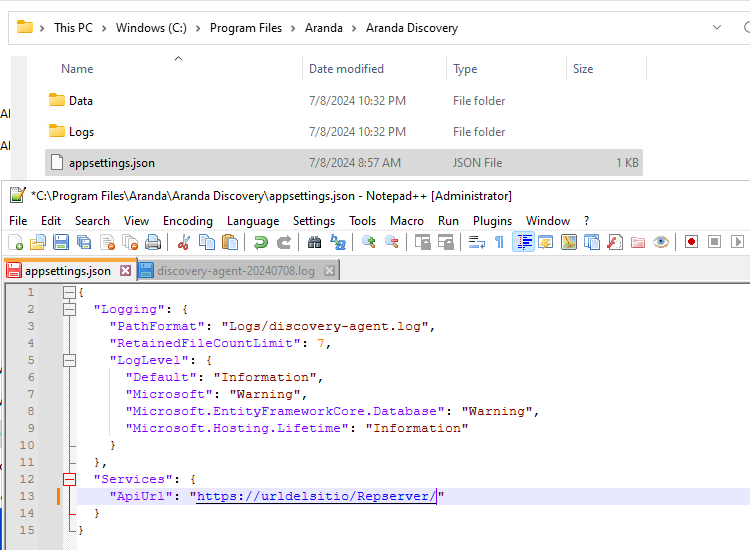
6. To configure the discovery agent, open the appsettings.json in the folder where the service is installed and in the Services in ApiUrl, enter the URL of the site’s Repserper.
7. Once the AppSettings go to the services and verify that the service: Aranda Discovery Agent is installed, then restart the service so that it takes the changes configured in the AppSettings.

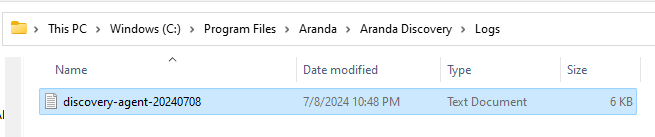
8. The archives of Log will be stored in the following path: C:\Program Files\Aranda\Aranda Discovery\Logs
Uninstalling the Discovery Agent
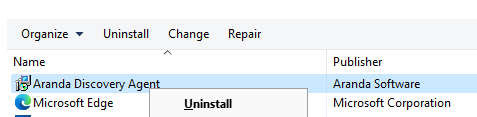
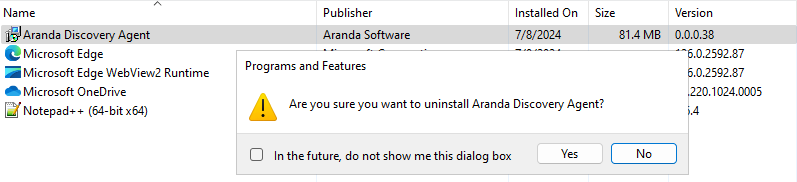
1. Enter the control panel and right-click on the app Aranda Discovery AgentSelect uninstall.
2. To the question “Esta seguro que quiere desinstalar Aranda Discovery Agent?”, click the SI button in the message.
3. Check the service again and the folder where the service was installed, the record should no longer appear.
Automatic Discovery Agent Update
1. The discovery agent will automatically update within one day of the ADM site update.