This section of the application allows you to create a case from a service and a category.
1. In the AssistMe mobile console, on the My Portal taskbar, select the Create Case.
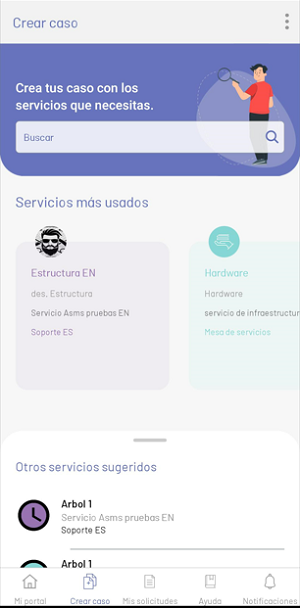
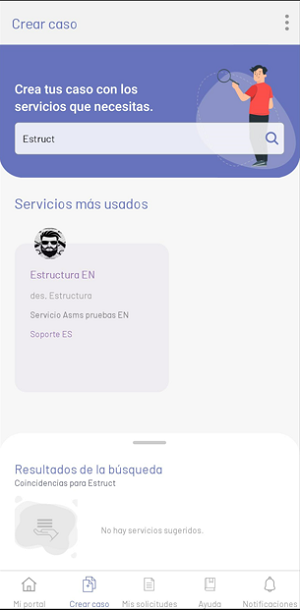
The first part corresponds to the selection of the service for which a case is required to be created. On this screen you will find the following options.
| Options | Description |
|---|---|
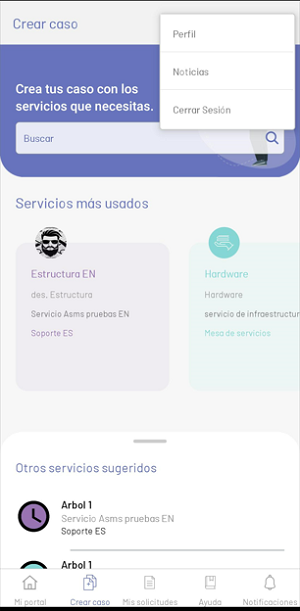
| 1. Floating menu | This section displays a floating menu with options such as Profile, News and Logout (described in My Portal). |
| 2. Search | This section allows you to search for a service in the Most Used Services and Other Suggested Services sections. |
| 3. Most used services | This section allows you to view a list of categories associated with the services most used by the client during the creation of requests or cases. |
| 4. Other Suggested Services | This section shows all the services associated with the registered user’s projects. Note: The categories that have the check (home of users) in administration will be displayed View Services, if you have more than 20 categories with this configuration, only the first 20 will be listed in alphabetical order. |
2. If the search for the services does not yield results, a watermark is displayed:
3. After selecting a service, the application redirects the user to the screen for the creation of the case associated with the selected service.

| Options | Description |
|---|---|
| 1. Floating menu | This section displays a floating menu with options such as Profile, News and Logout (described in My Portal). |
| 2. Type | This selection field appears when the category has been configured with more than one case type (Problem, Incident, Change, etc.). |
| 3. Most used services | This section allows you to view a list of the services most used by the customer during the creation of requests or cases. The fields subject, description as well as additional fields depend on the classification of the category |
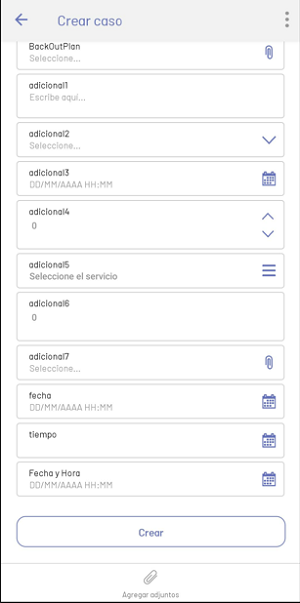
| 4. Additional Fields | This section displays the additional fields configured for the service. |
| 5. Create button | This option starts the creation process, after validating the required fields. |
| 6. Attach Files | This option in the My Portal taskbar displays an ActionSheet with the available options for attaching files. |
Create button view
- Additional Fields
Create Case View
- Types of Cases
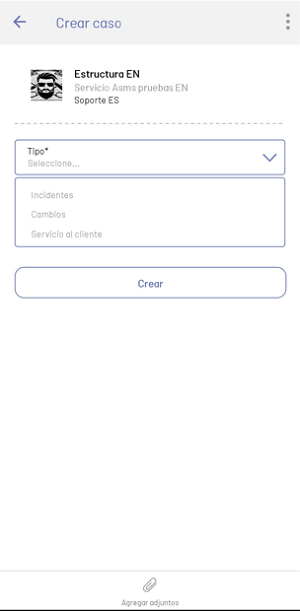
⚐ Note: The case type field is loaded only when there are more than two configurations for the same category; This field is the one that defines the additional fields to be displayed. If there is no double configuration for the category, the additional fields are displayed in the first instance.
Automatic identification of duplicate cases
When creating a new case, if the trademark is active Identification of duplicate cases in the ASMS Administrator in the session of Projects > Settings, the App will validate that the following elements are the same to confirm the case as duplicate or not:
- Project.
- Type of case.
- Service.
- Category.
- Customer.
- Affair.
- Time configured in the administration console (Taken into account by seconds).
Options when having duplicate cases
If there are one or more cases that match each of the criteria, the user is informed, indicating the list of cases found as possible duplicates.
The user will have the options to add a public note for all the cases in the list or continue with the creation of the new case.
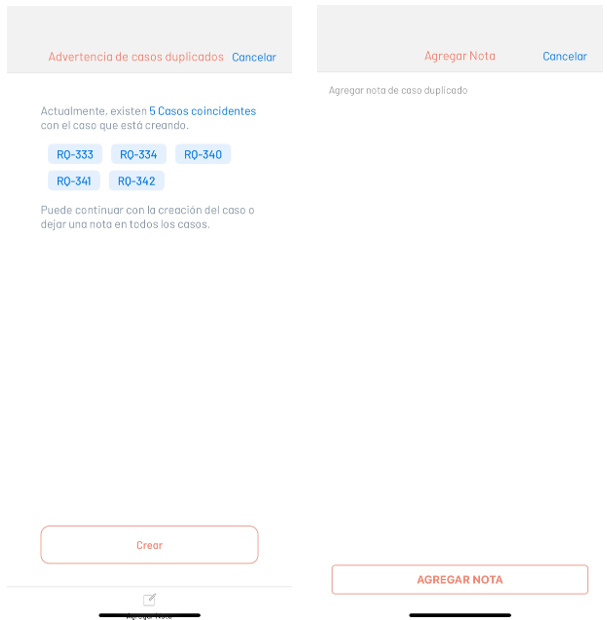
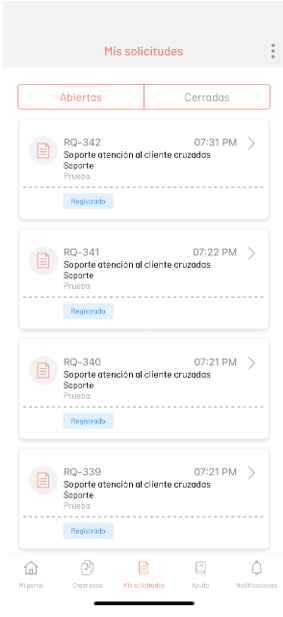
Once the case is created or the note is added, you will be redirected to the My Requests, where you can confirm the creation of the case.
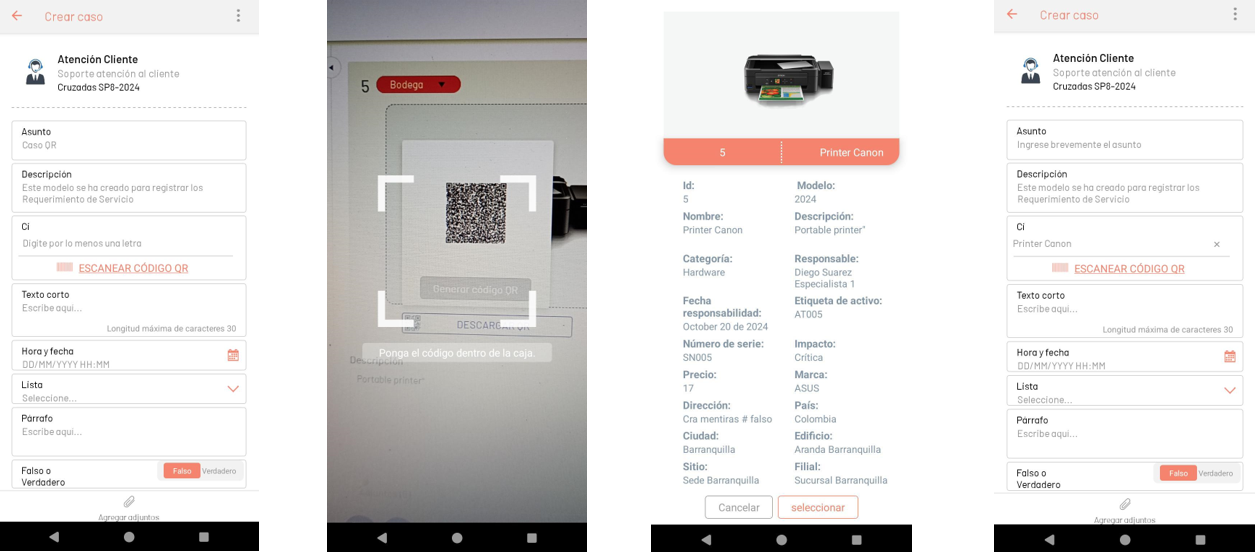
IC Selection via QR Code Scanning
This functionality allows you to assign a CI to a case by reading a QR code generated from the CMDB console. The QR code contains detailed information about the CI, such as ID, name, category, responsible, serial, among others.
Creating a Case with QR Scanning
- To associate an IC by scanning, select the SCAN QR CODE.
- The camera will be activated to scan the QR code generated from the CMDB console.
- Click Select to associate the IC with the case, or in Cancel to return.
- If the selection is confirmed, the CI is associated with the case being created using the returned ID.
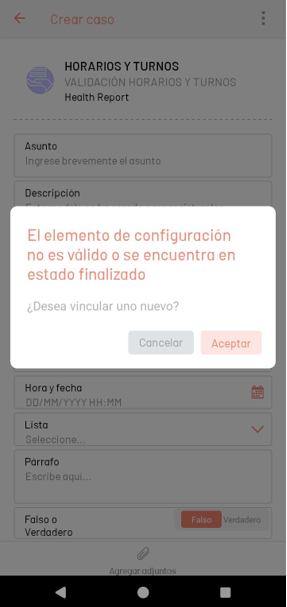
⚐ Note:
- When scanning an invalid QR code, in a completed state, or from a project that the user is not associated with, an error message will be displayed.
- Clicking Cancel, the scanning camera is closed; when you click Accept, returns to the camera to allow scanning of another QR code.