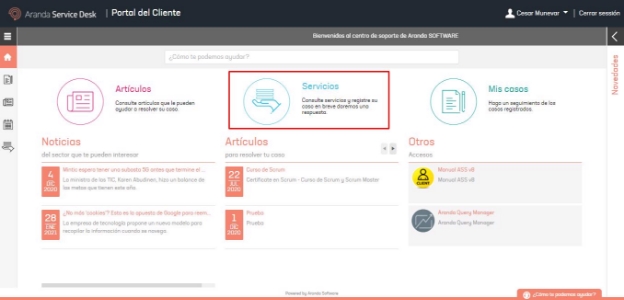
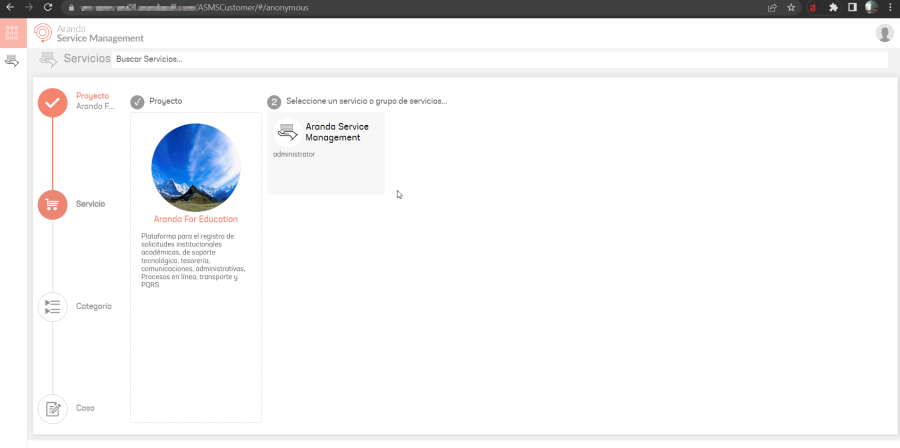
To create a case, click Services in the middle of the screen. You can also access it from the console’s main menu.
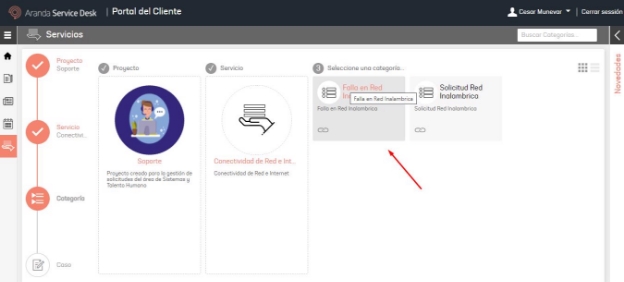
Select the project in which you want to create the case.
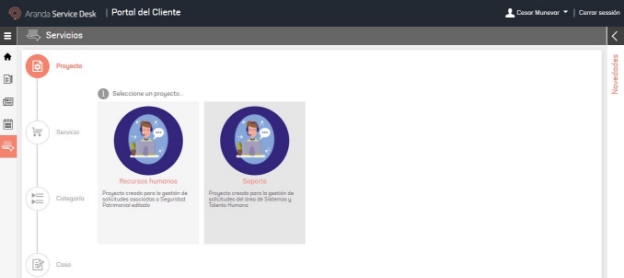
⚐ Note: On the left side you can see a forward line where the first step is the selection of the project. During the process, you can use the forward line to return to any previous steps.
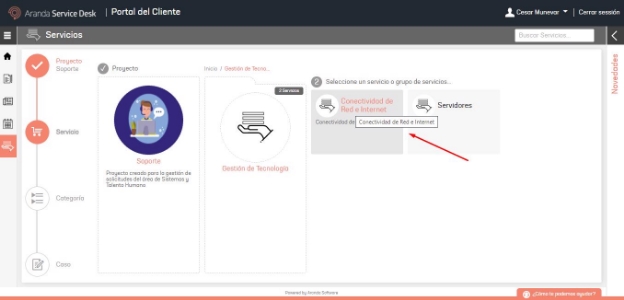
The service or service groups associated with the selected project are displayed. Choose the service on which you want to create the case.
Once the service is selected, the associated categories will be displayed, choose the category on which you want to create the case.
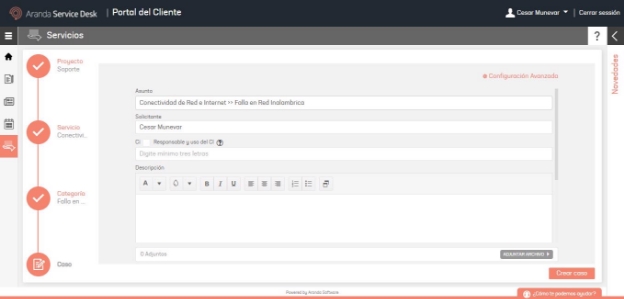
The case creation form opens. There you enter the subject, the description of the case, fill in the additional fields and attach the necessary files.
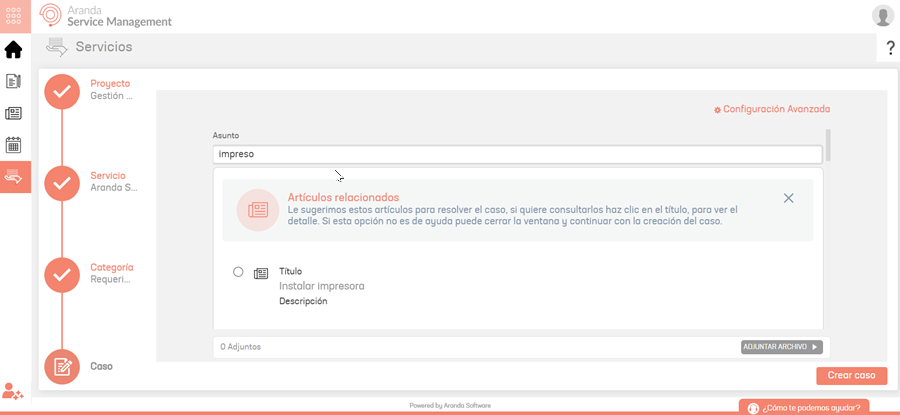
In the field “Subject” There are two scenarios depending on the configuration:
- No Smart Search enabled: Entering text in the Subject field will automatically list matching articles. The search is carried out by title, description, identifier, keywords and/or content of the article.
- With Smart Search enabled: The “Search”. Entering the subject and clicking this button will perform an advanced search on the content and attachments of the available articles. Up to a maximum of 7 articles will be displayed based on the information found. See AI Settings
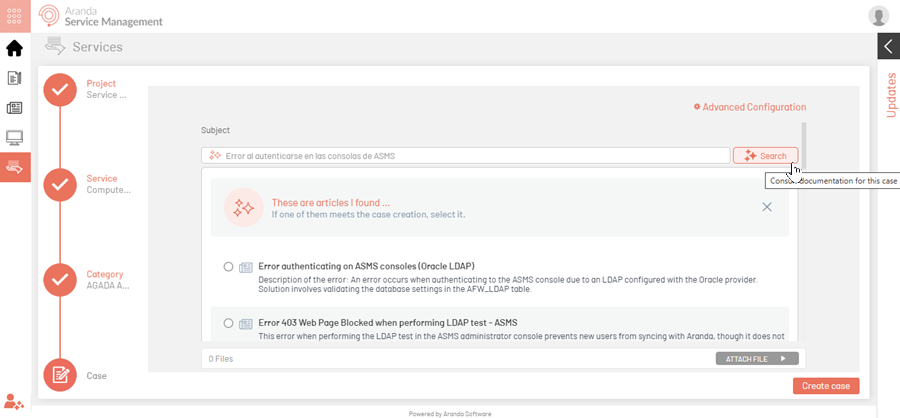
Click on the article of interest to view its content.
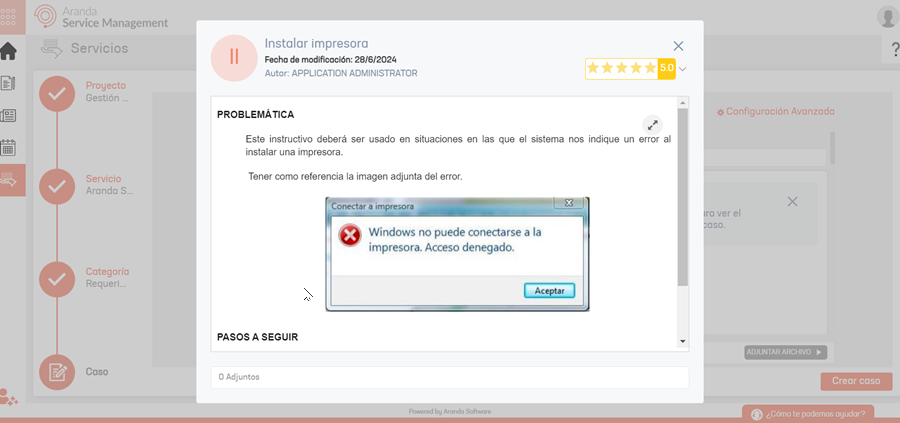
If the article responds to the case you are posting, check the box to associate it. The following window will be displayed:
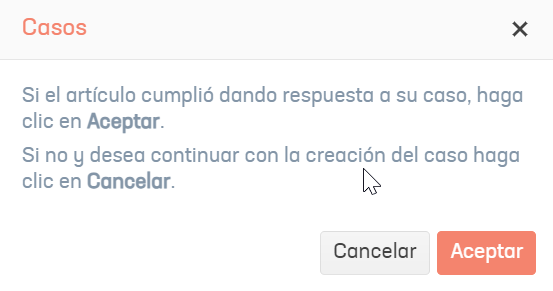
By clicking “Cancel”, the item will not be associated. By clicking “Accept”, the case will be created, and the item will be associated with the case.
⚐ Note: >
- If there are additional required fields, they will be requested once you click on the “OK” button.
- If there is a state with the “Closed by default” behavior in the status flow, the case will automatically be created as closed.
- If there is no state with the “Closed by default” behavior in the state flow, the case will be created in the first state of the flow.
Attachments
The file types allowed by the application to add attachments are defined in a whitelist that can only be modified from the site’s webconfig file (ASMSCustomer). The decision to use this whitelist is made by ethical hacking guidelines that have been applied after vulnerability tests carried out on the application.
| File Extensions |
|---|
| ZIP, RAR, EMZ, 7Z, DOCX, PDF, TXT, INX, XLSX, DOC, EVT, Log, XLS, RDLX, SVCLOG, PML, XLSM, AAM, PRC, RTF, |
| pptx, dmp, repx, ppt, jpeg, jpg, png, gif, tif, vsd, vsdx, svg,dsf, bmp, jfif, ico, emf, bmp, avi, webm, |
| MP4, MSG, EML, RESX, CLL, SQL, RDL, AMK, BAK, CSS, CSV, DLL, MOV, XML. |
The console allows you to create cases on behalf of another customer, for this in the Applicant Search for and select the user’s name.
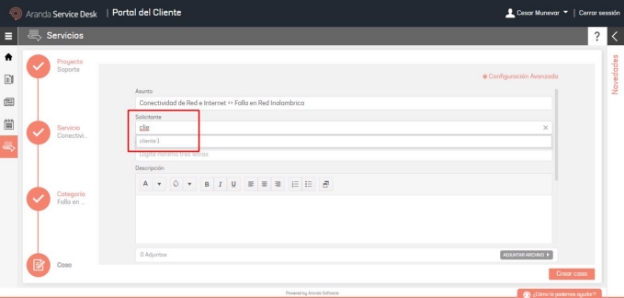
⚐ Note: The requesting customer must be previously associated with the project and/or service in order to be displayed in the search.
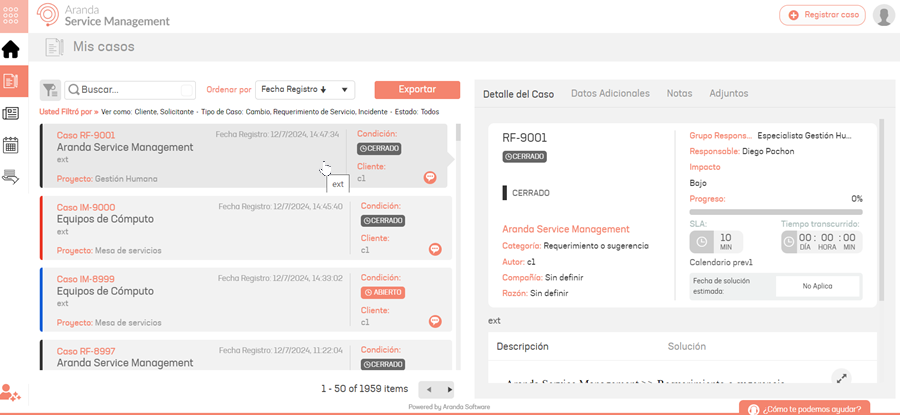
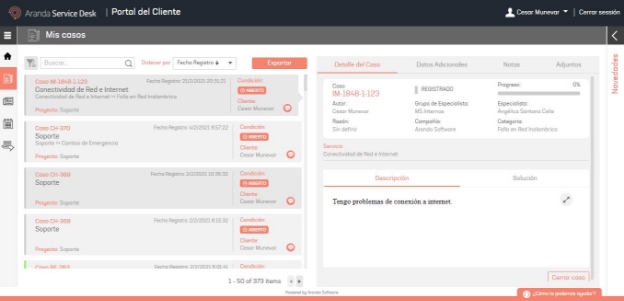
Finish by clicking the Create Case. The creation of the case will be confirmed and the list of cases will be opened.
Automatic identification of duplicate cases
When registering a new case, if you have the identification of duplicate cases configured in the case and project type, the tool validates that the following elements are the same, to confirm the element as duplicate or not:
- Project.
- Type of case.
- Service.
- Category.
- Customer.
- Affair.
- Time configured in the administration console (Taken into account by seconds).
Options when having duplicate cases
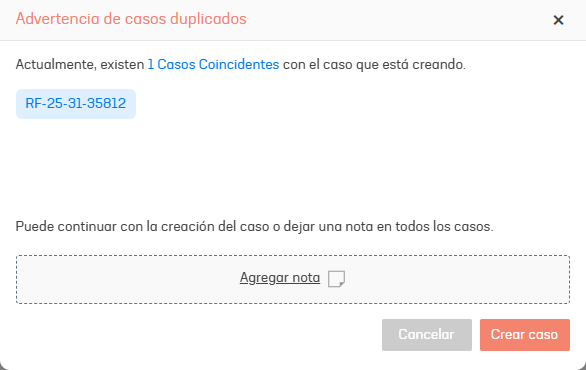
If there are one or more cases that match each of the criteria, the user is informed, indicating the list of cases found as possible duplicates.
The user will have the options to add a public note for all the cases in the list or continue with the creation of the new case.
Creating cases “anonymously”
To create cases, access the user portal anonymously and choose the service on which you are going to create the case.
Choose the category you want to create the case over.

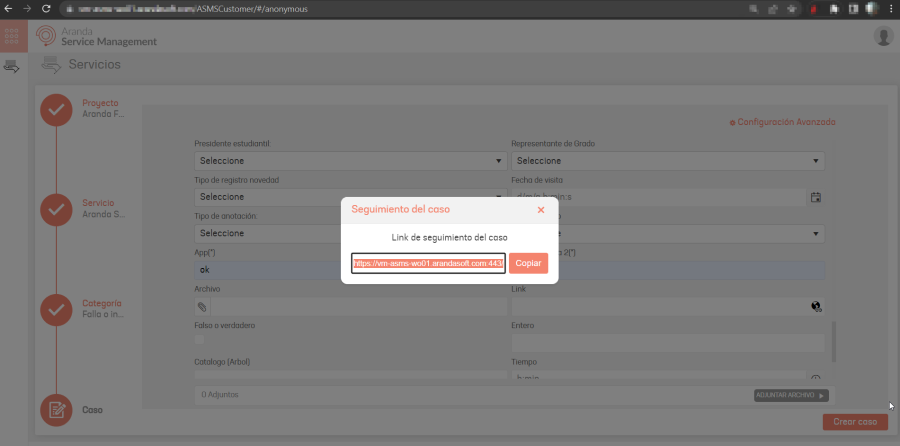
The case creation form is enabled, where you will be able to enter the subject, case description, and fill in the additional required fields. You will also be able to attach the necessary files.

Selecting the “Create case” button confirms the creation of the case and enables a window with the case tracking link. Copy and save this link, as it is the only means to track the case.