
⚠ Important: The operating system is required to be licensed, for the agent UI and chat to install correctly.
Run Agent with Installation
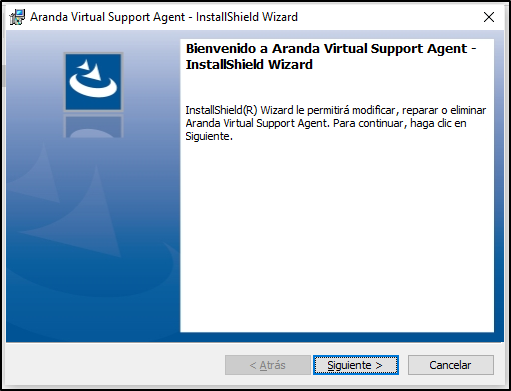
1. To perform the manual installation of the agent, the specialist supplies the executable file of the Aranda Virtual Support agent. Entering the installer will launch the installation wizard, click Following.
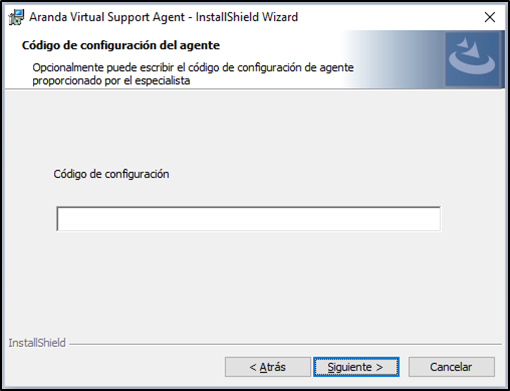
2. Enter the Agent Configuration Code and click Following. If you don’t have this code, leave the space empty and click Following.
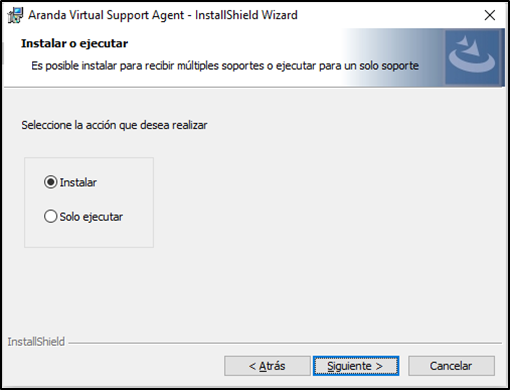
3. If you need to have multiple supports, select the install and click following.
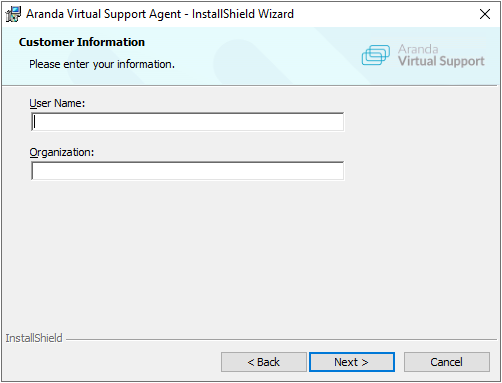
4. In the window Customer Information, enter the user name, organization, and click Following.
5. In the window Type of installation, it is recommended that you select the Complete and click Following
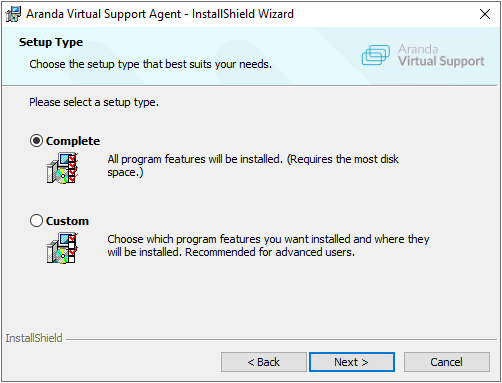
⚐ Note: Installing the agent generates different Aranda Virtual Support processes and services.
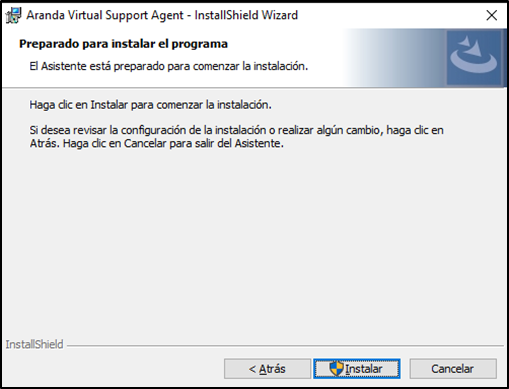
6. In the window Preparing to install the program, click Install to start the process. This step requires admin permissions.
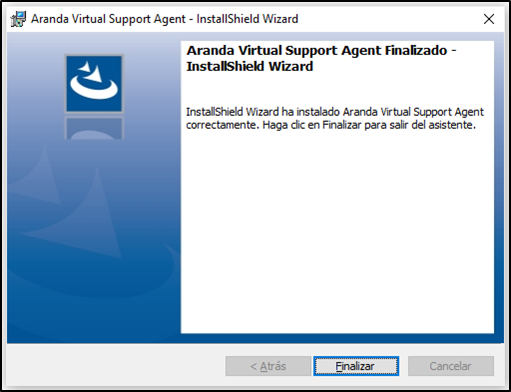
7. When the installation process is complete, click End.
8. Verify that, in the Windows Start menu, in the All Applications, Aranda Software path, the ‘Aranda Virtual Support Workstation’ option is present. Select this item to open the Agent UI.

⚐ Note: If the installation is performed on a workstation Marked for deletion, there is a probability that the agent will be automatically uninstalled after 5 minutes. In this case, reinstall and configure the agent again.
9. If no configuration code was entered in step 3, in the agent user interface, you will be able to display the notification message in gray and with the status ‘Disconnected’. Go to the Manual Agent Configuration to complete the process. See also Notifications

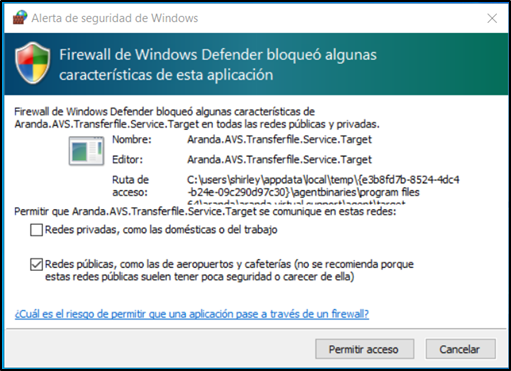
⚐ Note: If the specialist performs a file transfer on the workstation device for the first time, the Firewall will send a security alert. Select all checkboxes and click Allow access.
⚐ Notes:
- During agent installation, grant the User Account Control (UAC) Permissions.
- Once the agent installation process is complete, if required, log in again The agent configuration code.
Run Agent without installing
To run the agent without installing it, consider the following steps:
1. Follow steps 1 and 2 of Run with installation.
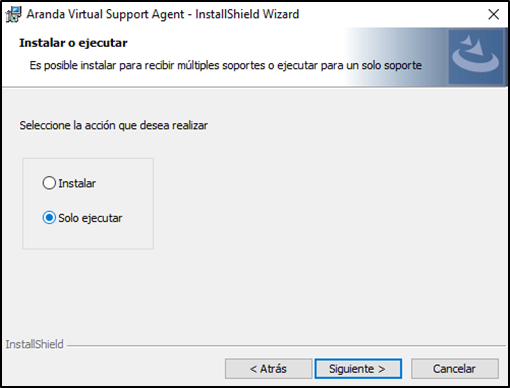
2. Select the Run Only option and click Following.
3. A window opens with the following message and the User Account Control question is launched. View installation permissions
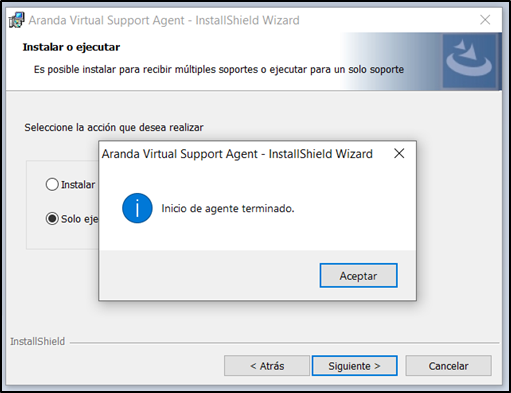
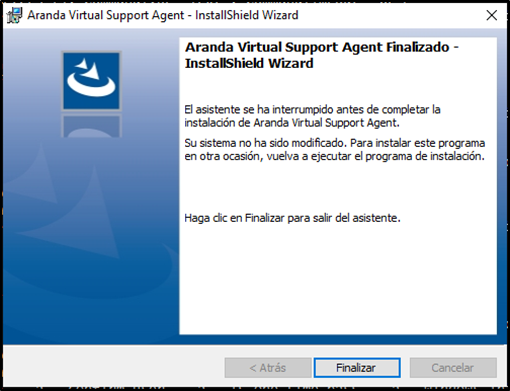
4. Click Accept and then in End.
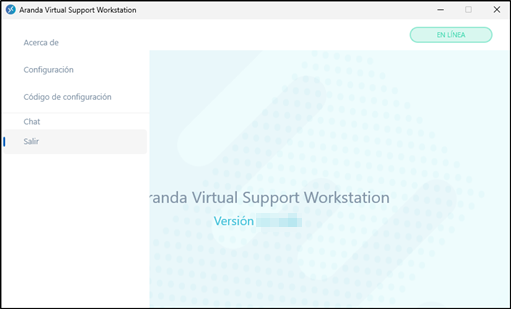
5. The agent UI will launch automatically. If no configuration code was entered in step 3, the notification message will be greyed out in the agent UI and with the status ‘Disconnected’. Go to the Manual Agent Configuration to complete the process.
⚐ Notes:
- If the specialist performs a file transfer on the workstation device in “Run Only” mode, the Firewall will send a security alert. Select all checkboxes and click Allow access.
- The executable file of the agent installer cannot be analyzed by antiviruses, since they identify them as a false positive, consequently it can be blocked or deleted from the machine where it is being examined.
- If the execution is performed on a workstation Marked for deletion, the agent will not go online and its interface will automatically close after 5 minutes. In this case, it will be necessary to initiate the action again.
6. To end the agent in run-only mode, from the agent UI drop-down menu, select the option Get out.
7. Confirm by clicking Yes.
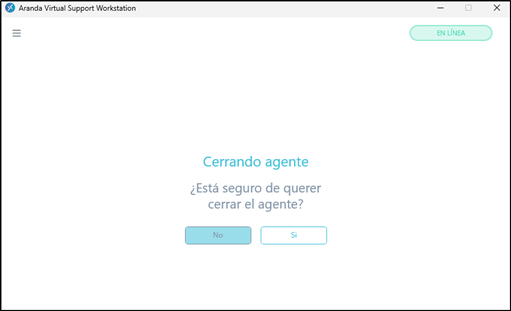
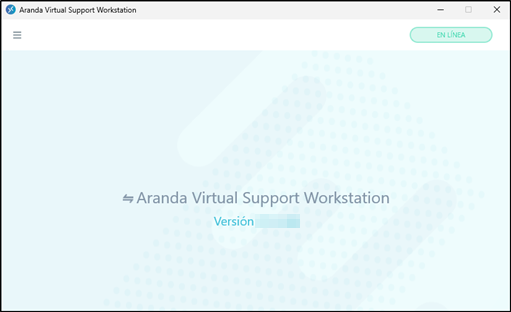
⚐ Note: If option No On the commit, the agent is not finalized and redirects to the view About.
Installing and configuring the agent by command line
Agent installation and configuration can also be done by command line. This action can be performed remotely by the workstation itself or by the specialist. In this case, follow the steps below:
1. Log in to the cmd as an administrator.
2. Select the folder where the installer is downloaded.
3. Run the following command:
.\AVS.Agent.Installer.X.X.X.X.exe /S /V "/norestart /qn ACC=Código_de_configuración"
The X.X.X.X correspond to the installer version.
For the AVS installer. Agent.Installer.msi, the
msiexec.exe /i "Ruta\al\archivo\AVS.Agent.Installer.msi" /norestart /qn ACC=Código_de_configuración
4. If the installation and configuration were successful, in the Windows Start menu, in the All Applications path, Aranda Software will be able to display the option ‘Aranda Virtual Support Workstation’. Select this item to open the Agent user interface, display the notification message in green and with the status ‘Online’; This can take about 10 minutes. If the configuration code is incorrect or no licenses are available, the agent will be installed, but it will not be configured and the agent’s notification message will remain grayed out in the ‘Disconnected’ state after 10 minutes.
⚐ Notes:
- If the installation is performed on a workstation Marked for deletion, there is a probability that the agent will be automatically uninstalled after 5 minutes. In this case, reinstall and configure the agent again.
- To uninstall the agent, run the following command:
wmic product where "name like 'Aranda Virtual Support Agent'" call uninstall /nointeractive.
Uninstall agent
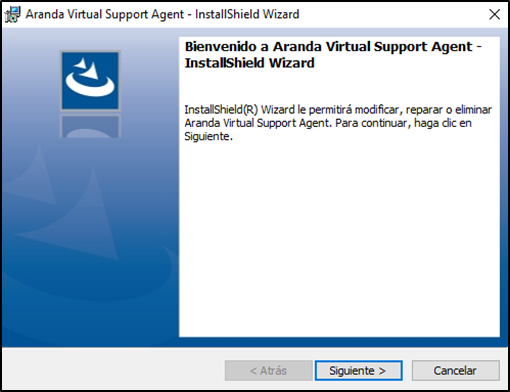
1. To start the uninstallation, double-click on the agent installer file.
2. The installation wizard will start, click Following.
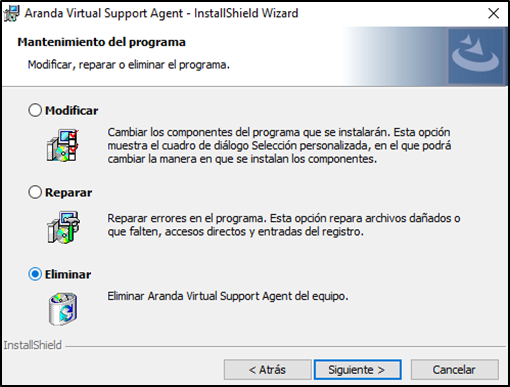
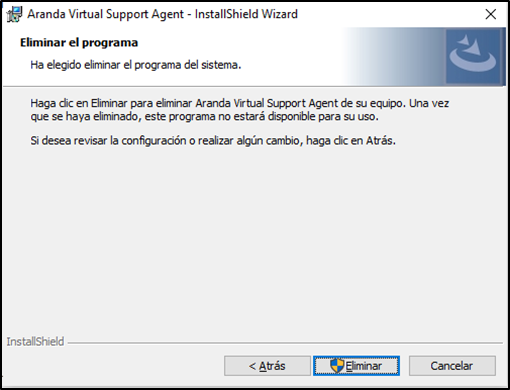
3. Choose the option Eliminate and click Following.
4. Click Eliminate and then in Accept in the confirmation message.
5. The following message is received:
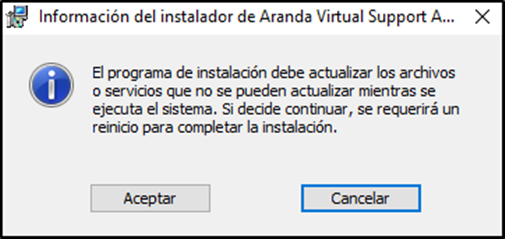
6. Click Accept and in End. The agent will be successfully uninstalled.
⚐ Note: The agent can also be uninstalled from the Programs and Features option of the control panel.