To be able to register a case anonymously from the WhatsApp Bot, it is necessary to enable the option “Enable anonymous access” in the Web Configuration Console (ASMSAdministrator). View Projects
Both registered and unregistered users will be able to create cases anonymously.
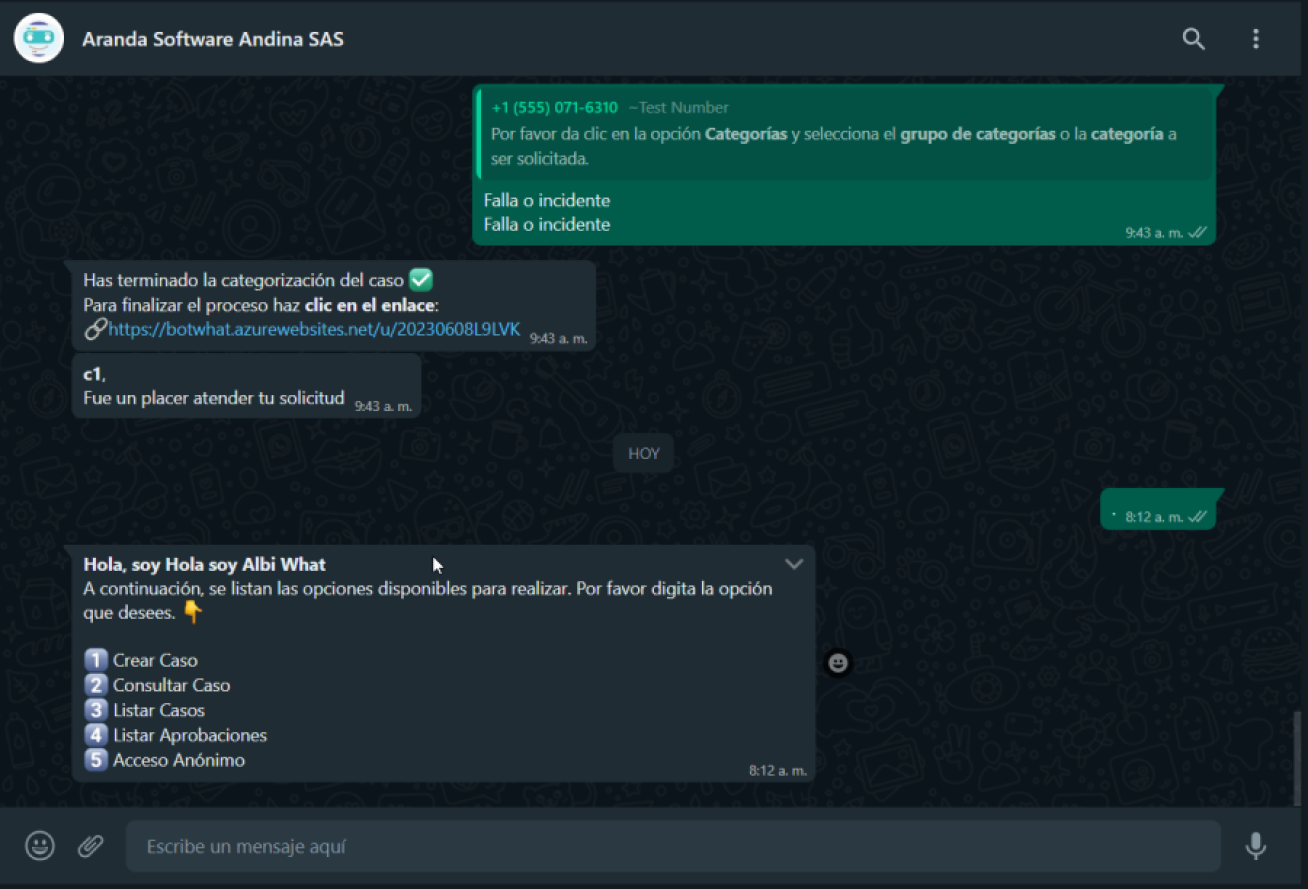
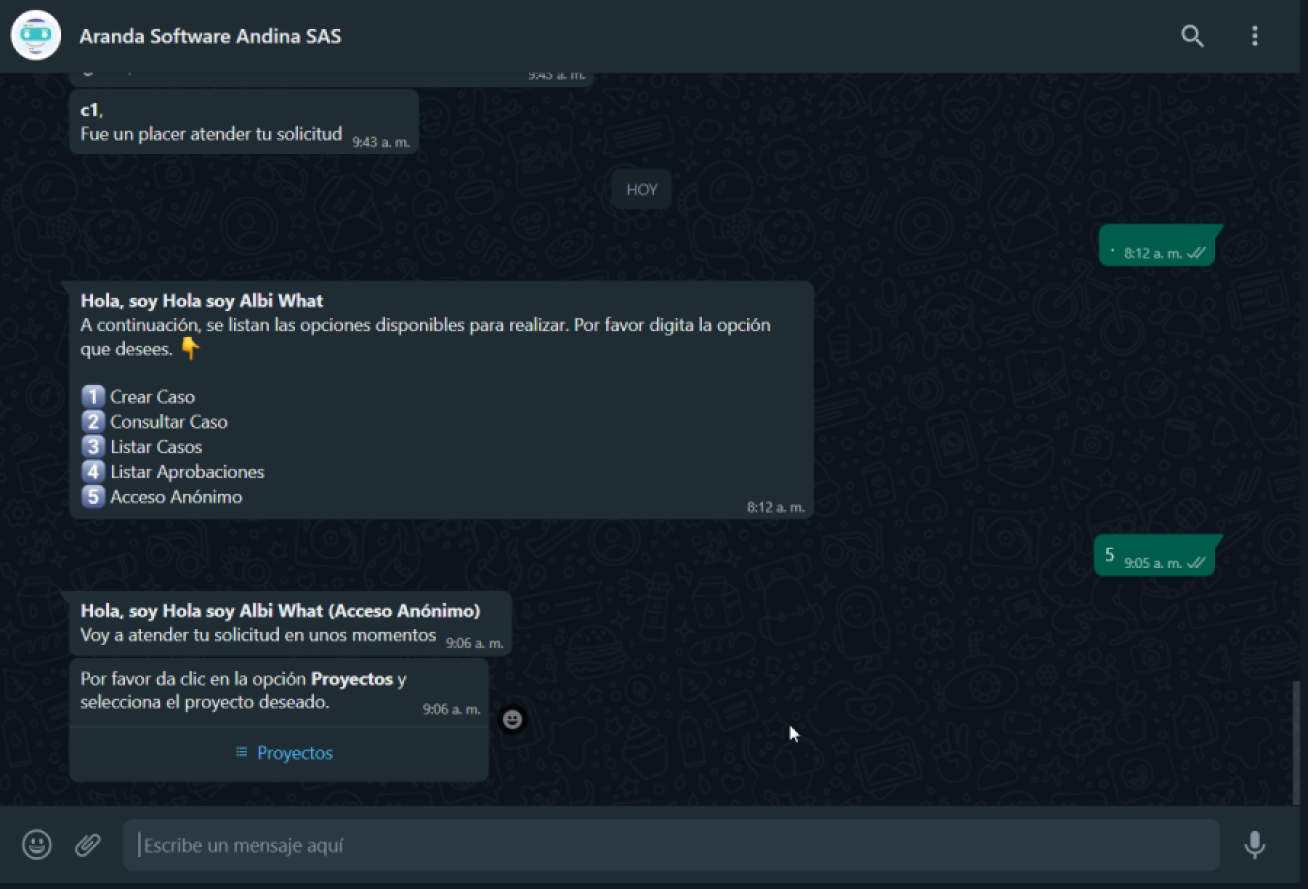
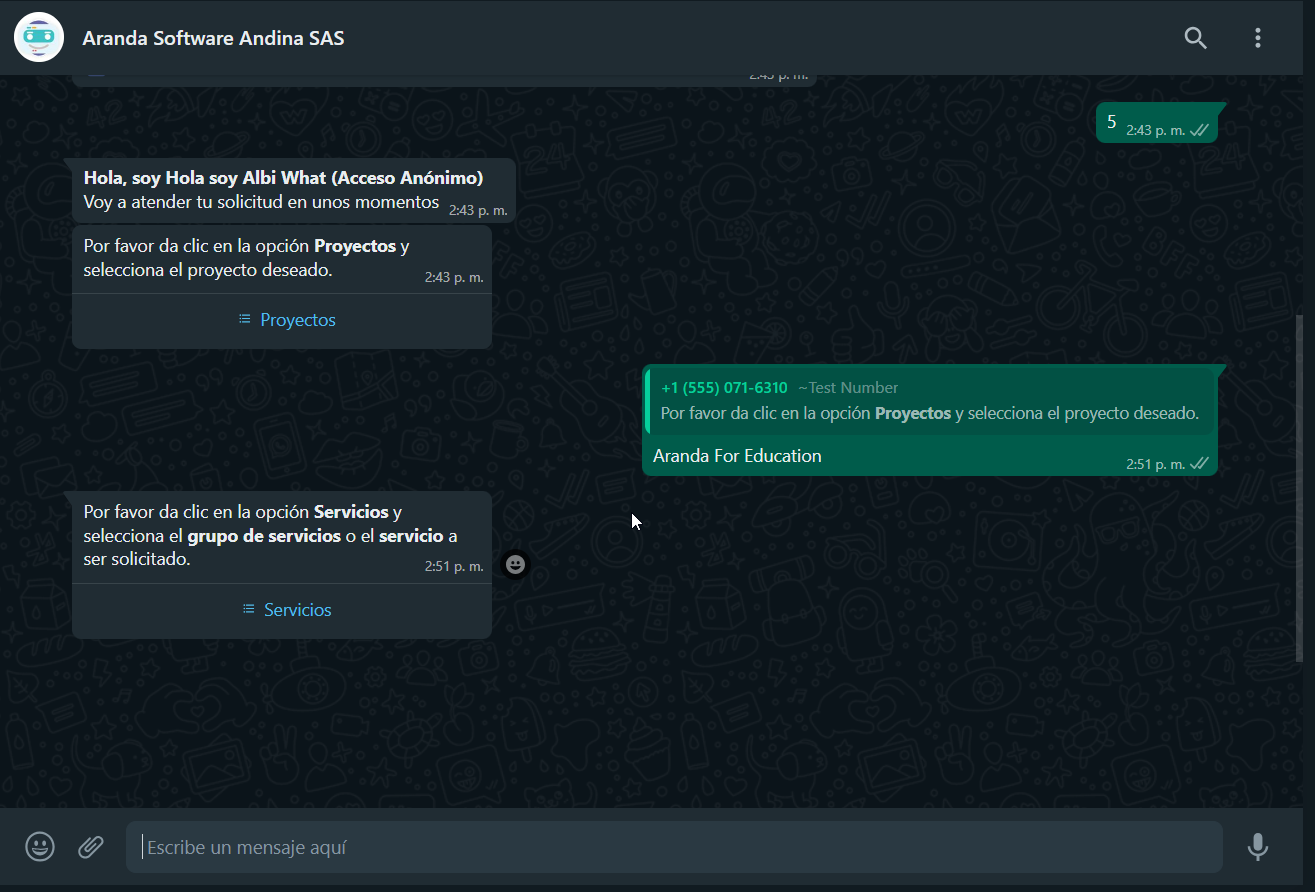
1. If the number interacting with the Bot is associated with an active user, when you start the conversation, the Bot will respond with a message and displays the available options. Select the option Anonymous Access by writing the number 5 as an answer.
a) If you don’t have a code per project set up for anonymous access in your bot environment settings, you’ll be prompted to select a project.
b) If you have a code per project set up for anonymous access in the settings in the bot environment, the project will be automatically selected.
2. If the number interacting with the Bot is NOT associated with an active user, when the conversation starts, the Bot will respond with a greeting message, however the following scenarios may occur:
a) If you don’t have a code per project set up for anonymous access in your bot environment settings, your bot will respond with a greeting message. If more than one project exists with anonymous access enabled, you will be prompted to select a project.
b) If you have a code per project set up for anonymous access in the settings in the bot environment, the project will be automatically selected.
See Login and configuration in the Bot environment
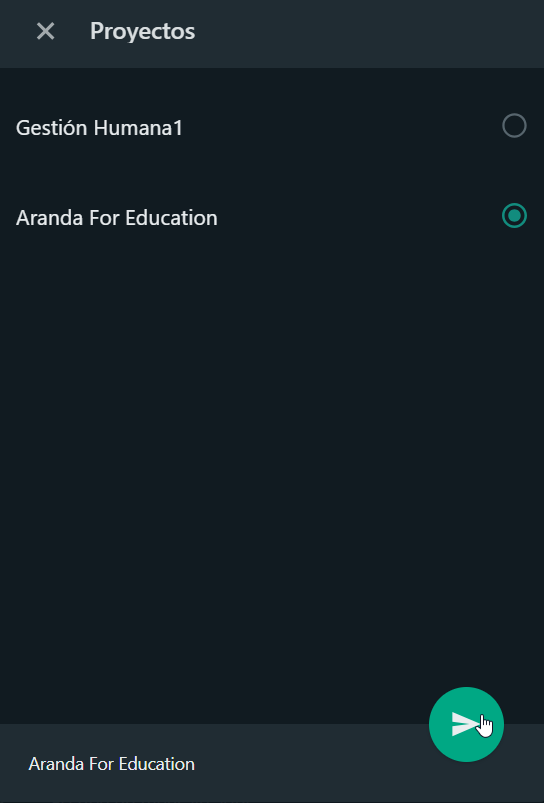
3. When selecting the Projects, you will be able to view the list of projects in which the Anonymous user is associated. If the user who is set to Anonymous is associated with more than 10 projects, 9 are listed and an option is enabled Following which will be sent as a response to the chat and generates a second list of projects.
This action can be repeated until the last listing is no more than 10 projects. The user in session will be able to select a project from the generated lists, select the desired project and click on the Send.
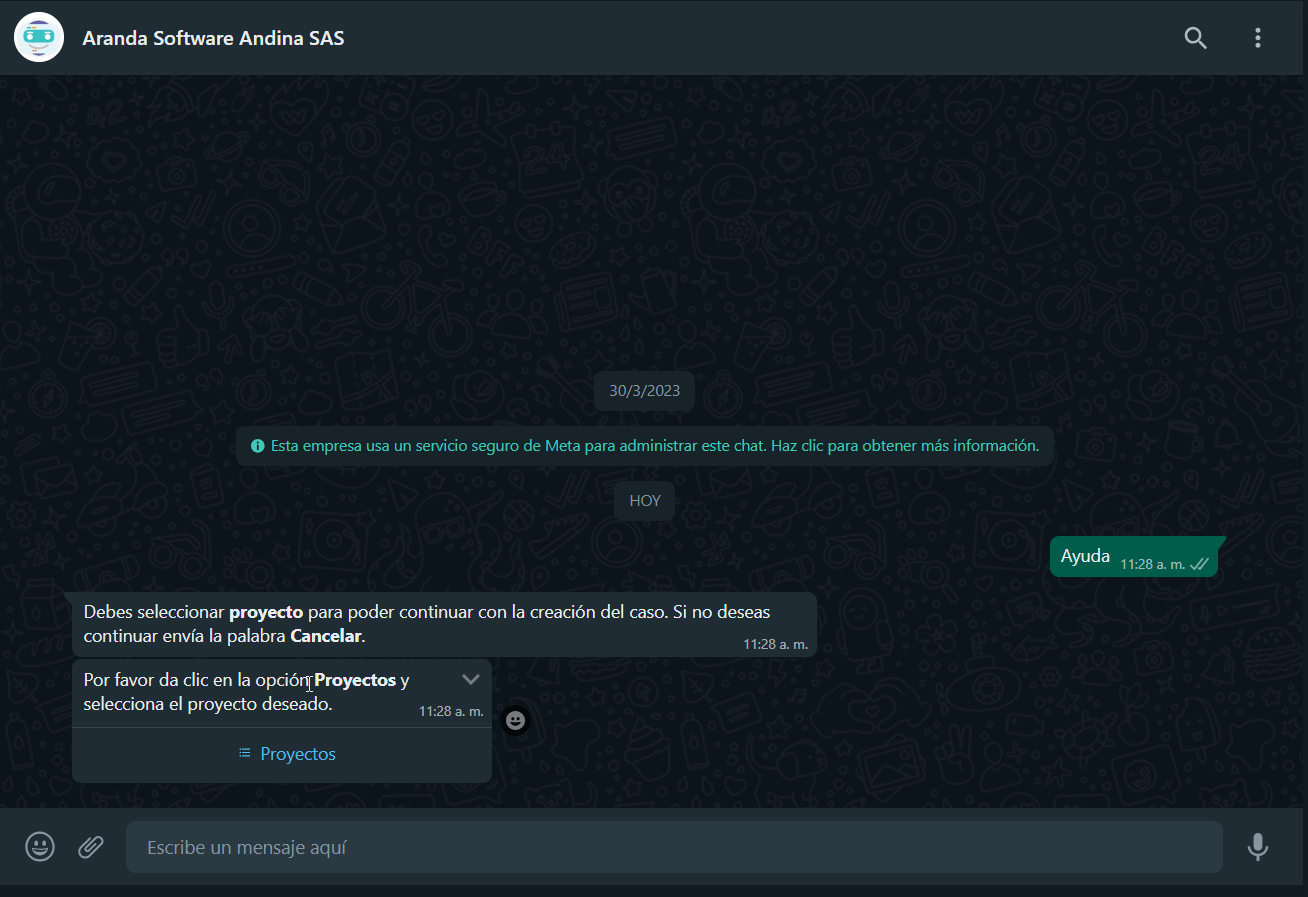
⚐ Note: After defining a project, the Bot does not allow you to change the selection and must submit the text Cancel to end the dialogue and start again the categorization of the case with Anonymous Access.
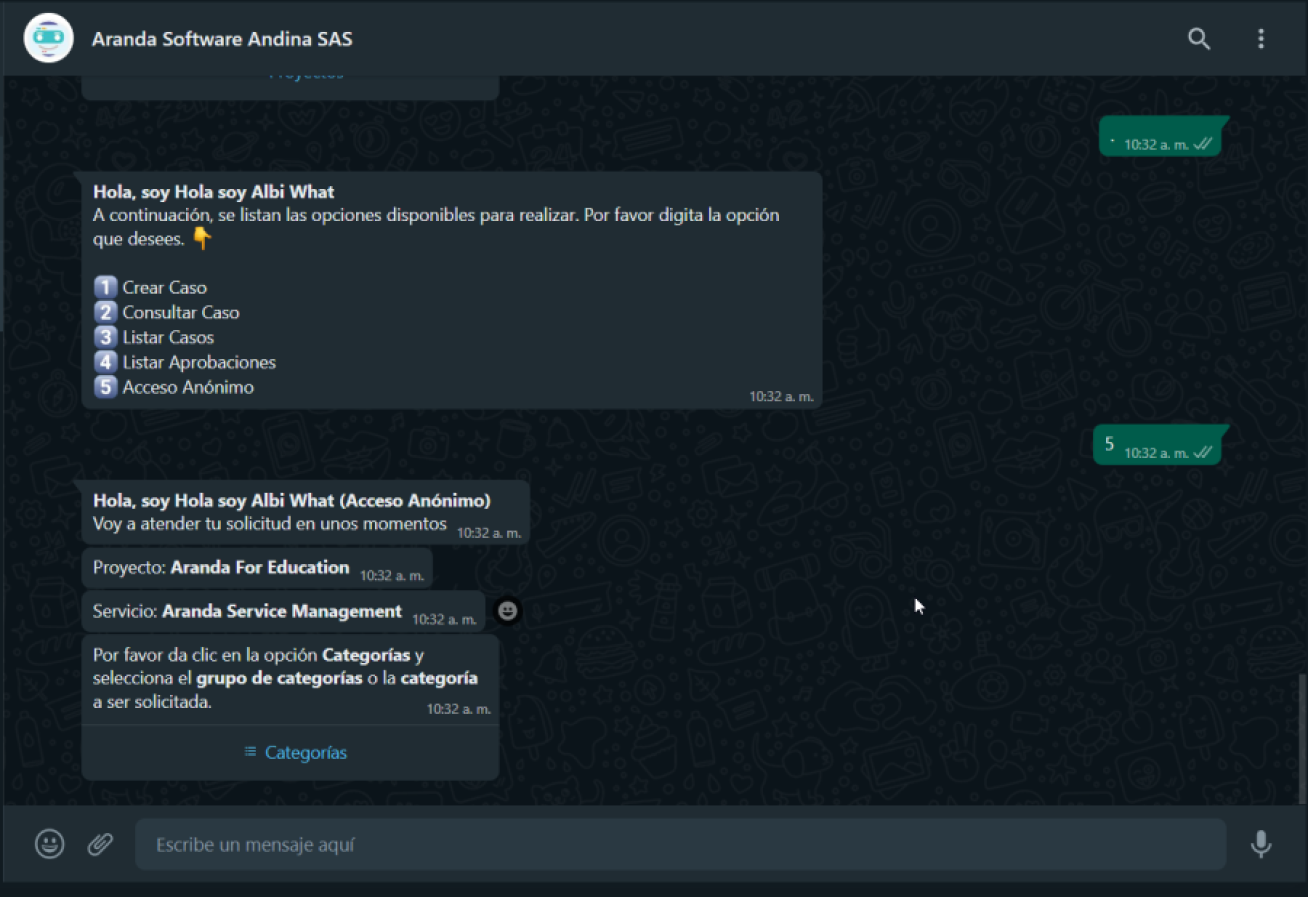
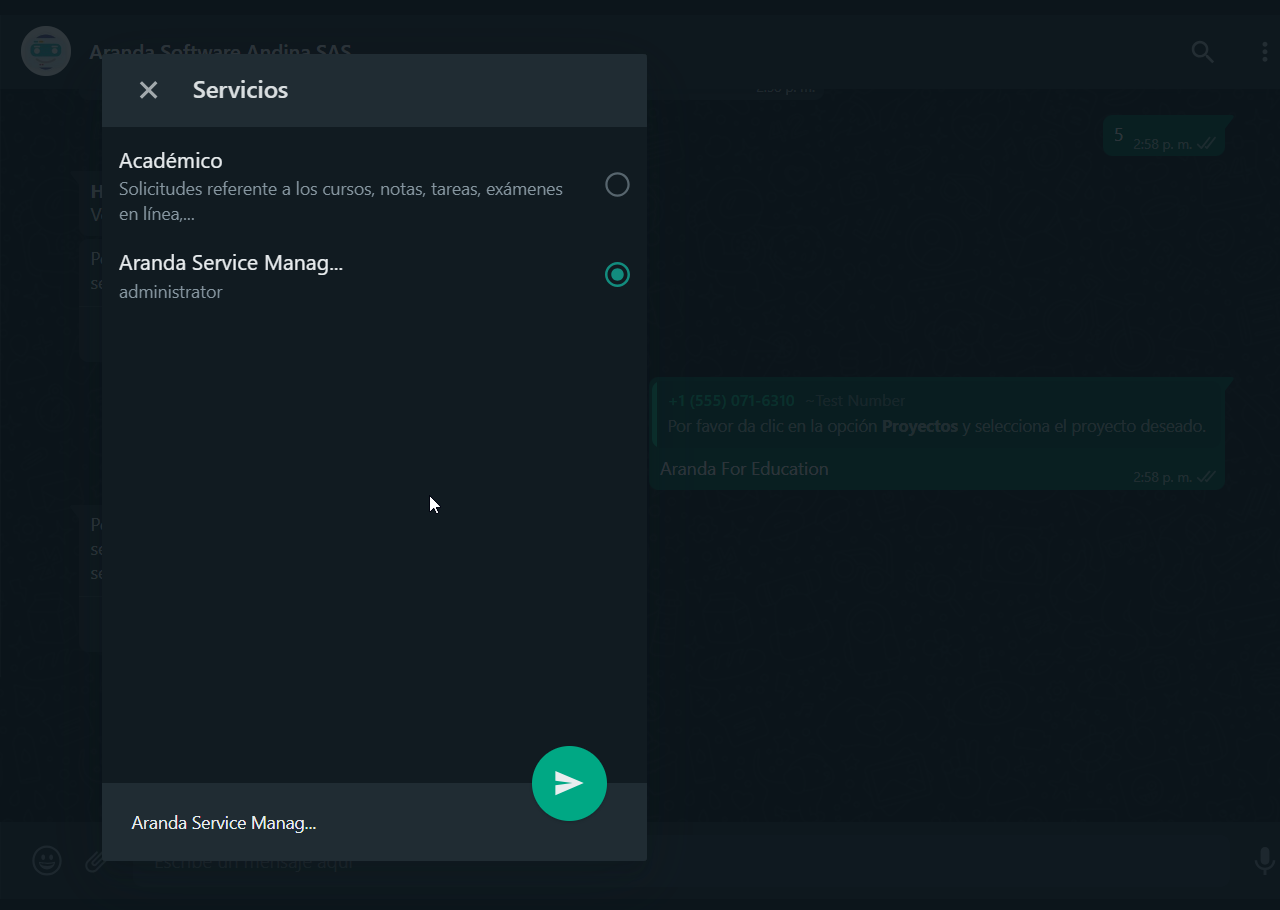
4. When submitting the project, a message will be displayed asking you to select the Service Group (when you have service groupings) or the service.
⚐ Note: If the user who is set to Anonymous is associated with a single service within a project, when selecting the project, the Bot will automatically select the service.
5. If you select the Services, you can view the list of service groups or services in which the user is associated. If the user in session is associated with more than 10 services, 9 are listed and an option is enabled with the text Following, which will be sent as a response to the chat and generates a second list of services.
This action can be repeated until the last listing is no more than 10 services. The user in session will be able to choose the desired service group or service from the generated listings, select the desired service, and click on Send.
⚐ Note: After a service is selected, the Bot does not allow you to change the selection and must send the text Cancel to end the dialogue and start the categorization of the case again.
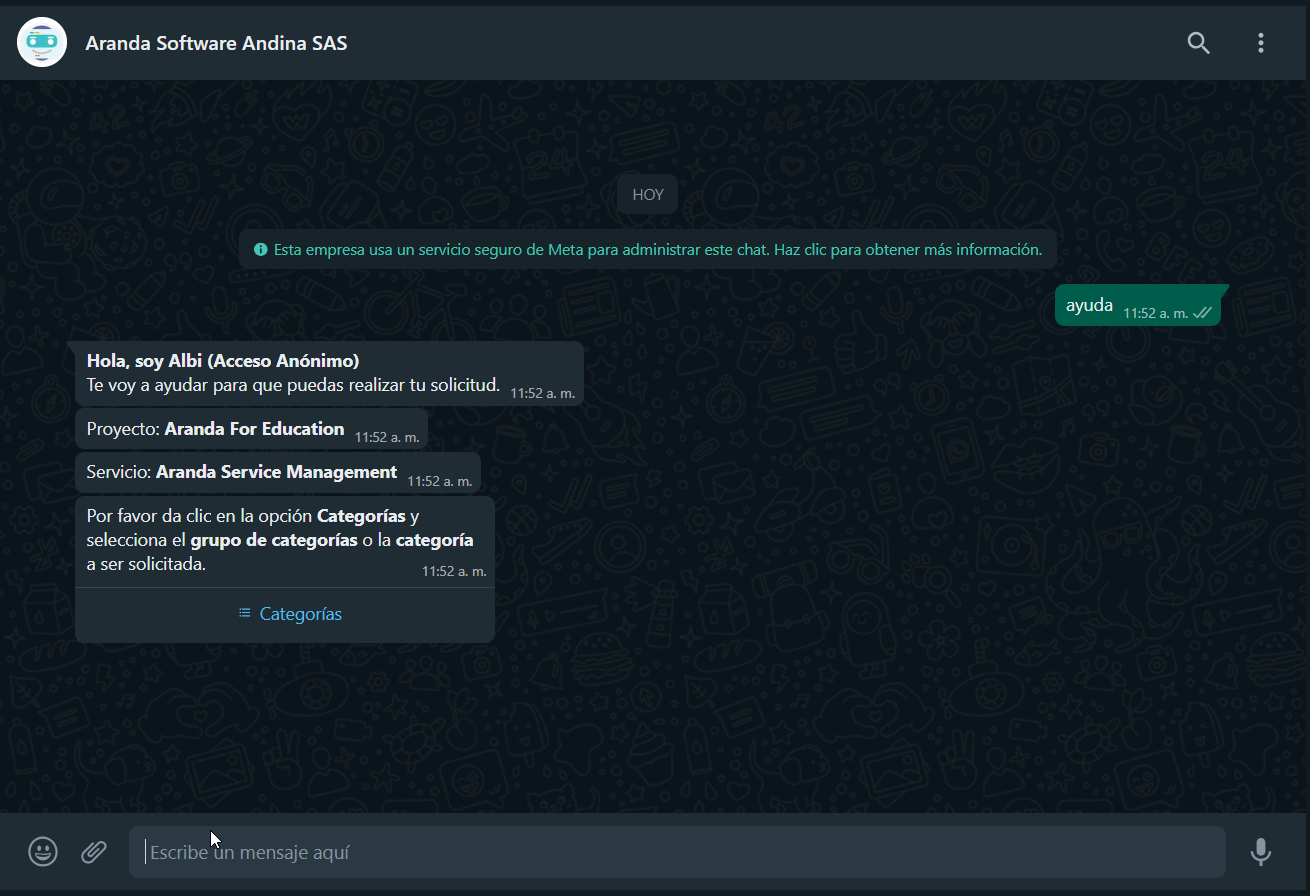
6. The selected service is sent as a reply in the conversation, the Bot returns a message asking to select the category.
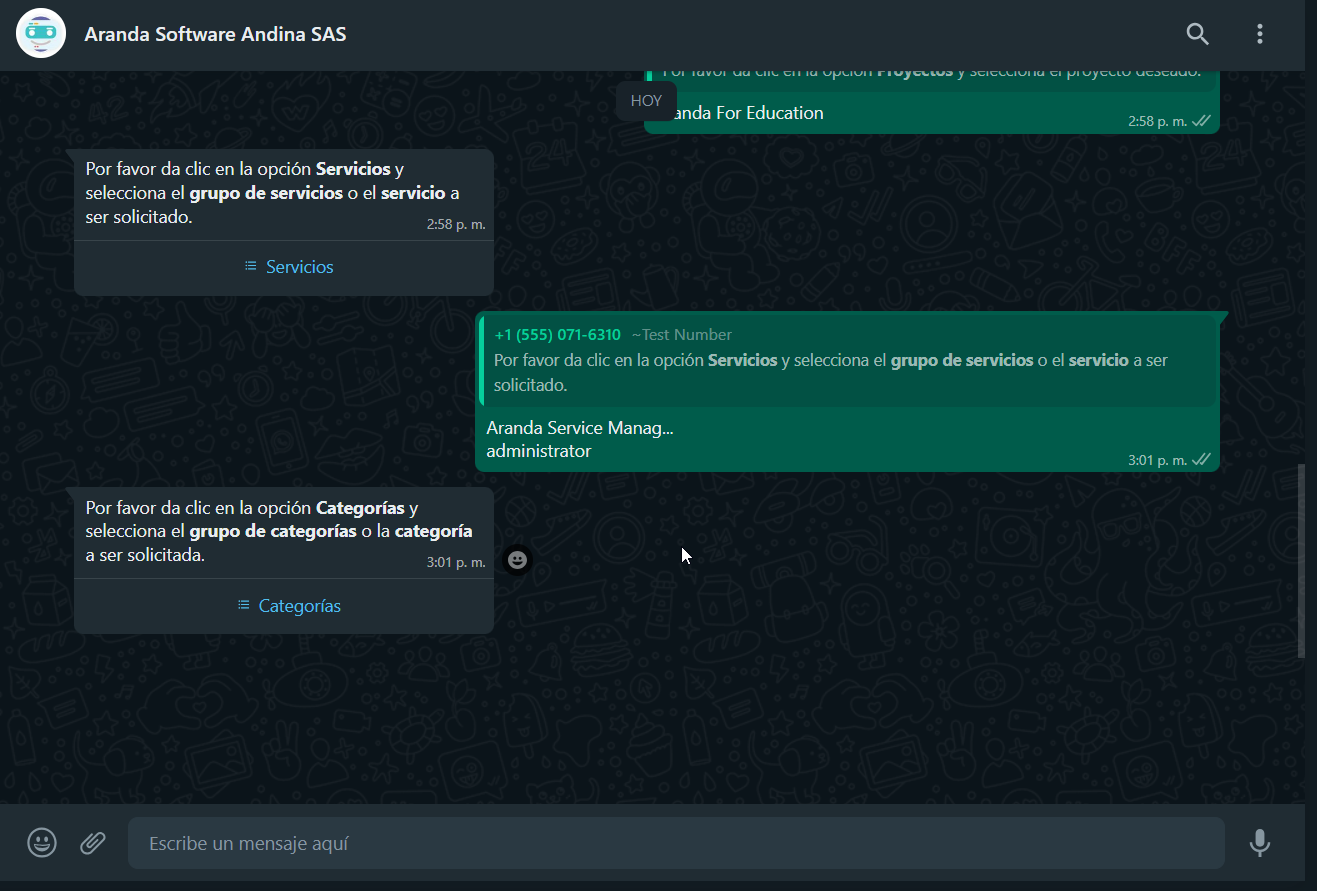
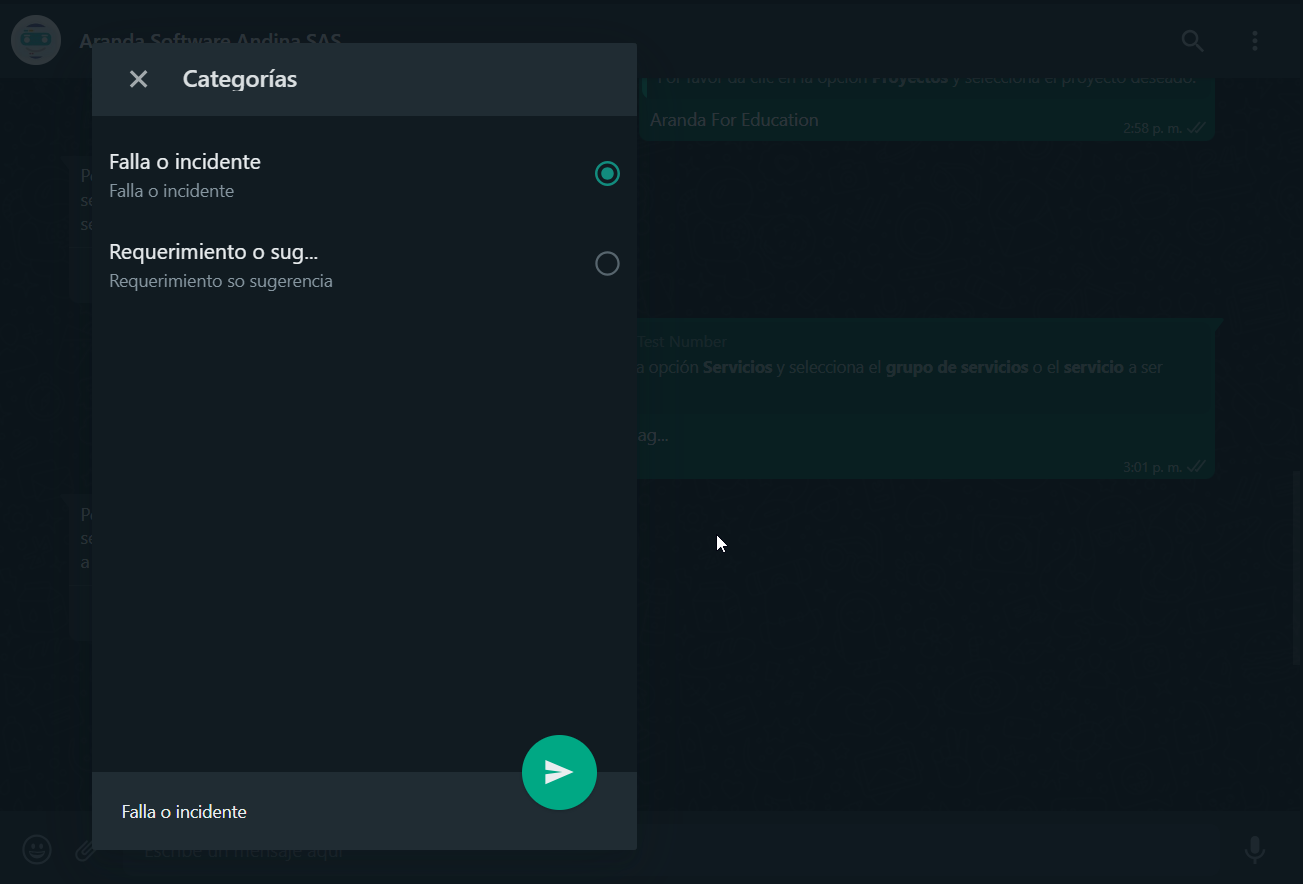
7. When selecting the Categories you will be able to view the list of categories related to the selected service and associated with the user; If the number of categories is greater than 10, the behavior is similar to that of the previous steps. Select the desired category and click Send.
8. The selected category is sent as a reply in the conversation, the Bot will display a message notifying that the categorization of the case is finished and asks to click on the link or button Create Case if you have the custom template set up.
⚐ Note:
1 The confirmation message must match the one configured when creating the custom template - Create Case. View Template Creation - Create Case.
2 If the Bot responds with the message Create unidentified case template, contact the Administrator, validate that the template configuration is in an active state View Configuration Template Status and/or that the name assigned to the custom template matches the one entered in the Application configuration in the Bot environment in the Create Case Template field.
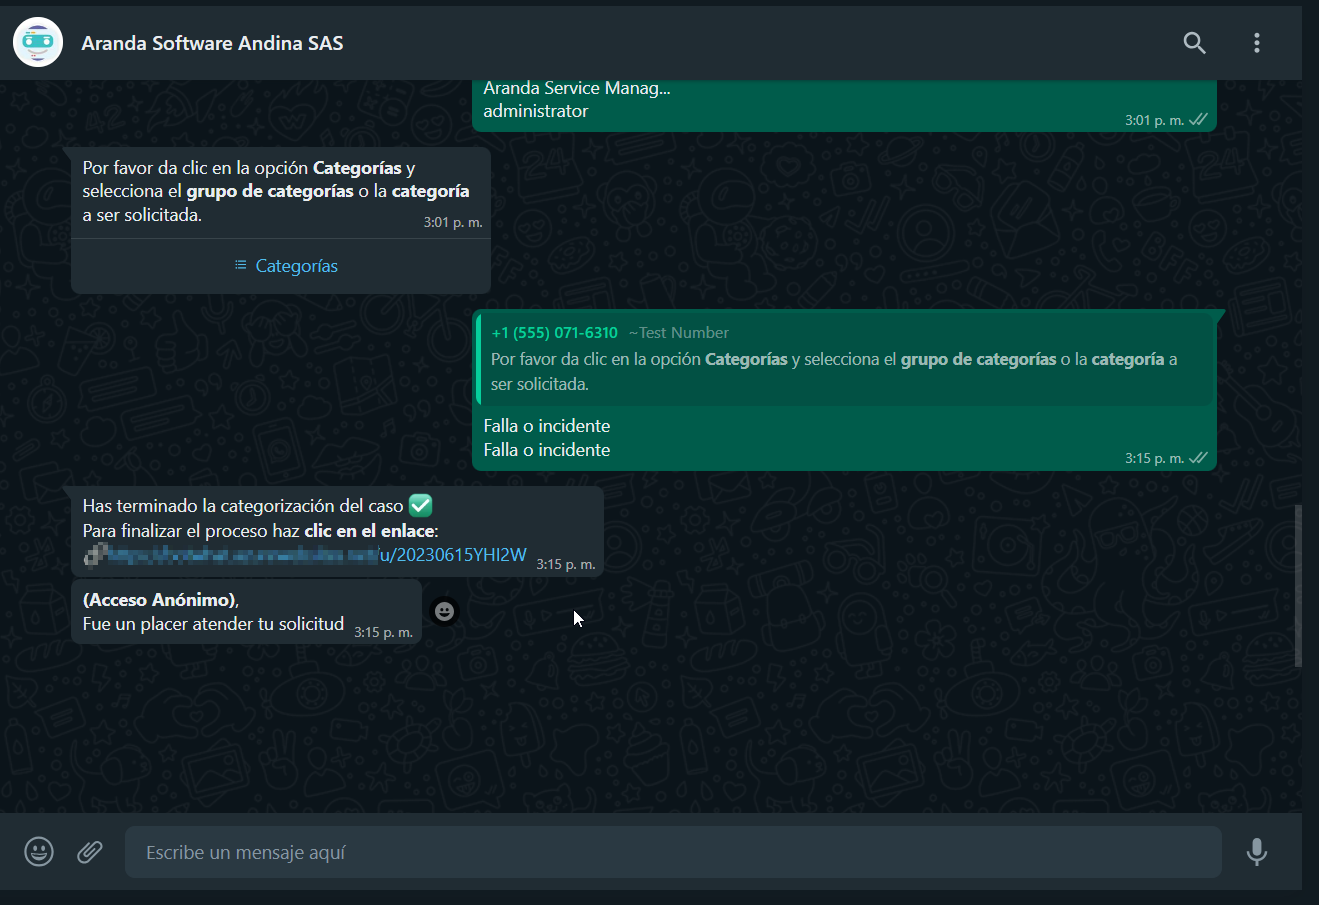
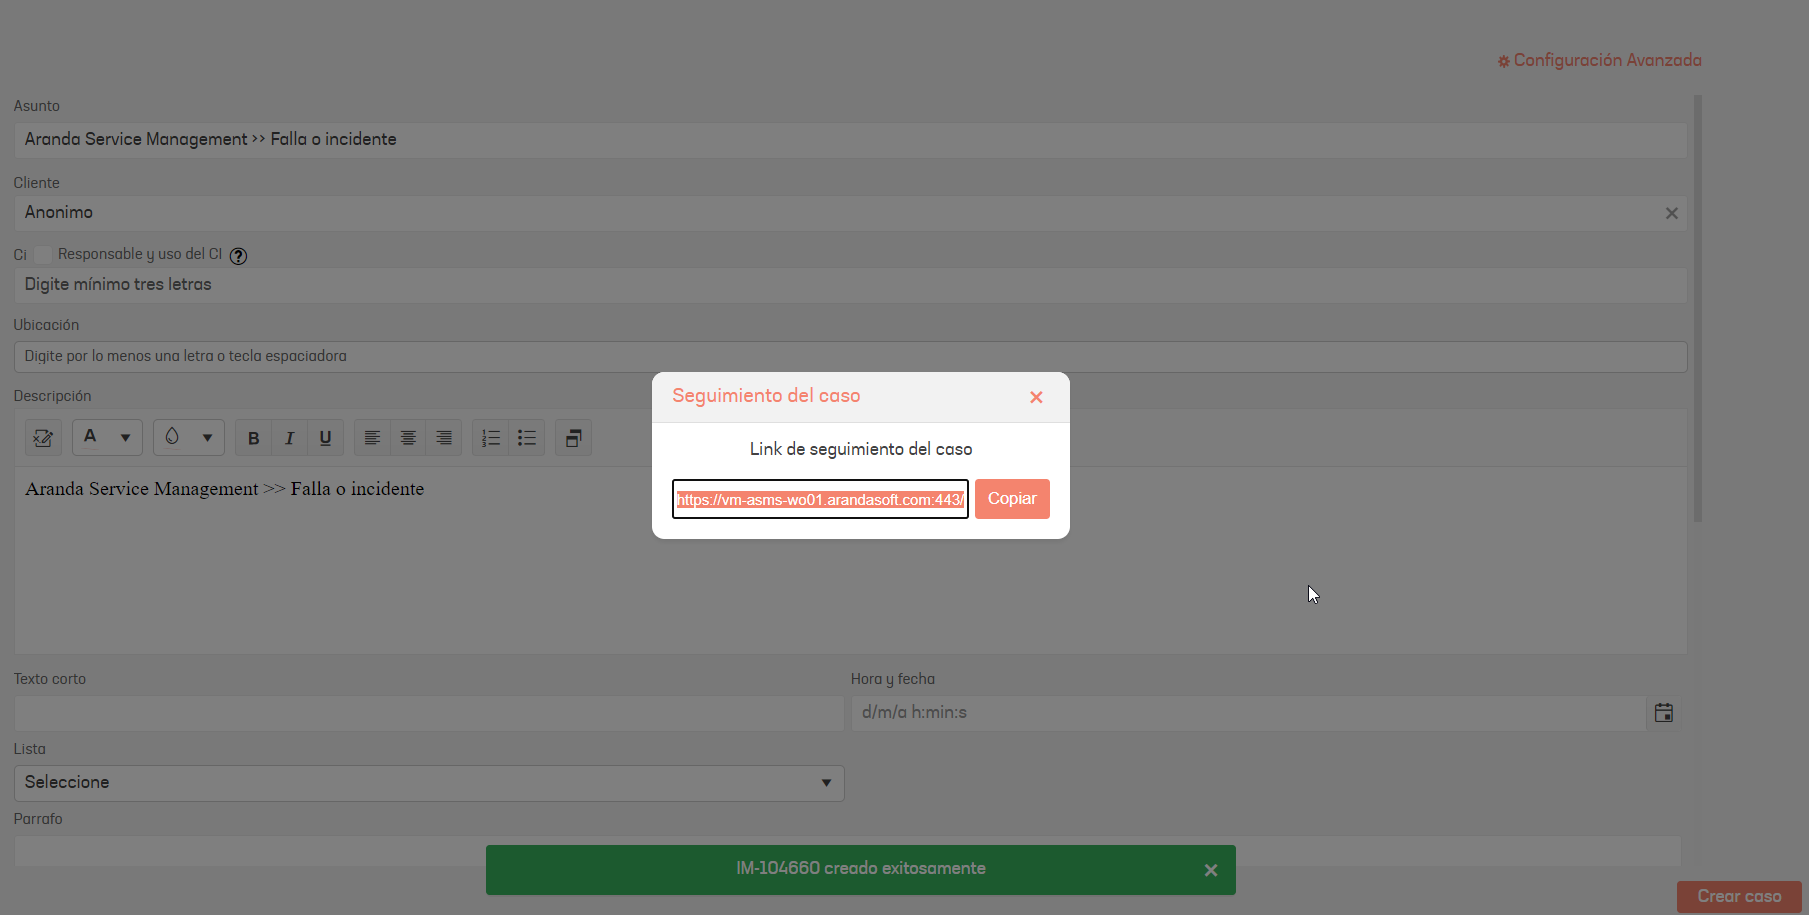
9. Select the option Create Case (if you have a custom template) or the generated link, to be redirected to the form that allows you to create the case.

10. Clicking on the “Create case” button will confirm the creation of the case and open a window showing the case tracking link. Be sure to copy and save this link, as it is the only means of keeping track of the case.