
To create and configure the Meta App, you must log in to the Portal de Facebook with the account in which the application will be hosted and take into account the following steps:
1. To create an app, you must be registered as a Meta developer and signed in to Meta for Developers. Visit Create Meta Developer Account and follow the prompts. If you already have the registration, you can move on to the next step.
Create Business-type Meta App
2. The creation of a Business (Enterprise) type application is required. To create the application, click on the following link: Create app and follow the prompts
WhatsApp integration with Meta App
3. For configuration and integration with WhatsApp product, enter the console Meta for Developers, select the application created in the previous step.
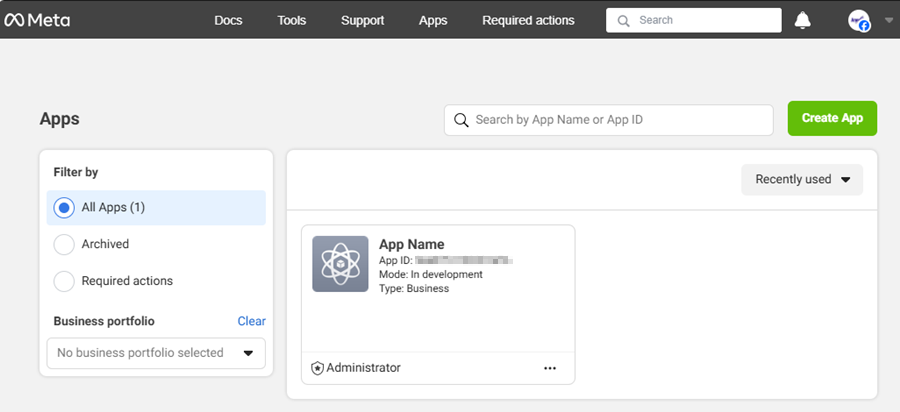
4. Select the Products option from the Main Menu (Add Product); In the information view you can view the application WhatsApp, click the Configure.
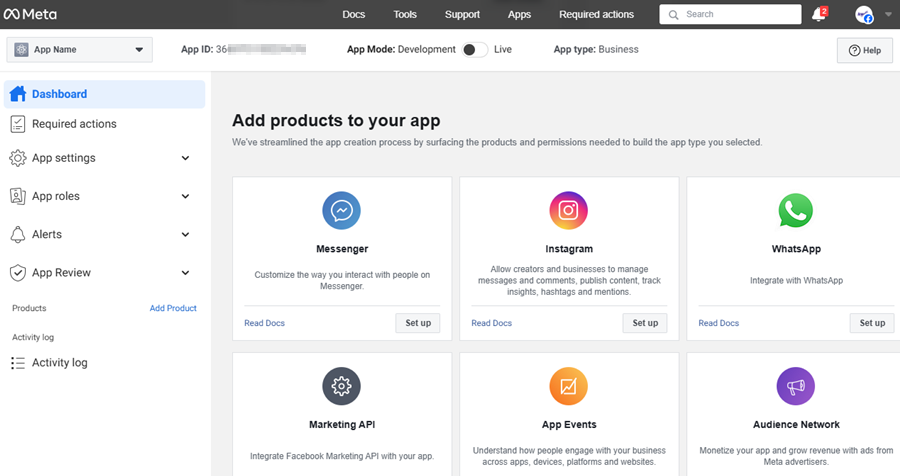
⚐ Note: In the link Read documents You will be able to access relevant product information such as general information, prices, conditions and policies, among others.
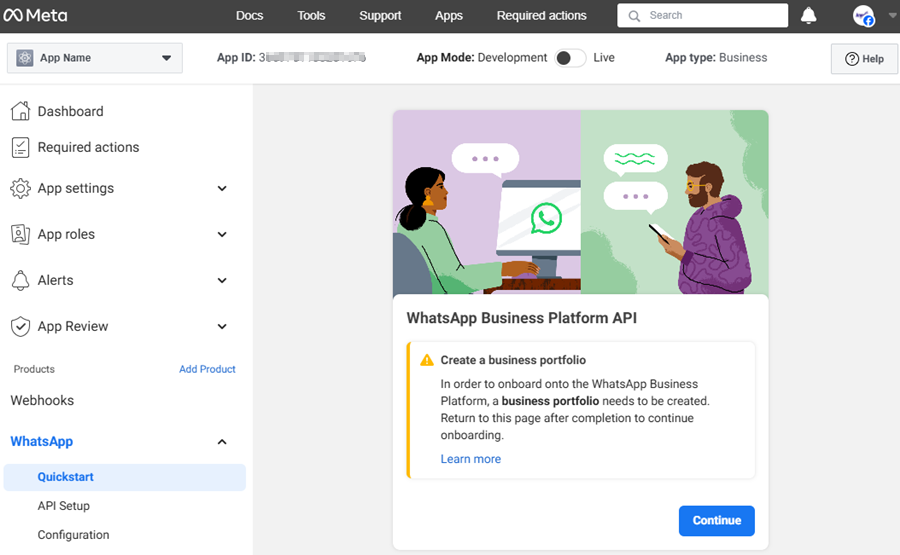
5. In the WhatsApp Quick Launch section, under the WhatsApp Business Platform API Click the Continue, to create a commercial portfolio on Meta, with which it will be possible to test with five phone numbers; This document will indicate how to associate a number which can be from the company or the one that the customer has for this purpose. See add customer number. If you already have a trading portfolio, you can advance to Step 9.
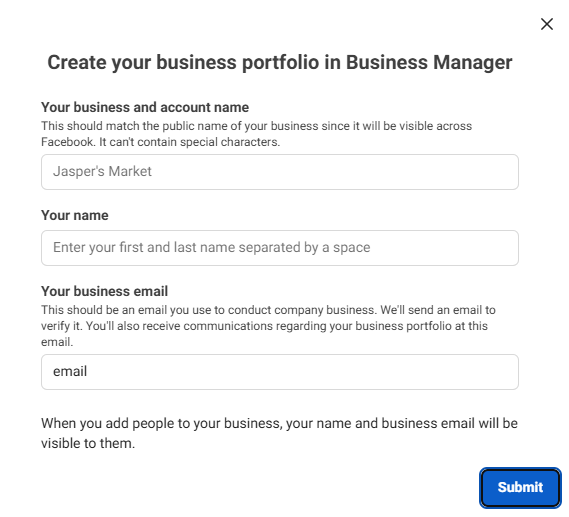
6. In the Create your business portfolio form in Business Manager, fill in the requested information. Click the Send.
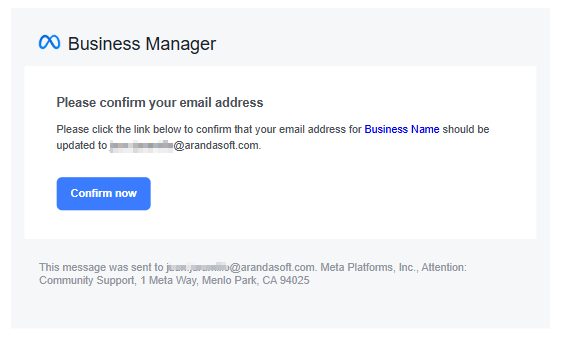
7. A message arrives at the configured email account to confirm the account. Click the Confirm Now and you will be able to view a confirmation message.
8. The user receives an email with the instructions to carry out the verification of the business (specific to each organization). From this point on, you can send messages to more phone numbers.
⚐ Note:
No business validation is required to proceed with the application setup.
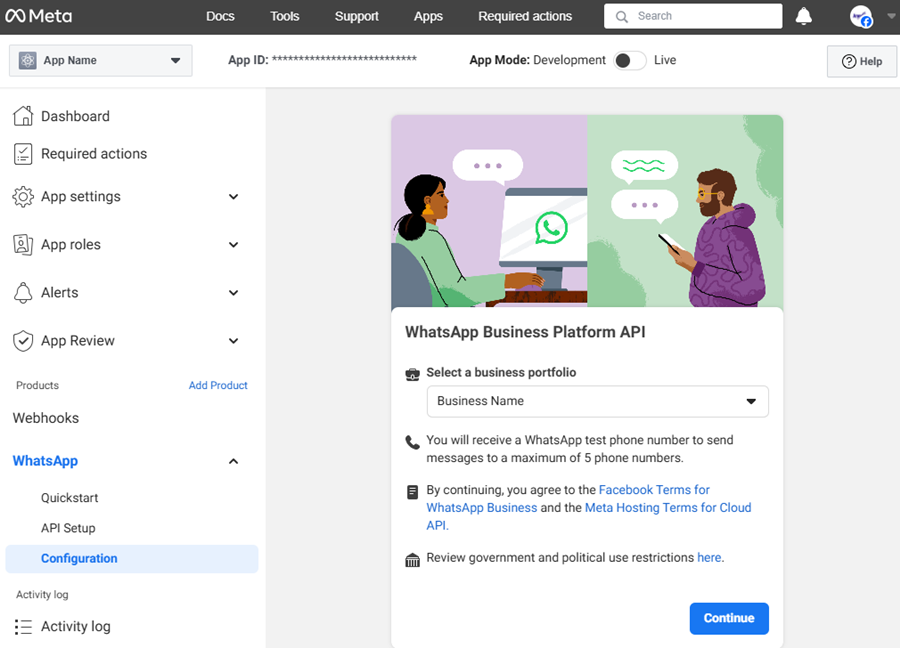
9. Log in again to Meta for Developers, select the created application. In the WhatsApp Select the option Configuration, within the WhatsApp Business Platform API, are listed in the business portfolios, select a record from the listing. Then, click the Continue.
10. In the Webhook, fill in the requested fields with the following information:
| Field | Description |
|---|---|
| Callback URL | The URL for the WhatsApp API callback is configured: https://albiwsp.arandasoft.com/api/messages. |
| Verification ID: | ArandaAdmin |
Click the Verify and Save.
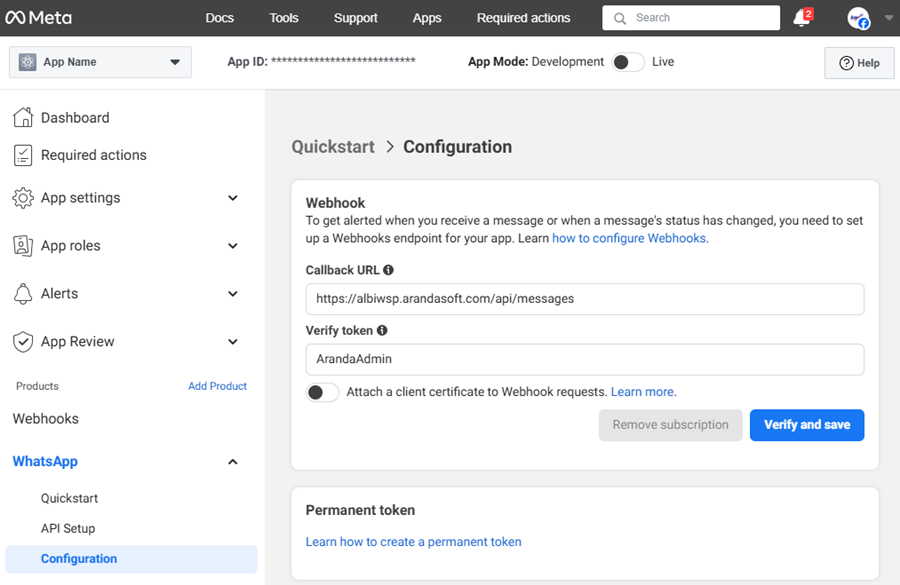
⚐ Note: If the customer has their own implementation of the Bot, in the Callback URL you must enter the domain’s own URL replacing albiwsp.arandasoft.com with your own domain, then click on the Verify and save.
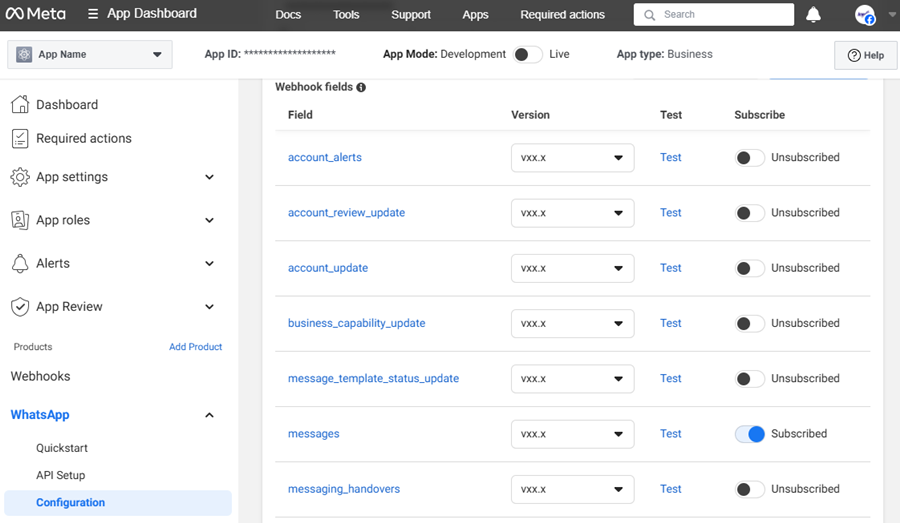
11. In the Webhook Fields You will be able to view the list of fields. Search the field Message and enable the subscription by activating the checkbox.
Add Test Number
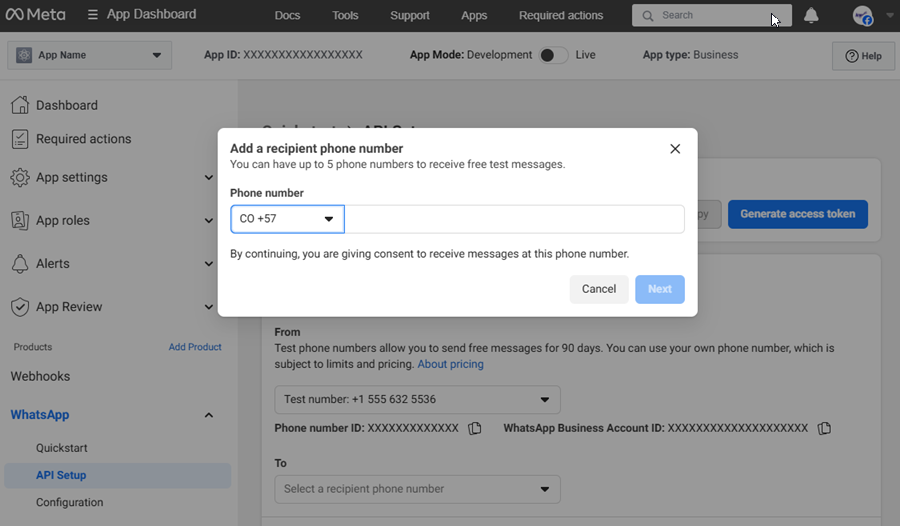
12. In the WhatsApp section, select the API Configuration and in the Send and receive messages Step 1: Select phone numbers Select the field For and click on the Manage Phone Number List; in the window Add a recipient’s phone number Select the country code, enter the phone number and click the Following.
13. WhatsApp Business sends a verification code to the WhatsApp of the added cell phone number; in the window Verify your phone number Enter the appropriate code and click the Following.
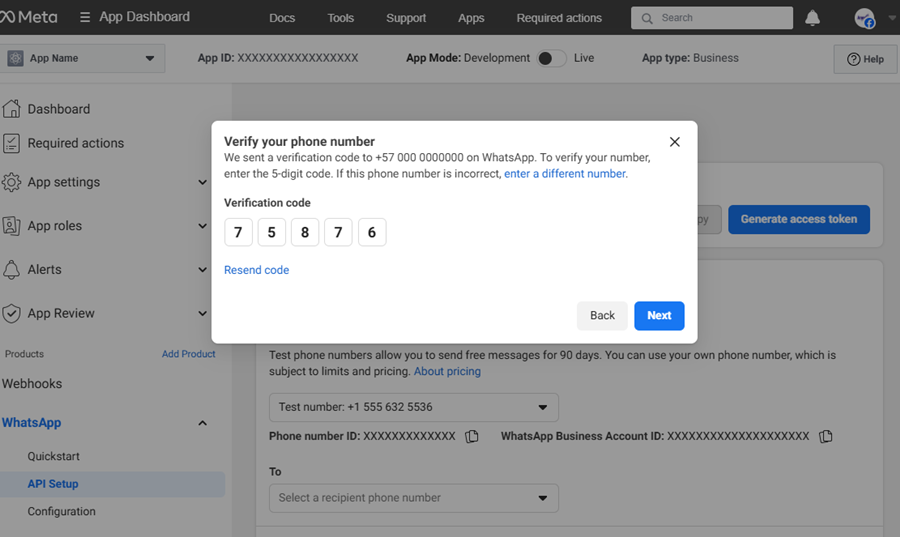
⚐ Note: Up to a maximum of 5 phone numbers can be added, which will be used for testing before adding the customer’s own number.