In the process of managing and administering compliance policies in the Aranda Security application, you will be able to view, create, edit, and delete security policies.
View Policies
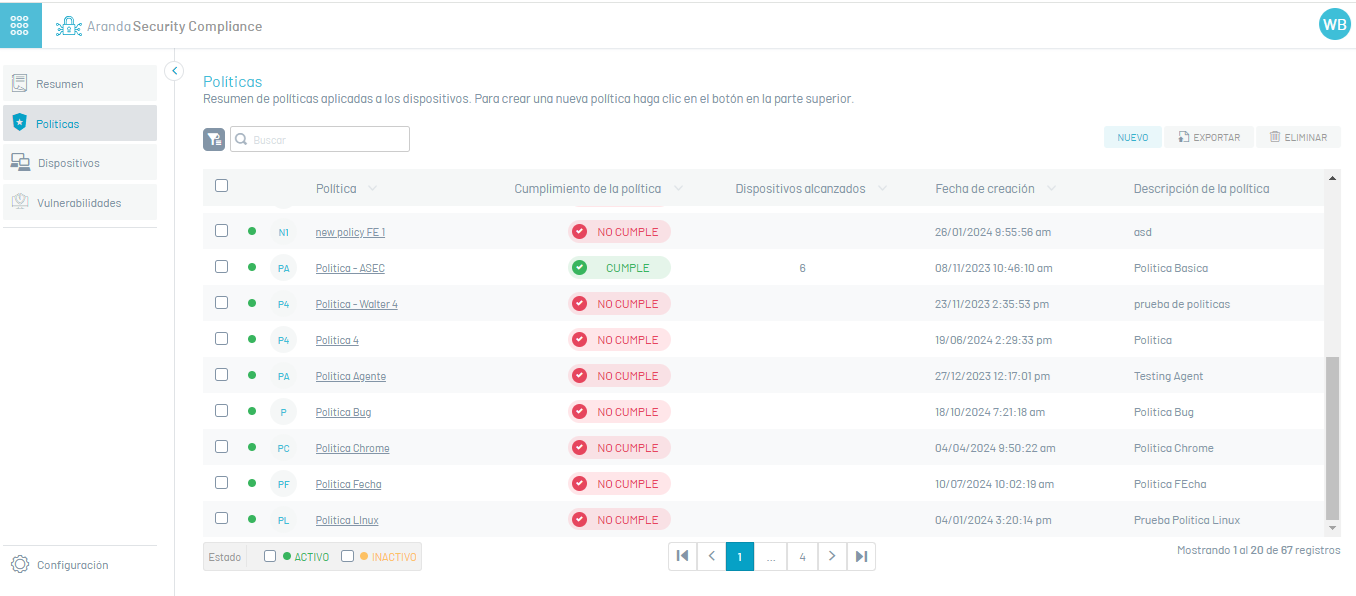
1. Enter the Aranda Security Compliance console with administrator role, select the option Policies from the main menu. In the information view, you can view the list of available policies and sort the information grouped by name, devices reached (associated with the policy) and date of creation.
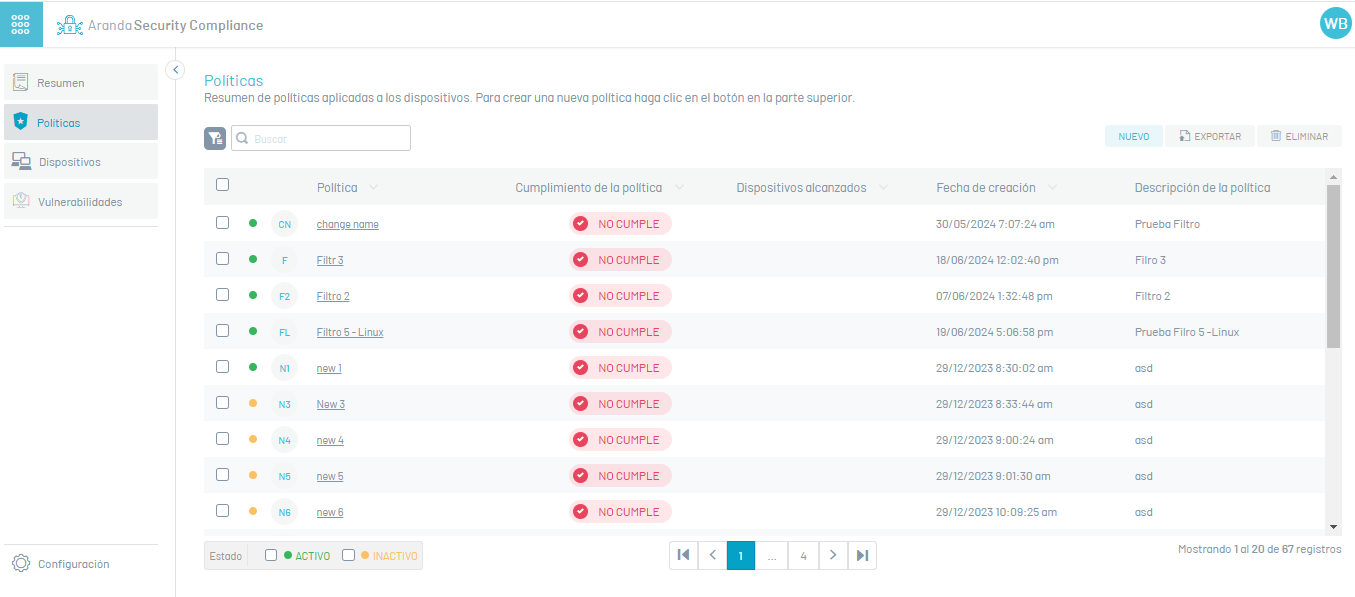
2. In the information view of the policies, you will have information management and organization actions available. Information View in ASEC Web Environment
Policy Creation
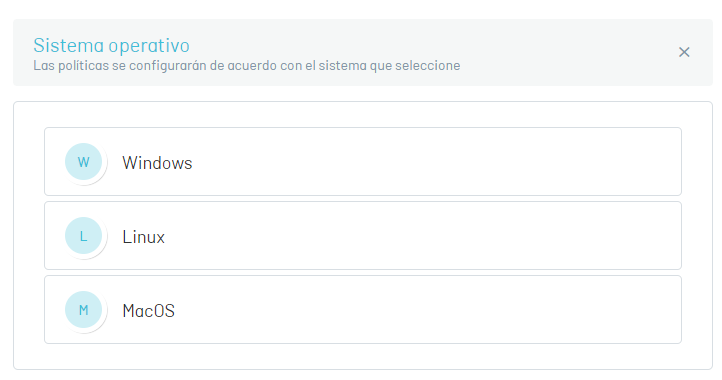
1. To create a policy, log in to the Aranda Security console with the administrator or specialist role, in the Policies from the main menu. In the information view, select the New; window is enabled Operating system, select an Operating System to proceed to the form where you need to enter the basic policy information:
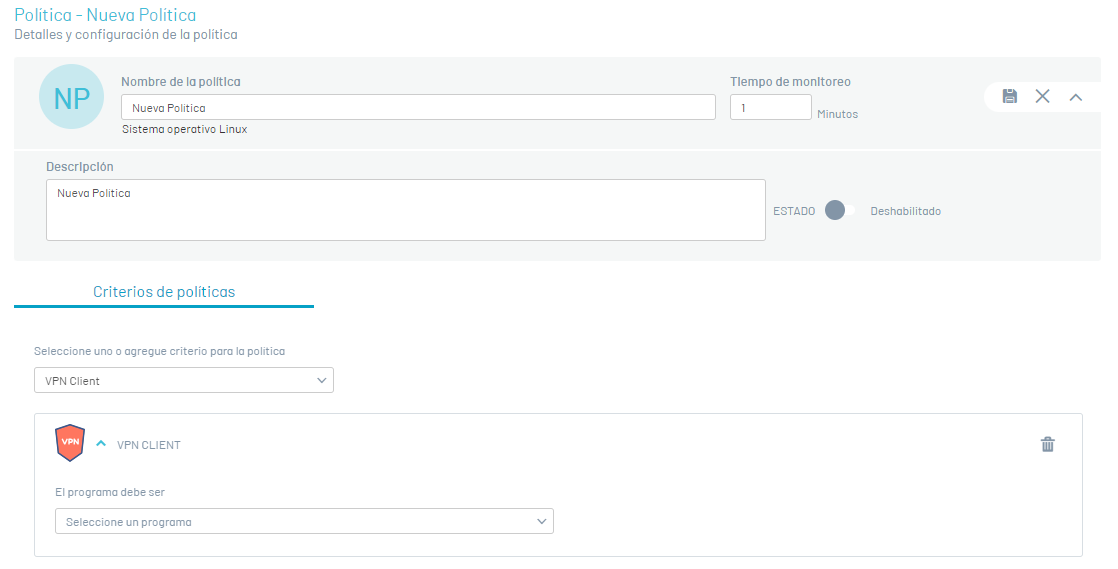
| Field | Description |
|---|---|
| Policy Name | Name that identifies the policy. |
| Description | Policy description. |
| State | Policy status indicates whether you will start Active immediately, or start Inactive. |
| Monitoring Time | Time interval where agents will be reporting compliance with the policy. |
Policy Criteria
2. In the information view for the new policy, select the Policy criteria and choose a configuration software criterion from the list. The Enabled criteria in ASEC they are: ANTIMAWARE, ANTIPISHING, BACKUP, CLOUD STORAGE, COMMUNICATIONS TOOLS, DATA LOSS PREVENTION, ENDPOINT ENCRYPTION, FIREWALL, HEALTH AGENT, REMOTE CONTROL, VIRTUAL MACHINE, VPN CLIENT and WEB BROWSER.
3. When selecting the software criterion (Antimalware, browser, firewall), click the Edit  and choose a program from the existing listing.
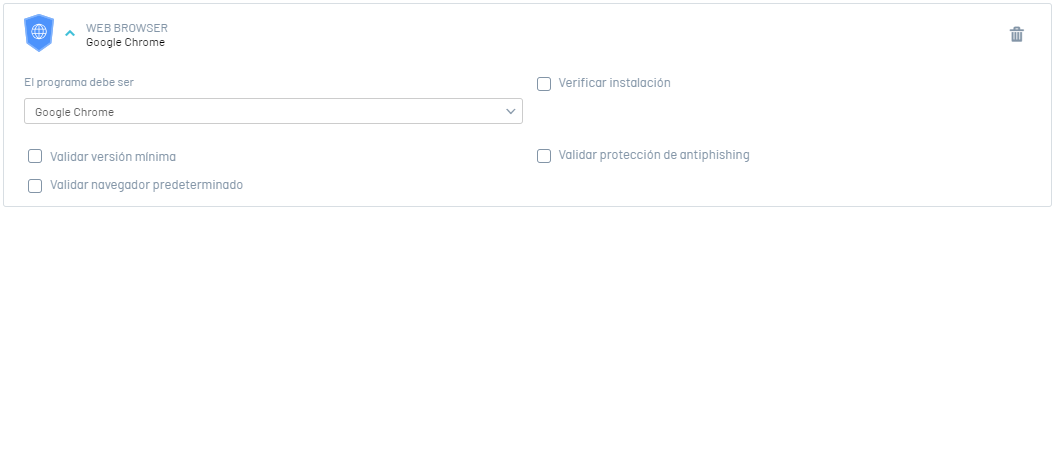
⚐ Note: Selecting a program from the policy criteria triggers the methods or validations corresponding to the defined program. For each program, different validation options will be activated. View validations by configuration criteria
4. Select the enabled validation items to determine the compliance levels for that instance of the security policy, and click the Save , to confirm the changes made.
These criteria are what are evaluated and determine whether a policy is complied with or not.
⚐ Note: To remove the details of the software criterion, at any time, click the respective icon to clear the settings.
5. After a policy is created, the tab is enabled to associate device groups with the defined policy.
Associate Groups
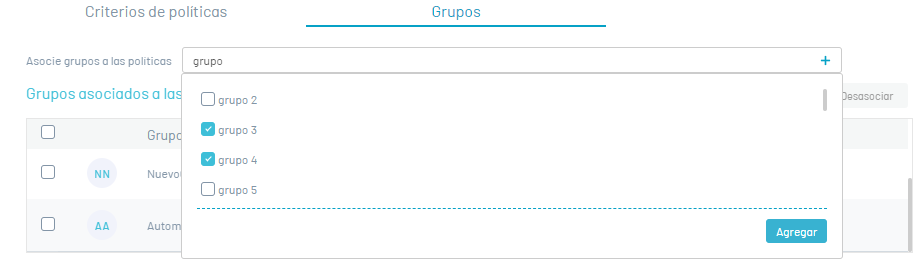
6. When you finish configuring the basic information of the policy, enter the Aranda Security console again and select the policy created; In the information view, the Groups where you can associate device groups to the defined policy.

7. In the field Associate Groups Enter a name to search for a group, or type in a name to create a new group. Click the (+) to create a new group. Each policy may contain many groups.
8. To associate a created group with the policy, select a group from the available list and click the Add
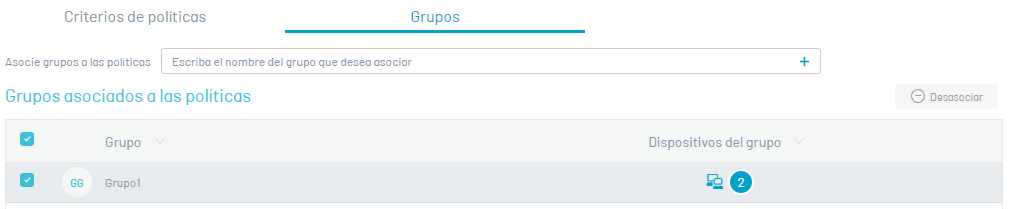
9. In the list of associated groups, select the name of the group with linked devices, to access the Device Compliance Detail.
Disassociate Groups
10. To delete one or more groups, in the policy information view, on the Groups, select a record from the created groups, and click the Disassociate to clear the associated information.
11. When defining the groups for the policy, click the Save, to confirm the changes made.
Remediate Policies
1. In the Policy detail view, if any of the devices do not meet the set criteria, the Remediation. Clicking this button will open a window with the list of available remediation actions.
2. Select the remediation from the list and click the Send to be applied to each device that does not meet the criteria.


Delete Policies
12. To delete policies, log in to the Aranda Security console with administrator role, in the section Policies from the main menu. In the information view, you will be able to view the list of available policies; Select one or more records and click the Delete Policies.

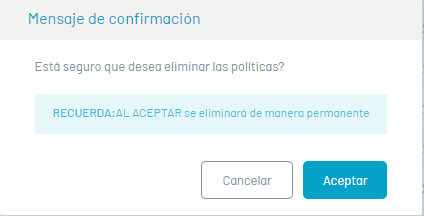
13. A warning message is enabled where you must confirm the deletion of the policy.
Export Policies
1. To export the policy information, log in to the Aranda Security console with administrator role, in the Policies from the main menu. In the information view, the list of available policies can be viewed; Filter one or more records in the field To find and click the Export.
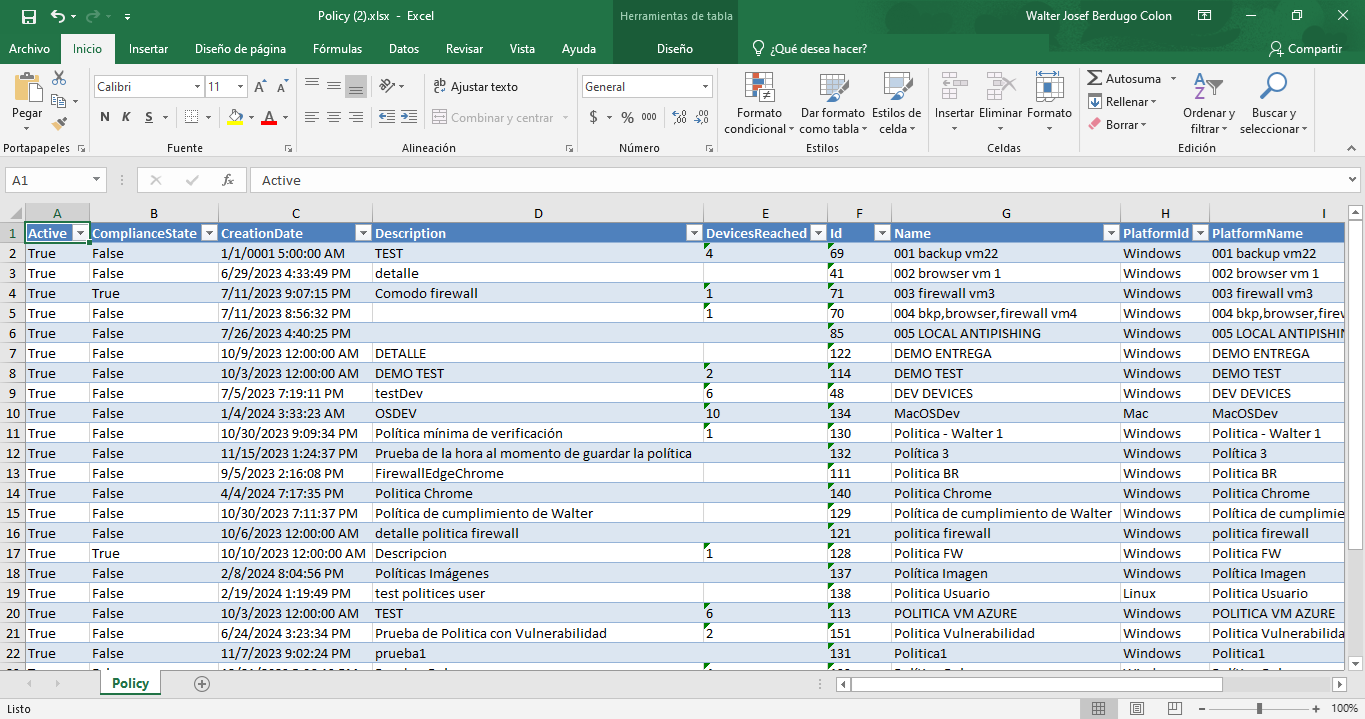
2. In the Aranda Security Management Console header menu, the option to Downloads where you can view the generated format of the list of policies in Excel format
3. Click the file to download the policy information. The downloaded file includes all the fields in the policy.
Filter Policies
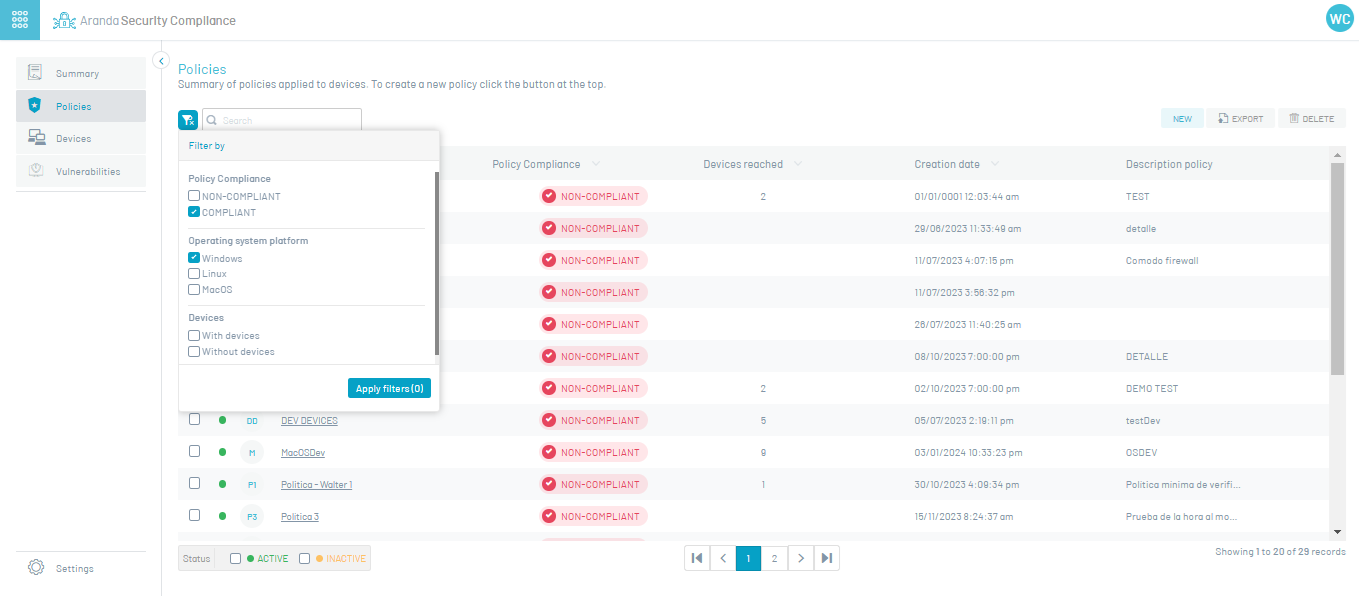
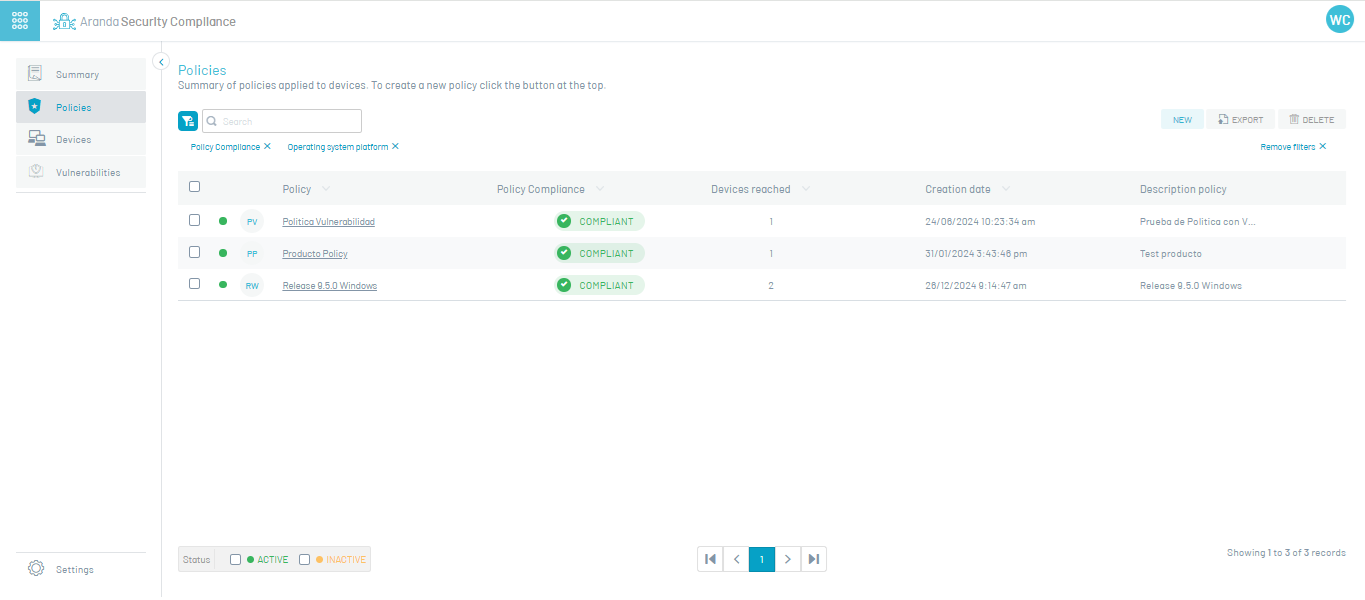
1. In the Policy information view, select the Policy Filter (icon) and enable query criteria such as Policy Compliance, Operating System Platform, and Devices. When finished, click on the Apply Filters.
2. Additionally, you can combine the query, using the filter by policy status to have a more detailed and personalized view.
⚐ Note: Applying the policy filters and filter by states allows you to identify devices or systems that require tracking, corrective actions, or priority attention.