
Visual and functional configuration of Aranda Virtual Agent
These sections describe the configuration of the visual and functional options of the Aranda Virtual Agent, to define images, default messages, and bot behavior during case creation.
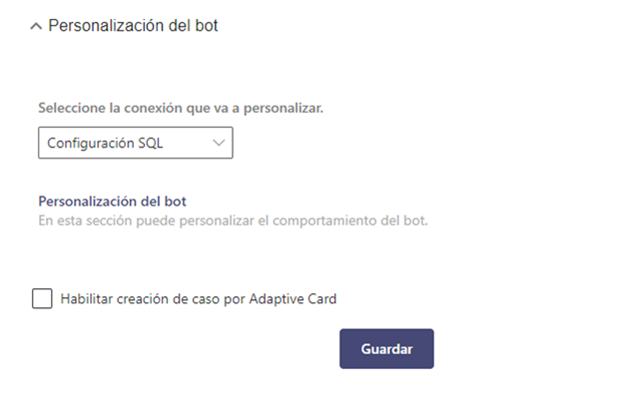
Bot customization
Enable Case Creation by Adaptive Card
This option allows you to enable case creation using Adaptive Teams cards. This functionality streamlines the process of creating cases through the bot. The option is disabled by default.
⚐ Notes:
- This functionality is supported by Aranda Service Desk (ASDK) version 8.29.30 or higher.
- When enabling this functionality and in a lower version of the ASDK, the case registration will be performed as normal without the Adaptive Card.
- When registering cases using the Adaptive Card, attachments are not allowed.
- When categorizing a case with related list fields, the functionality of the Adaptive Card will not be applied when registering the case and will be performed as normal.
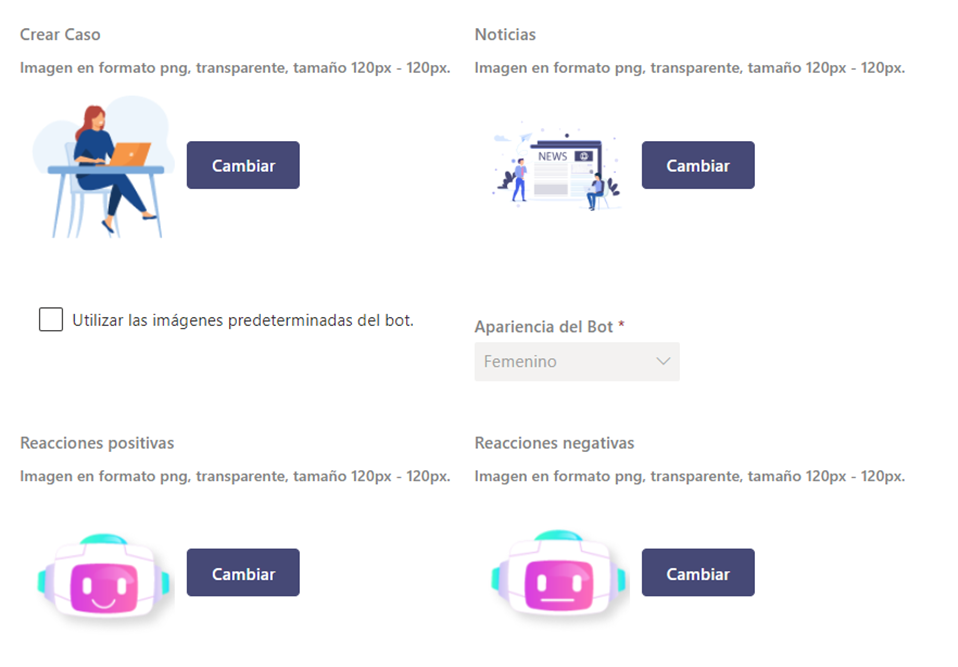
Image Settings
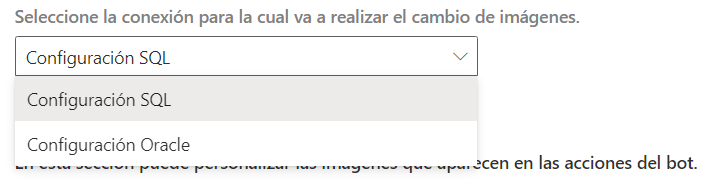
This section allows you to customize the images that your bot uses for actions and reactions within the configured connection.
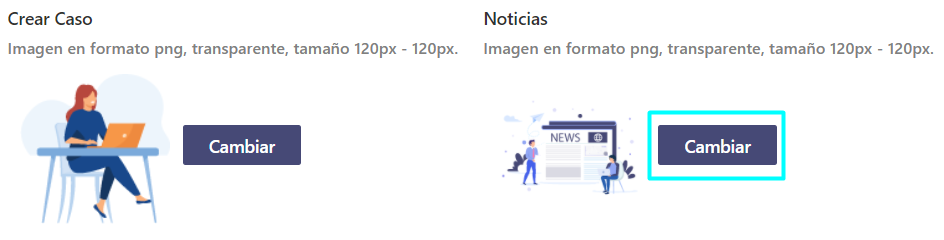
Actions Section
Allows you to configure the images associated with the bot’s actions:
- Create Case: URL of the image that will be displayed in the case creation card.
- News: URL of the image that will be displayed when viewing news.
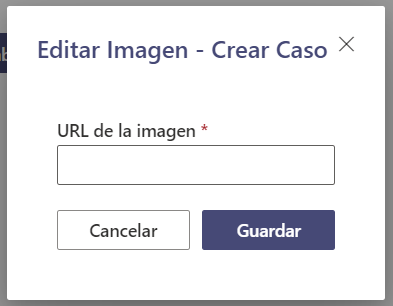
1. Enter the URLs in the fields Create Case and News. Images will be automatically validated when you lose focus on the field.
If the URLs are valid and accessible, the image preview will be displayed and saved automatically.
Reactions Section
Allows you to configure the images that your bot will use as a visual response.
Available elements:
- Positive reaction: URL of the image for positive responses.
- Negative reaction: URL of the image for negative responses.
- Use the default images: Checkbox.
-
Bot appearance: Drop-down list with options:
- Female
- Male
1. Check the box Use the default images.
Enabling this option disables the reaction URL fields and you can only select the bot’s appearance (Male or Female), which will automatically update the images.
2. To use custom images in positive and negative reactions, uncheck the checkbox Use the bot’s default images; Which enables the fields to enter the URLs of the custom images.

⚐ Notes: Keep the following considerations in mind when configuring bot images:
- Images must be PNG, transparent background, and size 120 × 120 pixels.
- The URL must be public and accessible; If the image does not load, it will not be saved.
- The image is automatically validated and saved when you leave the field (when you lose focus).
- If the URL or size is incorrect, a message will be displayed and you need to correct the image before proceeding.
- If no custom images are configured, the system will automatically use the bot’s default images.
Set up messages
This tab configures the texts that the bot will display during interaction with users.
1. Go into the connection settings and select the Messages.
2. At the top is the Select language, you can choose the display language of the messages. Enter the bot’s name, attention and farewell message as per customization needs; Changes are automatically saved when you lose focus on the field.
⚐ Note: When you leave the fields (Bot Name, Attention Message, and Farewell Message) empty, the system will automatically use the preconfigured default values that the bot comes with.