
Two new workgroups must be set up in ASDKs (Teams Manager and Teams Client) and two new users (tmanager and tclient) created. These users must be associated with the respective previously created workgroups and then assigned the two permissions corresponding to each workgroup as follows:
| Workgroup and user | Permissions in the Admin console Aranda Service Desk BLOGIK |
Permissions in the Specialist Console Aranda Service Desk FRONT END |
|---|---|---|
| Teams Manager -> tmanager | • APPLICATION EXECUTE • TEAMS MANAGER |
|
| Teams Client -> tclient | • APPLICATION EXECUTE • TEAMS CLIENT |
⚐ Notes:
- If you have options such as password change on first login configured in password security, perform validations before using the Bot.
- If you’re using Aranda Virtual Agent (Teams Bot) integrated with versions of ASDK 8.29.30 or lower, manually include the new Teams domains (
teams.cloud.microsoft, *.teams.cloud.microsoft) in the header Content-Security-Policy of the filesweb.configof the ASDKV8 and USDKV8 consoles. View Release Note- In case of using the services of the Aranda production bot in the arandasoft.com domain, it does not require any further prior configurations in Aranda Service Desk.
- If the customer has their own implementation of the bot, they must do the following:
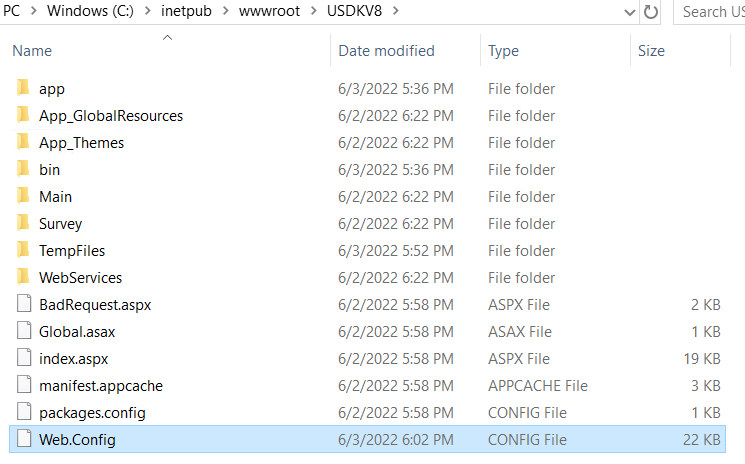
1. Enter the server where the Aranda Service Desk application is installed.
2. Go to the USDKV8 installation path (usually C:\inetpub\wwwroot\USDKV8) and locate the Web.config file.
3. Open the file with a text editor and locate the following line:
<add name="Content-Security-Policy" value="script-src 'self' 'unsafe-inline' 'unsafe-eval' https://jsonip.com/; object-src 'none';form-action 'self'; frame-ancestors 'self' teams.microsoft.com *.teams.microsoft.com teams.cloud.microsoft *.teams.cloud.microsoft *.arandasoft.com"></add>
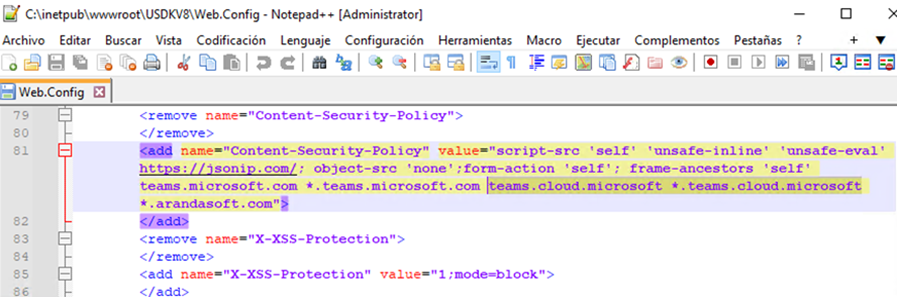
4. Include the DNS of the environment or appservice where the bot is hosted. Example:
<add name="Content-Security-Policy" value="script-src 'self' 'unsafe-inline' 'unsafe-eval' https://jsonip.com/; object-src 'none';form-action 'self'; frame-ancestors 'self' teams.microsoft.com *.teams.microsoft.com teams.cloud.microsoft *.teams.cloud.microsoft *.arandasoft.com" *.dnsambiente.com"></add>
5. Go to the ASDKV8 installation path (usually C:\inetpub\wwwroot\ASDKV8) and locate the Web.config file.

6. Open the file with a text editor and locate the following line:
<add name="Content-Security-Policy" value="script-src 'self' 'unsafe-inline' 'unsafe-eval' https://code.highcharts.com https://maps.googleapis.com/; object-src 'none'; form-action 'self'; frame-ancestors 'self' teams.microsoft.com *.teams.microsoft.com teams.cloud.microsoft *.teams.cloud.microsoft *.arandasoft.com" />
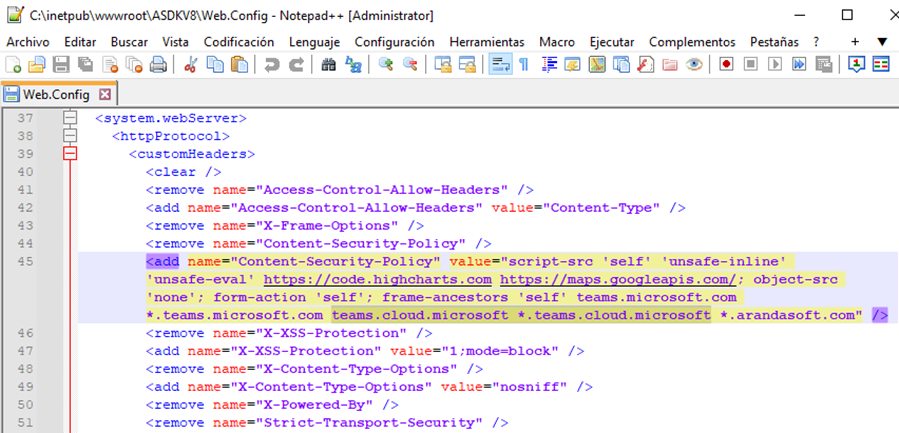
7. Include the DNS of the environment or appservice where the bot is hosted. Example:
<add name="Content-Security-Policy" value="script-src 'self' 'unsafe-inline' 'unsafe-eval' https://code.highcharts.com https://maps.googleapis.com/; object-src 'none'; form-action 'self'; frame-ancestors 'self' teams.microsoft.com *.teams.microsoft.com teams.cloud.microsoft *.teams.cloud.microsoft *.arandasoft.com" *.dnsambiente.com" />
8. Save your changes and restart the IIS.