
To perform the file transfer, the following conditions must be met:
⚐ Requirements:
- The workstation must have Agent installed and if required, the Agent Settings.
- The specialist must have the Specialist Agent on your device and have access permissions to the AVS website for device management and support sessions.
The Support session must be active and authorized.
The specialist must have ports 5021 and 5029 available.
⚐ Important Currently, file transfer functionality is not available for MacOS endpoints.
In addition to the above requirements, the specialist must follow the following steps:
1. Open the support session and click Connect:
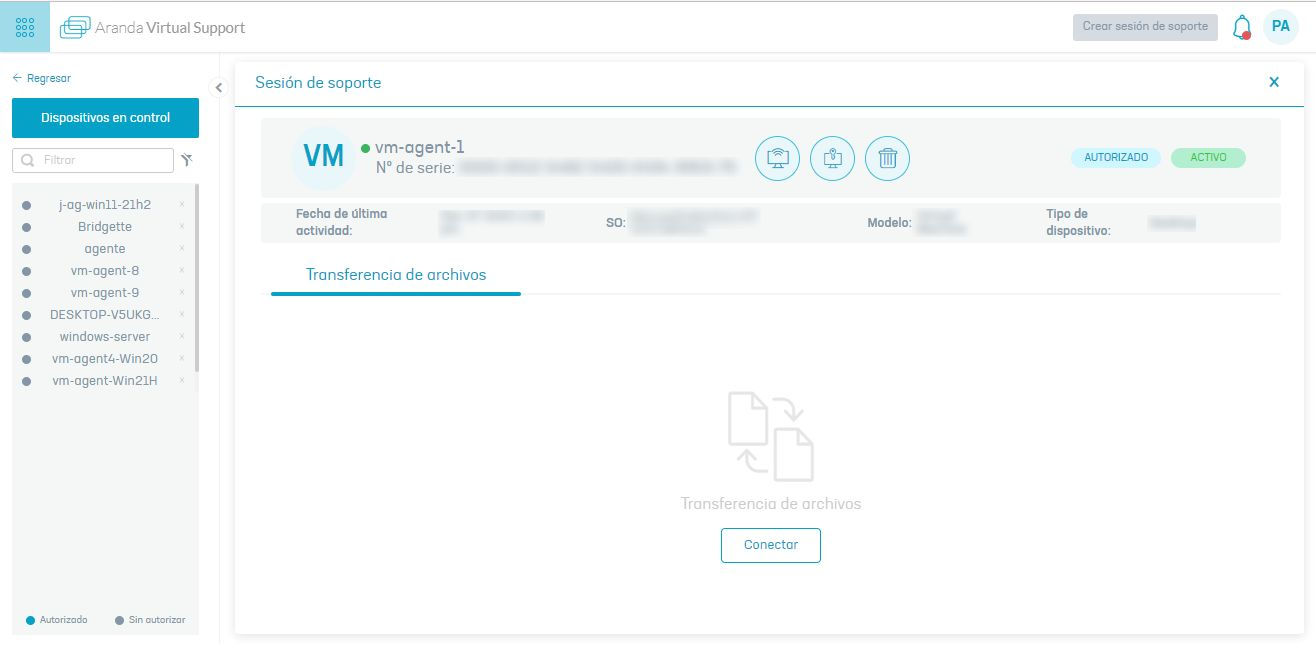
⚐ Note: During connection, the Take Remote Control, Request Authorization and Deauthorize Support Session will not be available.
2. This action enables two windows showing the devices and disk drives of the specialist and workstation computers, allowing the connection between both machines:
3. Selecting a disk drive opens the folders and files in it. The files have the following information:
- File name with its respective extension (.exe, .xlxs, .txt, .pdf, .docx)
- Size in bytes (KB, MB, GB)
- Date modified.
⚐ Note: When the specialist performs a file transfer for the first time, the workstation user receives a security alert from the Firewall Agent-generated permissions.
Transfer files
1. To perform a file transfer from one device to another, select a file, move it, and save it to the desired folder. File transfer is bidirectional between the workstation and the specialist.
2. Performing the above action enables a pop-up asking if you want to transfer the file.
3. When confirming the transfer, a transfer start message is received and the notification tray is observed with the following information:
- Workstation Name
- File Name
- File size in bytes (KB, MB, GB)
- File Source Path
- File destination
- Transfer Date
- Transfer Progress Percentage
- Number of bytes transferred
- Message indicating whether the specialist is sending or receiving the file
4. If the transfer was successful, a message will appear in the notification tray: “Successful Submission” or “Successfully received”.
⚐ Note: If during the file transfer the specialist disavows the support session, the active transfers will be automatically canceled.
5. If the transfer fails, an error message will appear in the notification tray:
6. Failed transfers can be canceled for deletion with the close.
⚐ Notes:
- You can’t drag folders from one device to another.
- When an unauthorized action is performed or an error occurs, one of the following messages is received:
| Message | Description |
|---|---|
| Connection to workstation lost | When trying to connect the specialist to the workstation, the workstation has problems with the internet or the connecting equipment. |
| Maybe you want to transfer the file to the other site? | It occurs when a file is sent to the same source device (e.g., from workstation to workstation). |
| Maybe you want to transfer the file to a folder? | It occurs when a file is dragged and dropped into another file, from one device to another. |
| The transfer of this file is already in progress | It occurs when a file is transferred twice at the same time to the same folder. |
| Specialist service has fallen | This message is presented due to failures when trying to connect the specialist’s devices and the workstation. |
Cancel File Transfer
1. Any failed or ongoing transfers may be cancelled. To cancel, click the close icon to the right of the transfer progress bar.
2. A pop-up window will open asking if you want to cancel the transfer. Click OK.
3. If the cancellation is successful, the message “Transfer successfully canceled”: