
Get supplier data
1. First, create an enterprise application through the Azure portal.
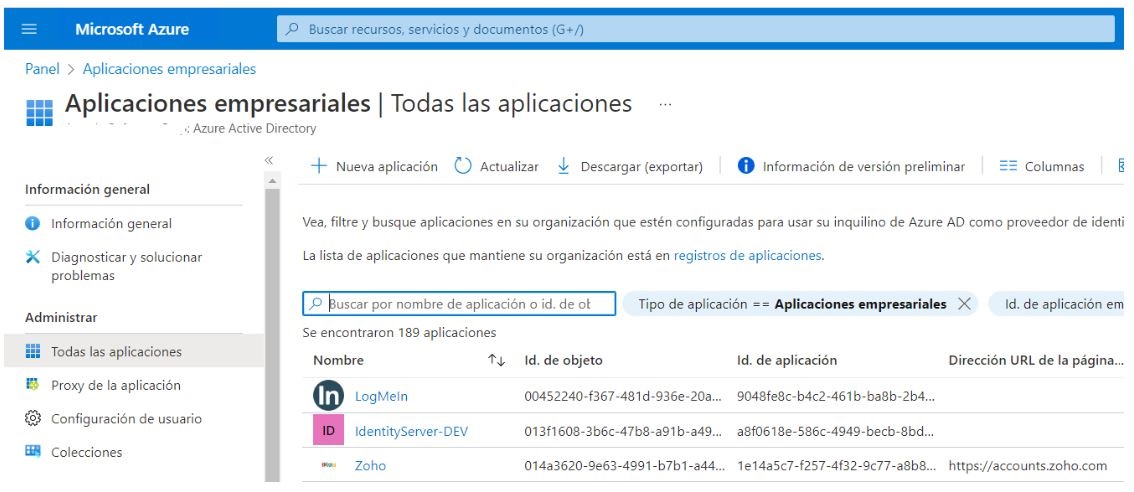
2. Select the option Create your own app and in the window that you enable, enter a name for the app and verify that the option is enabled Integrate any other application that is not in the gallery; then click the Create. Wait a moment while the app is created.

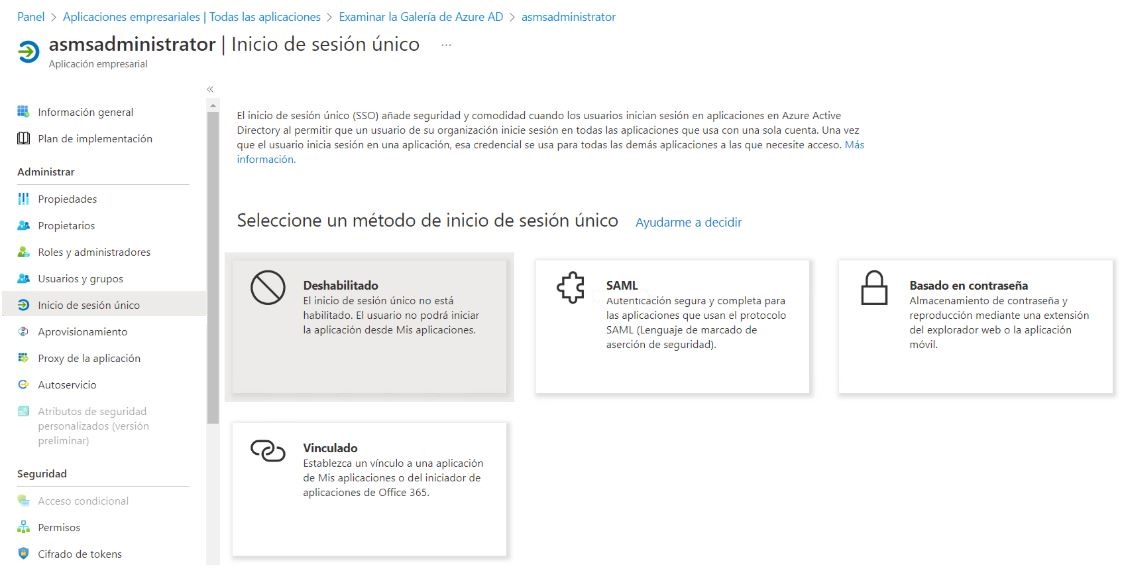
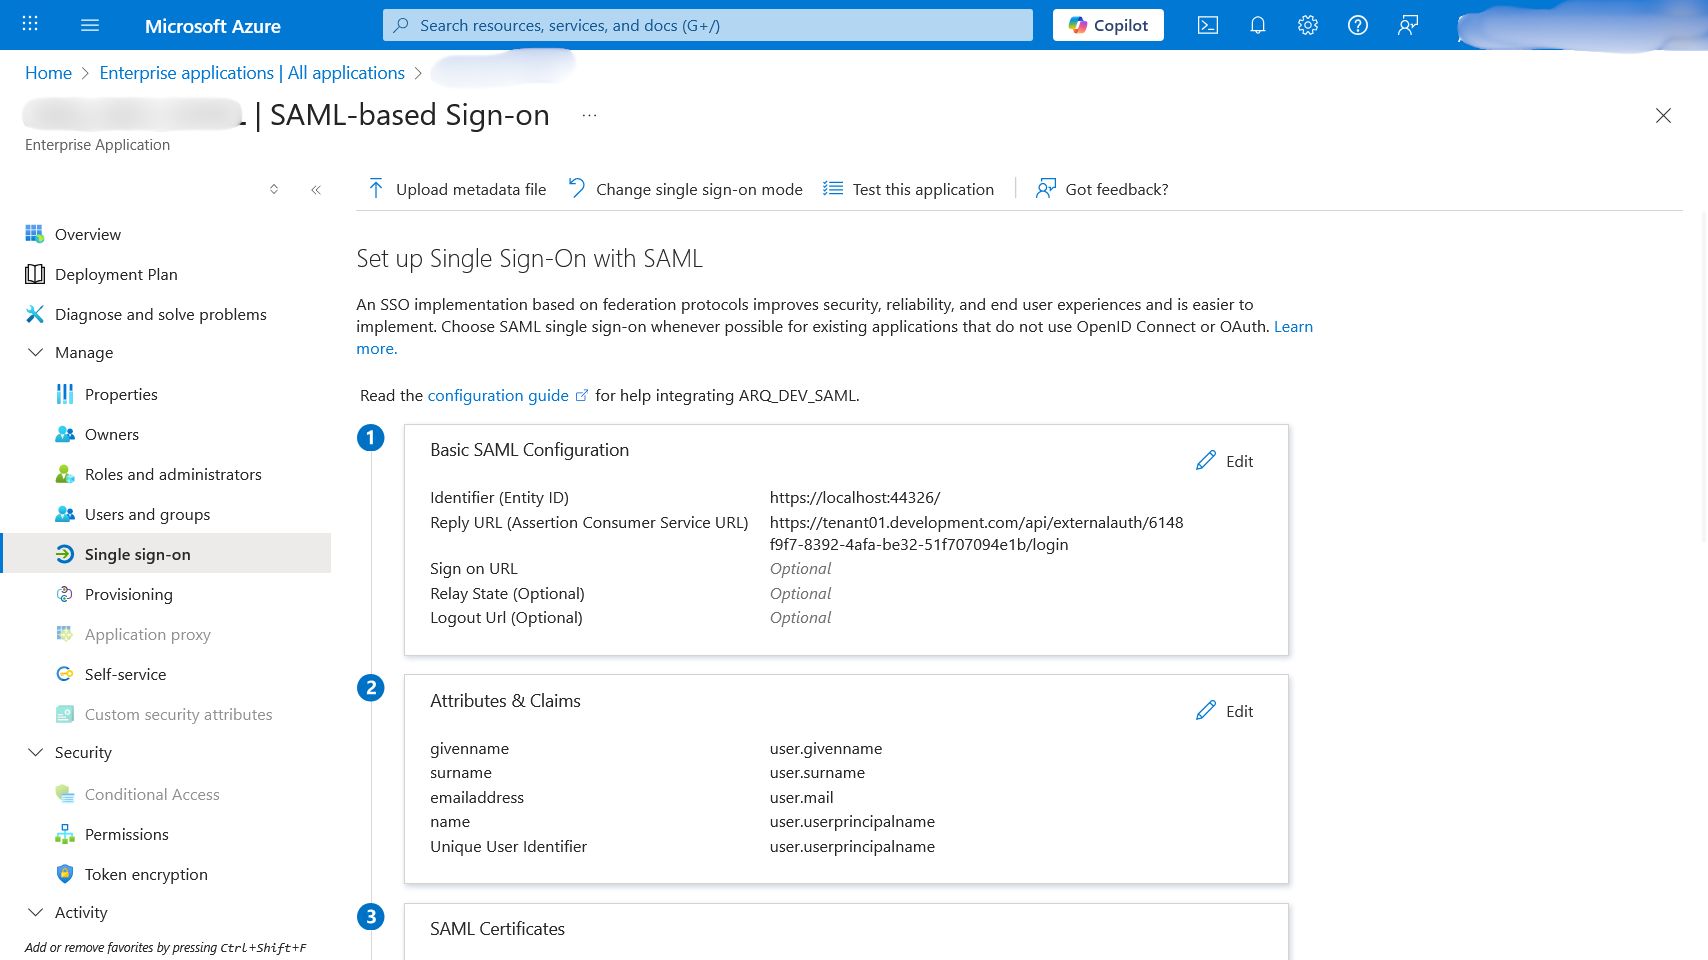
3. After creating the app, select the Single sign-on, then select SAML as a single sign-on method.
4. On the page Configuring Single Sign-On with SAMLicon, click the Pencil SAML Basic Settings to edit the settings.
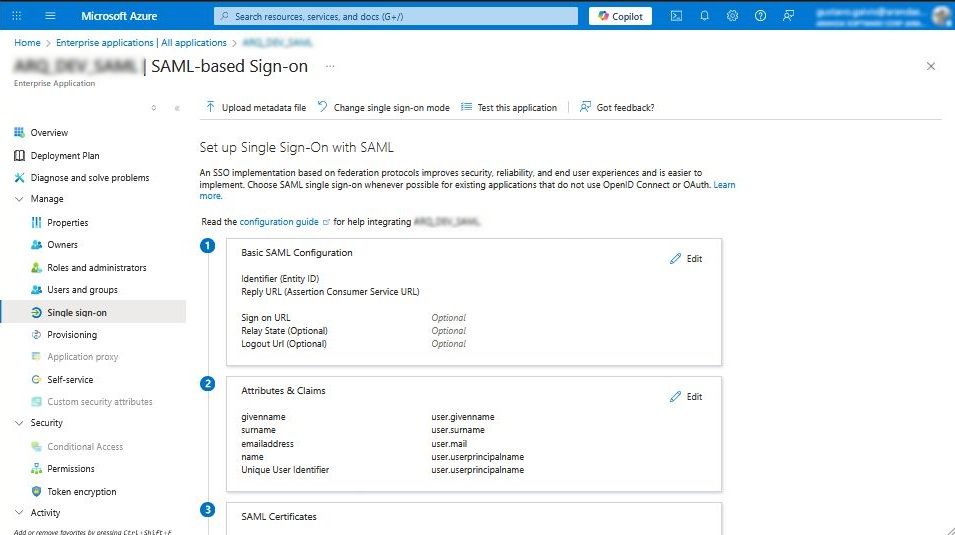
5. In the Basic SAML Configuration, follow these steps:
- Add an identifier and type the Console URL.
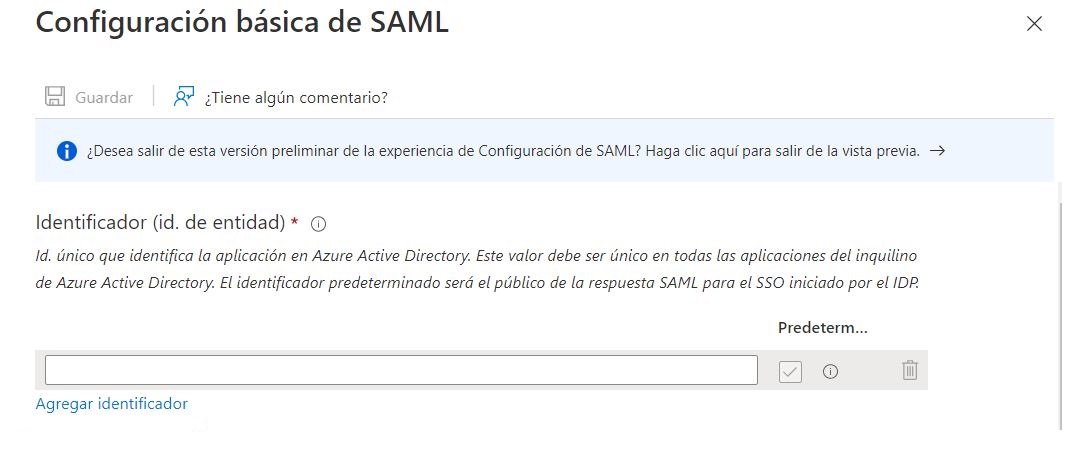
- Subsequently, add a Reply URL and type in the text box the Login URL of the console.
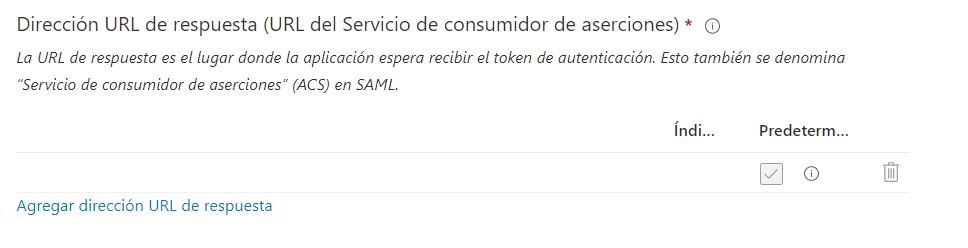
- Finish the setup by selecting the Save.
⚐ Note: You can now copy the following values, for later use in this section
- Login URL: Corresponds to the field Login URL in the external authentication settings of the Admin console.
- Azure AD ID: Corresponds to the field Identity Identifier in the external authentication settings of the Admin console.
- Logout URL: Use the following address: https://login.microsoftonline.com/common/wsfederation?wa=wsignout1.0
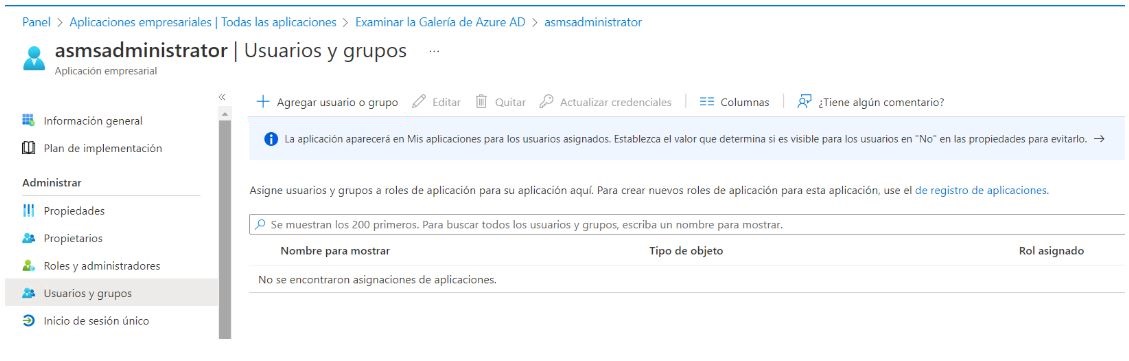
User permissions that can access the application
Remember to grant permissions to users who can access through the Users and groups.
Claims Validation
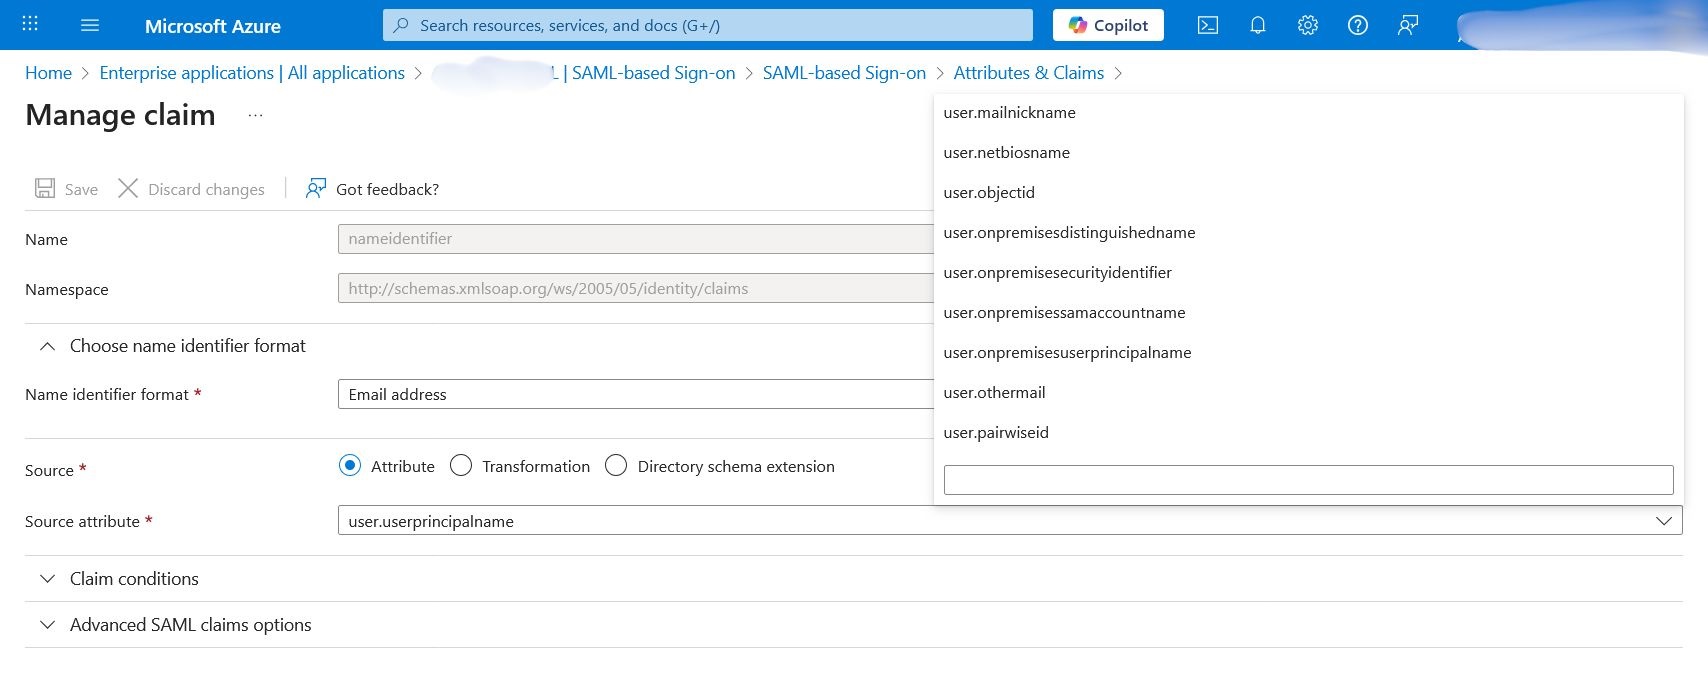
At the time of login, the claim Unique User Identifier (Name ID) with the field that is mapped as UserName on importing users in Microsoft EntraId. To do this, you can change the claim if necessary as follows:
1. Enter the option Attributes & Claims.
2. Click on Unique User Identifier (Name ID).
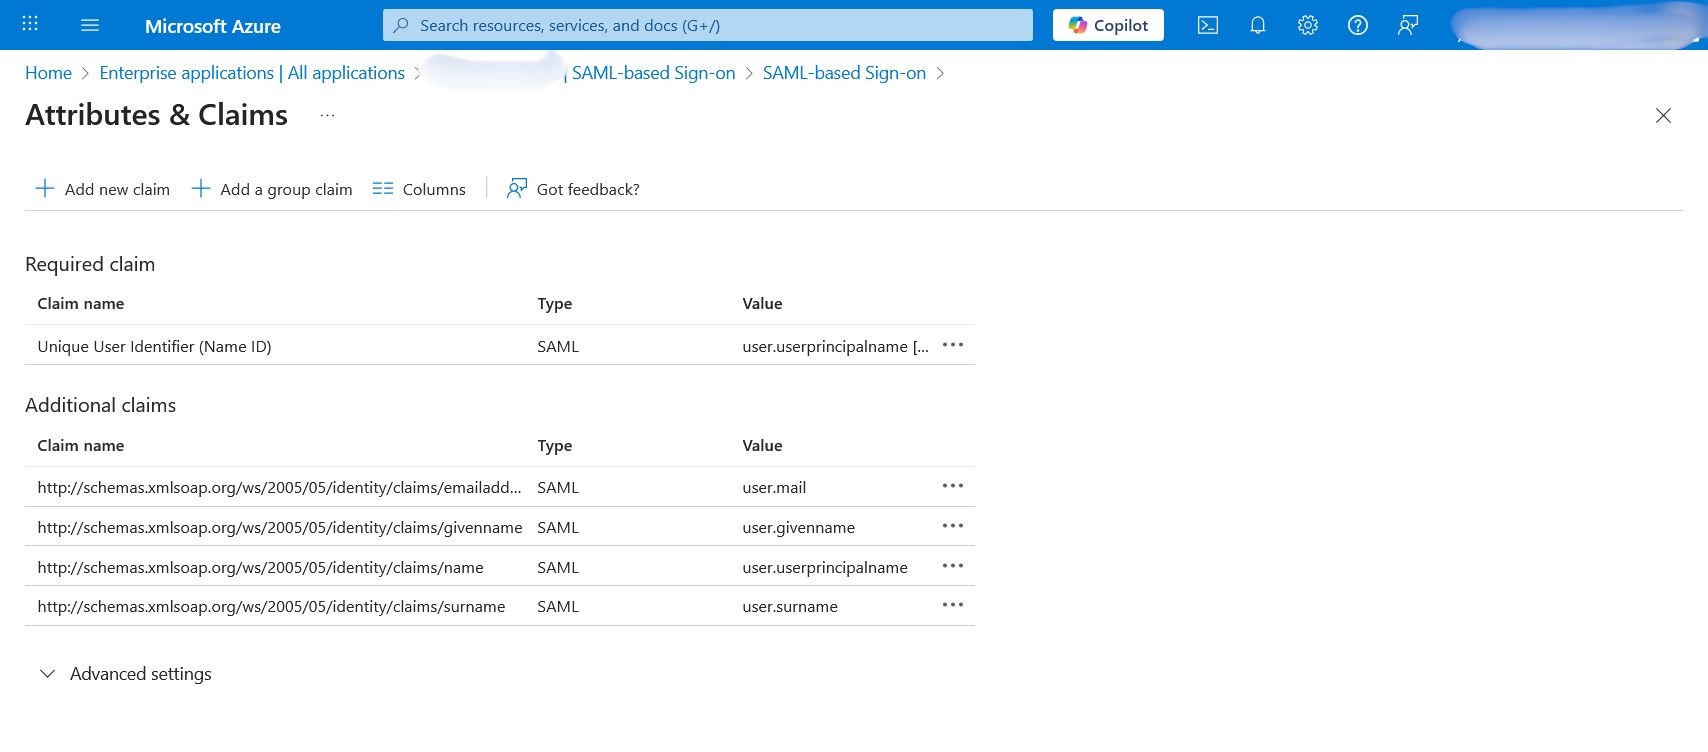
3. And in the countryside Source attribute change it to the claim that is mapped as UserName
Login validation
⚐ Note: The user who logs in must be previously configured so that they can enter the corresponding console.
1. In the login window of the console that has been configured, you will find a button with the name of the configured provider at the bottom of the window.
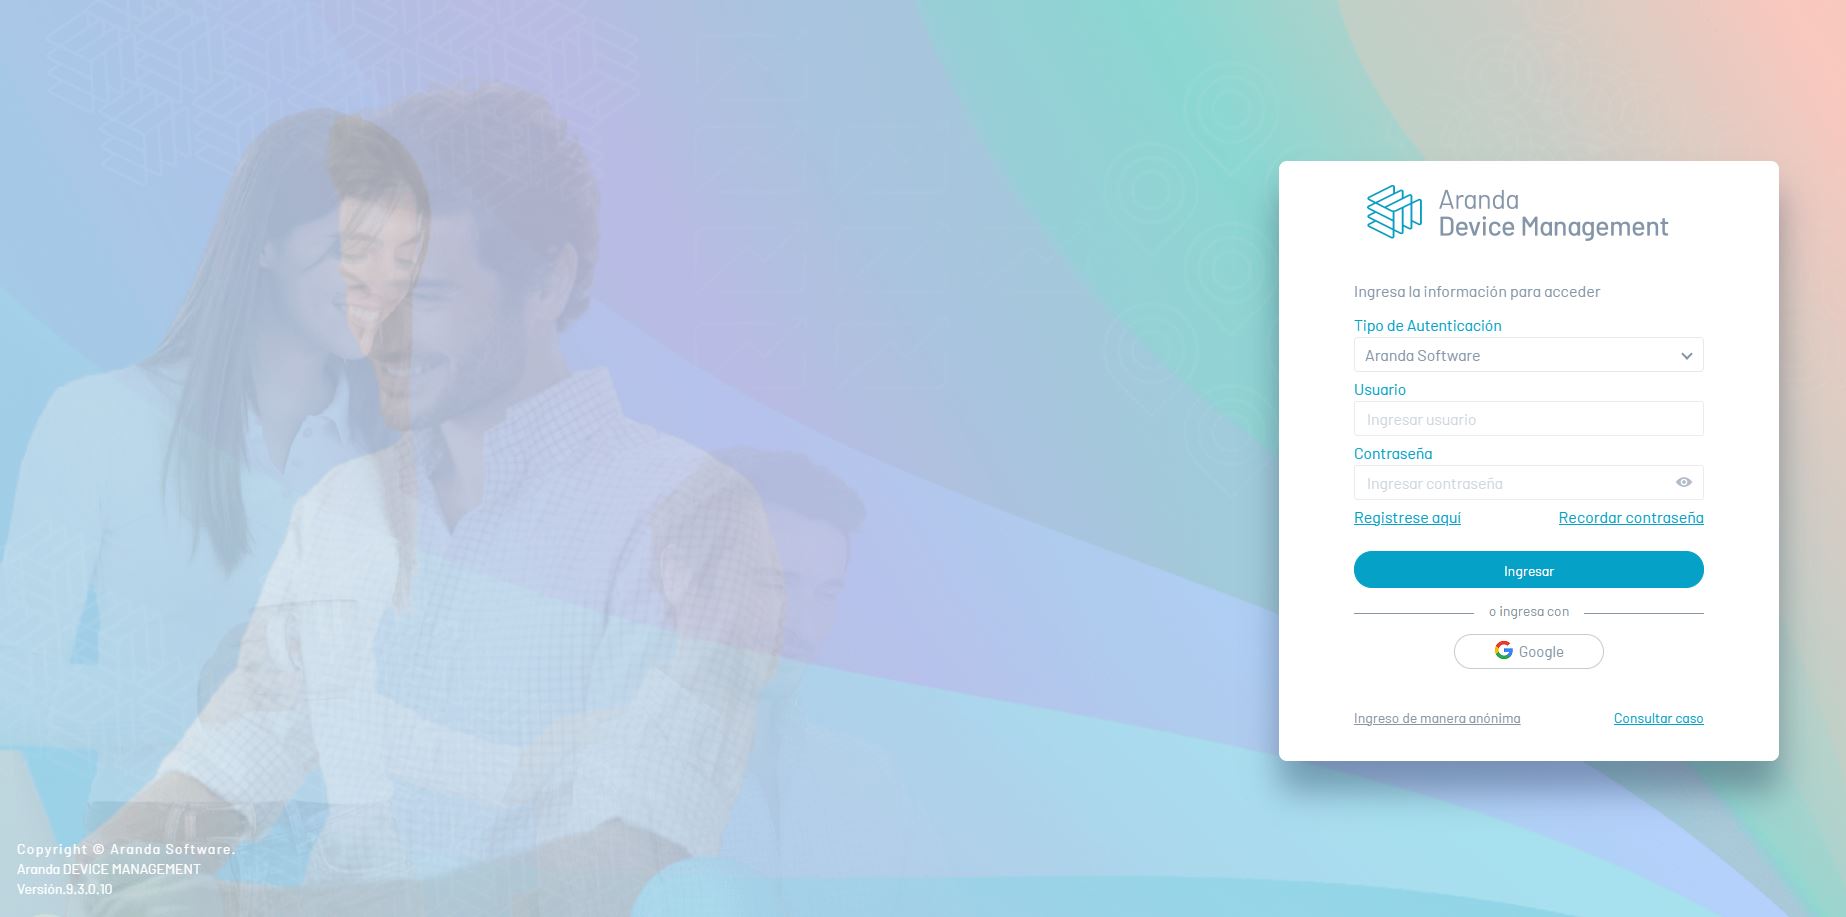
2. Clicking on the button redirects you to the authentication provider, where you can enter the corresponding login data.
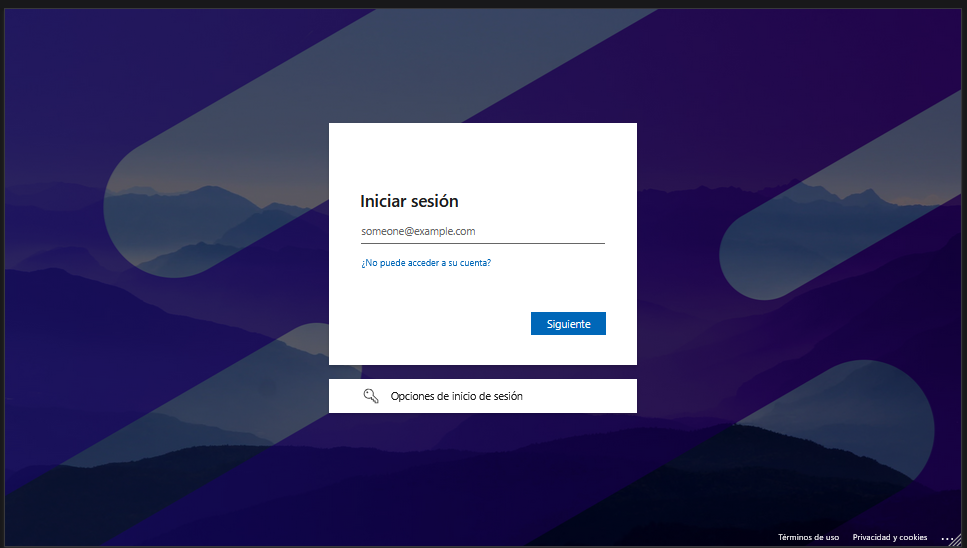
3. At the end of the authentication process, you will be automatically redirected to the console and you will be able to see the authenticated user reflected.