1. To create a new user, in the user information view, click the New.
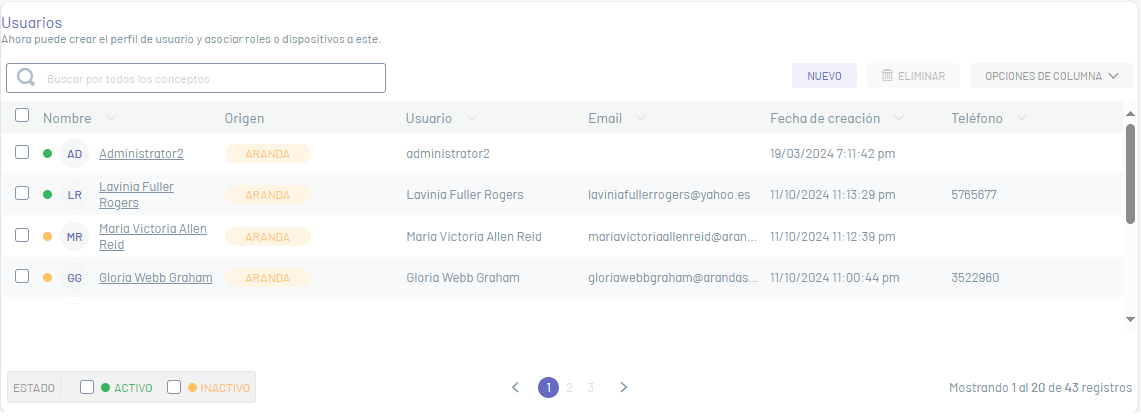
⚐ Nota: No podrá crear un usuario con el mismo nombre de usuario a menos que pertenezca a otro proveedor de autenticación.
Basic Facts
2. In the window that is enabled you will be able to fill in the basic user data, additional information, association of groups and roles.
3. In the user’s basic data, you can enter fields such as name, password, email, and status. Each of the user’s fields must take into account the Specifications for Common Fields
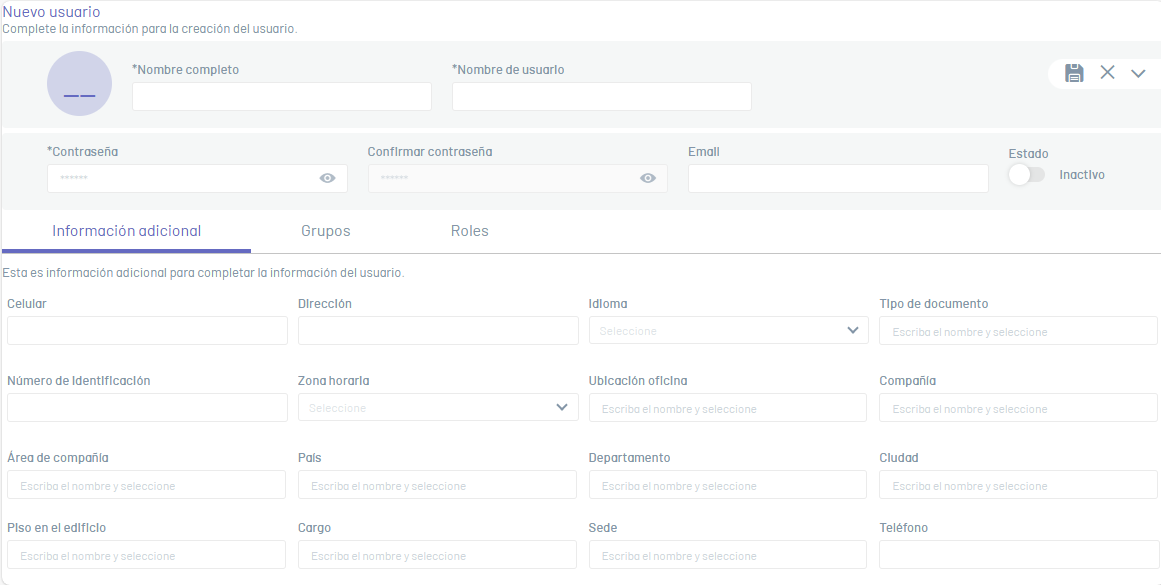
Additional information
4. On the Additional information Enter the following fields: Cell phone number, address, language, phone, among others. Each of the user’s fields must take into account the Specifications for Fields
⚐ Note: Additional User Information is optional and is not required for user creation.
Association and disassociation of Groups
5. On the Groups, in the search field for associating groups, you can relate the user, the required User Group(s).
6. Select one or all of the required groups and click the Associate.
⚐ Note: In the search field for associating groups, groups that are not imported and are active will appear.

7. The associated groups can be displayed in the list of user groups.
8. To search for groups that belong to the user, you can use the search bar for already associated groups. Groups in state earring They do not allow filtering, or searching by text.
9. To disassociate a group, select a record from the list of user groups and click the Disassociate.
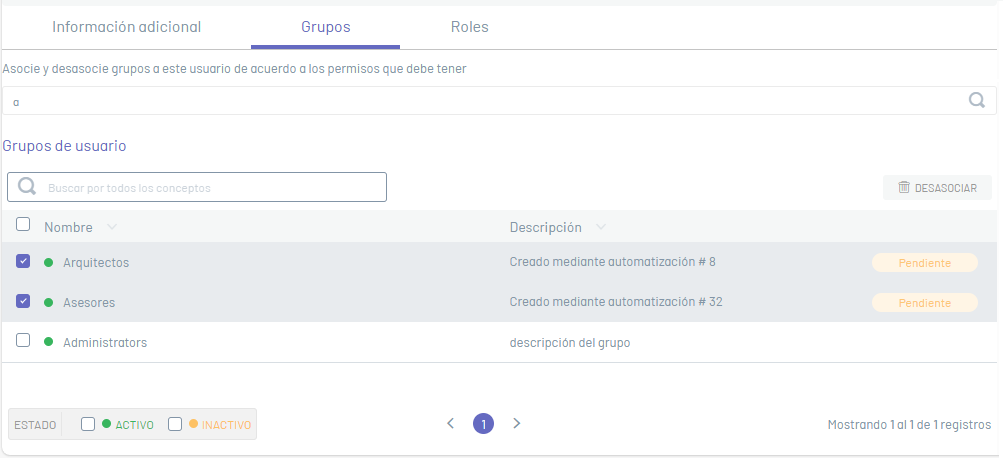
⚐ Note:
- All roles in the group will be inherited to users who belong to this group.
- If the changes have not been saved, a column will appear with the message Earring which means that the changes have not been saved and do not yet belong to the user.
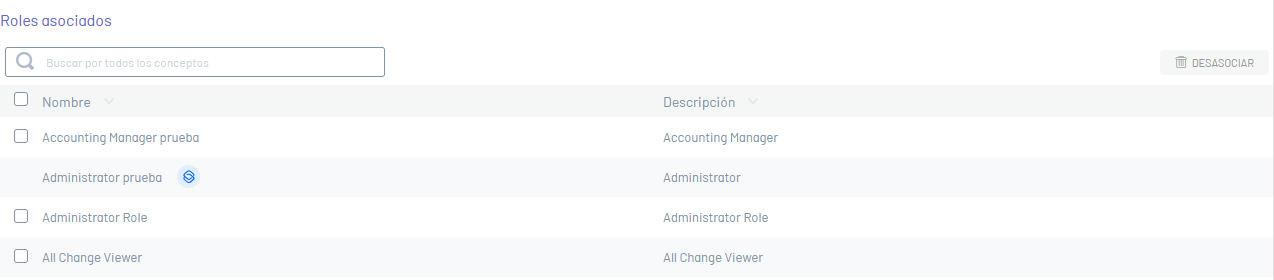
Association and disassociation of Roles
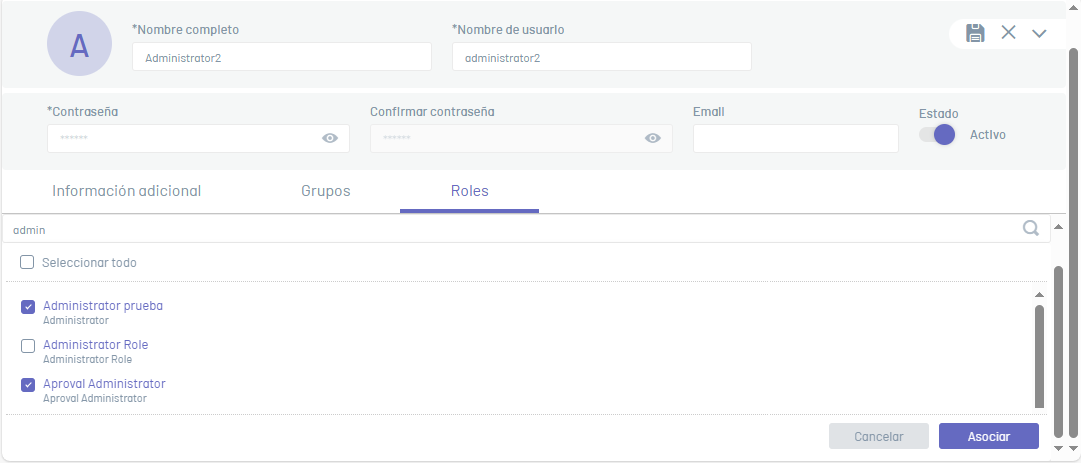
10. On the Roles, in the search field to associate roles, you can relate the roles to the selected user, according to the permissions you set.
11. Select one or all of the roles you want to relate and click the Associate.
⚐ Note: Only active roles will appear in the search field for associating roles.
12. The associated roles can be displayed in the list of user roles.
13. To search for roles that belong to the user, you can use the search bar for roles already associated with the user. Roles in status earring They do not allow filtering, or searching by text.
14. To detach a role, select a record from the list of user roles and click the Disassociate.
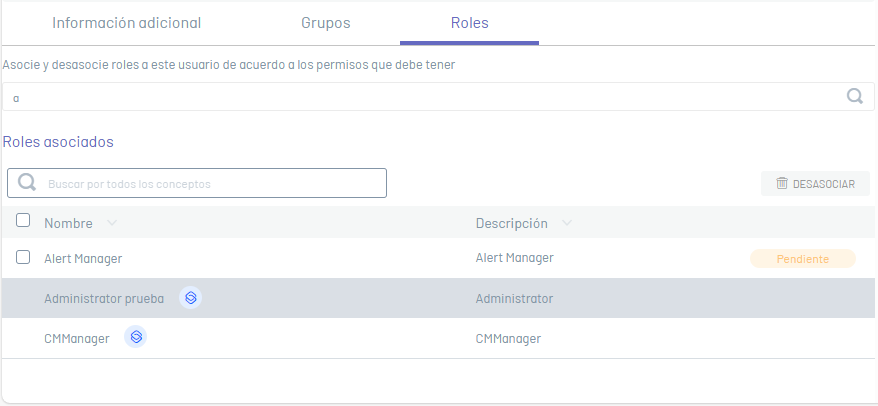
⚐ Note:
- If the role is in a state Earring It is because the user’s information has not been saved and therefore has not been associated with the user.
15. When you finish setting up the new user, click the Save  to confirm the changes made.
⚐ Note: : All users created by this means are of type Aranda, this value is displayed in the Origin in the list of users.
16. If the user belongs to a group, the group will inherit the roles from the group. Each role is identified by the  and it can only be disassociated by removing the user from the group.