
Get supplier data
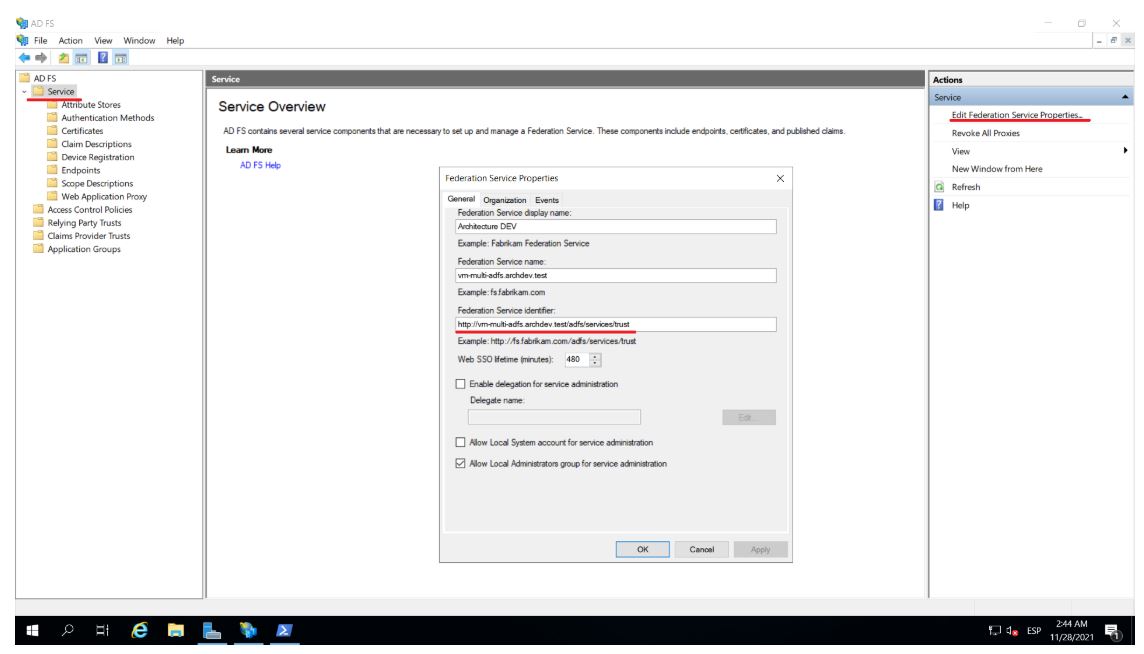
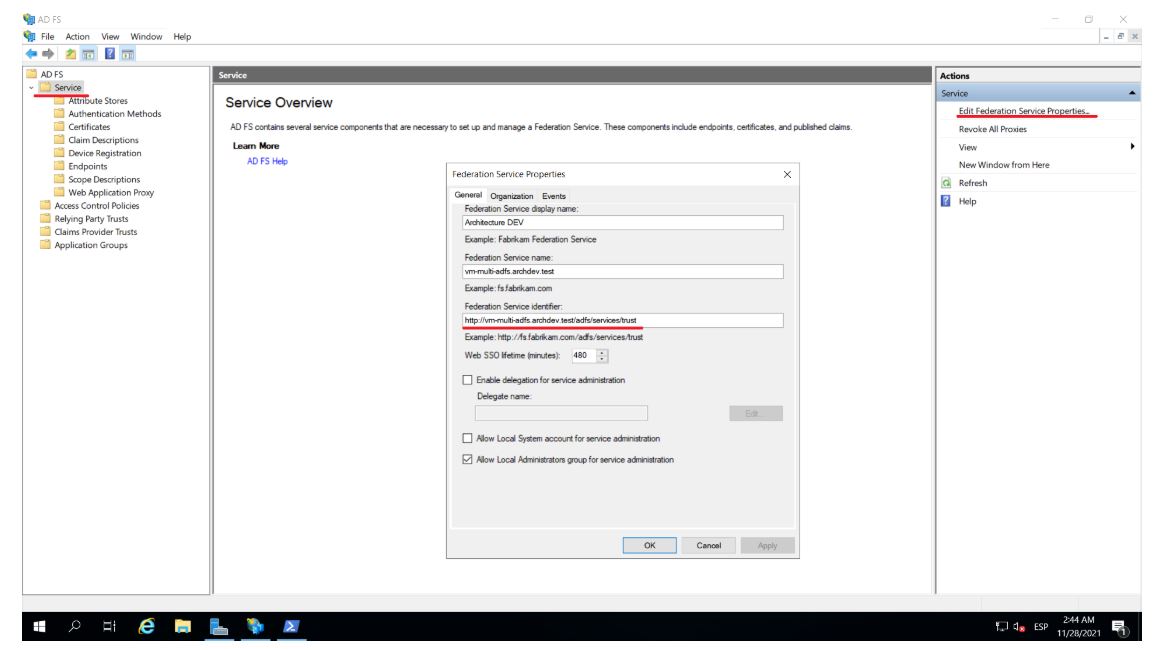
1. The identity identifier can be obtained directly from the ADFS server by opening the console AD FS Management, in the main menu by selecting the Service and in the Actions menu by selecting the Edit Federation Service Properties located on the right.
⚐ Note: Identity identifier: In a default installation, its value corresponds to https://**/adfs/services/trust.
2. The login URL can be obtained directly from the ADFS server by opening the console AD FS Management, in the main menu by selecting the Service and Endpoints.
⚐ Note: Login URL: In a default installation, its value corresponds to https://**/adfs/ls/.
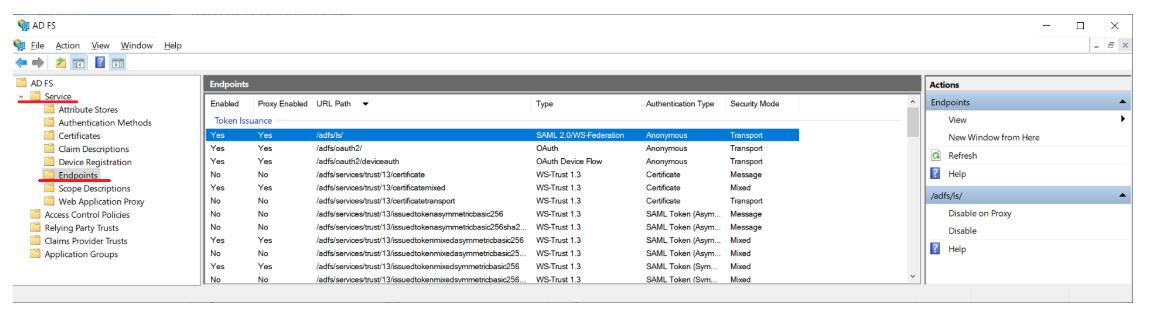
⚐ Note: Logout URL: In a default installation its value corresponds to https://**/adfs/ls/?wa=wsignout1.0
You can do the same to get the login URL and add the value ?wa=wsignout1.0 to it
This data must be entered when creating an external authentication provider in the admin console. See External Authentication configuration.
Configuring the trust relationship
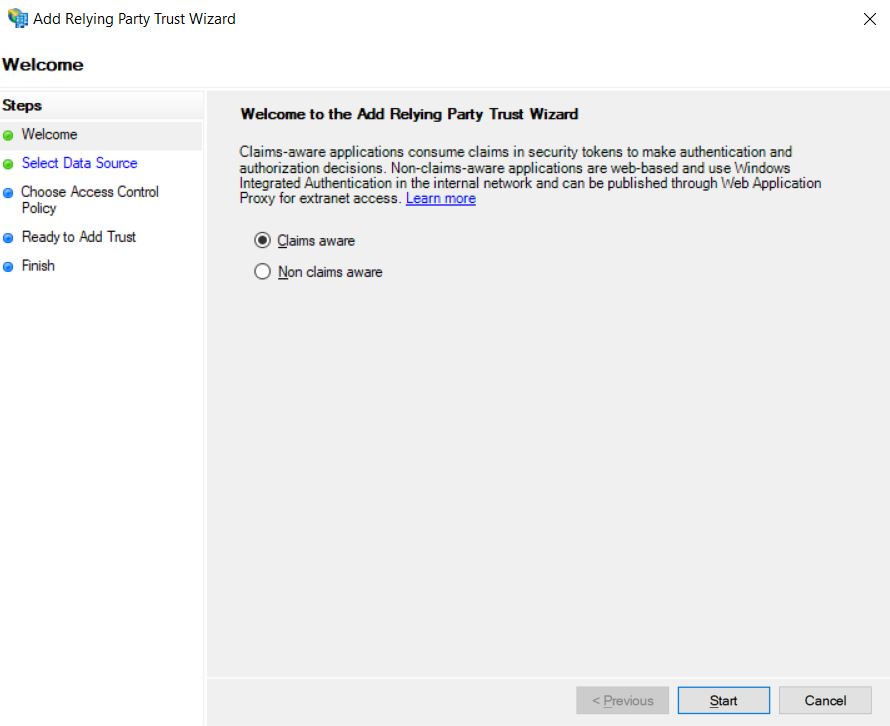
1. Start the console AD FS Management from the server where the ADFS is installed, right-click on the Relying Party TrustsSelect Add Relying Party Trust…

2. Select Claims aware and click Start.
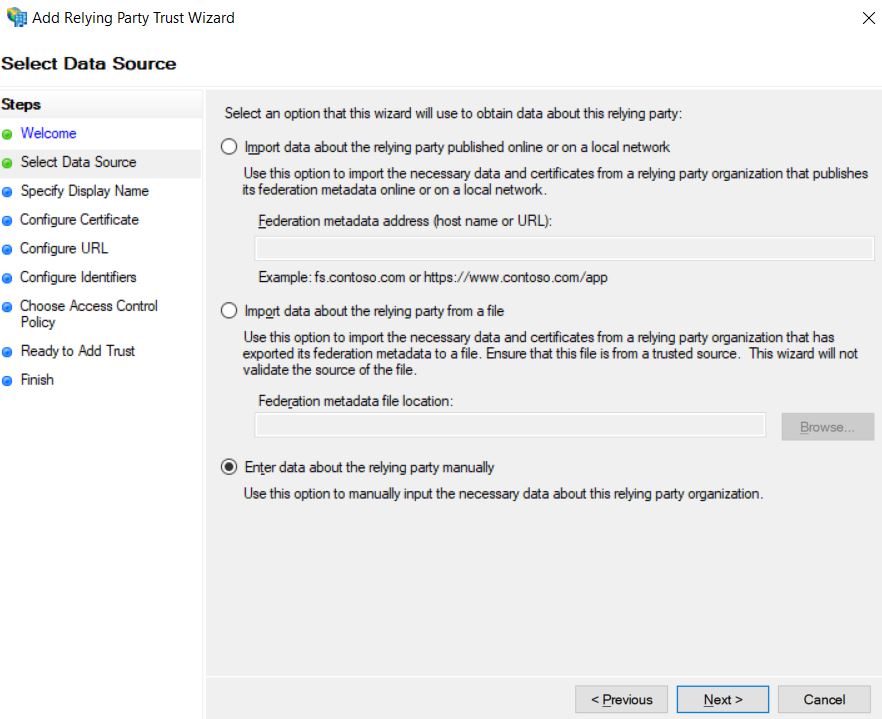
3. Select Enter data about relying party manually, then in Next.
4. Enter a descriptive name and record the additional information. Click Next.
5. You can click Next In El Paso Configure certificate to leave the defaults.
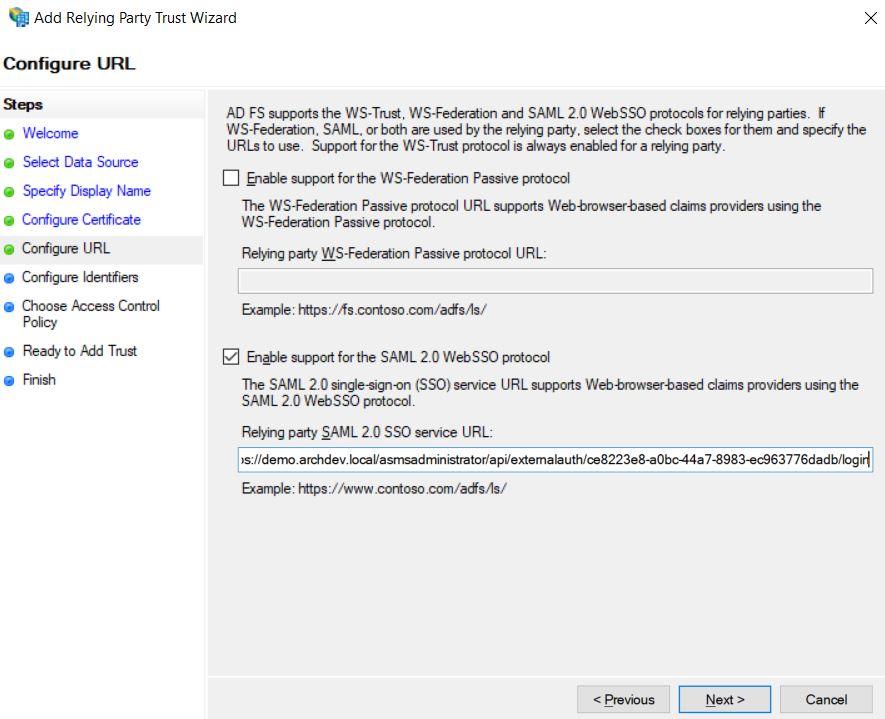
6. Select Enable support for the SAML 2.0 WebSSO protocol and enter the console sign-in URL, click Next
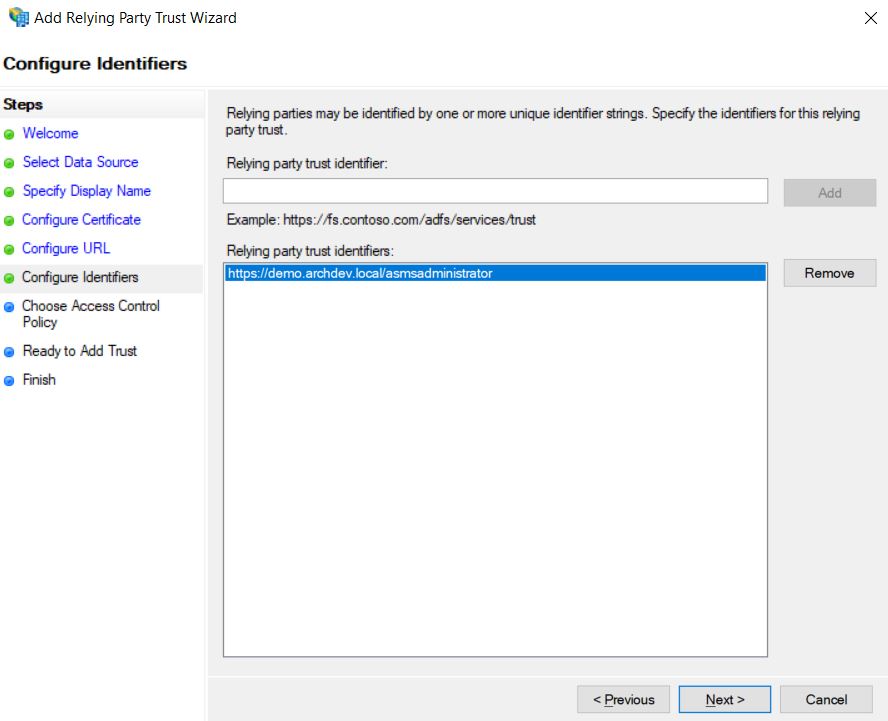
7. Enter the console URL, click Add and later in Next.
8. Select the type of access policy to be applied, based on your security requirements, click Next.
9. You can view the summary of the click settings on Next.
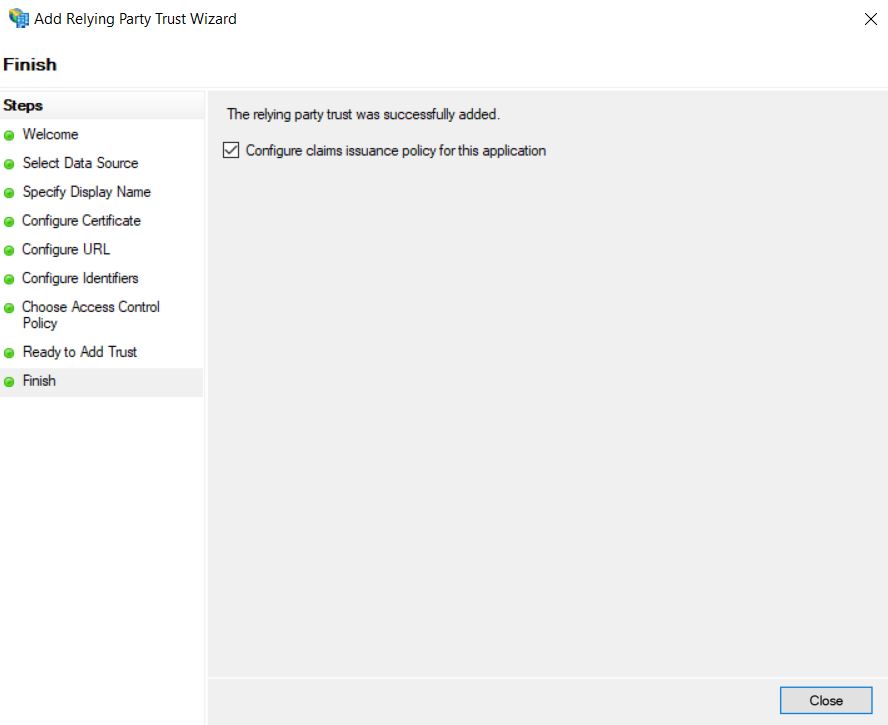
10. Verify that the option is selected configure claims issuance policy for this application to configure the policies for the issuance of claims to be used for the integration; Click Close to complete the wizard.
11. You will then find a new window to configure the policies, click Add Rule.
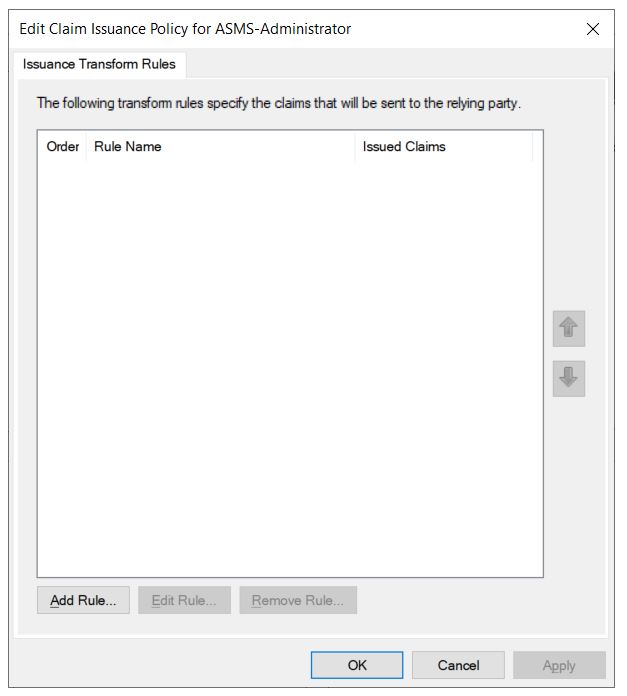
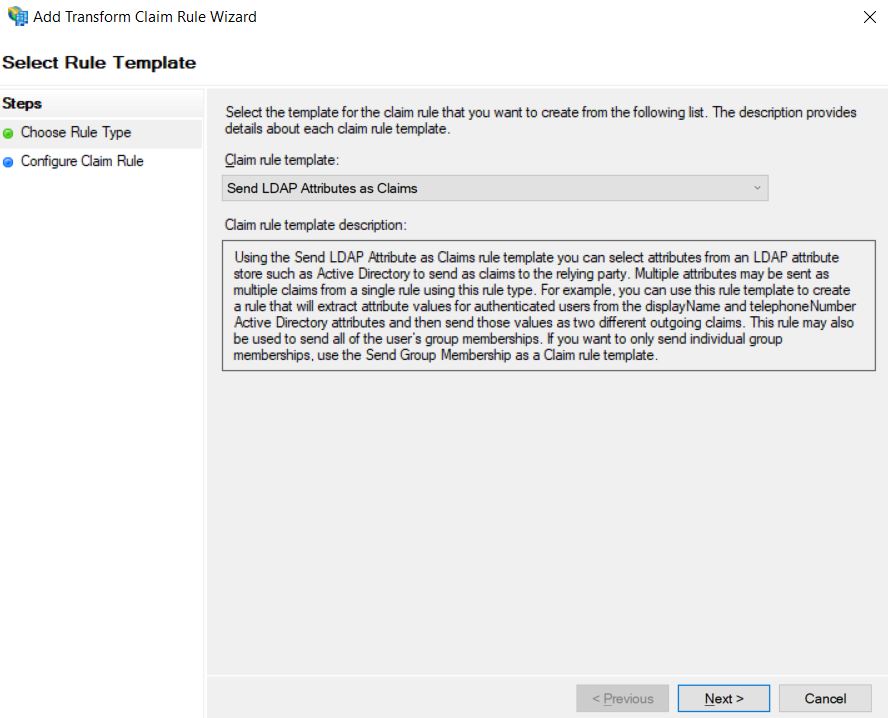
12. Select the template Send LDAP attributes as Claims, click Next.
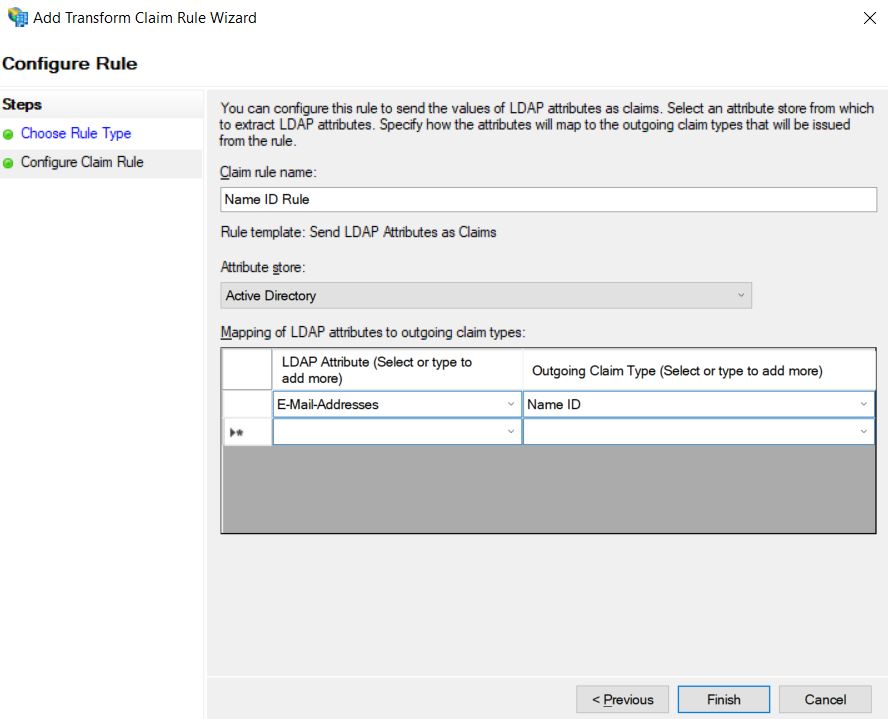
13. Enter a name to the rule, select Active Directory in the Attribute store, on the left side of the table, select E-Mail-Addresses and on the right side select Name ID; Finish the rule creation by clicking the Finish.
⚐ Note: On the left side of the table you can change E-Mail-Addresses, for the field that is mapped as UserName on importing users in LDAP
14. To complete the Policy Editing Wizard, click the OK.
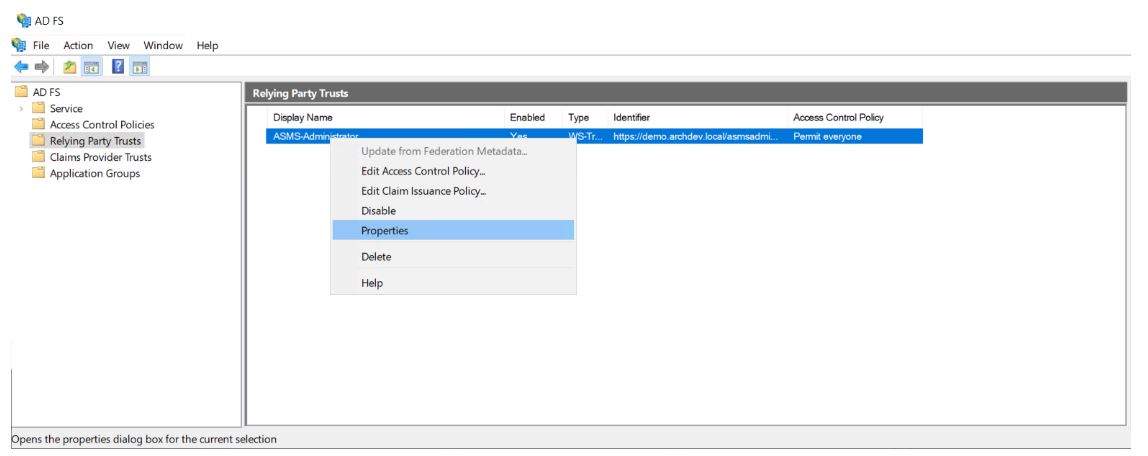
15. To add the console logoff address, edit the provider created in the ADFS, do right-click on the provider’s name in the properties. You can also do this by choosing the name of the provider and left-clicking on it.
16. Select the tab option Endpoints and click the *Add SAML….
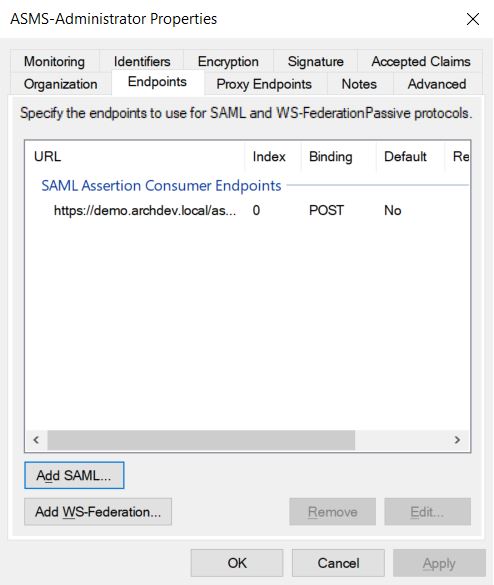
17. Select SAML Logout in the Endpoint Typelater Redirect in the Binding and finally enter the URL of the corresponding console logout.
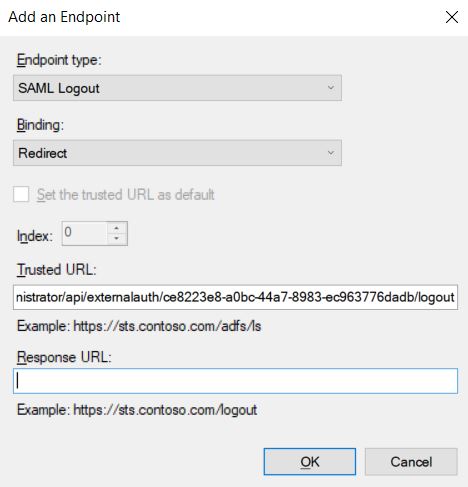
18. Click the OK button and close the properties window, click the OK.