
You can configure Aranda Datasafe to back up and protect files in specific locations on a computer (local drives only, by default). Some common locations are included by default, including All Volumes, Desktop, and Documents, and you can add other locations if needed.
To choose the locations to protect, use the Locations setting in a Policy. For each location, you can choose which files are backed up and protected:
- All files
- global files only
- files that you choose manually.
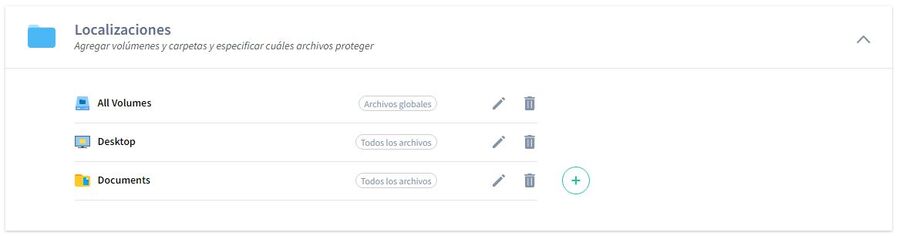
You can use the Locations section to:
Add Location
1. Open the Policy Editor for the Policy you want to change (click Policies, and then click Policy).
2. In the Protected Data tab, expand the Locations settings.
3. Click the plus (+) icon to display a context menu. The context menu has options for some commonly protected locations, including Downloads and Videos. To add your own location, click Add New Location.
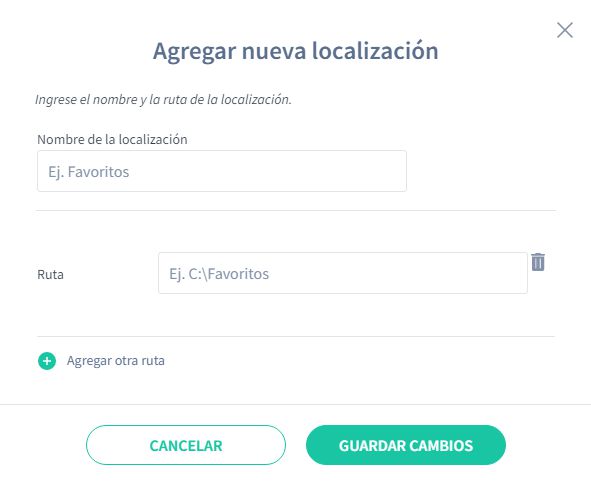
4. Enter a meaningful location name so that other people understand where this location is.
5. In the Path field, enter the folder location of the files you want to protect.
6. If you want to include multiple folders, click the plus (+) icon to Add another path. This creates another path field.
7. Click Save Changes to confirm.
8. Choose whether you want to protect All files.

If you enable this feature, all files in the location will be protected, with the exception of any excluded file type (global file excludes or custom file selection excludes). If you turn it off, you can choose which files to protect.
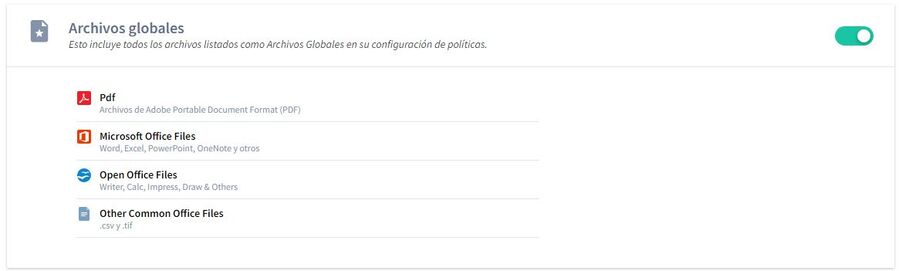
9. Choose whether you want to protect the global sources for this location. If you enable this feature, all global types will be backed up and protected. If you turn it off, global file types won’t be included (unless you add them as custom file sections in the next step).
10. . Use Custom File Selection to include or exclude any particular file type for this location. If you enable this feature, you can use the Includes and Exclude section (see the steps below). For example, you can choose to include a collection of global files instead of all global file types.
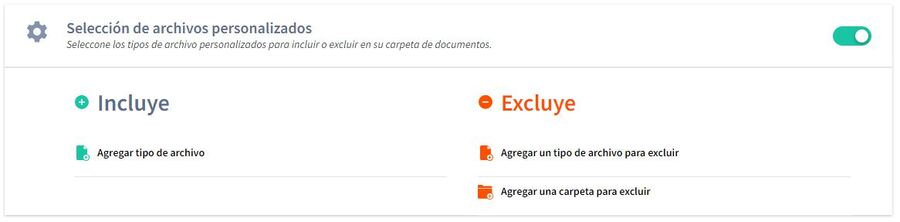
In the Includes section, click on Add File Type.
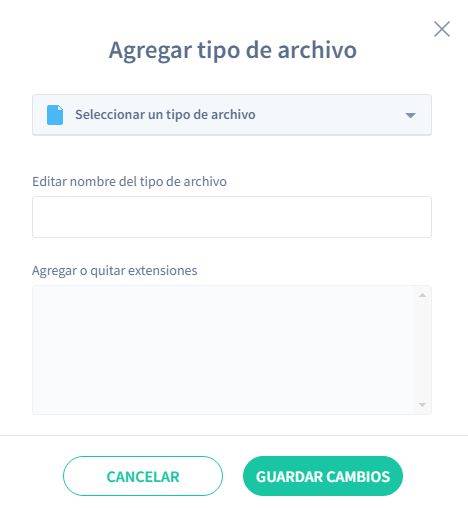
11. Use the Add File Type dialog box to choose the file types you want to protect for this location. You can choose any of your global file collections and then Add or Remove Extensions to specify which file types will be backed up.
Alternatively, you can click Add New File Type to create your own custom selection (enter the name in the Edit File Type Name field and use Add or Remove Extensions to choose file types). Click Save Changes to confirm.
12. In the Exclusions section, use Add File Type to Exclude to choose any file type that should not be protected for this location. For example, if you want Aranda Datasafe to protect all global files except PDFs, the fastest way is to enable Global Files for the location and then exclude PDFs.
Use the Add File Type dialog box to choose the file types that you don’t want to be protected for this location.
You can choose any of your global file collections, and then add or remove extensions to specify which file types to exclude. Alternatively, you can add a new file extension to exclude it. Click Save Changes to confirm.
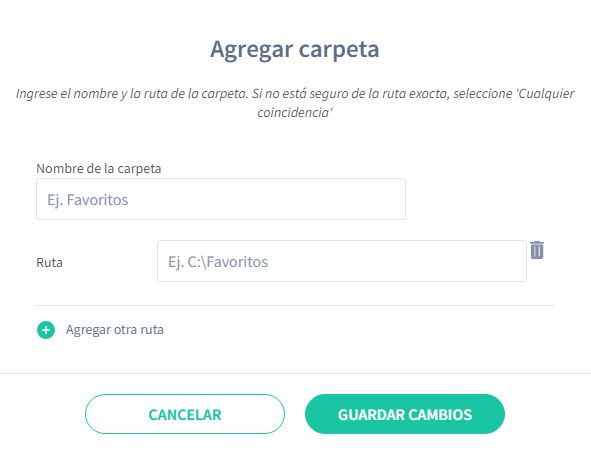
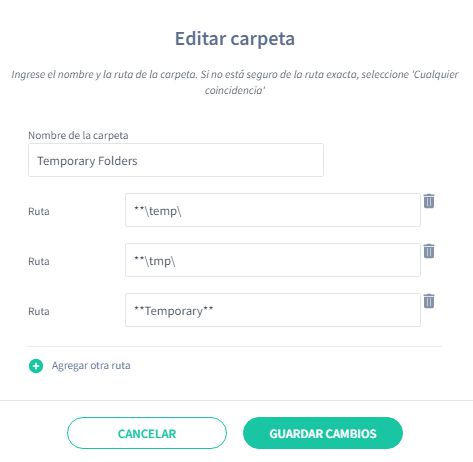
13. In the Exclusions section, use Add a folder to exclude to choose specific folders that should not be protected for this location. Click Add a folder to exclude to display a context menu. You can then choose System Folders, Temporary Folders, or Add a New Folder. If you add a new folder, the Add Folder dialog box appears, and you can set the folder name and path(s).
Click Save Changes to confirm that the folders will not be protected.
14. Click on Save Change.
edit location
To make changes to an existing location:
1. Open the Policy Editor for the Policy you want to change (click Policies and then click Policy).
2. In the Protected Data tab, expand the Locations settings.
3. Click the Edit icon (pencil) for the Location you want to change.
4. Use the settings of All Files, Global Files, and Custom File Selection to make the changes. These work in the same way as when you add a location (see above).
5. Click Save Changes.
delete location
To remove a location from a policy:
1. Open the Policy Editor for the Policy you want to change (click Policies and then click Policy).
2. On the Protected Data tab, expand the Locations settings.
3. Click on the trash can icon of the location you want to delete.