Application Login
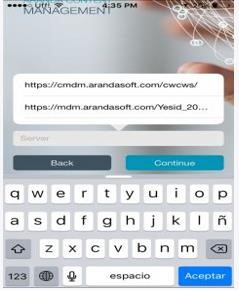
To start, you can enter the connection server through a QR code which is scanned from the web console or you can manually enter the server address.

If you select the option enter server the field to enter it is displayed, if you have previously entered the server at the top of the field the servers you have entered previously are shown so that it is not necessary to enter them again.
Subsequently, the login username and password must be entered (Aranda for a local user or if you have the console integrated to a domain, you can select it and enter with a network username and password).

Then accept the terms and conditions and click on continue.

It displays at the application information level, click on skip.

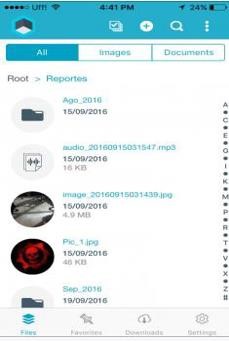
Overview
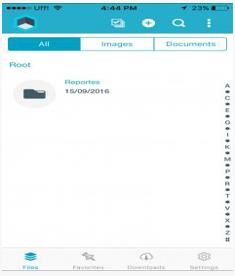
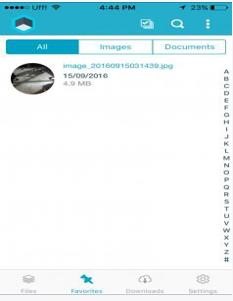
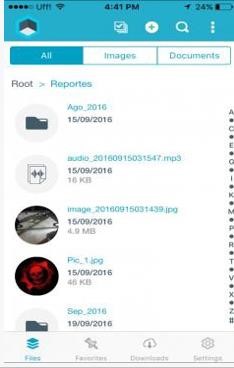
You can view the files in two viewing ways, in list mode.
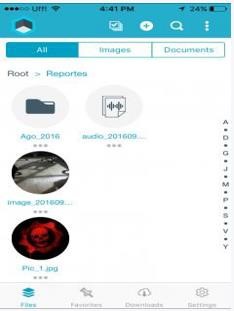
Or in grid display.
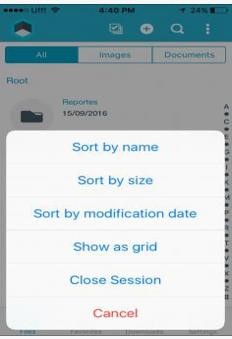
Select the visualizations by entering the menu with the three dots in the options bar at the top right.
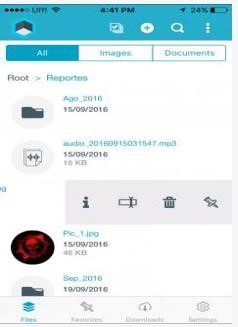
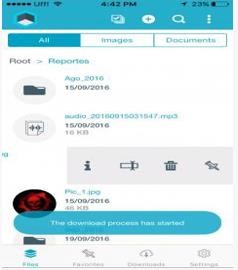
By swiping left on a file, display the options Info, Rename, Delete and Mark as a favorite (Download file for offline viewing).
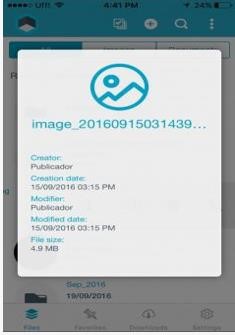
File Information, to exit you can click outside the information box.
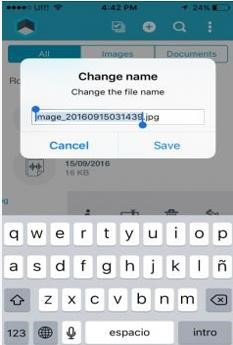
To rename file, enter the new name and tap save.
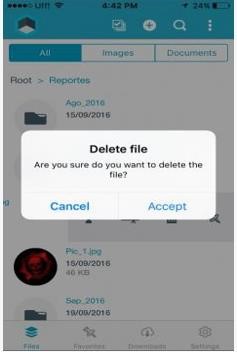
To delete the file, tap accept.
To mark a file as a favorite, you must click on the pin icon and a message will be displayed indicating the process of starting and ending the download of that file.
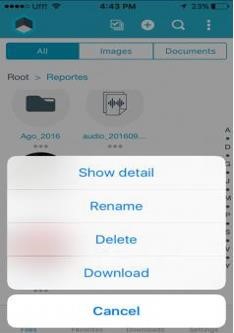
In grid view you can access the file options by clicking on the dots located at the bottom of the file.
View Menu
It has the Files (View all files and folders), Favorites, Downloads, Settings views. This menu is visible in the options bar at the bottom of the screen.
Favorites, Viewing Files Marked as Favorites.
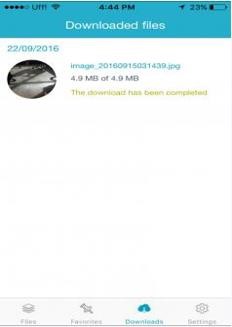
Downloads, Display of downloads made.
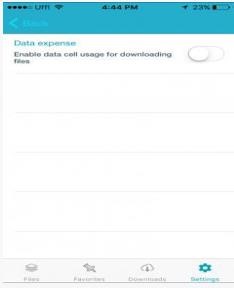
Configuration
It is possible to select whether you want to view files with mobile data or only when connected to a Wi-Fi network.

Move the selector according to the desired settings.
Upload files
To upload a file you must click on the “+” in the options bar.
Then select the file type you want to upload.
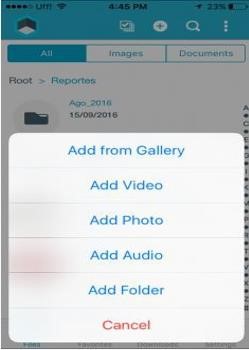
To upload an image you must select the source.
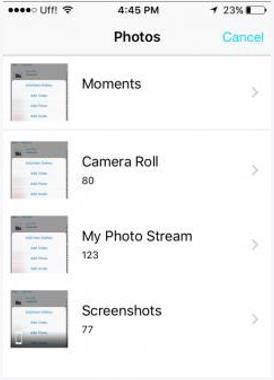
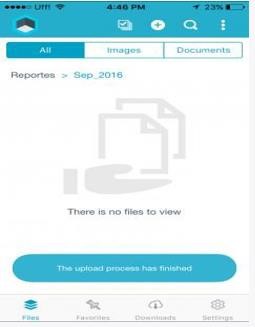
Selecting the image displays a message informing the start and end of the upload.
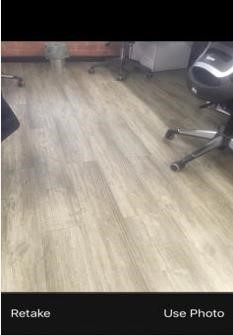
To upload a photo and/or video you must take the capture and click on Ok.
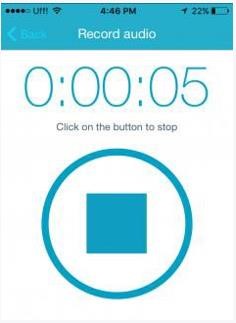
To upload an audio you must click on the microphone icon to start the recording.

Then you must click on the stop icon to finish it.
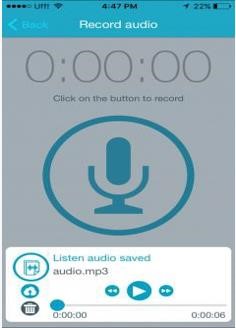
A control is displayed to play the audio, fast forward, slow it down, raise it (Cloud icon) or discard it (Basket icon).
Options bar controls
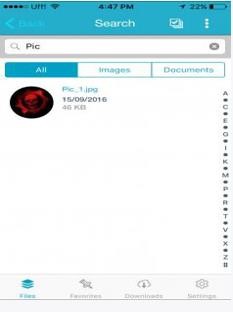
You can search for files by tapping the magnifying glass icon in the app’s options bar and then entering the search criteria.
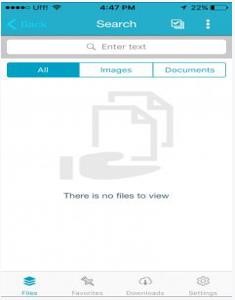
Based on the criteria entered, it will view the existing files in all folders.
You can multi-select files to delete or download in bulk using the controls enabled in the options bar.
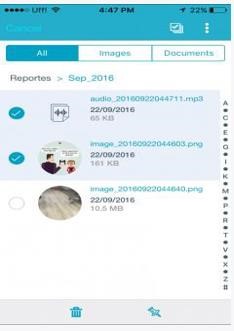
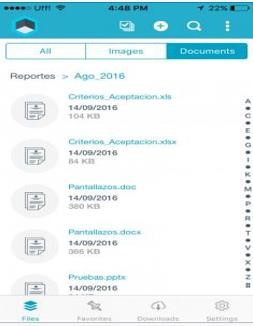
Filters
You can refine the display of files using the options in the segmented bar below the options bar by tapping images.
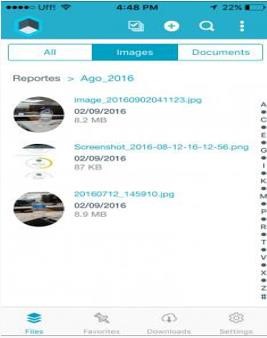
Clicking on documents will display the files in Word, Excel, PowerPoint and PDF format.