
In this section you will be able to view all the applications that have been found through the inventories of the devices and as a result of importing applications from each of the stores (google play and app store).
The applications section works as a catalog. Here you can perform actions associated with each application and manage each of the apps, having the possibility of performing mass actions on all devices (with or without an installed application).
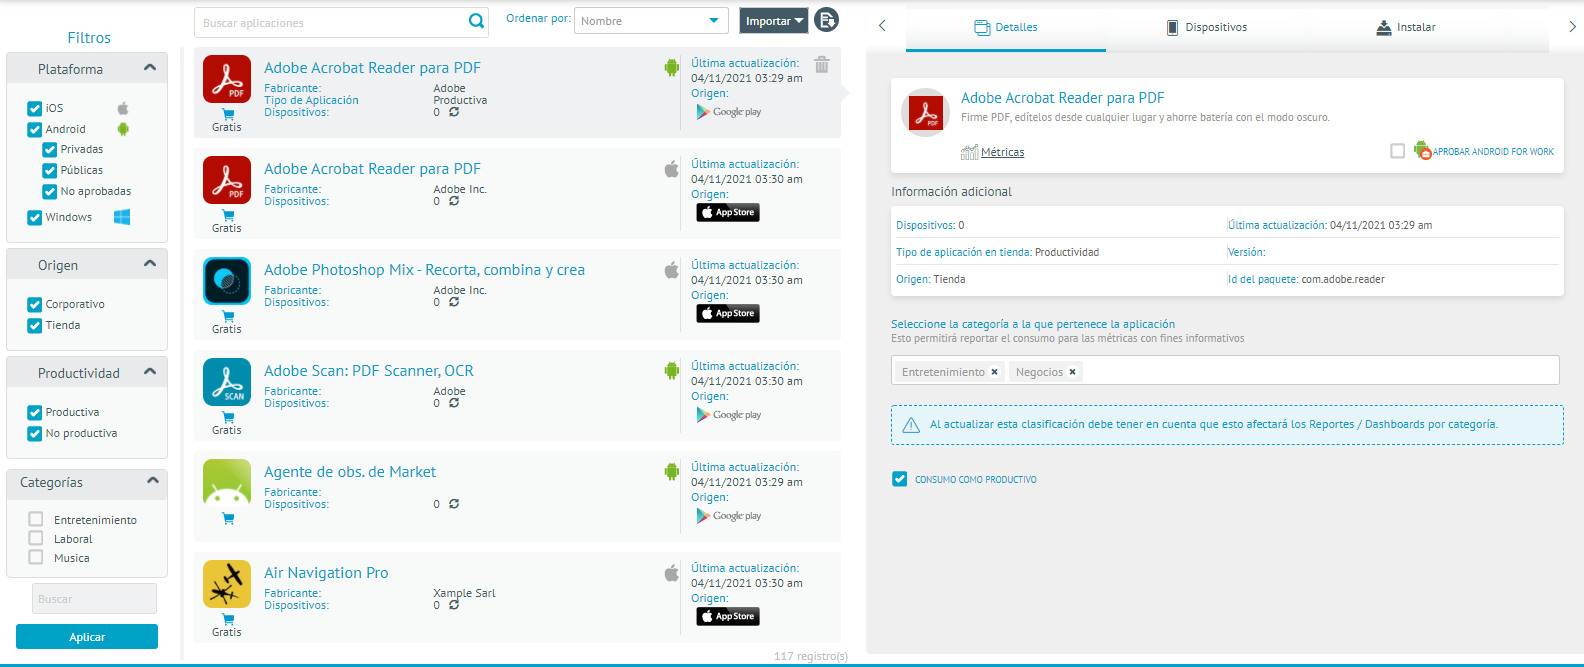
The screen is divided into 3 main sections:
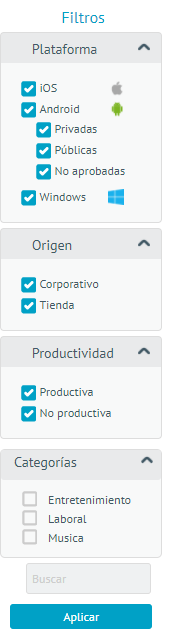
Filters section
In this section, two types of filters are discussed; one per type of platform, by origin of the application, if it is marked as productive and in which category(s) it is classified.
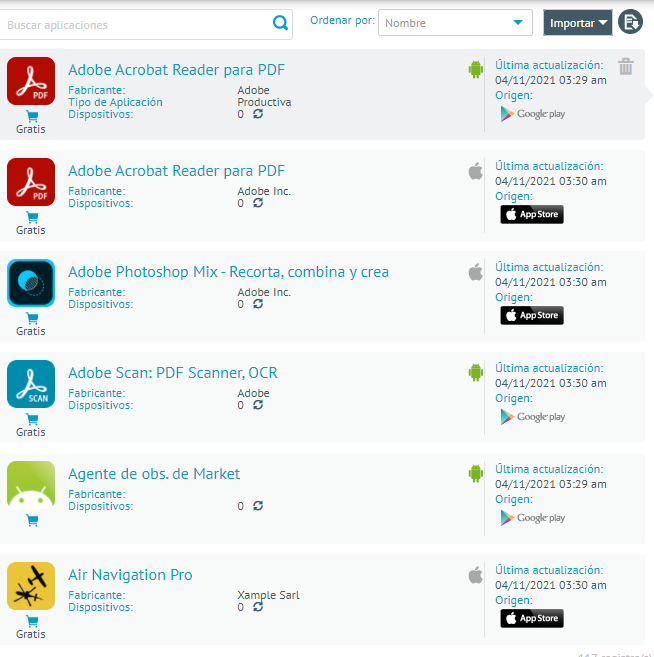
List Section
This section presents an application search field where you can query the name of the application; An additional field allows you to sort the search that has been performed. It will also be possible to import an application and upload a business APK. You can also export the generated list of the query, using the button on the far right of the column. The generated list of the query is an Excel file.
Each of the scorecards has the following information and whether it is marked as productive:
- Application name.
- Platform
- Number of devices that have it installed
- Type of applications.
- App Developer
- Application version.
In the list you can view the detail of each item with the help of the keyboard.
With the recharge icon, the count of devices that the application has reported as installed can be recalculated. This action is only possible for the selected application.
Import app
Aranda’s ENTERPRISE MOBILE MANAGEMENT AEMM app catalog has app import functionality, allowing apps to be uploaded from public app stores such as Google Play, iTunes, and Windows Store.
On the other hand, it also offers the upload of corporate applications where you can import an APK (Android) or IPA (iOS) file to install directly on the devices.
Import from Public Store
To access this import mode, click on the Import combo, followed by the Import option. In the details section, the application search and import interface will load:
Description
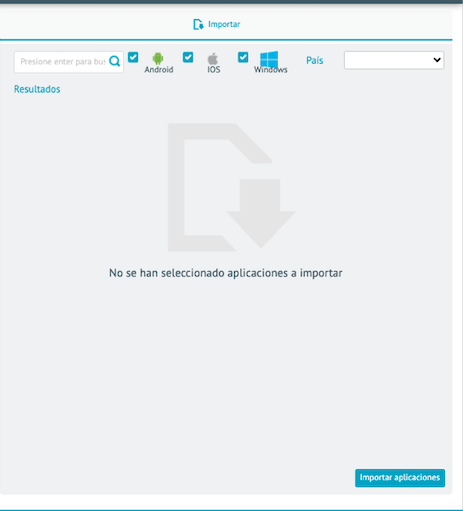
In the search field, enter a query criterion to search for matching apps on the selected platforms. If the app only appears in the store of a country, you must select it in the country field (this field only applies to Android platform), the search results will be displayed according to the filter settings:

After selecting the applications you want to import and identify the Import Applications option. the imported application will be added to the Aranda ENTERPRISE MOBILE MANAGEMENT AEMM Applications catalog.
Uploading Apps Using APK or IPA Files
To access this import mode, select the Import combo, followed by the Upload option. After this action, the details section will load the corporate application upload interface:
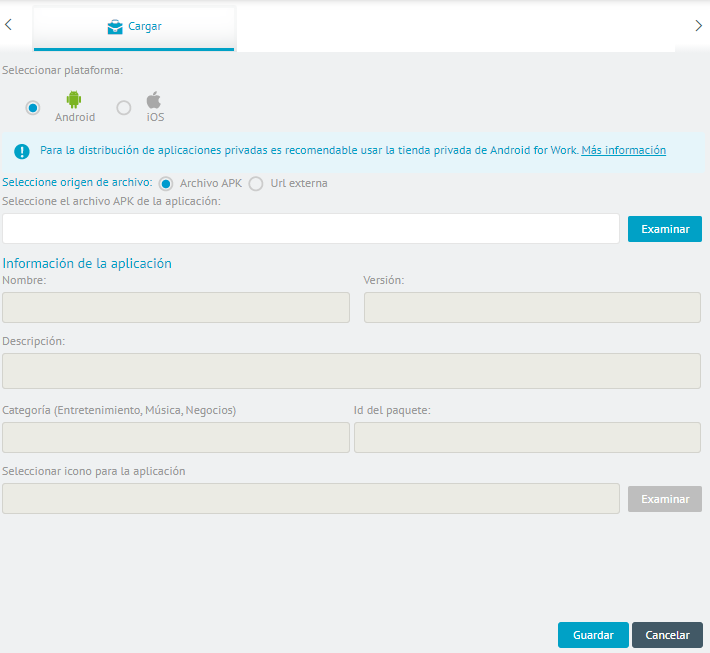
Using this interface, you can load applications directly using APK or IPA files for Android or iOS platforms respectively.
There are two modes of loading applications:

| Charging Modes | Description |
|---|---|
| Direct File Upload | In this mode, the file is loaded directly into the console, thus being available for installation in the dipsositives. |
| Loading by Url | In this mode, the file must be uploaded to an external file manager such as: DropBox, Azure Blob Storage. This mode is recommended when the file is of a considerable size (greater than 30 MegaBytes) and you want to perform a massive installation to a considerable number of devices (> 200) |
⚐ Note: In both upload modes, the console will attempt to extract the data from the uploaded file/url and place it in the corresponding boxes.
Once all the application data has been registered, select the Save option to persist the application in the Aranda ENTERPRISE MOBILE MANAGEMENT AEMM application catalog.
Application Detail Section
This section presents the most relevant details and functionalities corresponding to each application, this section has the following tabs:
Details tab
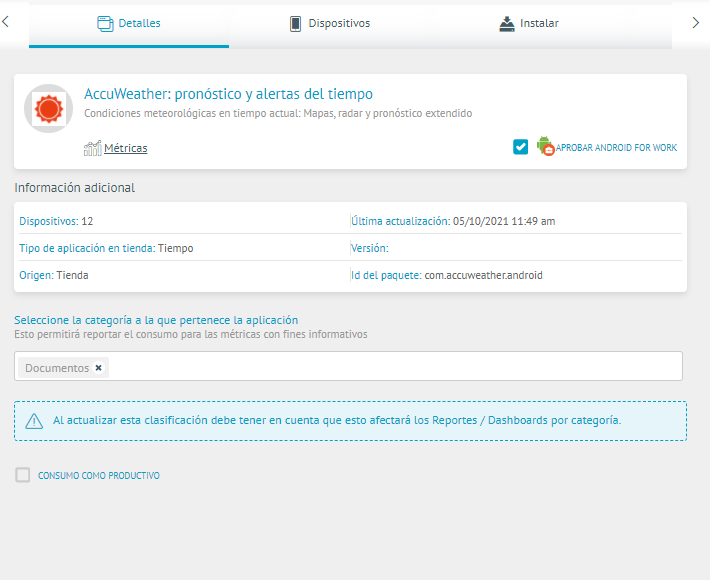
This tab shows the general details and options divided into the following groups:
| Groups | Description |
|---|---|
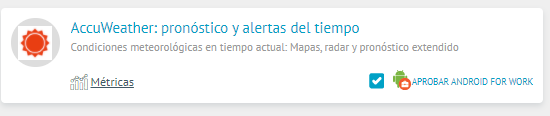
| Card Description: | The full name of the application, description, direct link to the Metrics tab and the checkbox to approve the application for use in Android For Work (AFW mode is enabled in the console) are presented |
| Card Additional Information: | Data is presented for device count, last update from store, application rating, Version, Source, Package ID. |
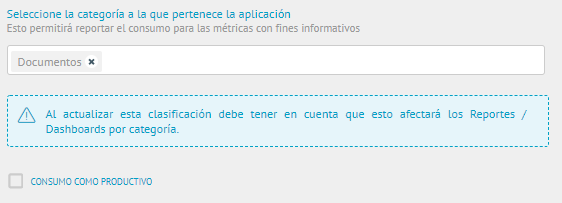
| Card Metrics: | The categories in which the application is classified are presented, as well as a checkbox that marks the application as Productive. These categories are the ones defined in the option: Settings -> Preferences -> Category Management. These categories and productive consumption data are used for app metrics data for the Metrics Dashboard section as well as for the Device Resume, on the App Metrics tab. |

Marking an application as Productive is based on the company’s own business objective, therefore, applications that are marked as productive are those that support the core activities of the company’s business object.
Devices tab
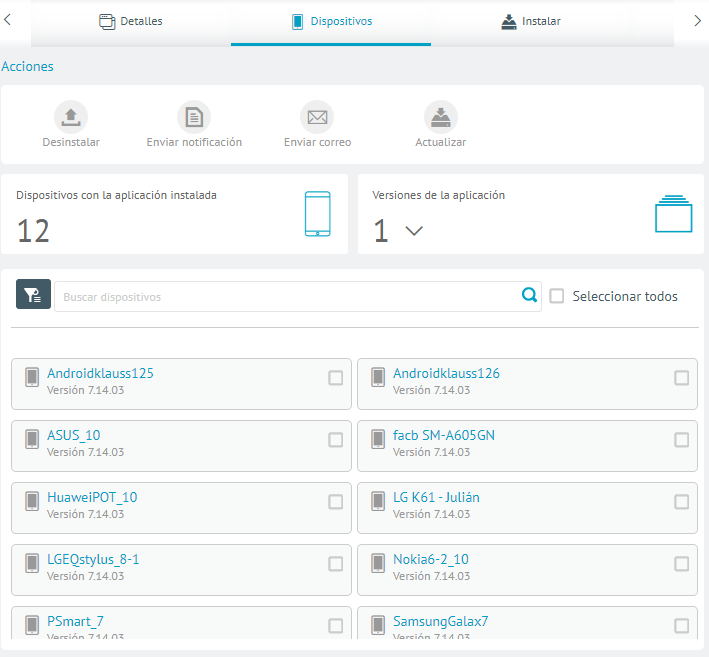
The devices tab lists and presents various options for the mobiles that have reported the application as installed in the reported inventories.
At first, the number of devices that have reported the application as installed, the installed versions and count of such versions on the devices are shown, as well as the list of the devices included.
In addition, the following possible actions to be carried out on the devices are presented, with respect to the application:
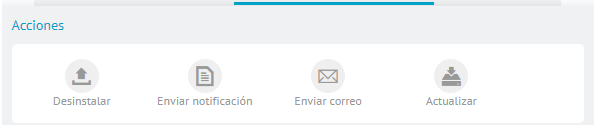
| Actions | Description |
|---|---|
| Uninstall | Sends uninstall commands to the selected devices. |
| Send Notification | Sends a message to the agent on the selected devices. |
| Send mail | Send an email to the responsible users of each of the selected devices. |
⚐ Note: Currently the action of update it is not available as there is a limitation on Google’s part. What is done so that the apps are updated as soon as possible automatically from the store, is a configuration in the process of assigning apps (either by device or in bulk) so that they are updated when there is a new version in the store (high priority mode). For more information go to Update apps
Install tab
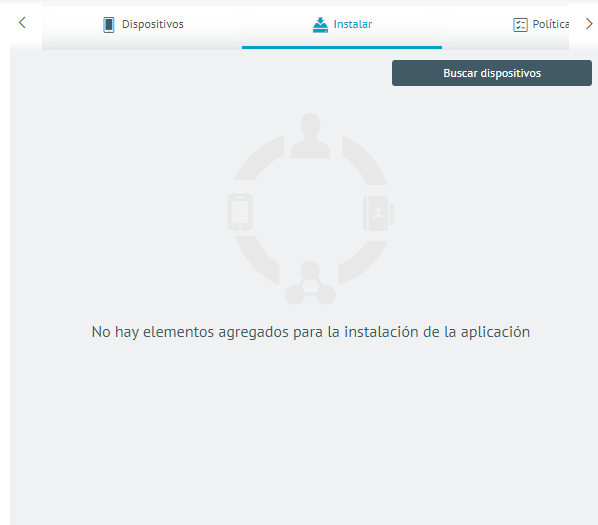
This tab presents the option to send the application installation command to a limited number of devices (maximum 50). Select the Search Devices option, choose the devices, and finally the Install option to send the commands.
Policy tab
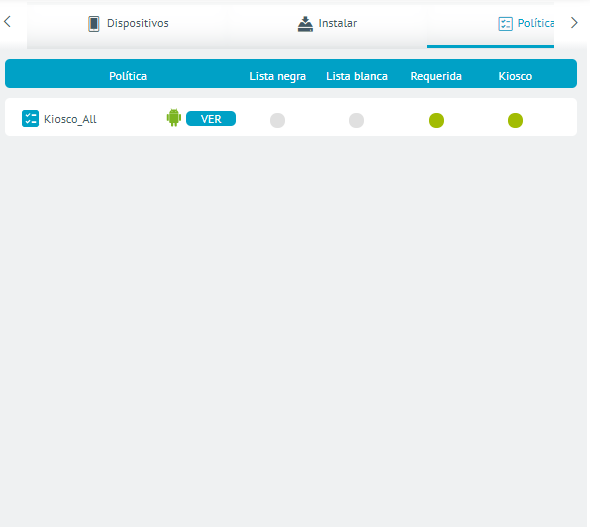
This tab presents the policies in which the application is being referenced and the policy items in question where it is used.
AFW Settings Tab (Android Apps Only)
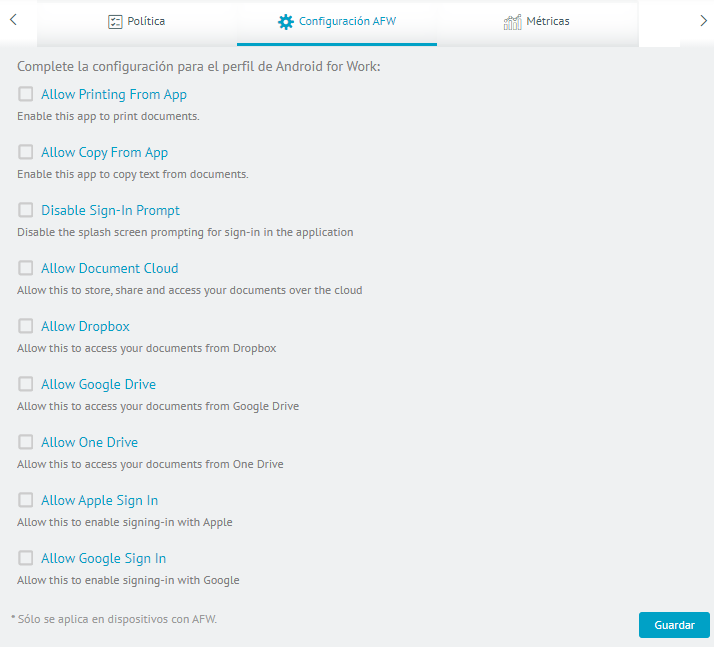
This tab presents the managed settings that the application has implemented for its operation in the work mode for Android For Work. These settings are uploaded directly from the Google Play store and are not controlled by Aranda ENTERPRISE MOBILE MANAGEMENT AEMM. Any modification to these settings will affect all devices that have the application installed and the devices are linked under any AFW mode (DO or PO). Some apps that are approved by Android For Work can be determined by the settings handled, these depend on the nature of the apps. Some of these will be detailed below:
- Navigate to the Applications option and through the browser enter the application to be parameterized (make sure the app is imported and marked as approved in AFW from the AEMM console)
- Click on this application and on the right side a form with the corresponding information will be displayed.
- Go to the AFW Configuration Option, for these take into account some indications or ways of use.
Managed Settings for Approved Apps in Android For Work
General configurations for applications can be made without customer intervention, some of these are described below:
Google Chrome:
In this application we find different configuration options, some of them will be specified below:
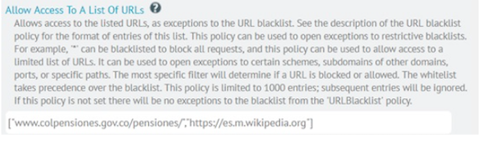
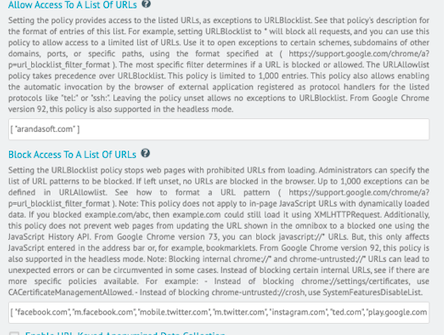
Whitelists (Allow access to a list of URLs)
Through this option, authorized URLs are entered, becoming exceptions to restricted pages or restricted URLs (The whitelist will take precedence over configured blacklists). To configure the URL allowlists or whitelists, please note the following settings or URL entry structures:
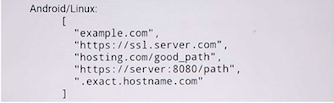
If a company needs to access some pages, enter with the following format; example URL allowlist:
Blacklists (Block access to a list of URLs)
This option restricts URLs, turning them into blacklists. To perform this configuration, take into account the following parameters or login structures in the required URLs.
If a business needs to restrict all pages, enter the following pattern [{“*”}] blacklisted to block everything.
Example restriction of all pages:
If a company needs to restrict some pages, enter the corresponding URLs.
Example restriction of all pages:

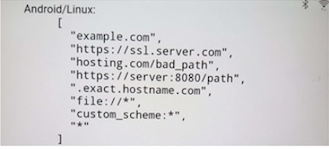
Configuration Mixed White and Black Lists
Below is the combination of whitelisting and blacklisting policies; in the first box you can see the domain restriction and in the second box you can see a list of pages with exception of blocking and one of these is part of the restricted domain; that is, give permissions to the subdomain.
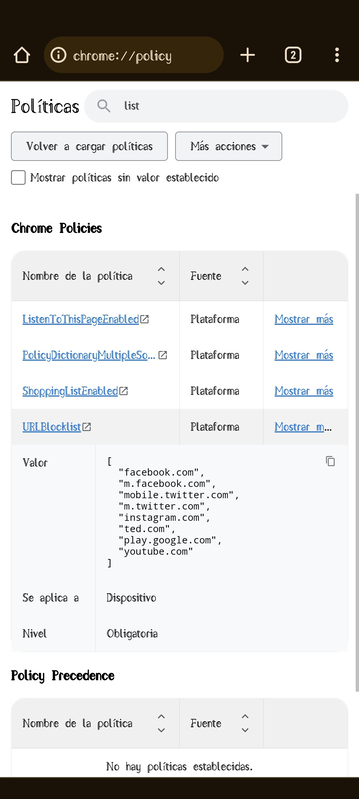
How to check the AFW settings managed from your device?
From your device you can consult the policies configured from the console; enter the URL in the Chrome search engine and register the following line:
Chrome://policy The names of the applied policies will be displayed
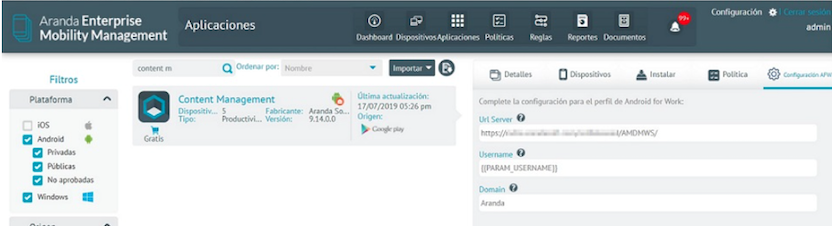
Aranda Content Manager
Server Url Domain User
Dropbox
Through the managed configurations, this application allows you to configure its use only to managed devices, through the authentication token generated in the configuration console of your Dropbox Business account with the Enterprise plan.
Through the Dropbox Configuration Console, you can add exceptions to the corresponding EMM rule, so that only users added in those exceptions can log in from the Dropbox app approved in AFW in AEMM, and installed on the devices.
For more information about configuring EMM rule exceptions in the Dropbox Configuration Console, visit the following link:
https://help.dropbox.com/es-la/teams-admins/admin/enterprise-mobility-management

Microsoft OneDrive
Microsoft OneDrive managed configurations allow you to add allowed accounts, ensuring that you will only be able to log in to the AFW approved application from AEMM, and installed on the devices, with those accounts.
To make the functionality effective, add app configuration policies for managed Android devices, through the Azure portal in your active directory. To access, you need to enter your business email account.
For more information about configuring apps for managed Android devices in the Azure portal, visit the following link:
https://docs.microsoft.com/es-mx/intune/app-configuration-policies-use-android

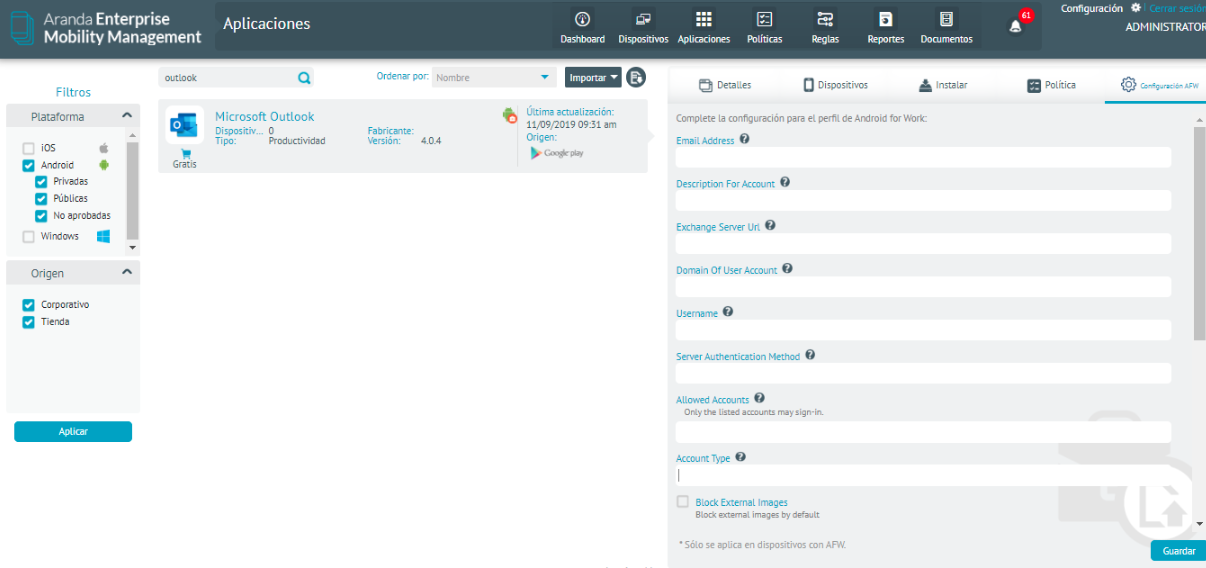
Microsoft Outlook
This application supports managed configurations, which allow you to customize their behavior to both the Office 365 service and the MDMs.
There are two sections of settings available, which are categorized into Account Settings and General App Settings.
Account configuration is done through the following fields:
| Fields | Description |
|---|---|
| Email Address: | Email address that will be used to send and receive emails. Accepted values are traditionally formatted email addresses; Example user@companyname.com. |
| Descripiotn For Account: | Description of the account in order to identify it. |
| Exchange Server Url: | The URL of the Exchange server associated with your active directory. Generally for business emails under Office 365, the URL is outlook.office365.com. |
| Domain Of User Account: | It specifies the domain of the user account, usually the name of the company and is exactly the one found in the domain of your email. For the example case, it will be companyname. |
| Username: | Specifies the username associated with the email account being set up. |
| Server Authentication Method: | Determines the user’s authentication method. For basic authentication, the method will be by username and password, and the value Username and Password must be entered. |
| Allowed Accounts: | List of logged-in accounts, separated by semicolons (;). |
| Account Type: | Determines the type of account that is being configured, according to the authentication model, for the example case it will be BasicAuth since basic authentication is being performed. |
For the general configuration of the application, the following fields are used:
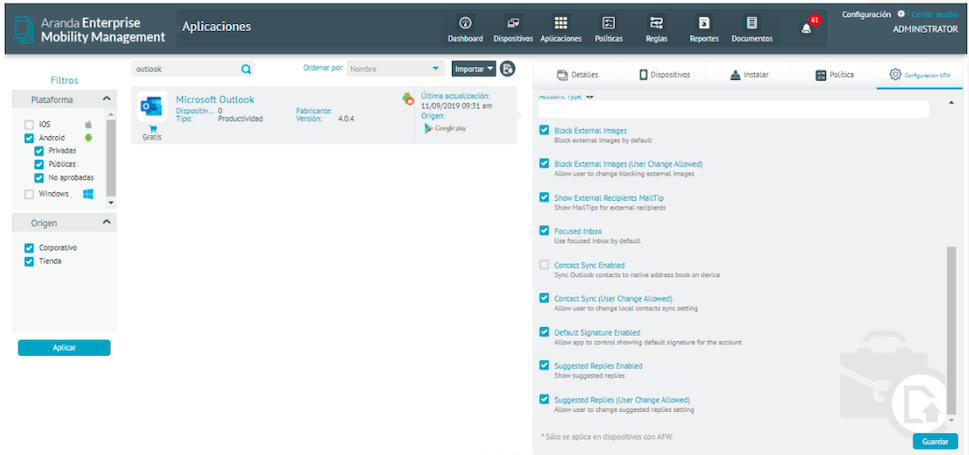
| Fields | Description |
|---|---|
| Block External Images: | Determines whether external images are blocked from viewing. |
| Block External Images (User Change Allowed): | Determines whether the user can change the external image display blocking settings. |
| Show External Recipients MailTip: | Determines whether to show email suggestions from external recipients. |
| Focused Inbox: | Determines if the “Focused” inbox is enabled. |
| Contact Sync Enabled: | Determines whether to enable synchronization of Outlook contacts with the native contacts app. |
| Contact Sync (User Change Allowed): | Determines whether the user can change the Outlook contact sync settings with the native contacts app. |
| Default Signature Enabled: | Determines whether your app uses the default signature. |
| Suggested Replies Enabled: | Determines whether to enable suggested replies to incoming emails. |
| Suggested Replies (User Change Allowed): | Determines whether the user can change the settings for suggested replies to incoming emails. |
Metrics tab
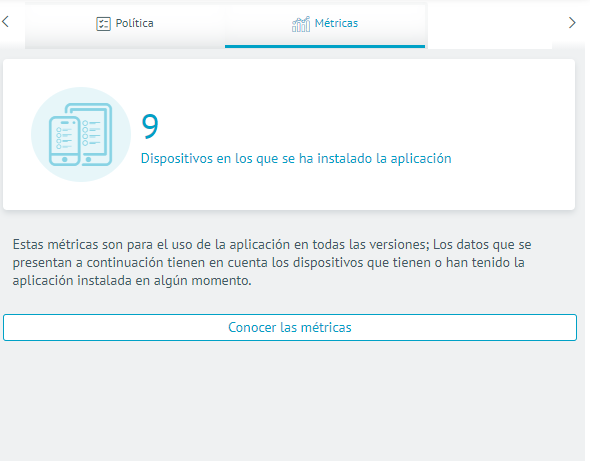
This tab presents information about the metrics collected from the devices in relation to the data consumed and usage of the application on the devices that have it or had it installed.
As a first piece of data, the count of devices that have the application installed and have reported metrics of said application is shown.
To detail the metrics, select the Know Metrics option.
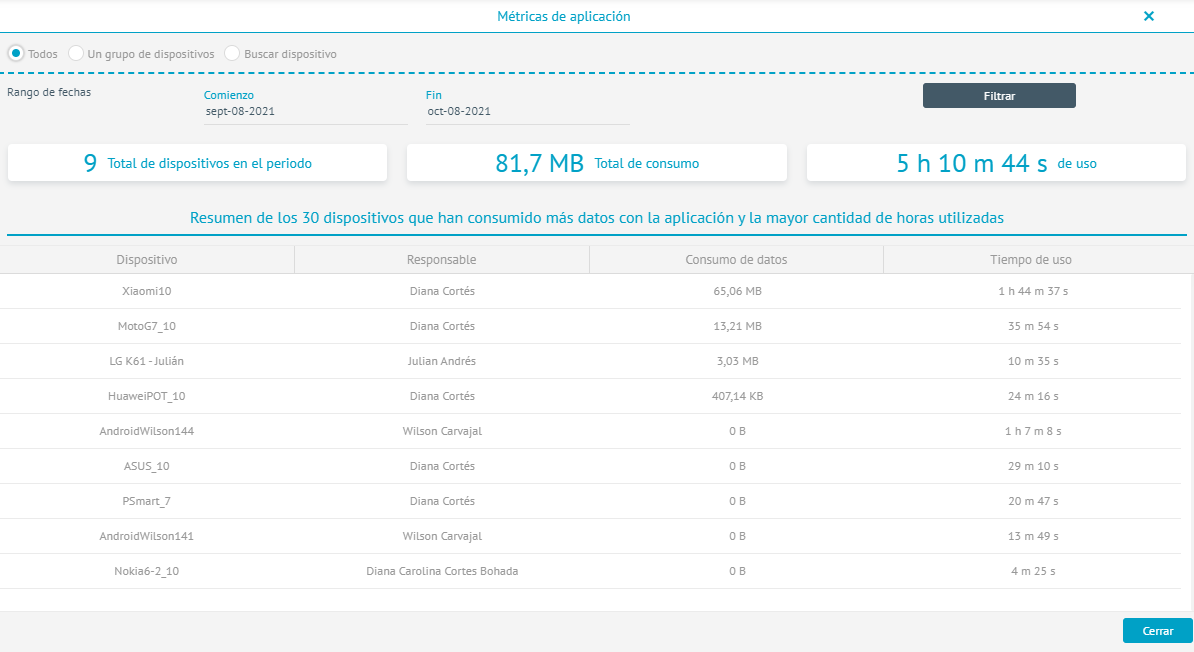
On this screen you can see consolidated reports that the devices have made on data consumption and use of the application.
Data can be filtered by:
- All devices, device groups, one device in question
- Date range