
If Android for Work support was enabled using the process described in the Mobile > Preferences, pairing of Android devices that support Android for Work will be available.
Third-Party Provider Linkage
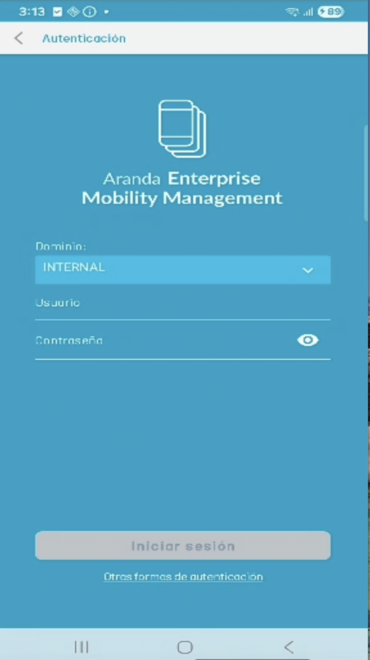
If the administrator has the setting enabled from the Console, the user can link through third-party providers (such as Google or Microsoft) in the mobile app. This method provides greater security by delegating responsibility for authentication to specialized identity providers, eliminating the need to store sensitive passwords in the application and ensuring data confidentiality and integrity.
The linking process is described below by Third-Party Providers:
1. On your device, display the option Other forms of authentication.
2. The application redirects the user to the configured authentication forms.
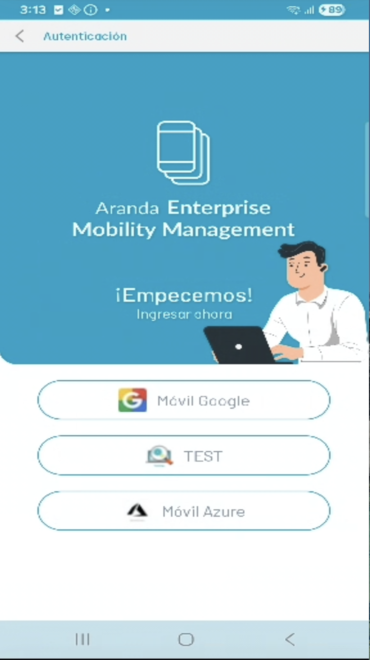
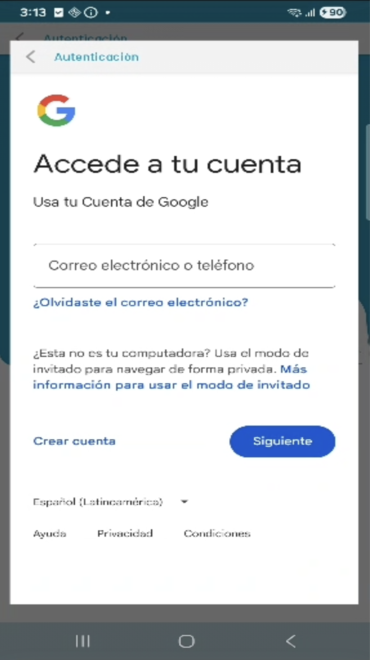
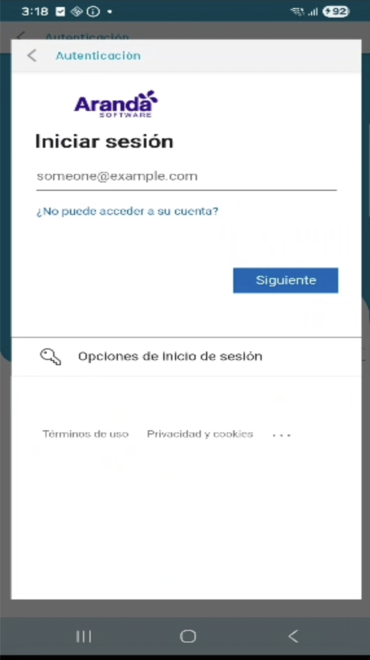
3. According to the selected option, the login screen of the corresponding provider is displayed.
| Third-party provider Google | Third-party vendor Microsoft |
|---|---|
 |
 |
Linking from web console
Select the Link. On the right side of the screen a QR code will appear containing the server and domain information to continue the process.
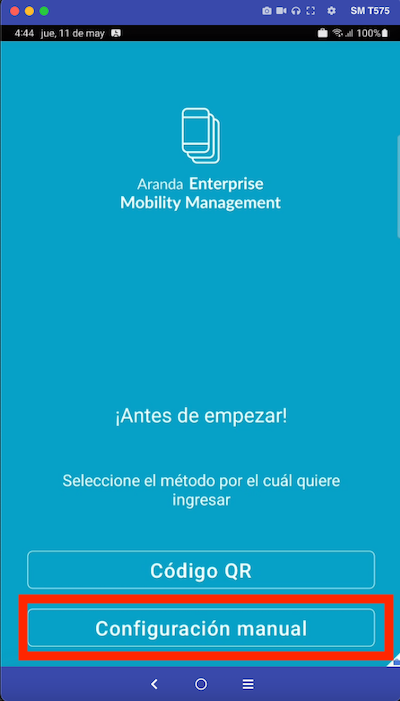
To capture the QR code, open the mobile app and select the option Enter QR code.

The app uses the device’s camera to capture the code, which is automatically detected. Once the information is captured, the application validates the server and domain, and presents the user with the view to enter the corresponding credentials (username and password).

Linking from the invitation email
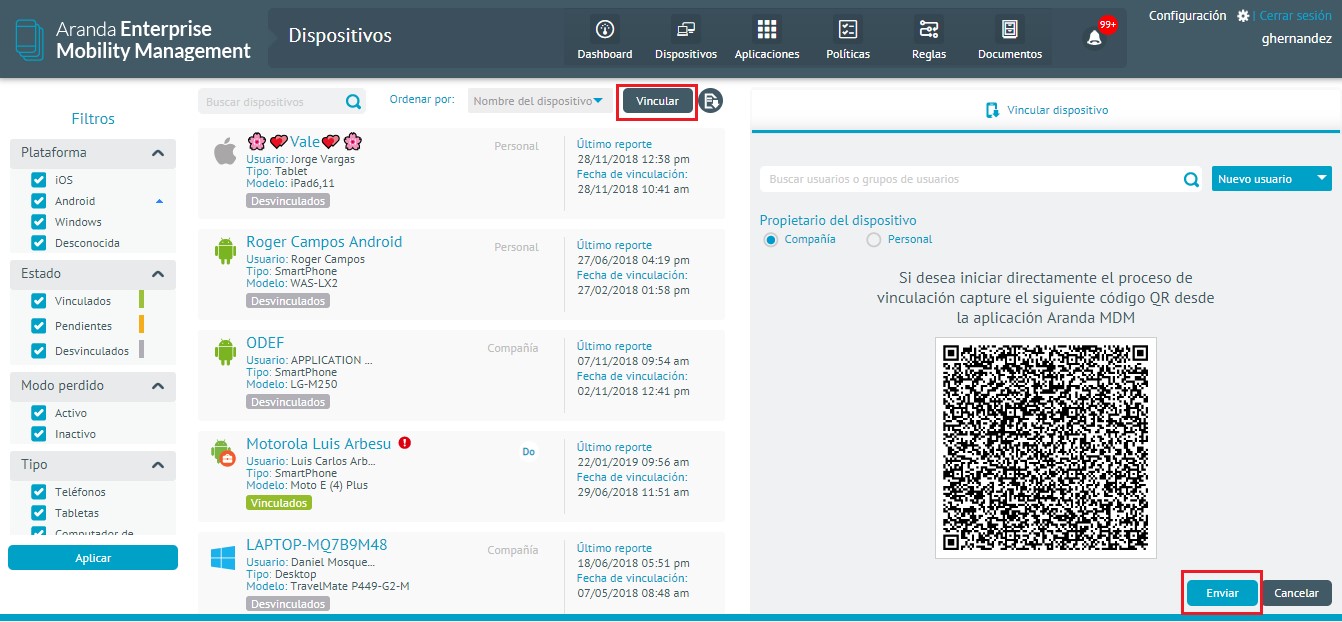
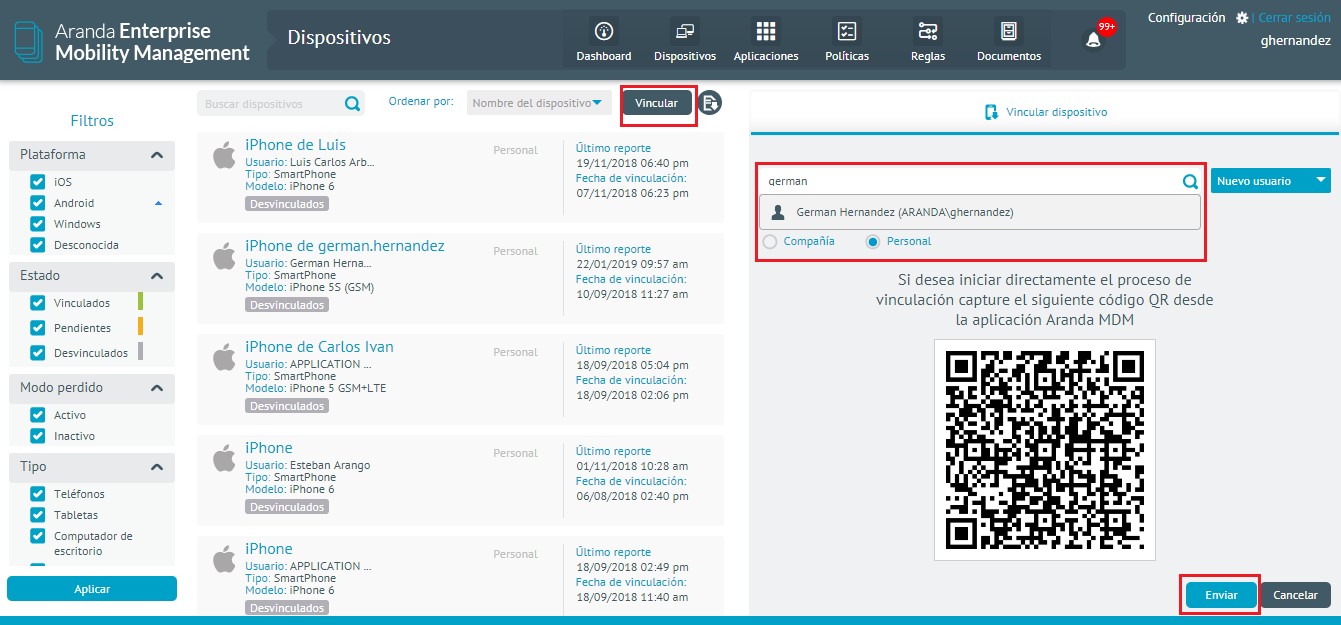
To send an invitation email, go to the web console and select the option Link. On the right side of the screen, enter the user or group of users to whom you want to send the email. When you have the list of users defined, select the Send located at the bottom.
Users will receive an email with instructions on how to pair the device. From the email, the device can be linked in three different ways.
Linking using link
In the email there is a message like the one presented in the image:
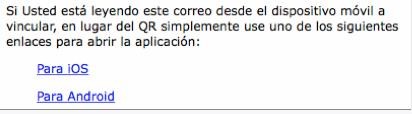
The two links contain the necessary information for the system to perform the server validation process automatically and leave the user in the authentication view.
The process continues in the same way regardless of the option selected, and is explained in the Continuation of the process.
Linking by entering information manually
At the bottom of the email, the user’s server, domain, and user information is indicated.
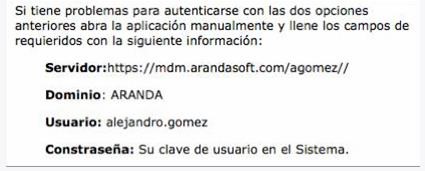
This information can be entered manually from the application, accessing the option
Enter server URL.
The application presents the view to enter the EMM server address.
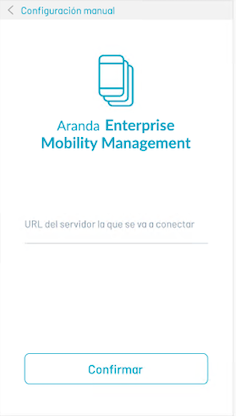
Once the server validates that the entered address is correct, the application presents the user with the authentication view to enter the credentials
username and password.
The process continues in the same way regardless of the option selected. The continuation of the process is described below.
After you enter your authentication credentials and have the system validate that they are correct, the terms and conditions view is presented.
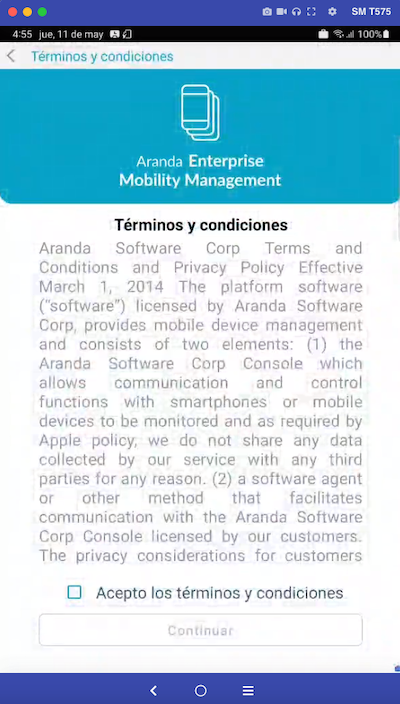
When the user selects the I accept the terms and conditions and press the Continue, the system updates this information and allows the user to advance to the next step in the process, which varies depending on the operating system.