Android Management API (AMAPI) Android Management API
⚠ Warning: If the AEMM installation is an on-premise installation, a service account must be created and/or configured in the Google console (Google Cloud).
Android Management Api is a Google tool that allows you to manage Android devices through the cloud. Devices communicate directly with Android Device Policy (ADP), which is an application created by Google that allows IT administrators to manage Android devices.
To use AMAPI (Android Management Api) in AEMM, the following steps must be followed:
Enter the AEMM Home console, in the heading menu select the option Configuration. In the Preferences from the main menu and select the Mobile and Android.
⚠ Warning: The product currently only supports device pairings in Profile Owner (PO).
Description
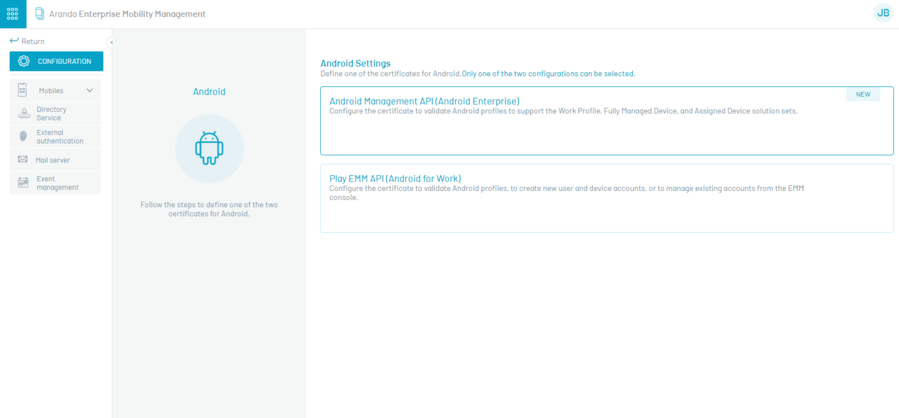
Before configuring the Android Management Api, you must create a service account in the Android Management Api console. Google Cloud for authentication with Android Management Api. To create and obtain the service account, the following steps must be performed:
Enable the Android Admin API for your project.
Access the Google Console. To access this console, you must have a Gmail account
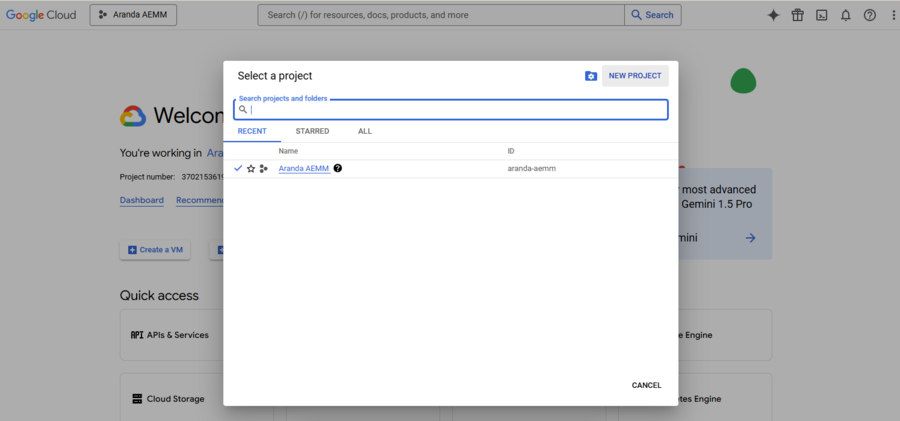
Select or create a project
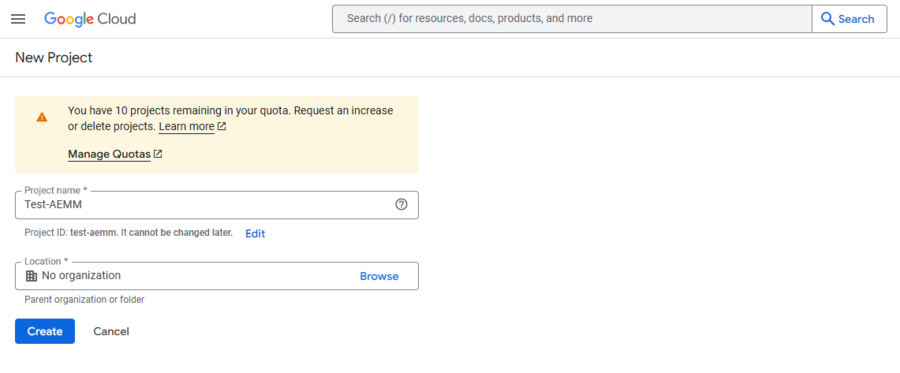
If a new project is being created, add a project name and organization and click the Create
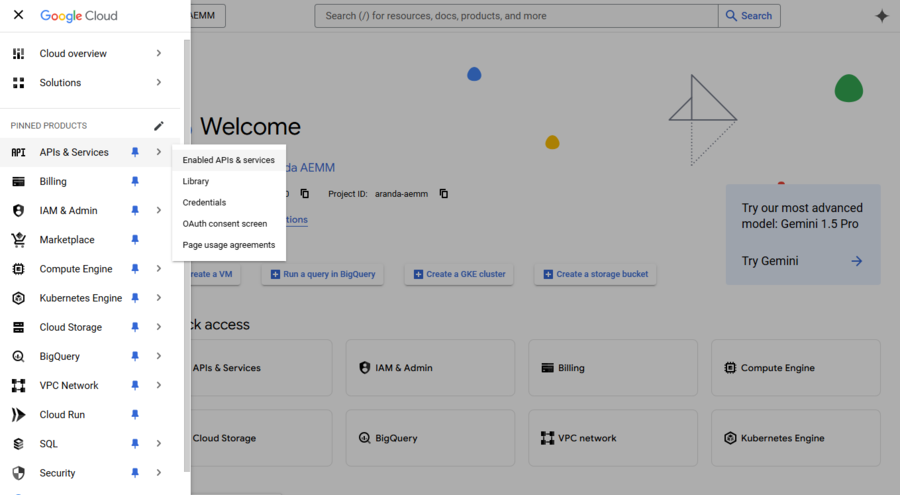
In the navigation menu of the Google console, expand the option APIs and services and select the APIs and enabled services
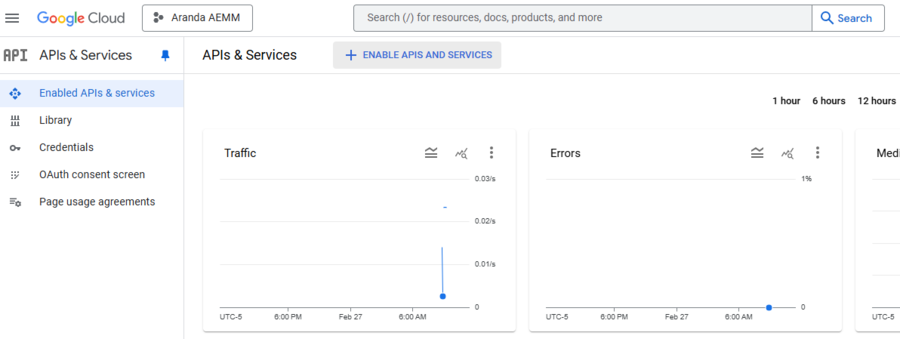
Click on the option Enable APIs and services and search for “Android Management Api”
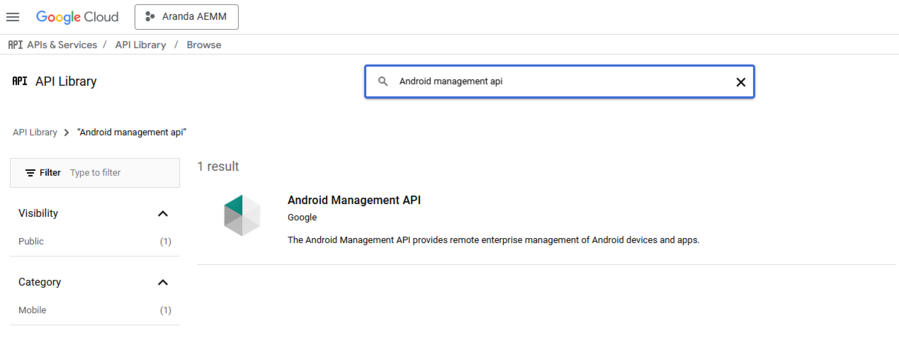
Select the record that appears on the screen and click on the option Enable
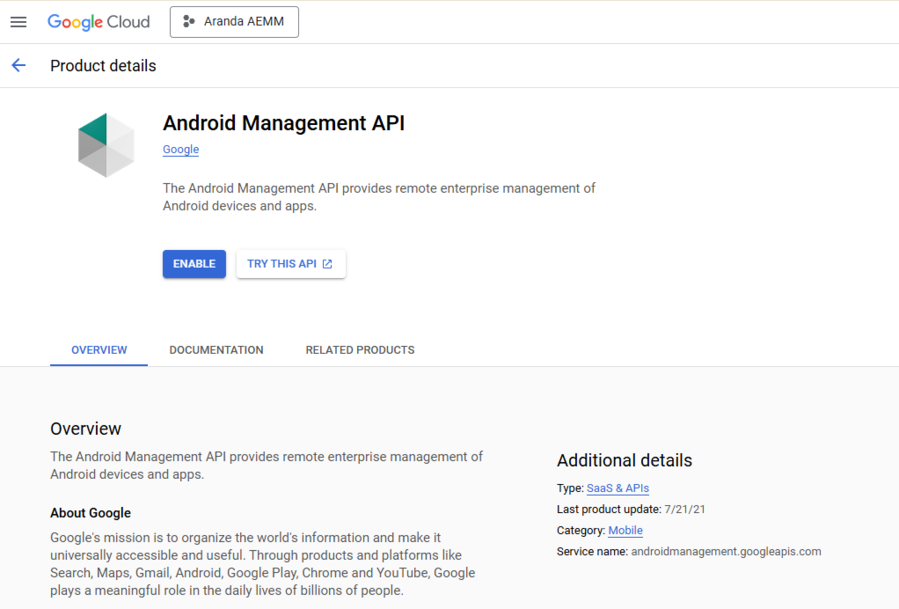
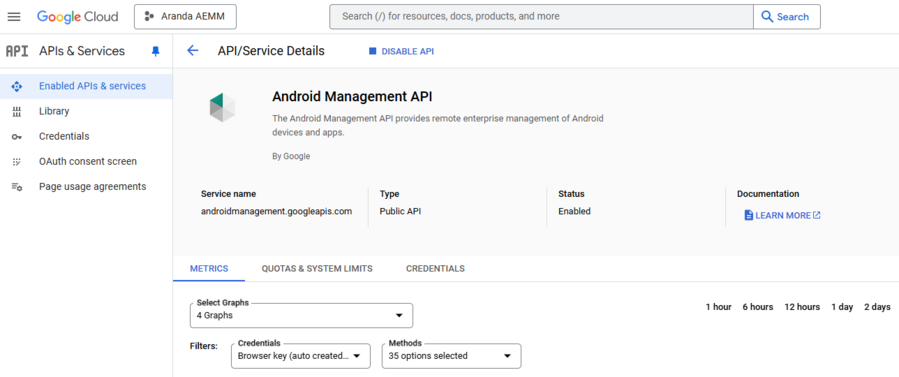
When the process is complete, the API should be enabled
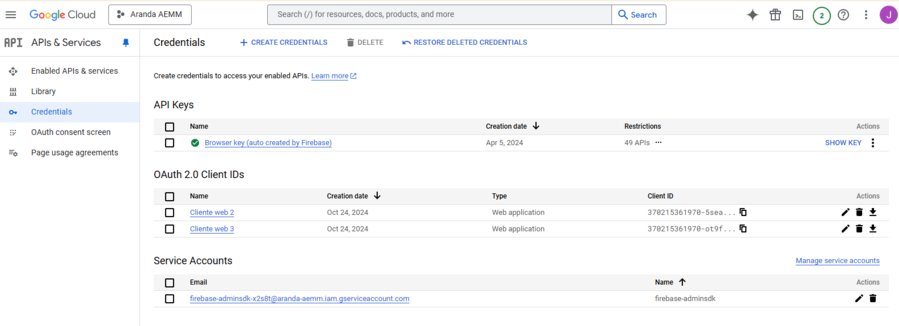
Click on the option Credentials and click on the link Manage service accounts in the Service Accounts
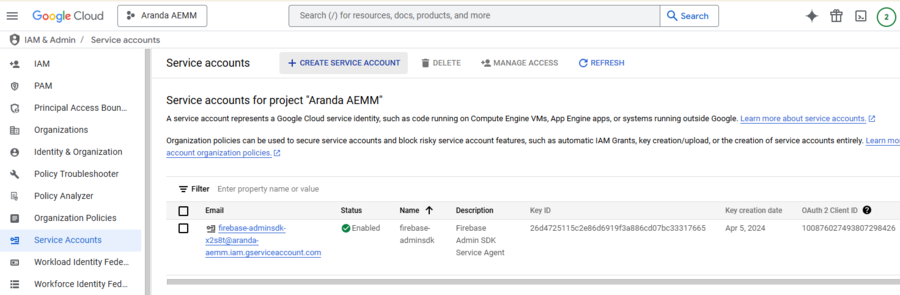
Click the Create Service Account and enter the information required by the Google console
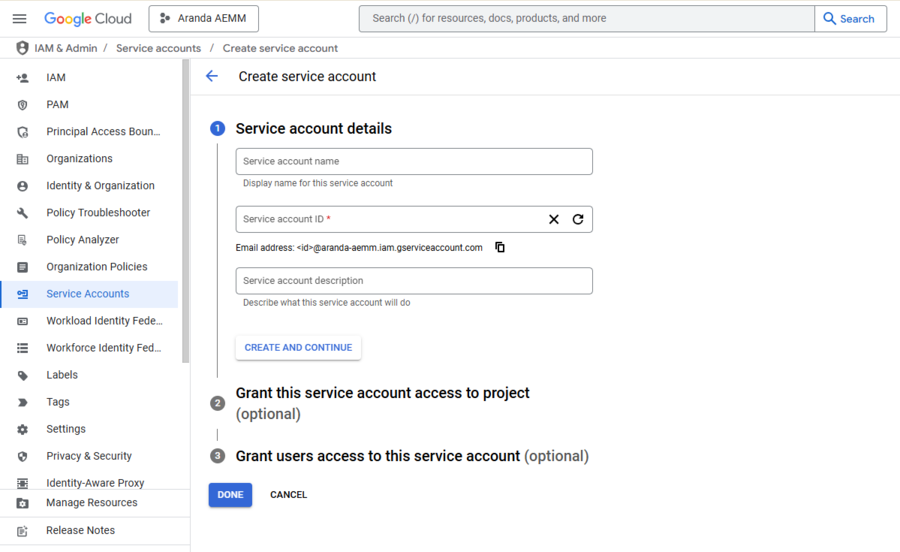
Click the Create and Continue and in step 2, add to the role Android admin user and click Continue and then click on the Finish
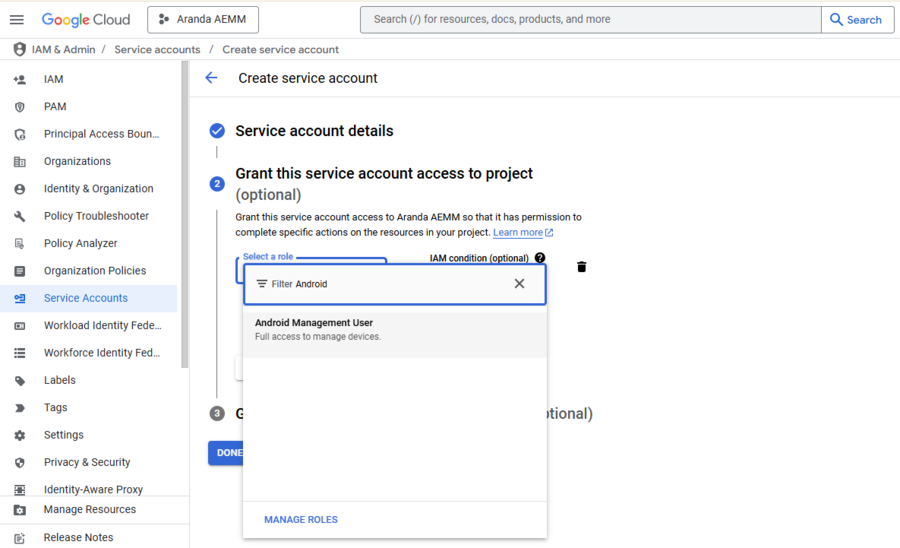
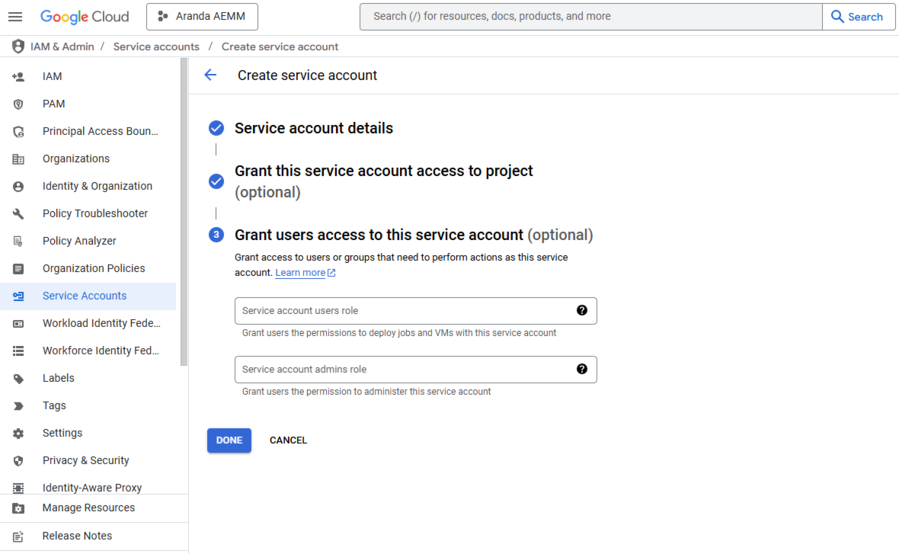
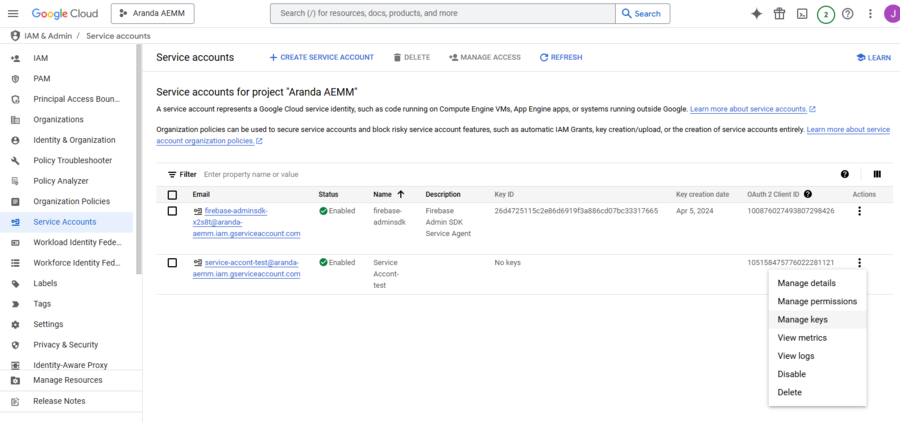
Select the record created earlier and click on the 3 buttons that are in the last column and select the option Manage keys
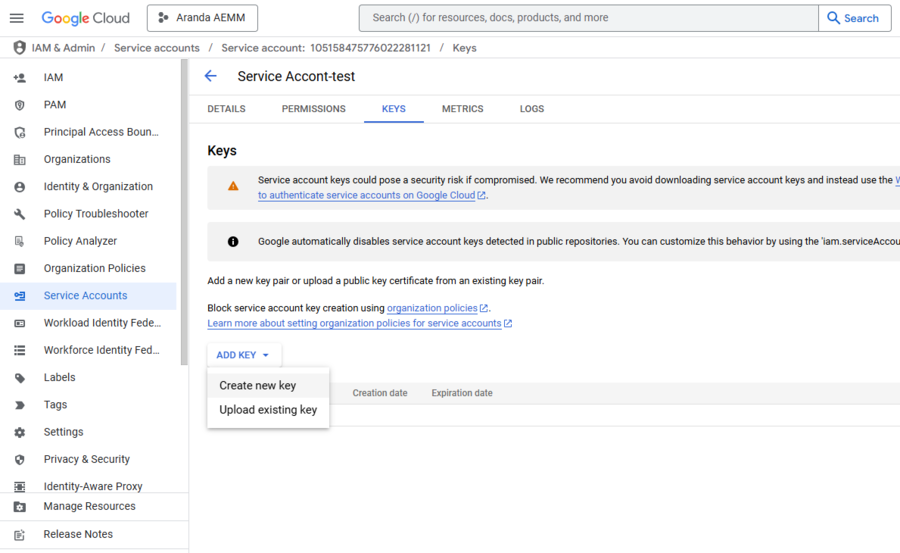
Click the Add Key and select the Create New Key
We select the option Json in the key type and click on Create
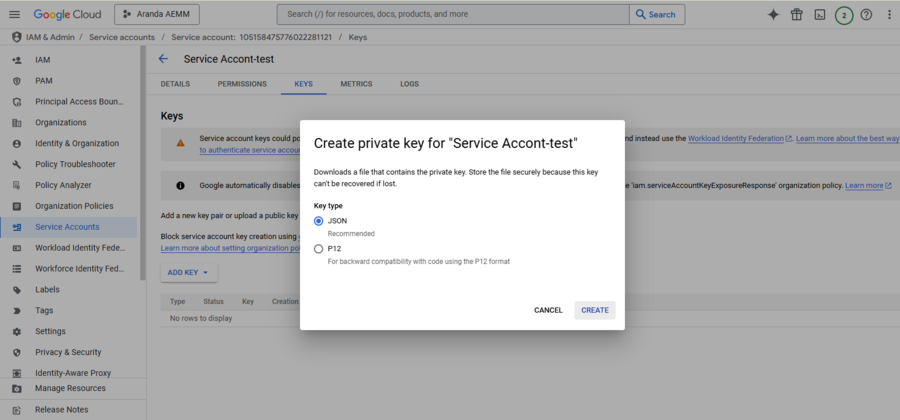
The file with .json extension will be automatically downloaded to the machine and can now be used to configure in the AEMM console
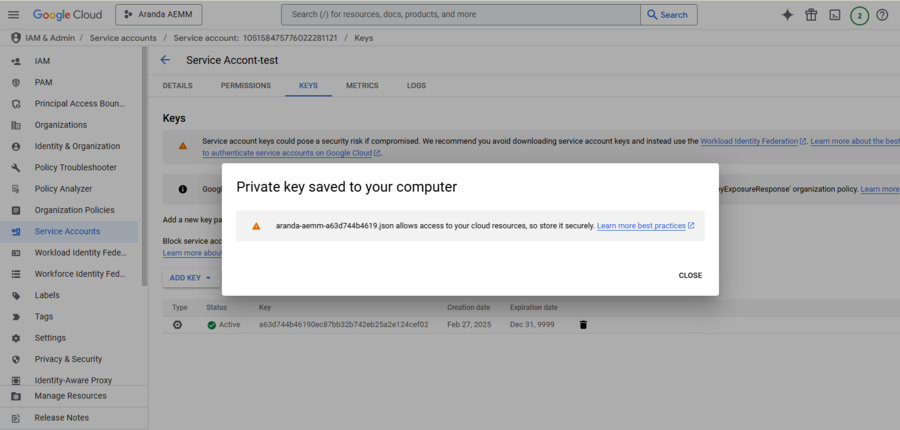
After obtaining this file, it is necessary to perform the upload in the console by clicking on New
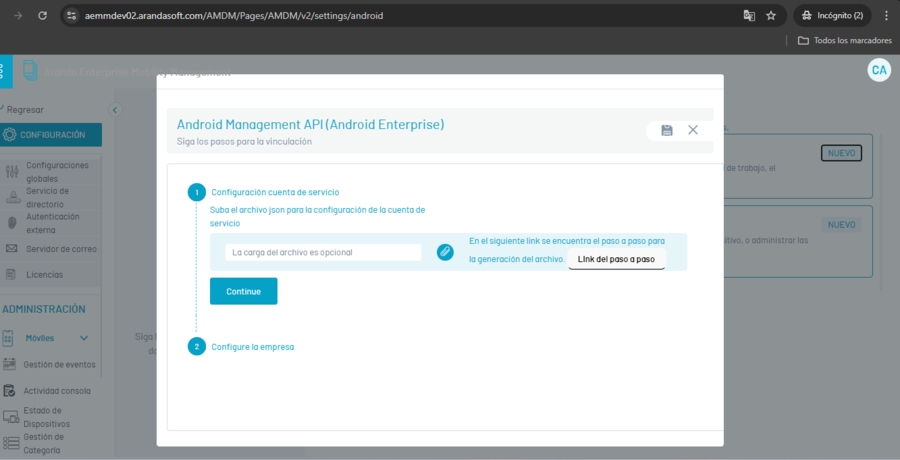
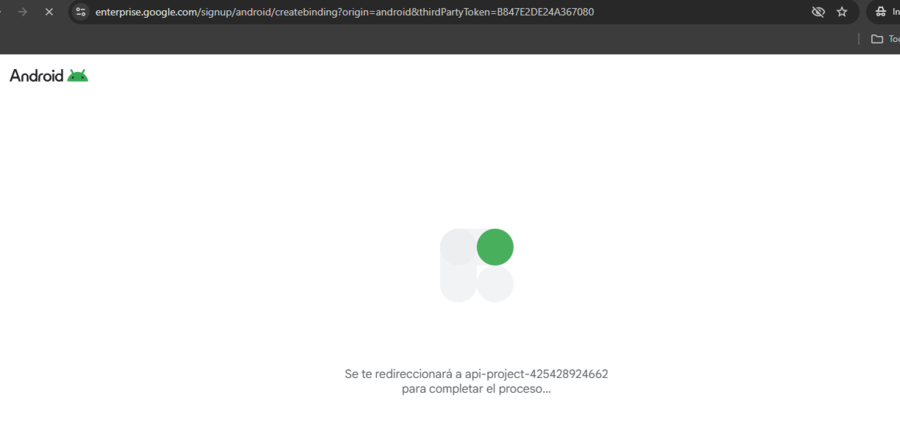
We upload the .json file downloaded in the previous step and click on Continue. What this will do is redirect you to create the company in Google by means of a Gmail domain email
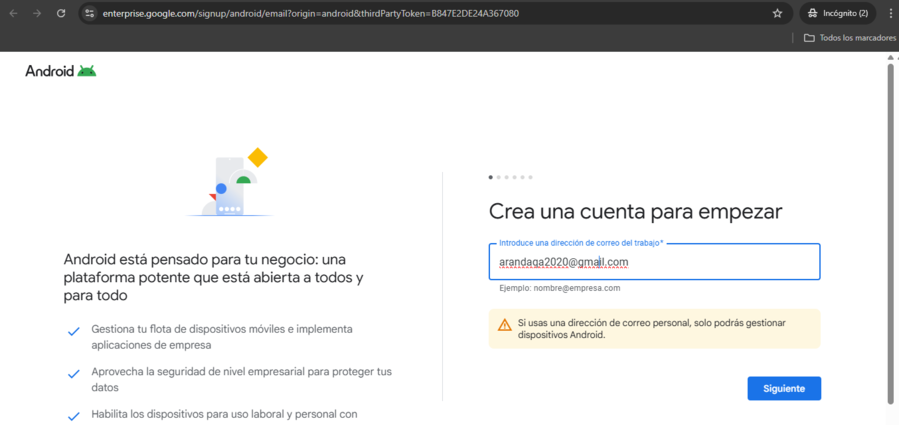
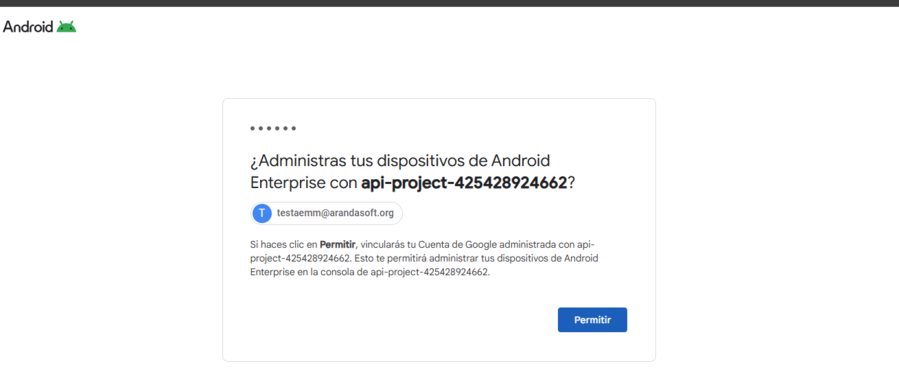
Sign in with your Gmail mail and allow devices to be managed with the Google project created in previous steps
At the end of the company creation process, you should display a message indicating that the company was successfully created.
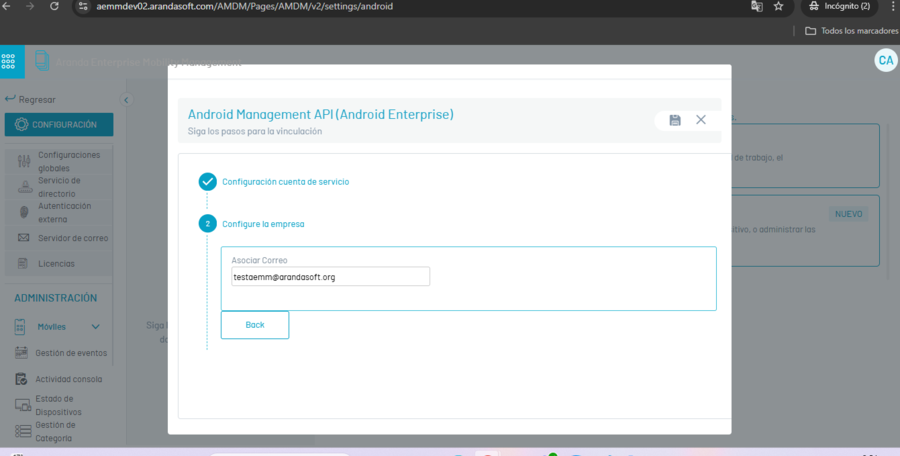
Register the email in the console form and click Save