Project Creation / Agent
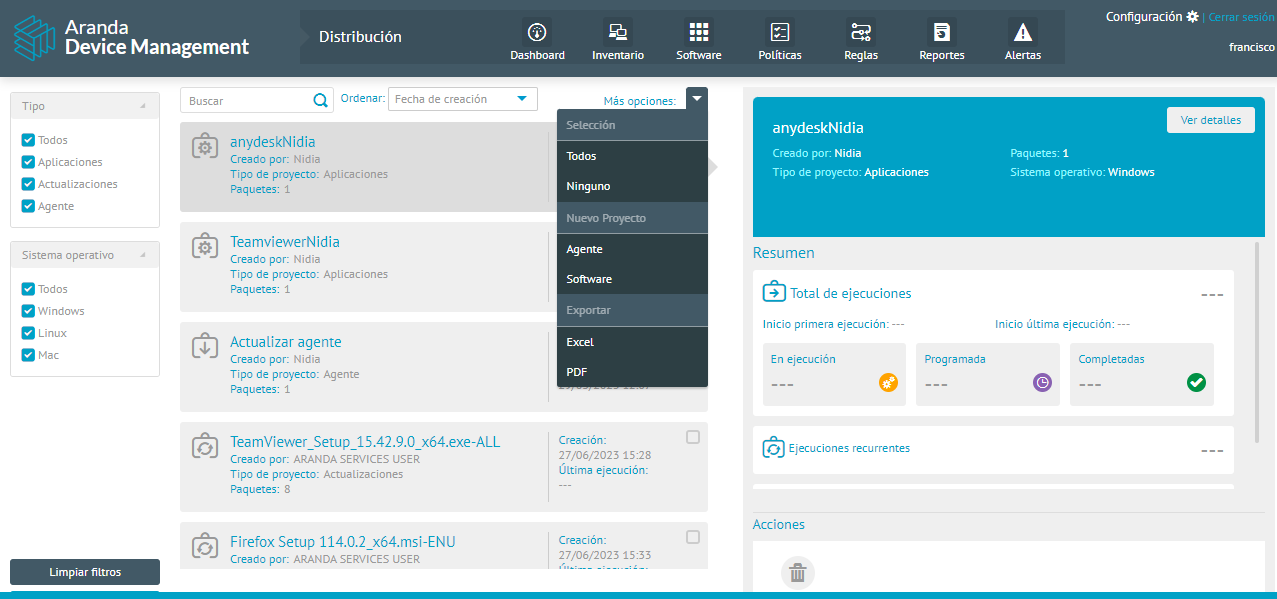
1. To create a distribution project, go to the Home view of the ADM Management Console and select the Software from the Header menu. In the information view, display the list More options, New Project and click Agent.
Basic Facts
2. In the window that is enabled in the General Configure in the basic data section Information such as: Name and description.

Package Distribution
3. In the Package Distribution, define the type of operating system on which you are going to distribute, select the package and the profile of the agent to distribute, or create a new package by clicking Create Packages (see Creating Agent Packages).

Credentials
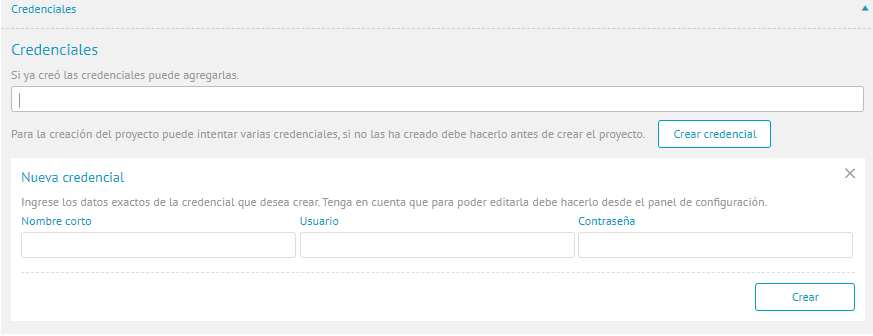
4. In the Credentials, add the credential that has access to the devices where you want to deploy the agent project, or create a new one by clicking Create Credential (see Credentials)
Notifications
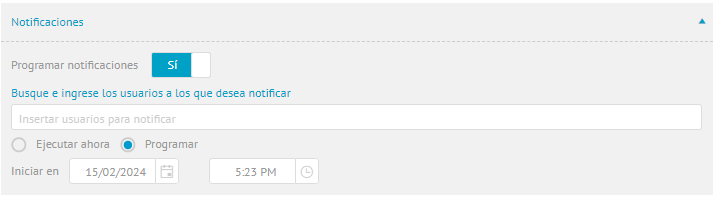
5. In the Notifications, schedule notifications to the users you require.
Device Groups
6. When you finish setting up the General, click Save to confirm changes made; in the Project Information View, Devices Group and Executions.
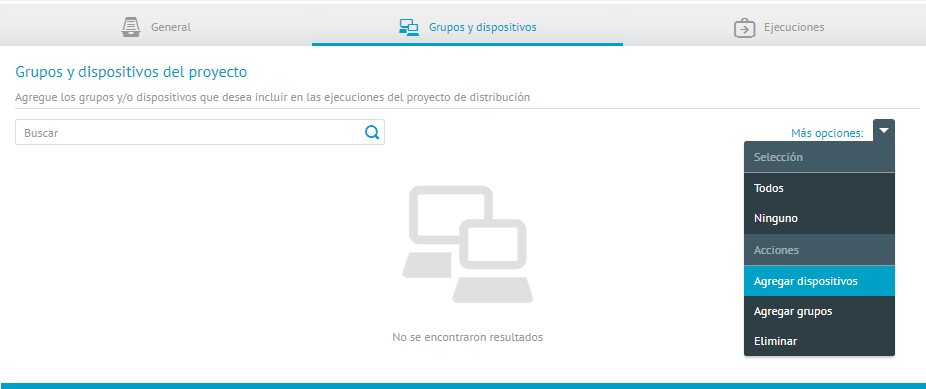
7. In the project view, select the Groups and Devices and on the list More options Select Add Devices.
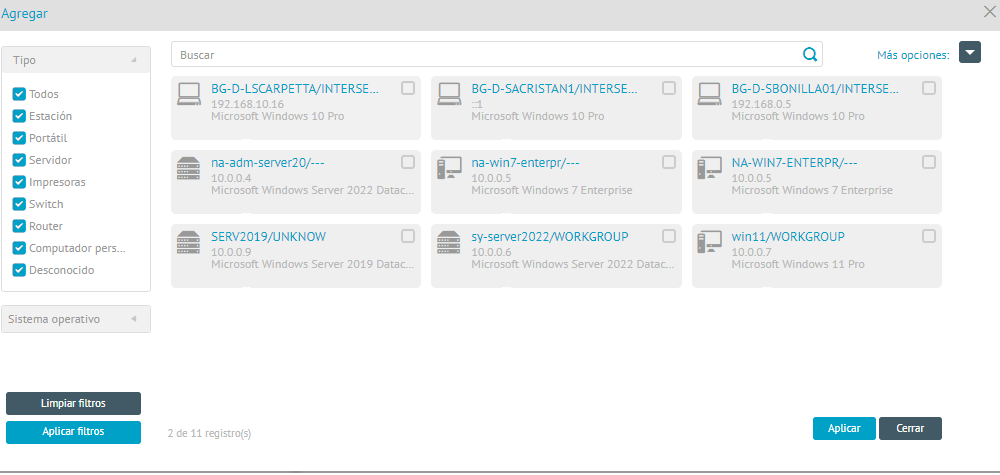
8. Select the devices where you want to do the distribution and click Apply.
Executions
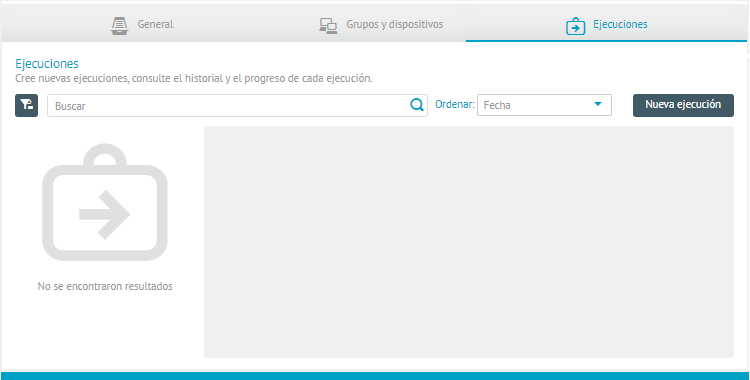
9. In the project view, select the Executions where you can view and generate the agent or software distribution. To do this, click on the New execution.
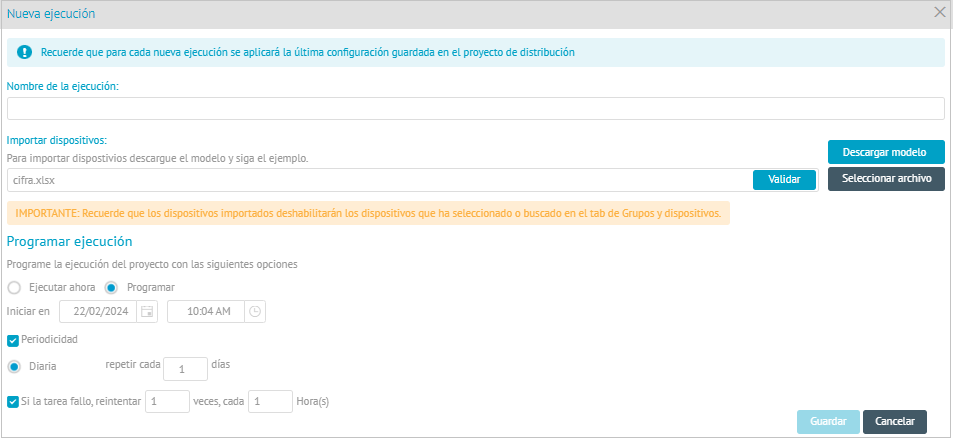
10. The respective window is enabled where you can create a name and schedule the new run. Click Download model to download the Excel template where you can add the IP addresses of the devices where you will install the agent.
10. Fill in the downloaded file with the IP addresses of the devices taking into account the following considerations:
| Consideration | Wrong | Correct |
|---|---|---|
| Only the v4 or v6 IP addresses format is supported, any other data will invalidate the file. | 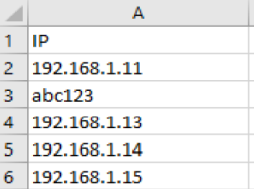 |
|
| The file does not allow mixing v4 and v6 IP addresses. The IPs must be of the same type. | 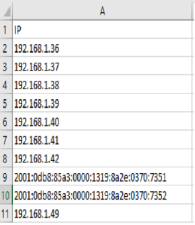 |
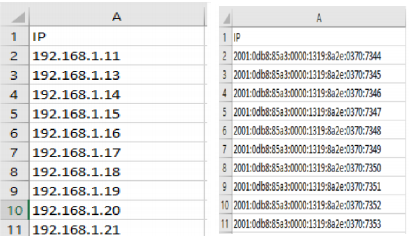 |
10. When filling in the template information, click  to import it. You can only save the execution after you have Validated the selected file, click
11. When saving, the new run is generated in the scheduled state.
⚐ Note: Ongoing executions can present the statuses of “running”, “scheduled” or “completed”, these statuses can be monitored in the solution and in this way, see how many devices have already been reached in the distribution project.

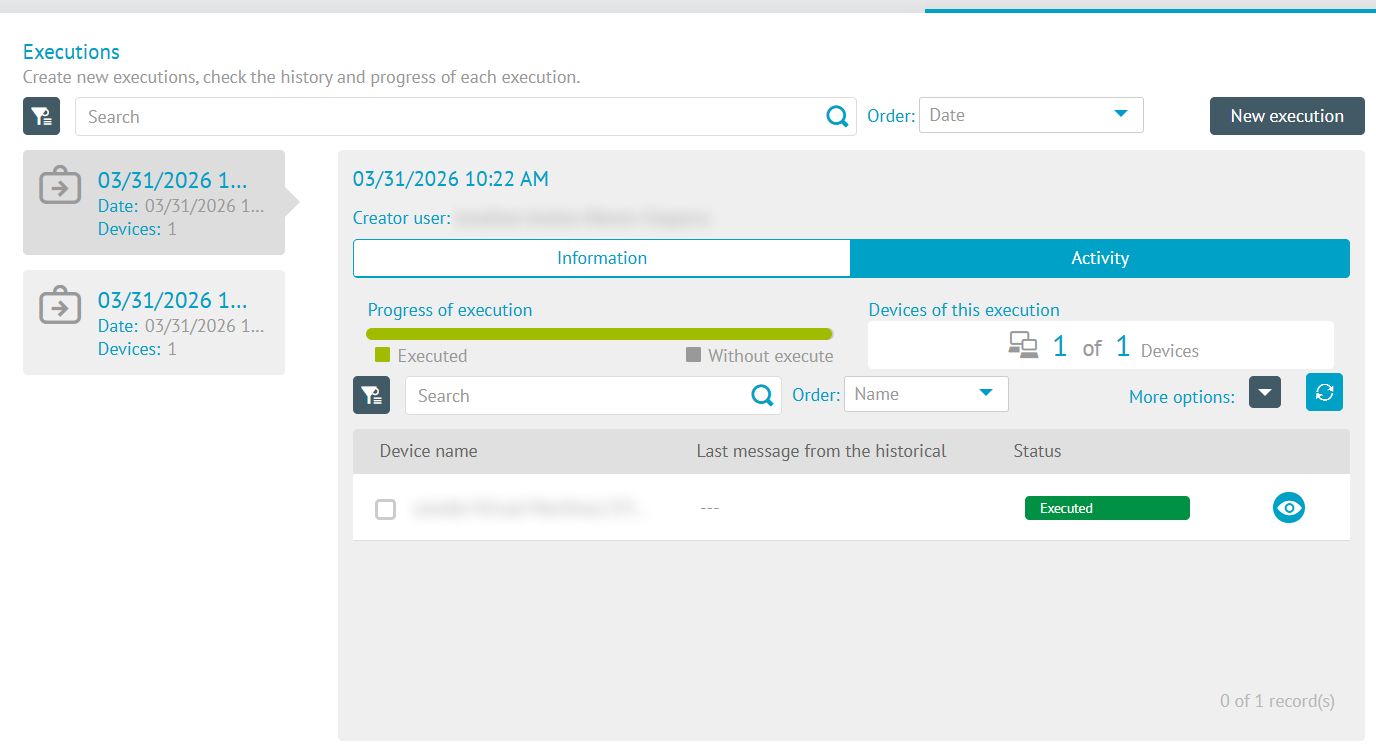
12. On the Activity The general information of the distribution and the progress of the execution by device will be displayed according to its status.
In the distribution project detail view, you can view the process summary with the total number of executions, recurring executions, and devices reached.
The following table outlines the possible Execution states by device within the distribution project.
| State | Explanation |
|---|---|
| ⬜ No notification | The device has not yet been notified about the execution. The timeout depends on the synchronization frequency configured in the agent profile. |
| 🟨 Pending execution | The device is pending installation. |
| 🟧 In Execution | Execution on the device is in progress. |
| 🟩 Executed | Execution on the device has completed successfully. |
| 🟥 Executed with errors | Execution on the device ended with errors. It is necessary to consult the detailed record of the execution to identify the failure. |
| 🟪 Discontinued | The execution on the device was interrupted by the system. |
| ⬛ Cancelled | The execution on the device was canceled, it is possible that it is due to user intervention or expiration of the timeout when entering the “unnotified” state. |
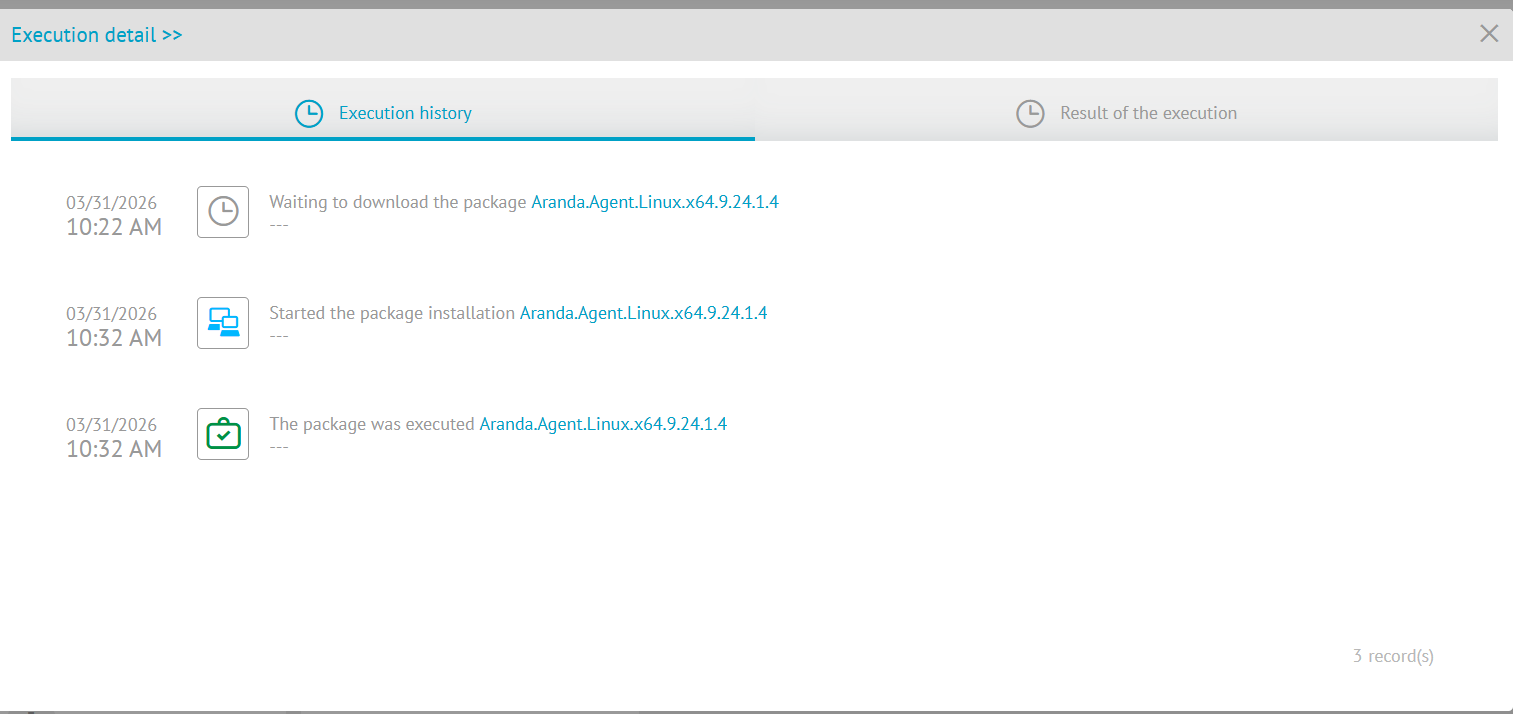
To view the execution history, click the  . A window will open showing the time and stage of execution and possible output messages.
The following table outlines the possible Per Packet States on Device Execution within the distribution project.
| State | Explanation |
|---|---|
| Awaiting download | The package is waiting to be downloaded. |
| Downloading | The package is downloading. |
| Downloaded | The package was downloaded successfully. |
| Download Error | An error occurred during the download of the package. |
| Maximum download errors | The package reached the maximum number of failed download attempts. |
| Awaiting execution | The packet is on hold for execution. |
| Running | The package is running. |
| Executed | The package was executed. |
| Executed with errors | The package was executed with errors. |
| Discontinued | The installation of the package was interrupted. |
| Canceled | The installation of the package was cancelled. |
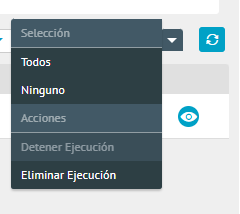
The drop-down menu More options It has two available actions:
- Stop Execution: If execution is in effect, it interrupts the distribution process.
- Delete Execution: removes the selected execution from the list.