CASE CH-25350:
A conforming closure modification is made, now the closure or not of a case will be carried out by customer approval process.
Admin Console
To set up approval per customer, go to Service Desk > Approvals,

Select the case type (Applies only to Service Requirements, Incidents, and Changes) and the model on which you are going to create the approval process.

Click the New and fill in the required data in the Details tab, like this:
Name: Enter a name for the voting process.
State: Choose the state in which you want the voting process to be triggered.
Description: Enter a description for the voting process.
Type of approval: Select the option Customer approval to set up a compliant closing approval.
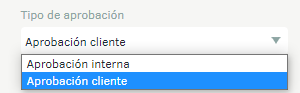
When you select the type of approval, the corresponding fields and tabs will be visible or hidden.
Change of Status Rule It is possible to set up a rule for automatic status change according to the warranty days of the contract.
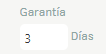
At the end of the contract days and if the customer’s approval has not been made, the case will go to the state configured in the rule.
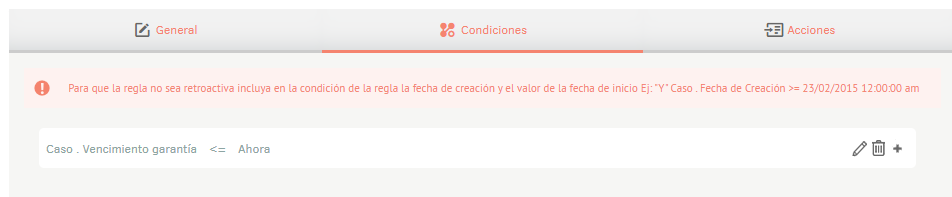
The rule must be configured as follows:
Specialist console
If a case enters the state in which the aporobation process was configured, the following behavior will be presented:
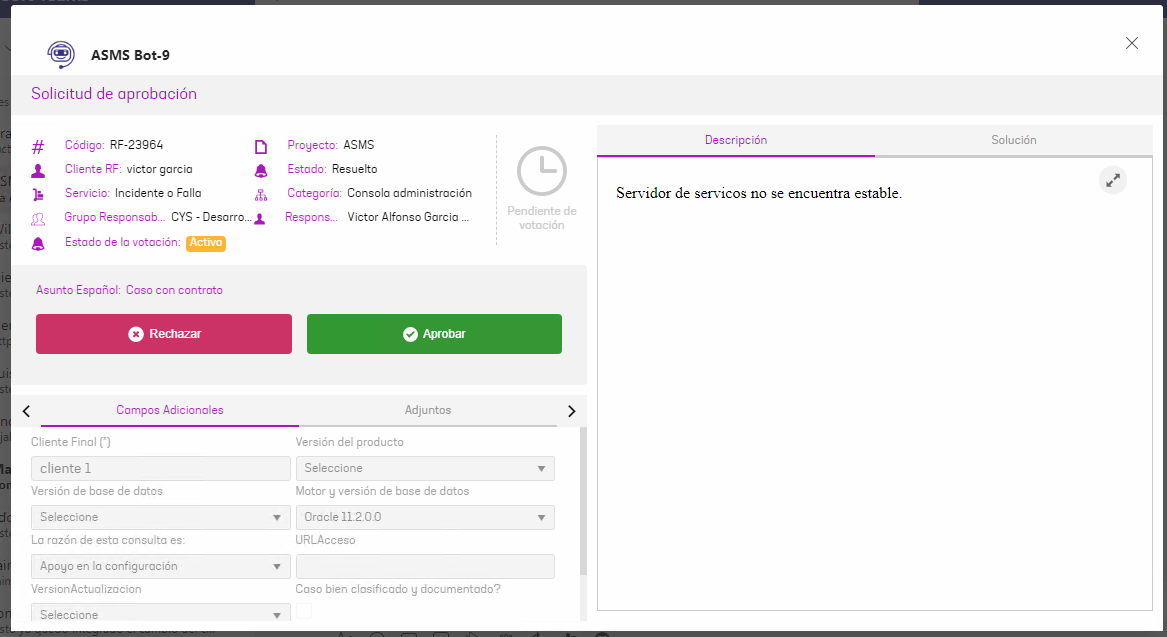
- Case with partner client: The case is blocked, the approval request is sent to the customer, and the message is displayed The case is pending customer approval

- Case without associated customer: The case is not blocked and no approval process is generated.
Customer approval or rejection
- Mail When the customer receives the approval request, the options will be displayed according to the configuration of the email template; Once the customer approves or rejects the solution, the case will go to the state set in the approval process settings.
- Teams The customer will receive a notification requesting the vote; clicking to vote enables the following options: Approve or Reject and no justification for the vote will be requested.