
This module configures the states and transitions that CI, release, and maintenance types can go through.
⚐ Note: At any time, in the status view workspace, turn on the Return to previous version to return to ASMS Administration Console state management.
Creating States/CMDBs
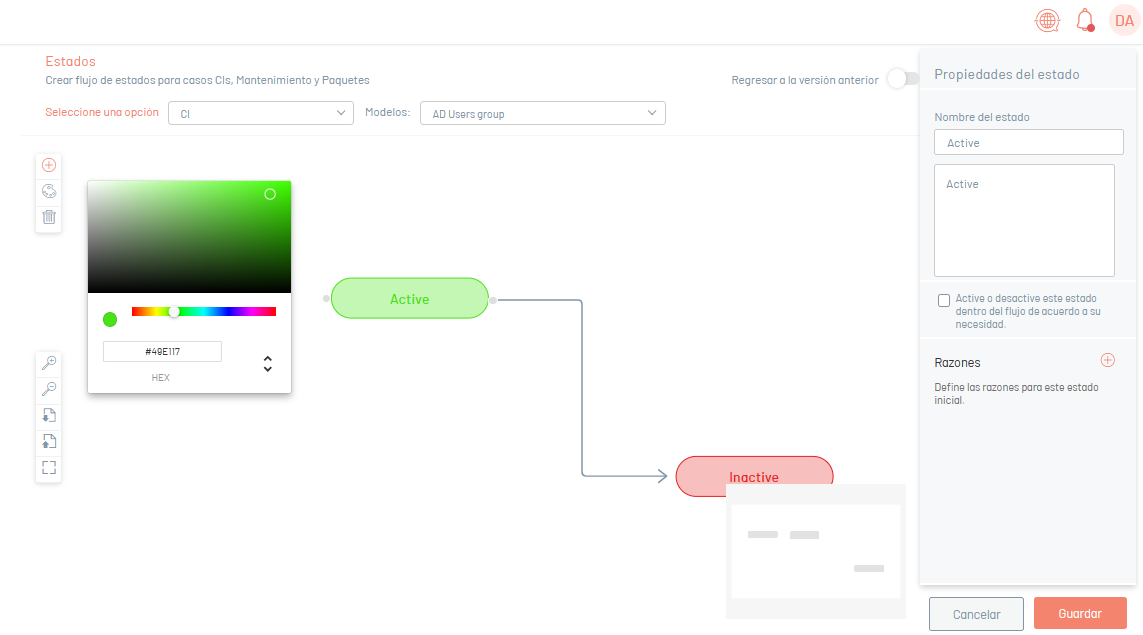
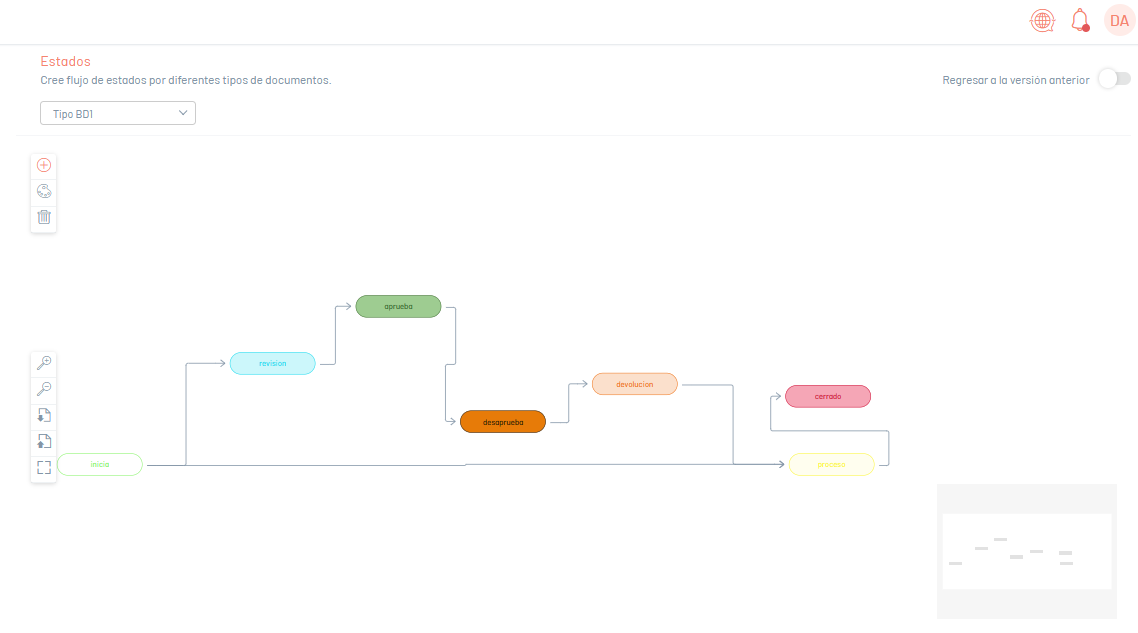
1. To create a CI status, log in to the ASMS Management Console, define the project and a contract; when accessing the Status (New Version) view, click on the Add icon (+); In the Detail view, the State properties where you will be able to fill in the basic information of the state.

| Field | Description |
|---|---|
| Field Name | Enter a name for the state. |
| Course Description | Write a brief description of the state. |
| Published | Select the check box to make CIs visible to users in that state from the client portal. |
Set Status Color
2. To assign a color to a state, select the Color Palette. Choose the desired color and save the changes.
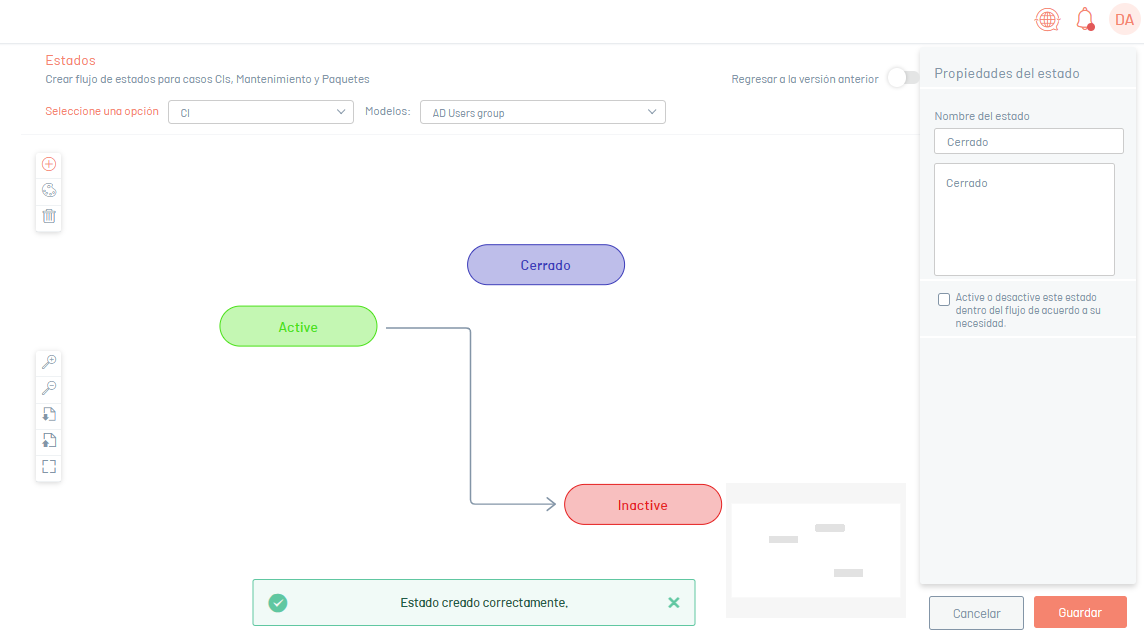
3. When the setup is complete, click Save to confirm changes made; in the Status View, the assigned color will be visible and a confirmation message will be displayed.
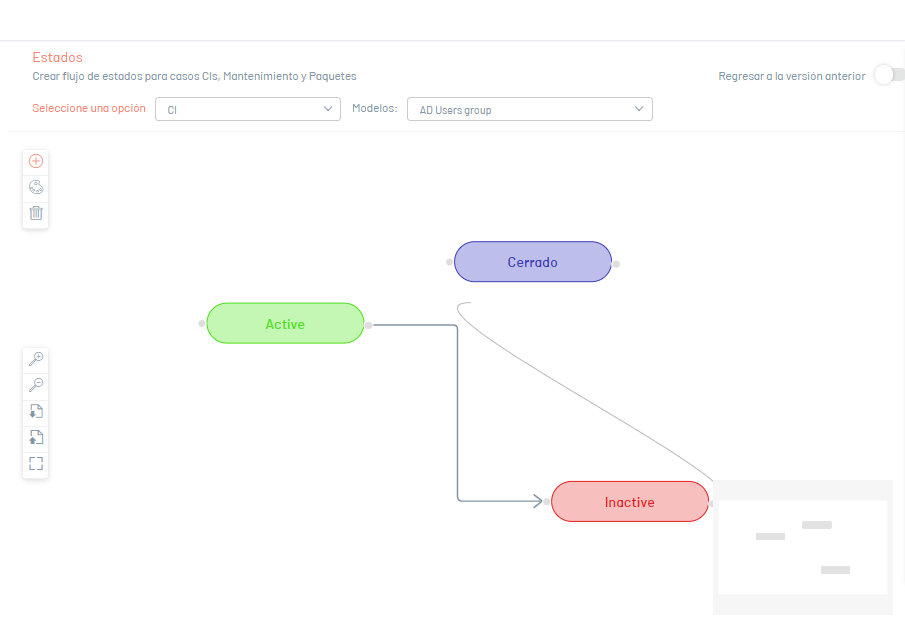
⚐ Note: It is recommended that you create all the states first and then the transitions from one state to another.
4. To create a transition, select any of the points that are activated within the state and extend it to the next desired state. The transition is represented by an arrow that joins two states.
5. To delete a transition, select it and click the Erase. A confirmation message for the operation will be displayed.
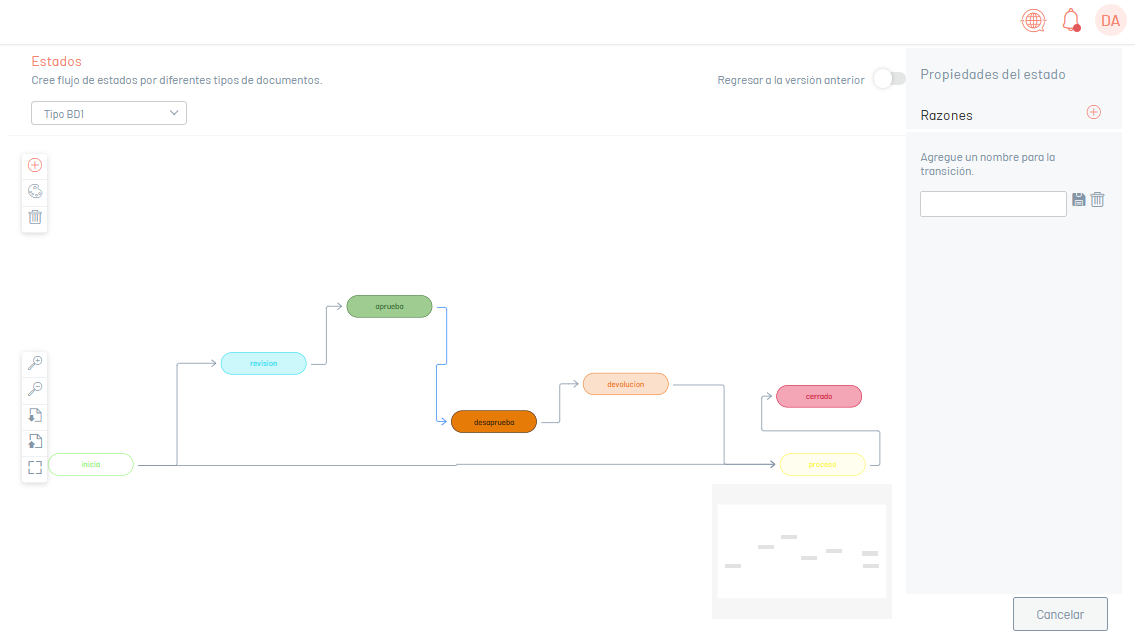
6. Once you have created all the transitions between the states, you can create the reasons for each transition. To do this, select the transition, and in the State properties, click the Add Reasons button (+); Enter the name of the reason and click the Save.
Bulk Uploading of States/CMDBs
1. To create a CI status, log in to the ASMS Management Console; when accessing the Status (New Version) view, click the Export  ; This option will allow you to export the information with or without data for updating and/or creating statuses.
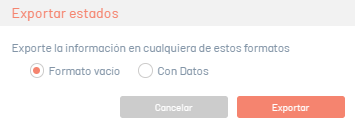
2. The window is enabled Export format where you can select whether you need to export the empty format or with data. Click Export.
3. If you download the empty format, a file in Excel format is automatically generated. If you downloaded the form with data, the file is scheduled for download, generating an informative message at the bottom of the screen.

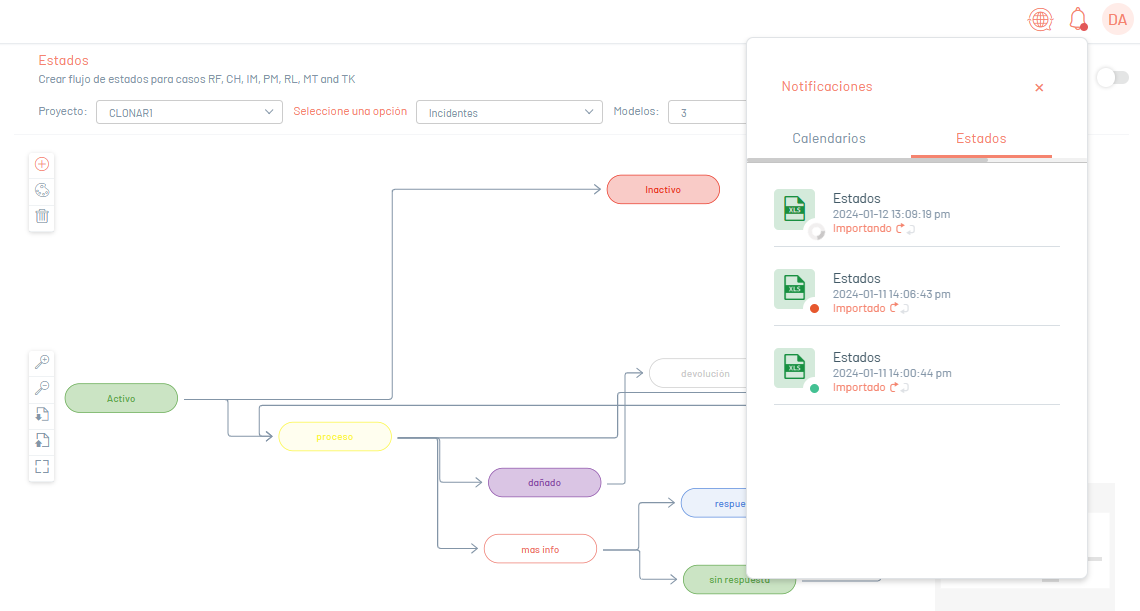
4. From the Admin console header menu, select the Notifications.
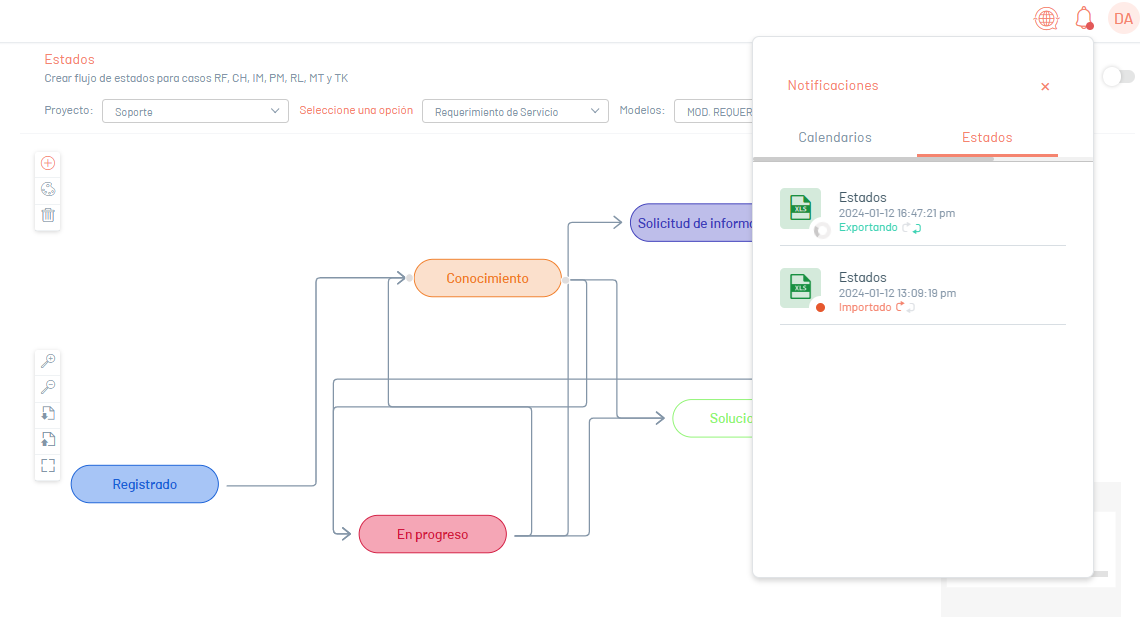
⚐ Note: In the Notifications option you will be able to view the generated format in Pending status and once the export process is finished, it will change to Completed status (Green color) with the download date.
5. Click on the notification to download the file.
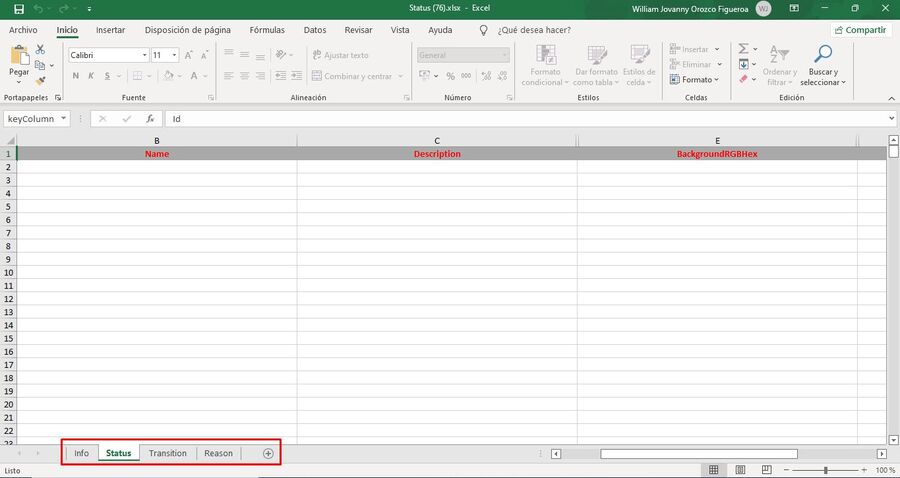
The downloaded file includes all the fields of the states, you will also find the fields necessary for the creation and/or updating of the states.
The Info tab of the file describes in detail the obligation and information to be filled in on each field.
Import Format for States
1. Once the form is completed, enter the ASMS administration console; access the Statuses (New Version) view and click on the Import 
2. In the window Import states Upload the file and click the Import.
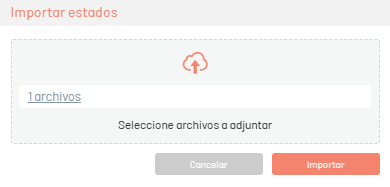
3. By clicking on the Import To start the import or status update, the file will be scheduled for import, informing with a message at the bottom of the screen and added in the notification panel.

4. When the import is complete, the corresponding notification will turn green, indicating that it has been completed.
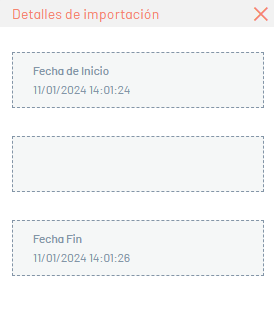
5. When you click on the notification, a window will be displayed where you can view the details of the import.
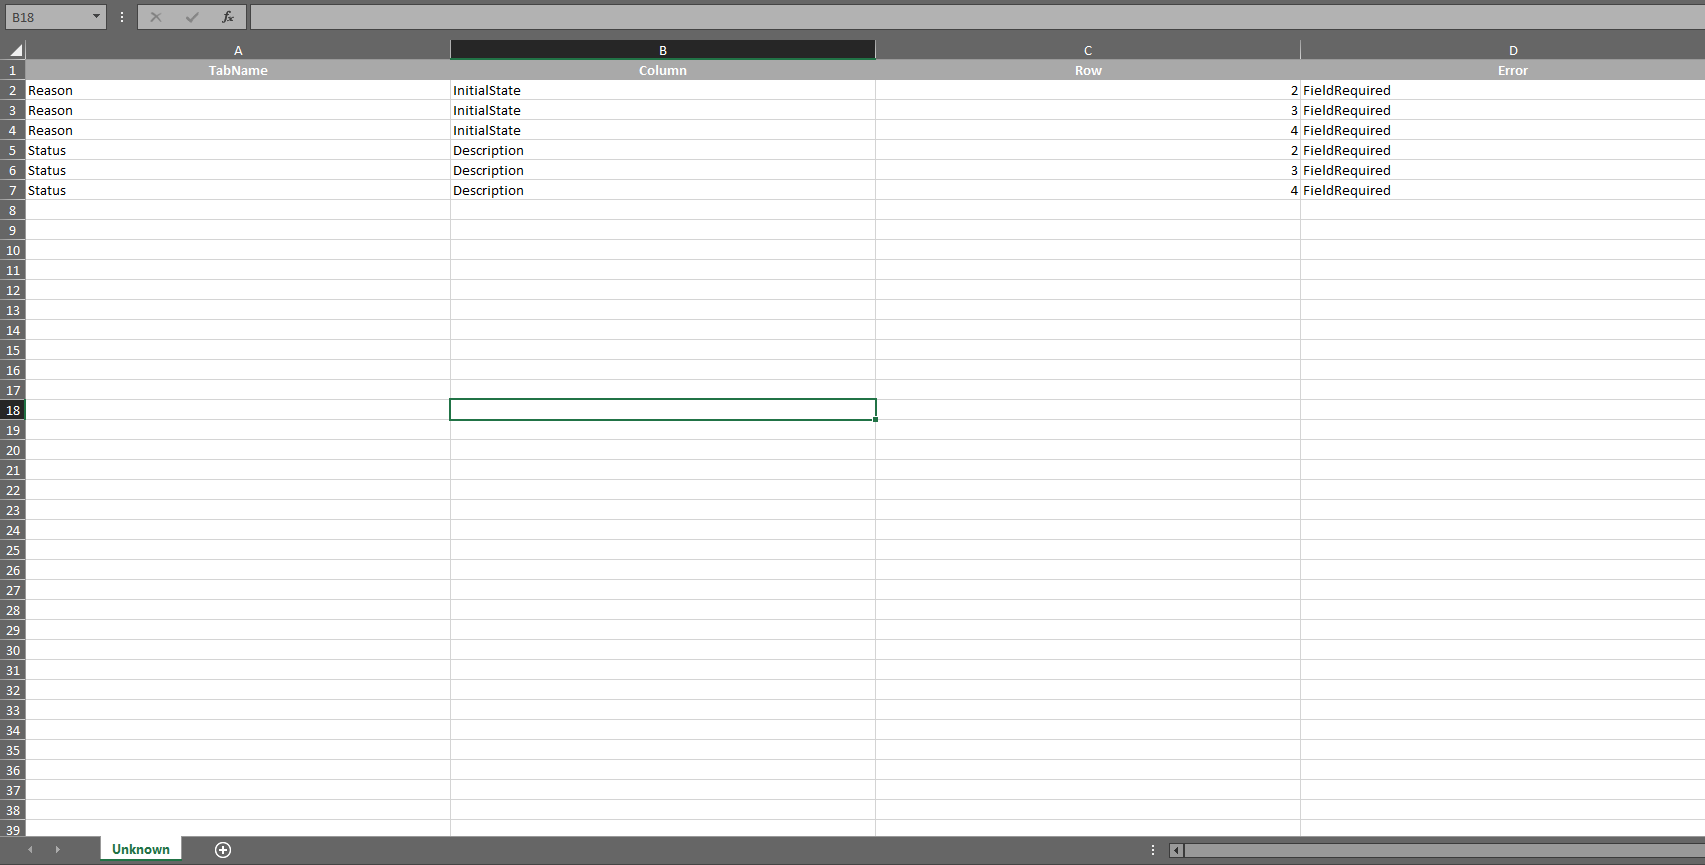
6. If during the import the file generated an error in one or more of its records, when viewing the import details it will be possible to download a file with the details of the records that generated error.
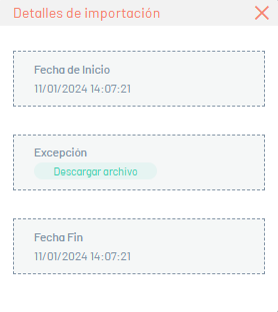
7. In the import details window, by selecting the unloaded records icon, you will be able to download an Excel file with the details of the errors generated during the import.
Multilanguage
To configure the multilanguage option in CMDB states, you must consider the documentation for translations. View Multilanguage.