This module allows you to configure agreements with customers, internal areas and suppliers that guarantee a consensus regarding the level of quality of a service. The agreements contemplate aspects such as response times, availability, available documentation, work groups assigned to the service, etc.
Create agreements
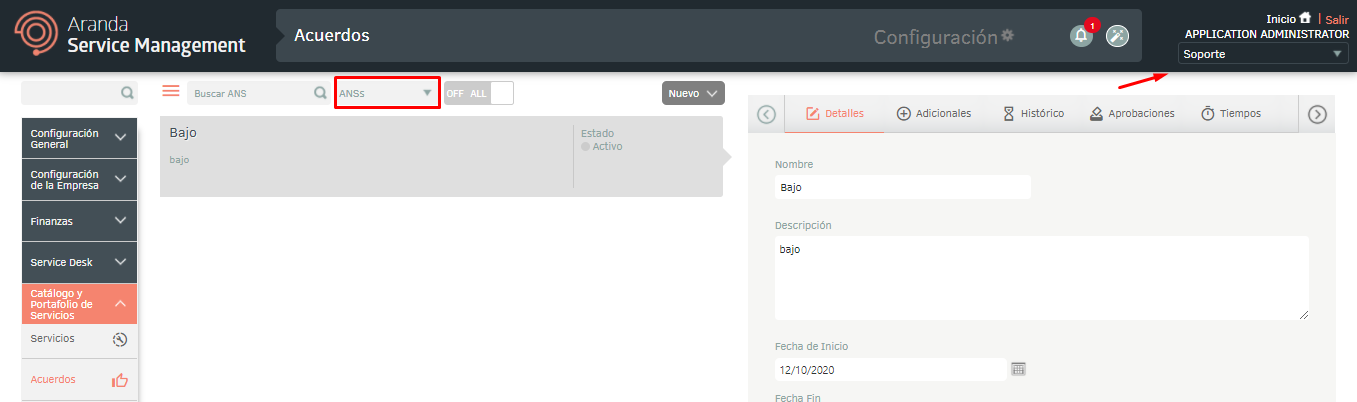
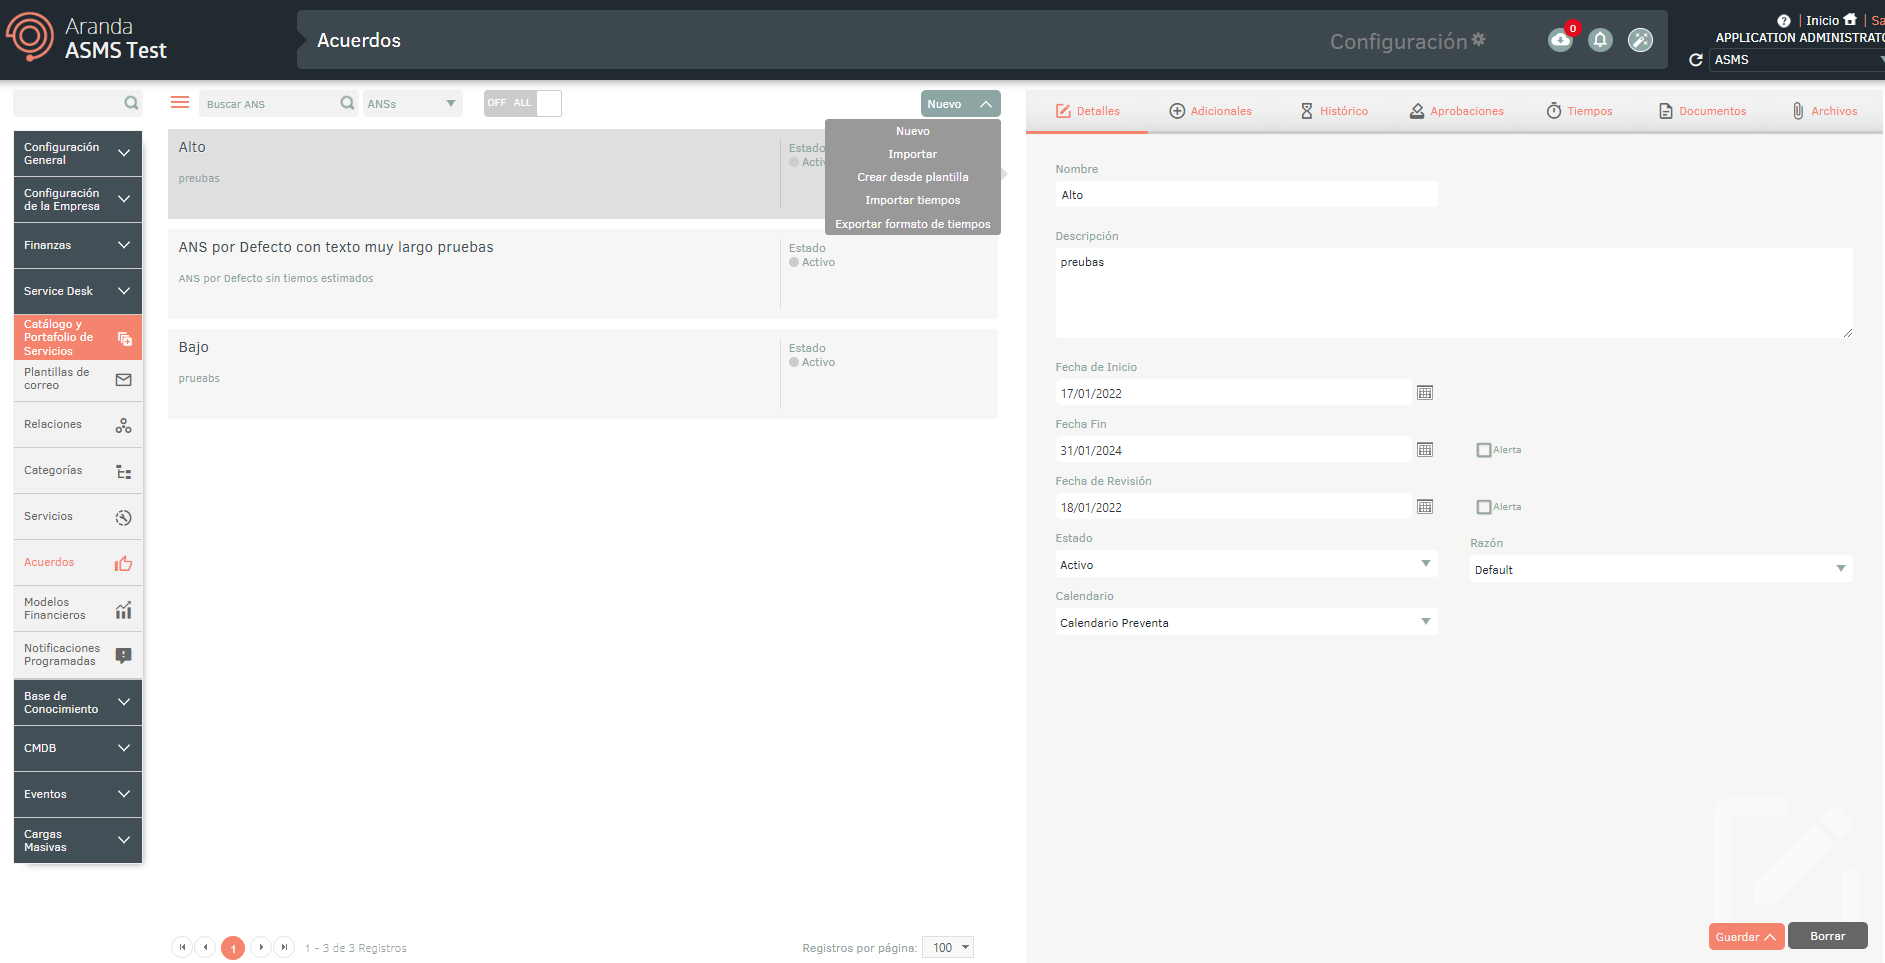
1. To create agreements, log in to the ASMS Admin Console, in the Catalog and Portfolio of Services from the main menu, select the Agreements. Define a project on which to create an agreement and the type of agreement (SLAs, UCs, OLAs); in the view of information, select the New and in the detail view fill in the general information of the agreements.
| Field | Description |
|---|---|
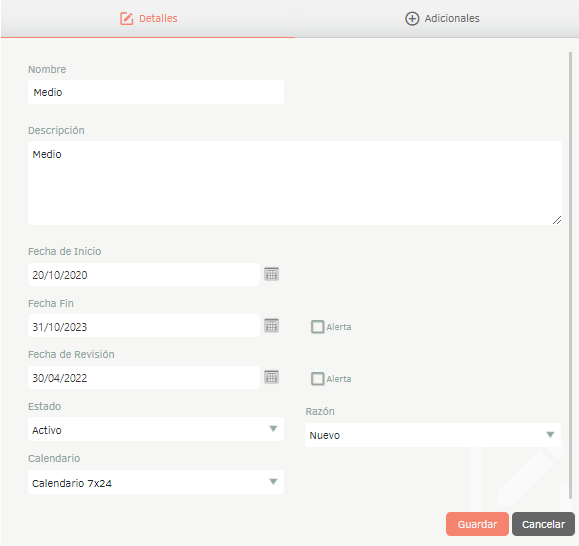
| Name | Enter the name of the agreement. |
| Description | Write a description of the agreement. |
| Start Date | Select a start date for the agreement. |
| End date | Select an end date for the agreement. Check the Alert box if you want to generate a notification of the deal end date. Define the number of days leading up to the end date to generate the alert, and choose a template for the notification email. View Email Templates. |
| Date Reviewed | Select a revision date for the agreement. Check the Alert box if you want to generate a notification of the agreement revision date. Define the number of days leading up to the review date to generate the alert, and choose a template for the notification email. View Email Templates. |
| State | In this field, the initial status of the agreement must be displayed. See 6.1 States. |
| Reason | In this field, the reason for the initial state must be displayed. |
| Calendar | Choose the schedule for the service agreement. |
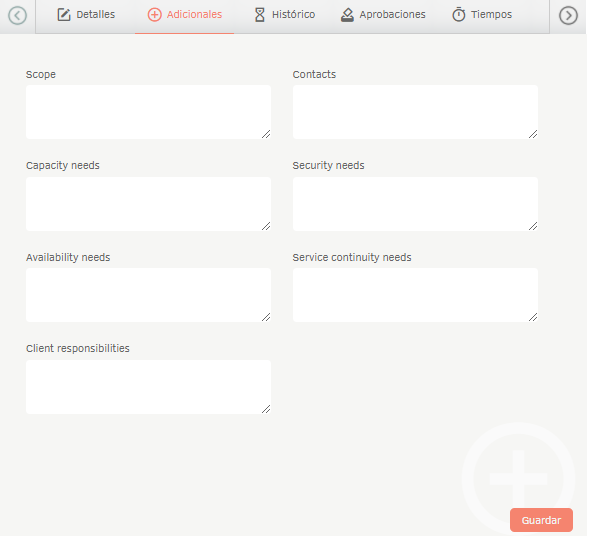
2. In the Agreement Detail View in the ASMS Admin Console, select the Additional, you will be able to display the additional fields for the service agreement.
3. When you finish setting up the basic information for the agreements, click Save to confirm changes made; in the Detail View of the ASMS console, tabs are enabled Historical, Approvals, Times, Documents and Records.
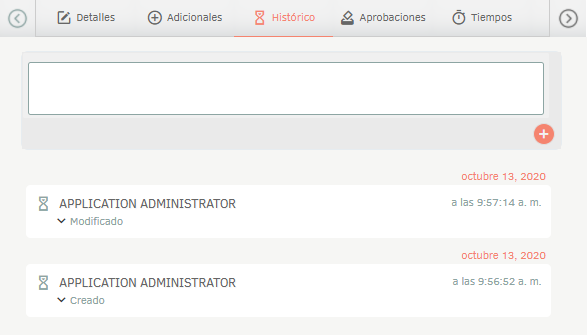
4. In the Agreement Detail View in the ASMS Admin Console, select the Historical, where you can view the record of all modifications made to the service agreement. You can also add annotations.
5. In the Agreement Detail View in the ASMS Admin Console, select the Approvals, where you can display the results of the approval processes for service agreements. If the service is in the process of being approved, you can vote in this tab. For more information, see section 6.4 Approvals.
6. In the Agreement Detail View in the ASMS Admin Console, select the Times, where you can set up times for the service agreement. Choose the type of case and model on which you want to set the times.
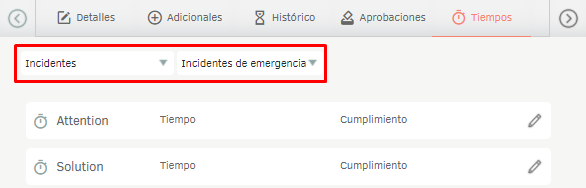
It will display the times previously configured for the model. View Times (Stopwatches).
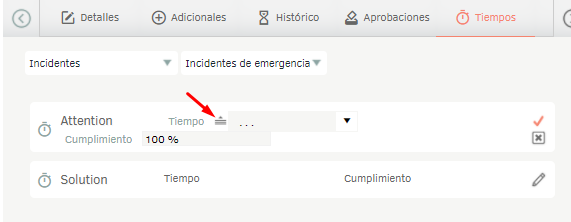
Locate the time you want to modify and click on the Edit.
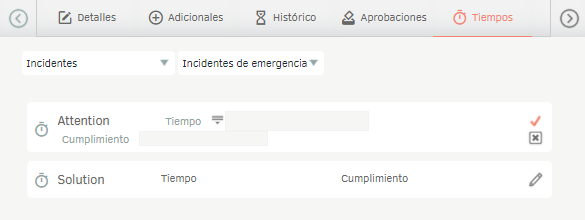
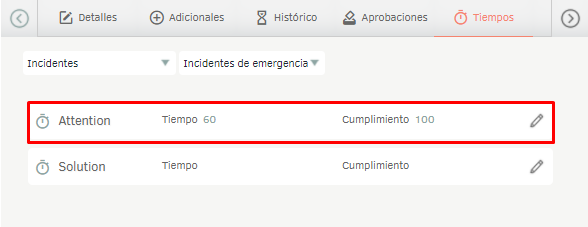
Define the global time in minutes and compliance and click on the confirmation icon.
You can also configure the times taking into account the priority assigned to the case; To do this, edit the time and click on the corresponding button.
When displaying the list, the configured priorities are displayed, there define the corresponding times and press the confirmation button.
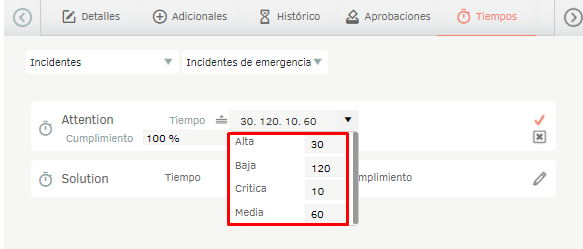
⚐ Note: The times configured in the service agreements take precedence over the times configured in the model for the calculation of time and progress of the cases.
7. In the Agreement Detail View in the ASMS Admin Console, select the Documents, where you can associate contracts, invoices, and other documents with the service agreement. View Contracts, View Invoices and See Other Documents.
8. In the Agreement Detail View in the ASMS Admin Console, select the Records, where you can attach files related to service agreements.
Using the OLA (Operational Level Agreement) type of agreement
An OLA (Operational Level Agreement) is an agreement that is established between two parties within an IT organization. It specifies the services and expected performance levels that must be met by the IT service provider and the internal operational team.
1. After creating the OLA agreement, it is important to make sure that you map it correctly along with the organizational areas corresponding to the service. More information on the assignment of agreements and organizational areas can be found in the section of Services. View Services.
2. From the Specialist console, create and/or edit a case and in the field Organizational Area search and Select an organizational area belonging to the service.
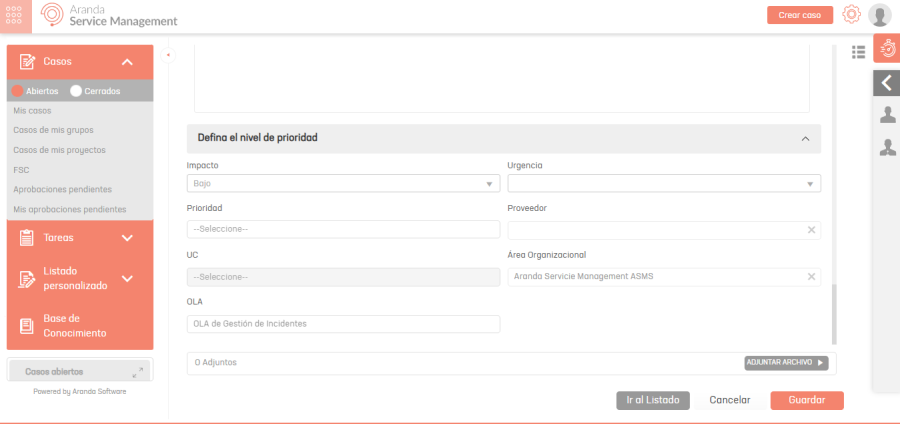
3. If an OLA has been assigned to the organizational area, the value will be automatically set in the corresponding field. Otherwise, saving the case will assign the default value defined for the service.
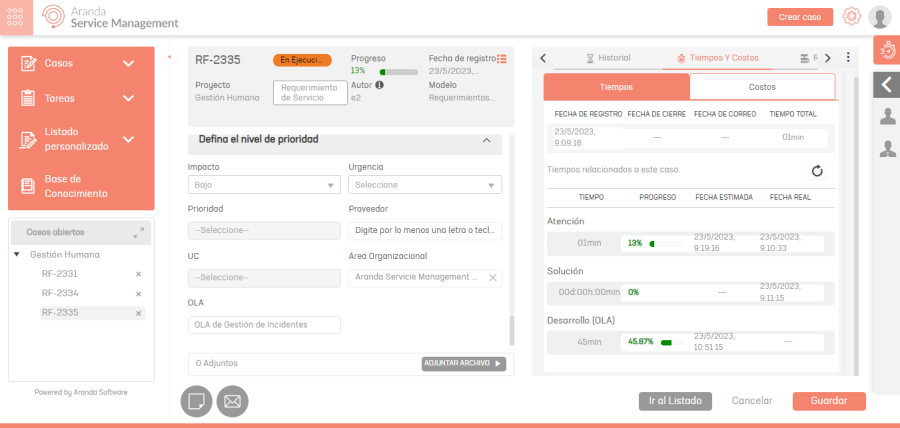
4. In the Time and Costs section, you will be able to access the display of the configured stopwatches for the different types of OLA agreements. View Times.
Export AMDL format
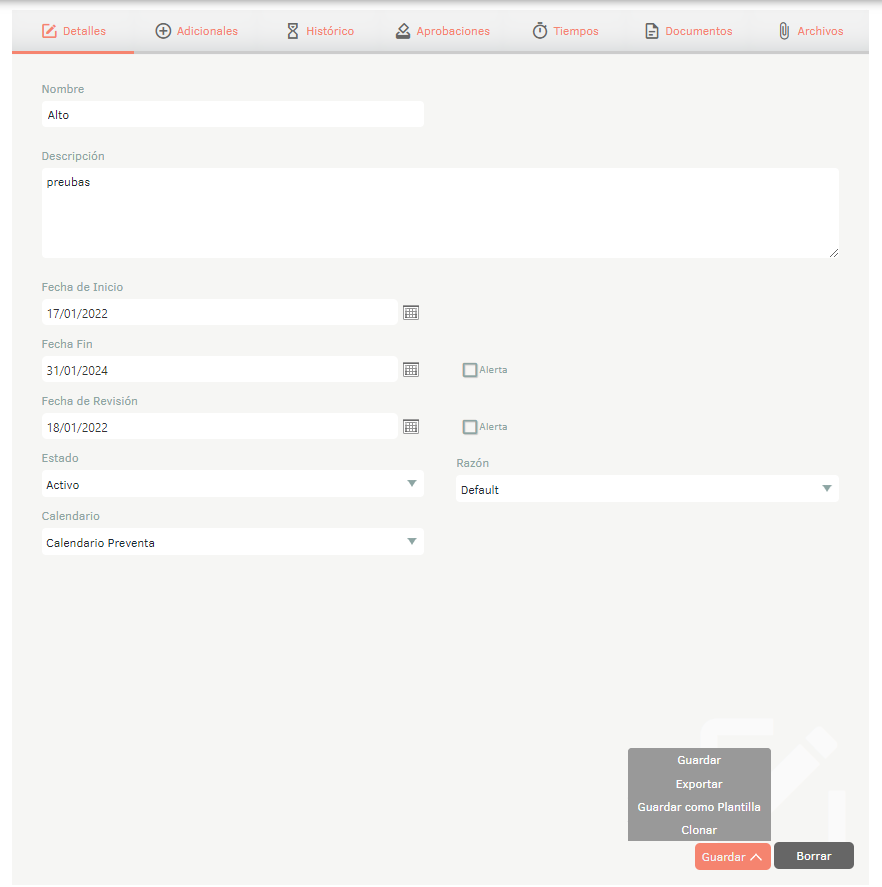
1. In the Agreement Detail View in the ASMS Admin Console, select the Details; on the Save You will have the following options enabled:
- Save- This option allows you to save changes made to the agreement.
- Export- This option allows you to export (AMDL format) the agreement.
- Save as Template: This option allows you to save the agreement information as a template.
- Clone- This option allows you to clone the agreement.
Import AMDL format
1. To import in AMDL format and create from agreement templates, enter the ASMS administration console, in the Catalog and Service Portfolio section of the main menu, select the option Agreements. Define a project, and in the information view, select the New/Import or New/Create from Template.
Mass Time Update
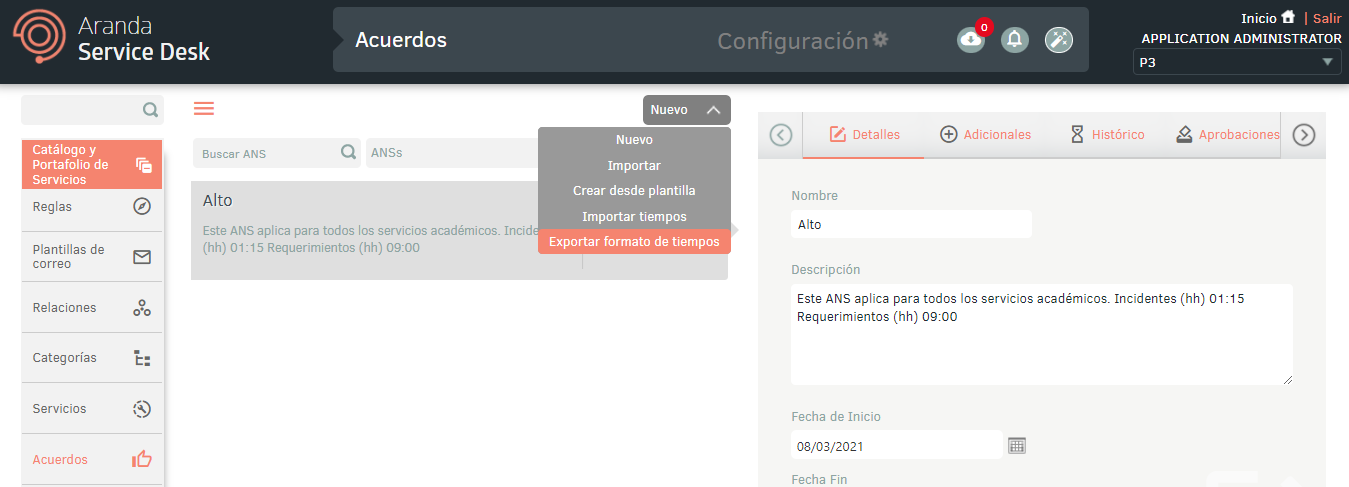
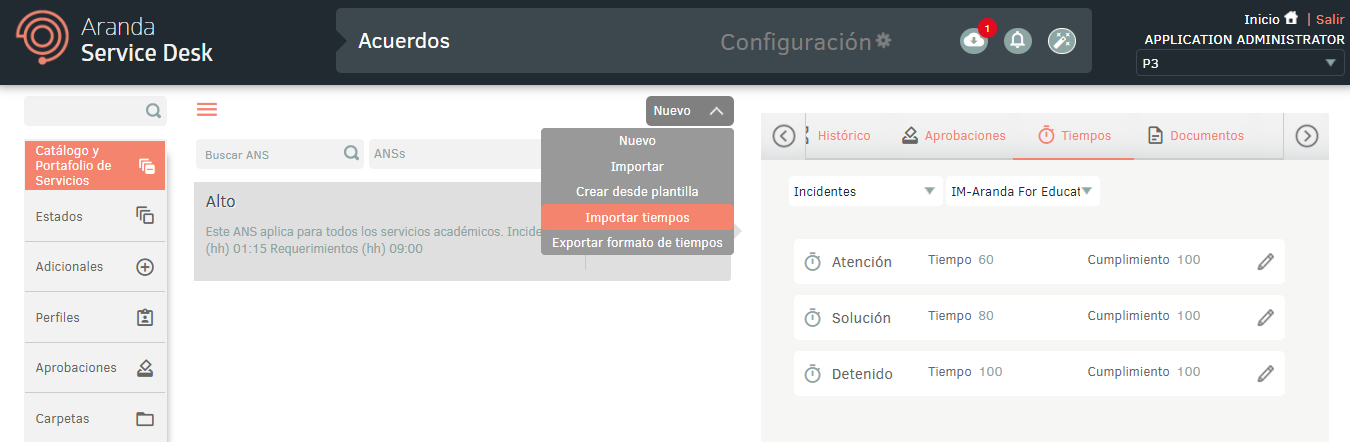
1. To perform the bulk time update, log in to the ASMS administration console, in the Catalog and Portfolio of Services from the main menu, select the Agreements. Define the project and the type of agreement; Finally, select the New/Export format of times.
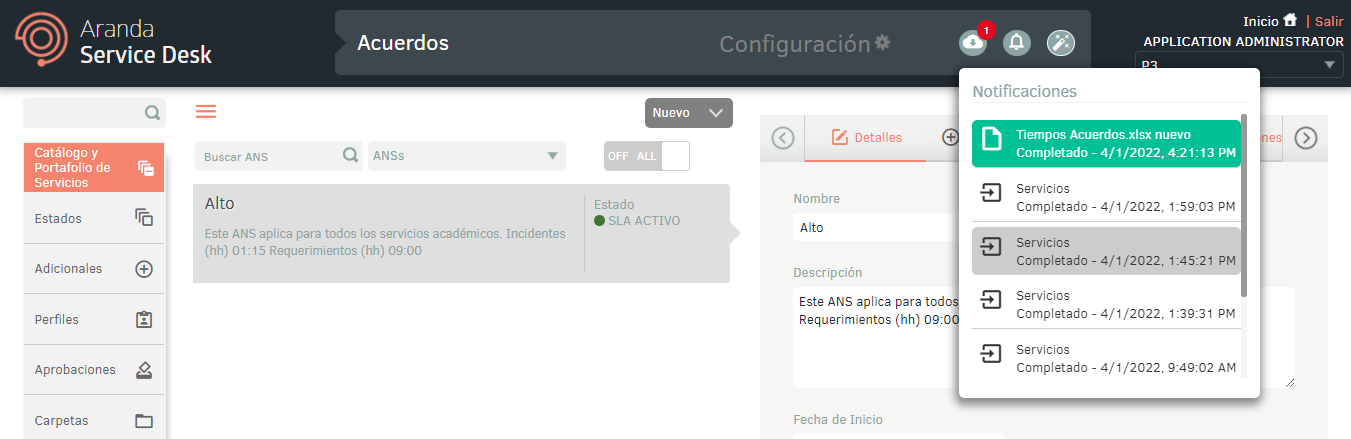
2. The file will be scheduled to download. Click on the option Notifications to download when completed.
3. When you open the file, the following sheets are available: Info: describes the obligation and information to be filled in about each field. Time: Contains the chronometers set in a general way by case type and model. TimePriority: Contains the timers set by priority, case type, and model.
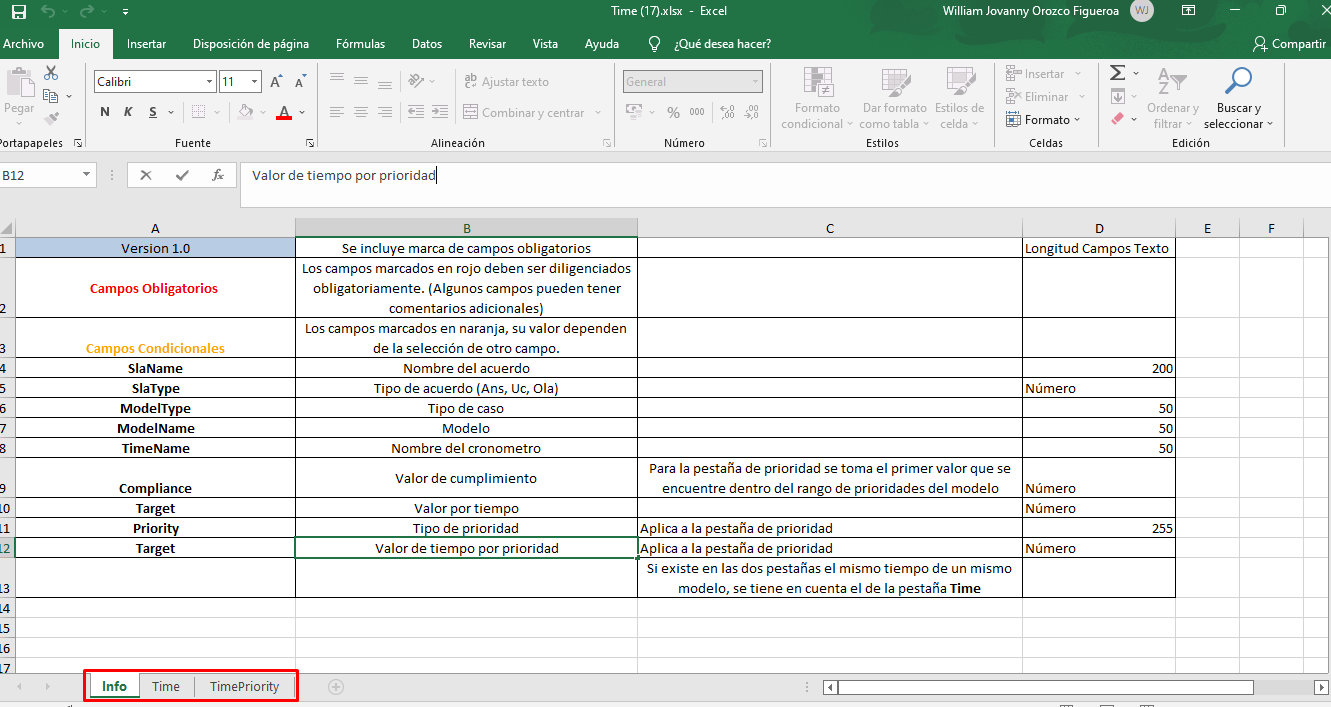
⚐ Note: Enter the name of the agreement.
- If you set the times of the same stopwatch in both tabs (Time and TimePriority), when importing the format, the times set in the Time tab will take precedence.
- If you are updating a timer that has a time in a general way to Time by Priority, you must delete the time and compliance values in the Time tab and enter the values manually in the TimePriority tab.
4. Once the form is completed, from the administration console click on the New/Import Times.
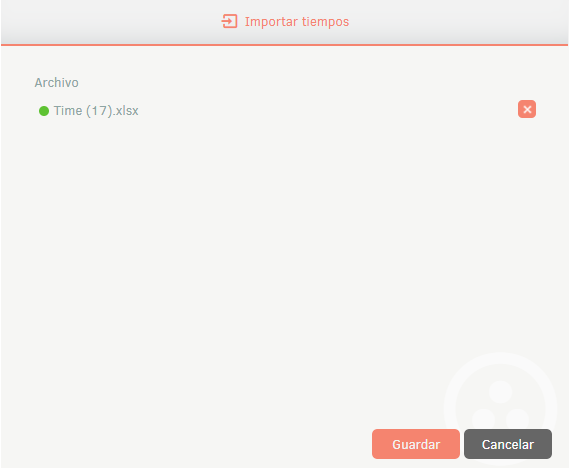
5. In the window Import, upload the file, and click the Save.
6. Pull down the notification panel; there the import will be displayed in status Earring and, once it is finished, it will become a state Completed with the upload date.
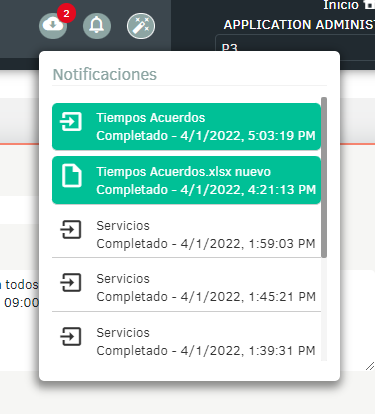
7. Click on the notification, there a window will be displayed with the import details.
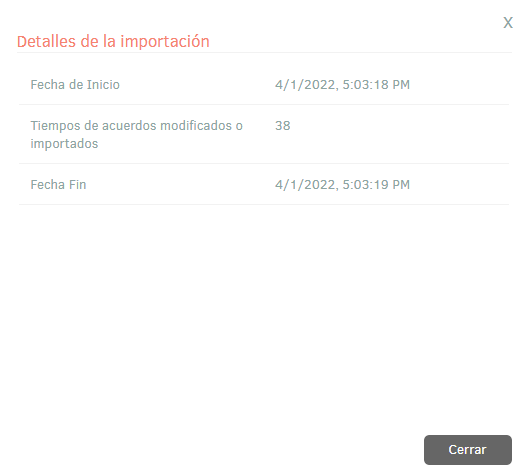
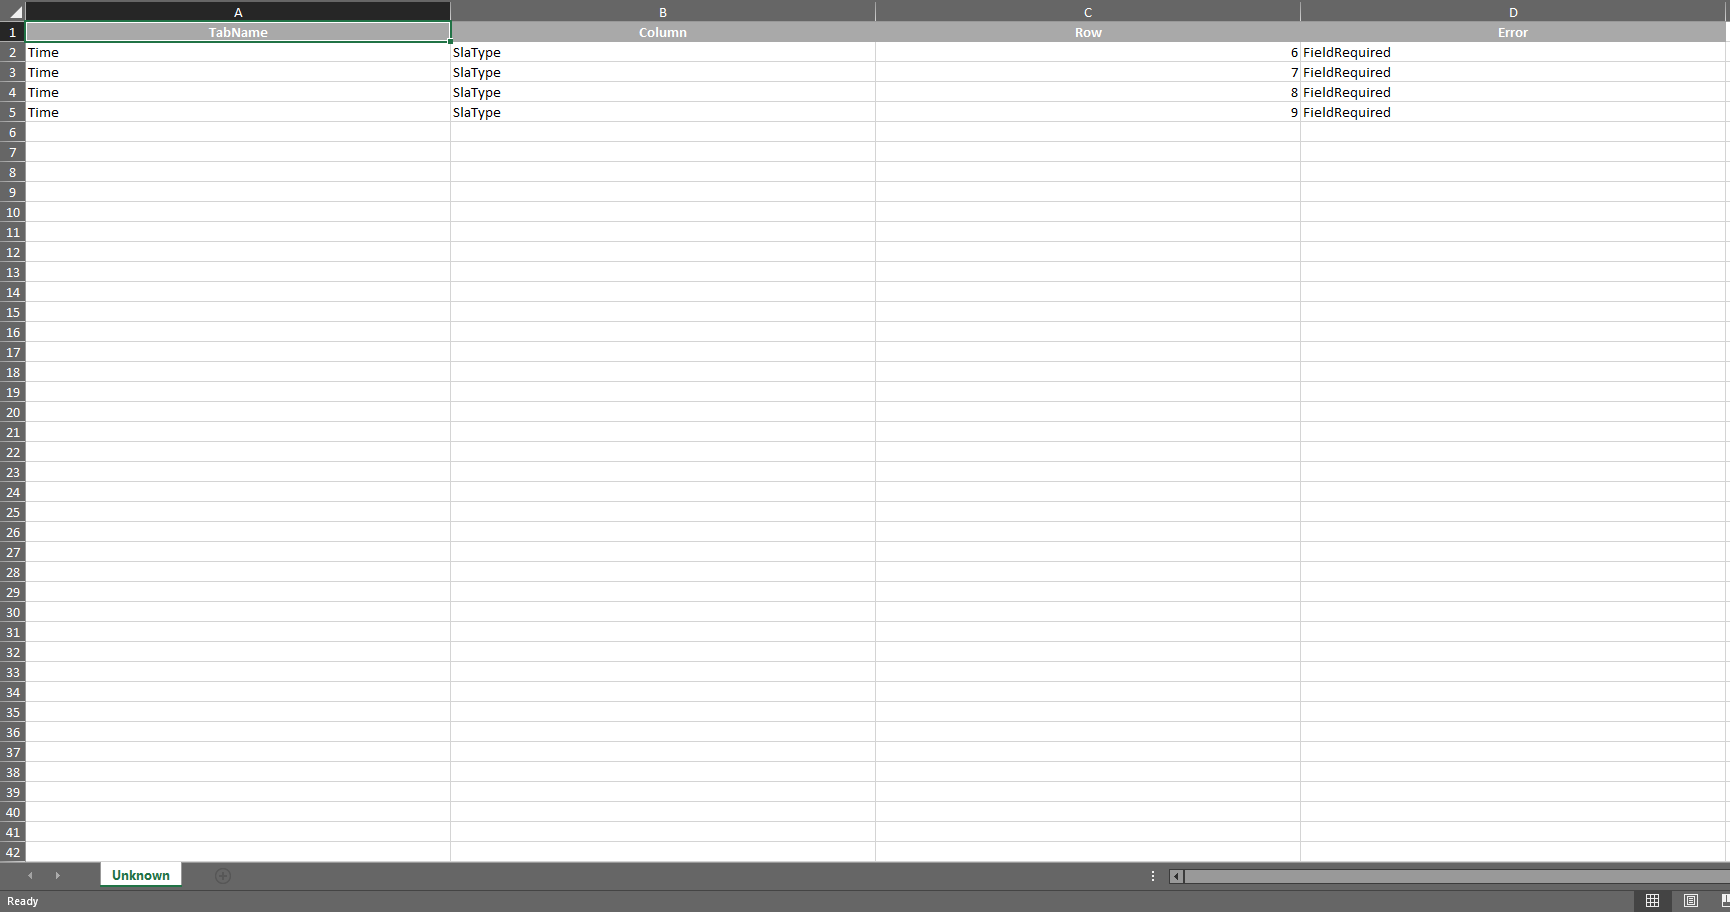
8. If during the import the file generated errors in one or more records, when viewing the import details it will be possible to download a file with the detail of the records that generated error.
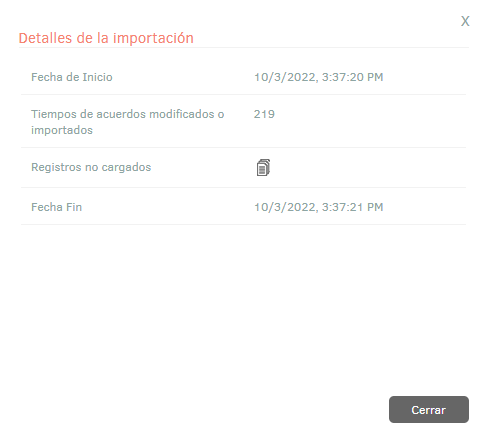
9. In the import details window, by selecting the unloaded records icon, you will be able to download an Excel file with the details of the errors generated during the import.