This module allows you to create timers on the different types of cases to calculate the times and progress in care.
Creating Times (Stopwatches)
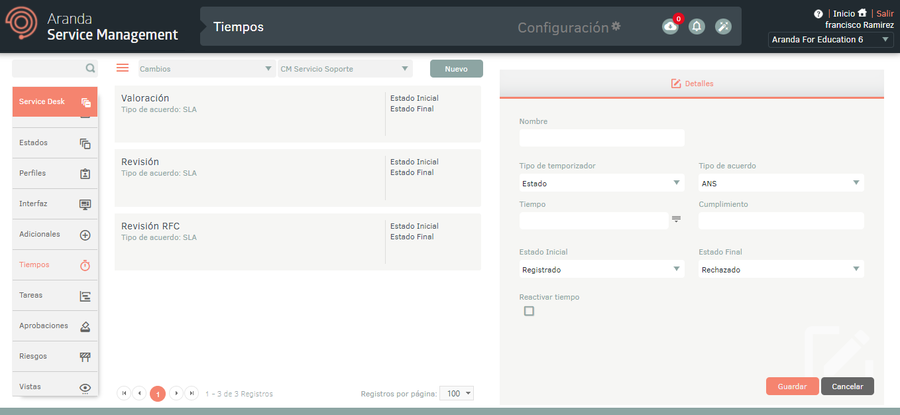
1. To create a timer, log in to the ASMS Admin Console in the Service Management from the main menu, select the Times . Define a project, a type of case (incidents, service requirements, changes, problems, releases) and the model on which the times are configured; In the information view, select the New and in the detail view configure the times, the type of agreement and compliance with them.
⚐ Note:
- For the Incidents, Problems, Service Requirements, and Releases case types, the Attention and Solution times are created by default.
- For the Changes case type, the Valuation, Revision and RFC Review times are created by default.
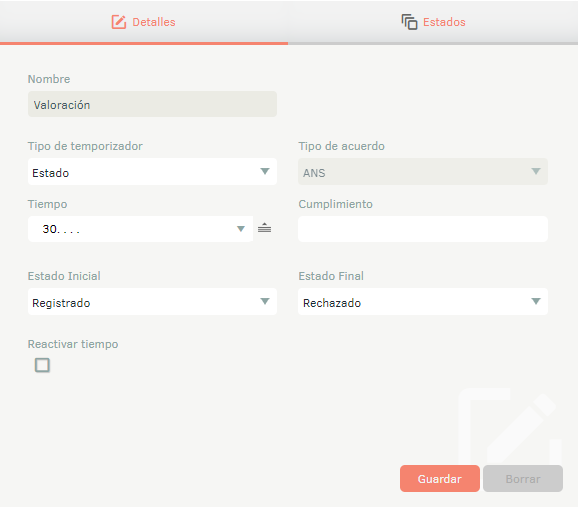
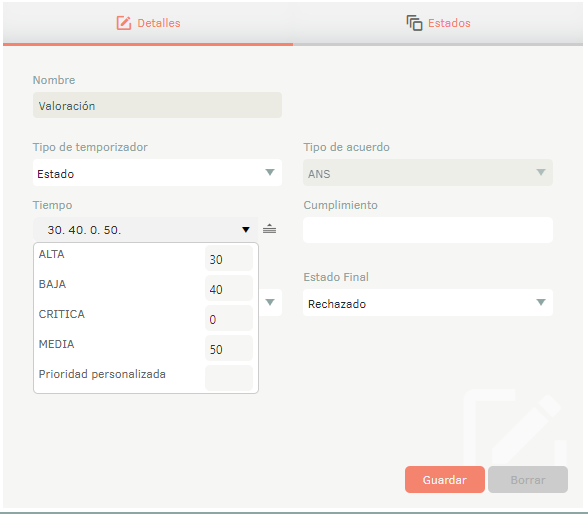
2. In the Times Detail View in the ASMS Admin Console, select the Details, where you can fill in the following information:
| Field | Description |
|---|---|
| Name | Enter the name of the time. |
| Timer Type | Choose the timer type (status or condition). |
| Type of agreement | Choose the type of agreement See Agreements. |
| Time | Set the estimated time in minutes. |
| Compliance | Define the percentage of compliance with the time. |
| Initial state | Define the state in which you want the estimated date to be recorded according to the configured time. |
| Final state | Define the state in which you want the time count to end. |
| Reactivate times | By having this box active and once the case returns to meet the status or condition to execute times, the actual date of the case will be cleaned and the time and progress will continue its account at the value where it was. |
| Recalculate Estimated Date by Time Pause | When this box is active and once the conditions of the case are met, the estimated date of the time will be recalculated. |
⚐ Note: When configuring the OLA or UC agreement type, the mandatory vendor or organizational area for the initial time state must be requested.
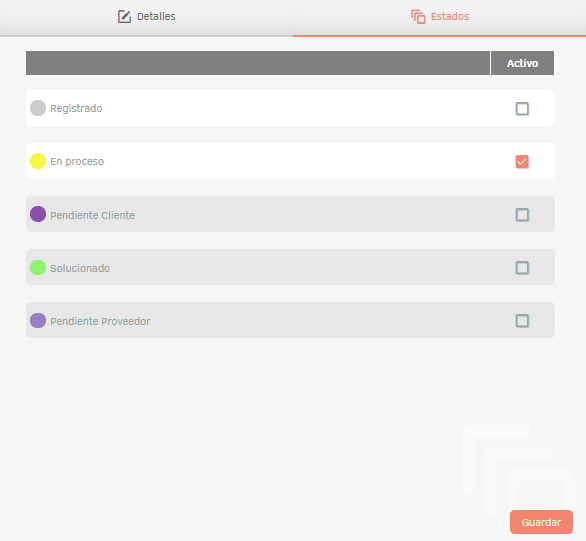
2. When you finish setting up the basic timing information, click Save to confirm changes made; in the Detail View of the ASMS console, the States, where you can define the states to be calculated taking into account the initial and final state defined in the previous step.
Setting Up Times by Priority
1. In the Times Detail View in the ASMS Admin Console, select the Details, when you select the Time to edit field, you can configure the times taking into account the priority assigned to the case. To do this, select the time to edit and click on the corresponding icon
Selecting the time field icon enables the configured priorities; There you can define the corresponding times and click on Save.
Setting the Timer Type by Condition
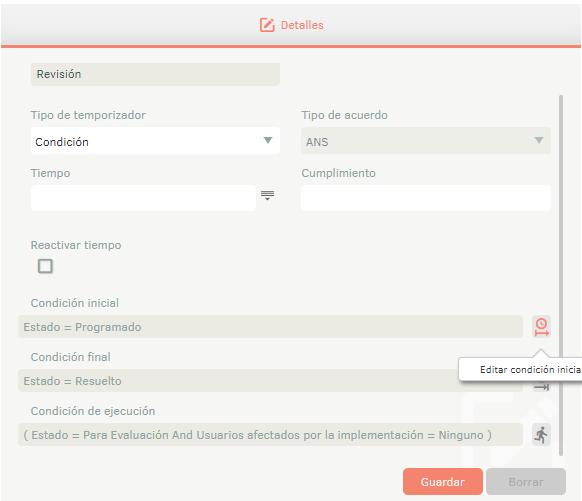
1. In the Times Detail View in the ASMS Admin Console, select the Details, when you select the Timer Type select the Condition option.
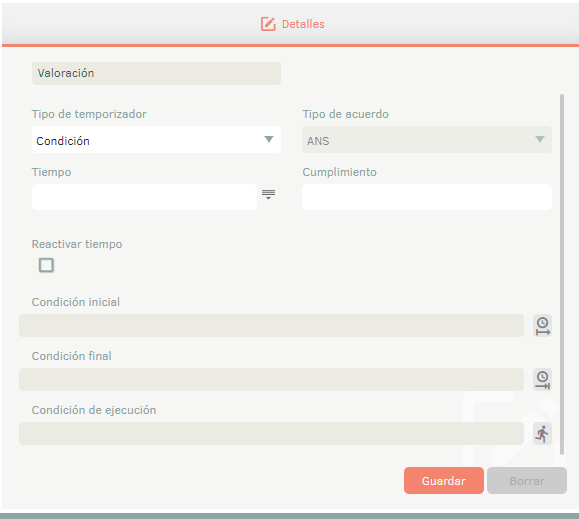
2. In the Timings Detail View in the ASMS Management Console, the Initial Condition, End Condition, and Execution Condition sections are enabled at the bottom. Selecting the button corresponding to each condition enables the window to edit each item.
- In the option, Initial condition You can configure the condition for the recording of the estimated date according to the configured time.
- In the Edit Final Condition You can set the condition where the time is finished.
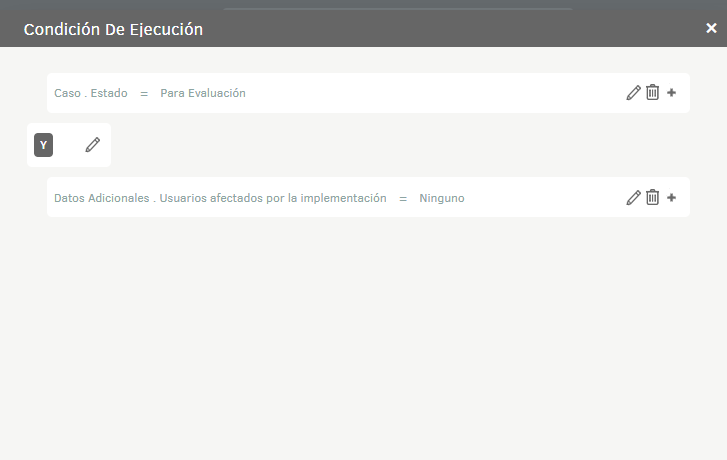
- In the Edit Execution Condition You can set the condition in which the time count will start.