
Create CIs
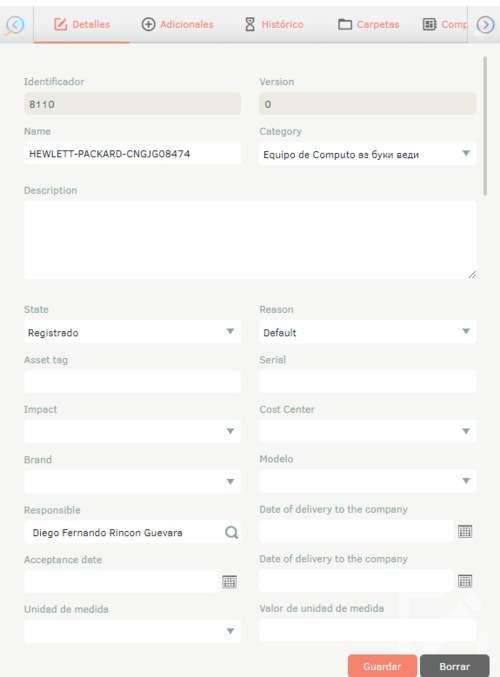
1. To create assets or configuration items, log in to the ASMS Management Console. In the CMDB from the main menu, select the Cis. Define a project, and in the information view, select the New and fill in the requested data in the tabs Details and Additional.
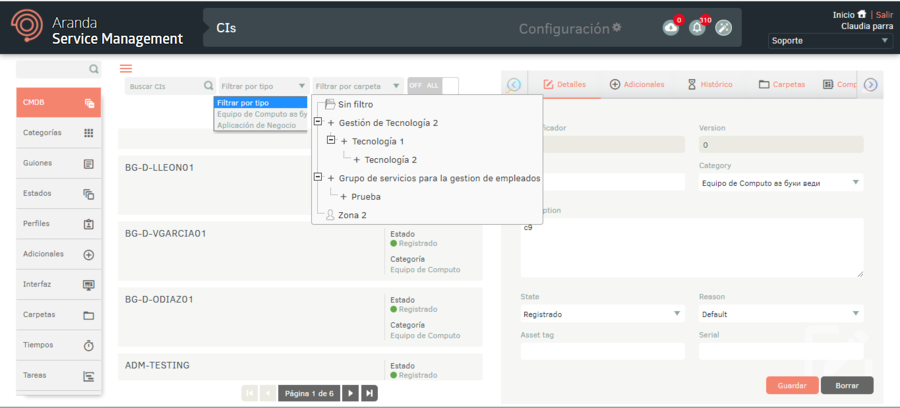
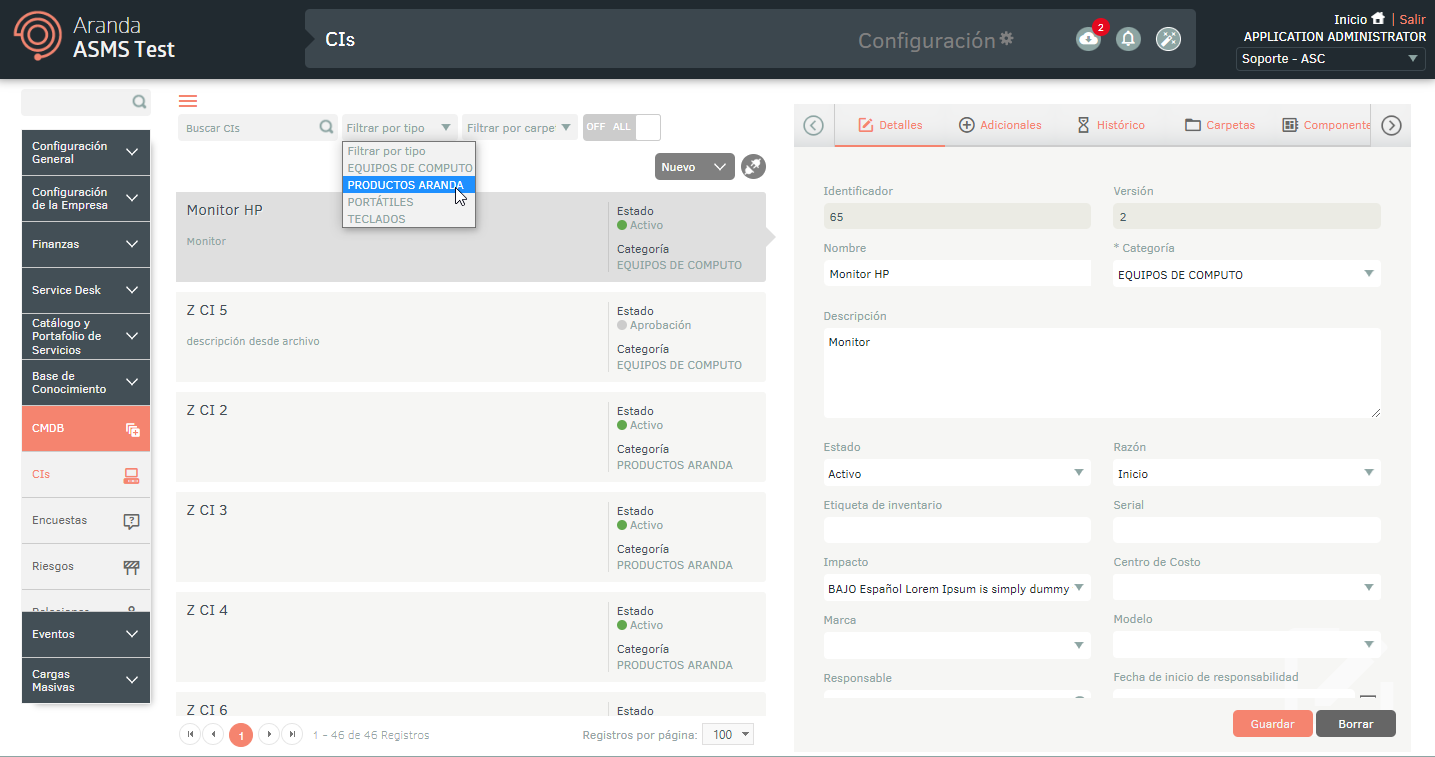
2. In the detail view you can use the search fields or filter the information to organize and find assets or CIs.
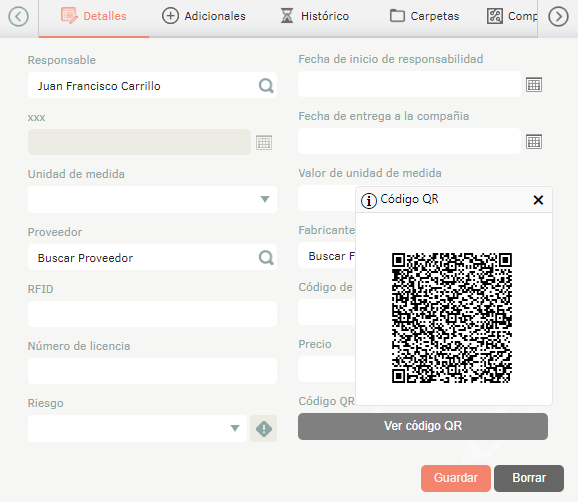
3. By clicking Save, the other tabs will be enabled and a QR code will be generated that will store the CI information. To view the code, click the View QR Code.
4. In the CIs detail view in the ASMS Admin Console, select the Historical, where you can see all the events that occurred with the IC and add comments. You can also create a baseline by checking the Baseline.
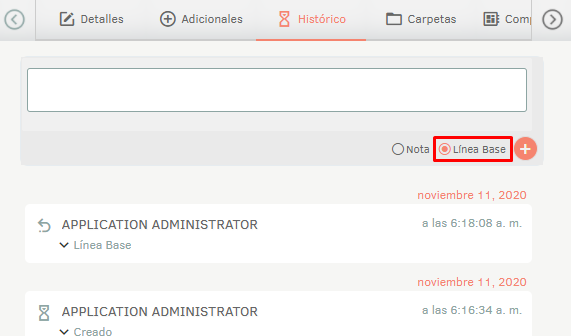
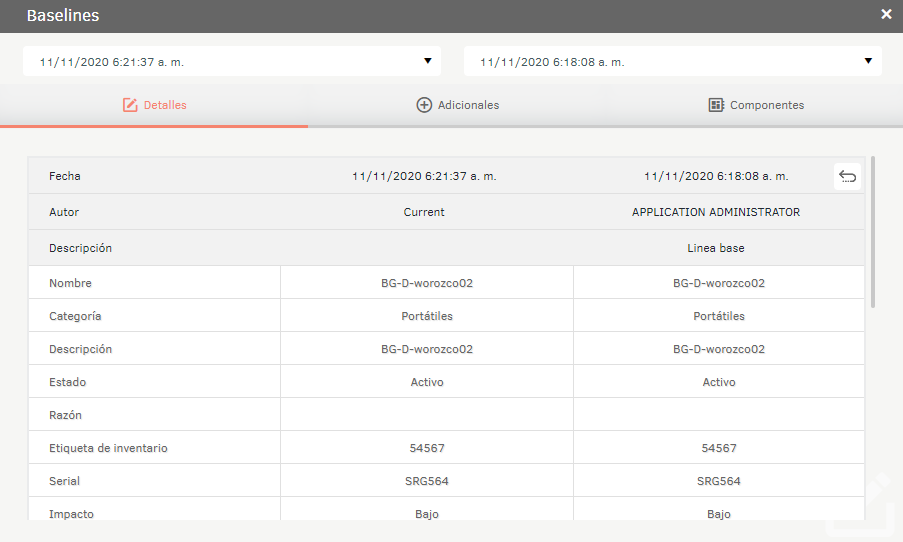
The baseline history will be stored for future reference or to restore the IC information to an earlier point. You can compare one baseline to another by clicking on the see.
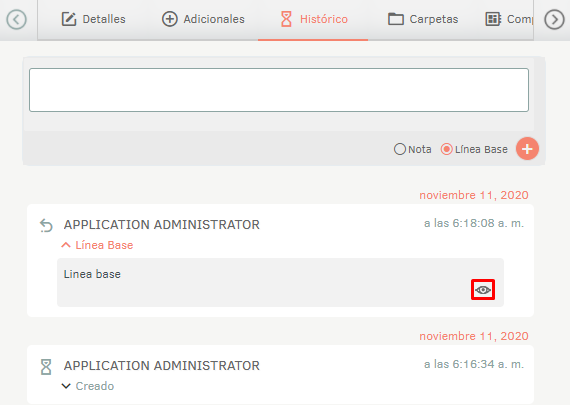
A comparison chart like the following will be displayed:
5. In the CIs detail view in the ASMS Admin Console, select the Folders, where you can associate the CI with one of the previously created folders. For more information, see View Folders.
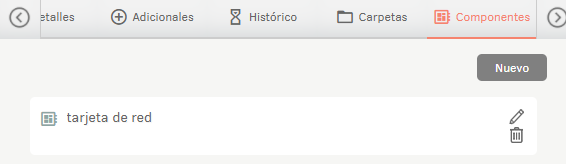
6. In the CIs detail view in the ASMS Admin Console, select the Components, where you can add components that are part of the CI. To do this, click New, enter the name, description, and type, and finally click Save.
7. In the CIs detail view in the ASMS Admin Console, select the Approvals, where you can view the results of the approval processes for ICs.
You can also vote on an approval process that is pending. View Approvals.
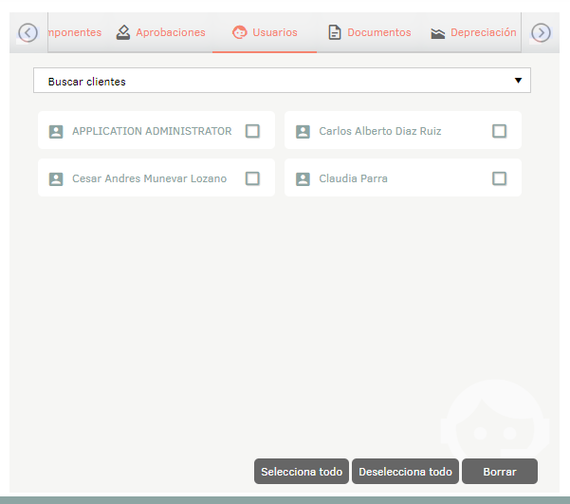
8. In the CIs detail view in the ASMS Admin Console, select the Users, where you can associate users with the CI. The list of user groups is obtained from information imported from Active Directory or from manually created users. See View LDAP and Users.
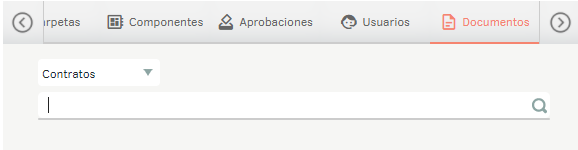
9. In the CIs detail view in the ASMS Admin Console, select the Documents, where you can associate additional documents to the CI (contracts, invoices, and other documents). See View Contracts, View Invoices and See Other Documents.
10. In the CIs detail view in the ASMS Admin Console, select the Depreciation, where you can set up parameters to calculate CI depreciation.
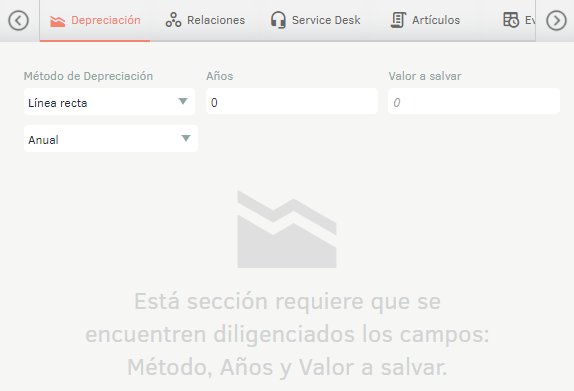
To view the calculation results, you must have entered the values of price and Date of delivery to the company on the Details.
11. In the CIs detail view in the ASMS Admin Console, select the Users, where you can set up relationships between the assets and CIs you’re editing.
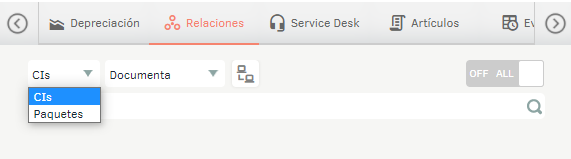
You can view the relationship graph by clicking on the icon.

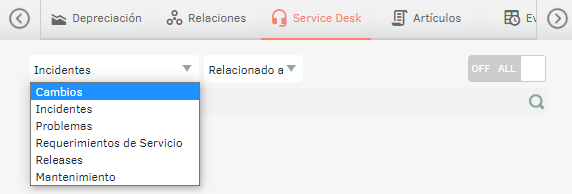
12. In the CIs detail view in the ASMS Admin Console, select the Service DESK, where you can relate the IC to the different types of cases.
13. In the CIs detail view in the ASMS Admin Console, select the Articles, where you can relate the IQ to knowledge base articles.

14. In the CIs detail view in the ASMS Admin Console, select the Events, where you can relate the IQ to events.
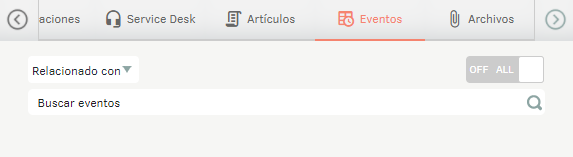
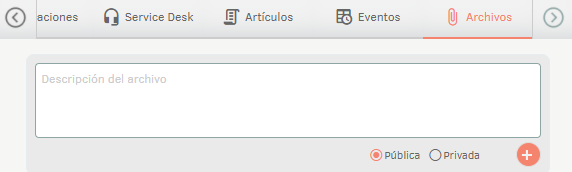
15. In the CIs detail view in the ASMS Admin Console, select the Records, where you can attach relevant files and comments to the IC.
Bulk IC export
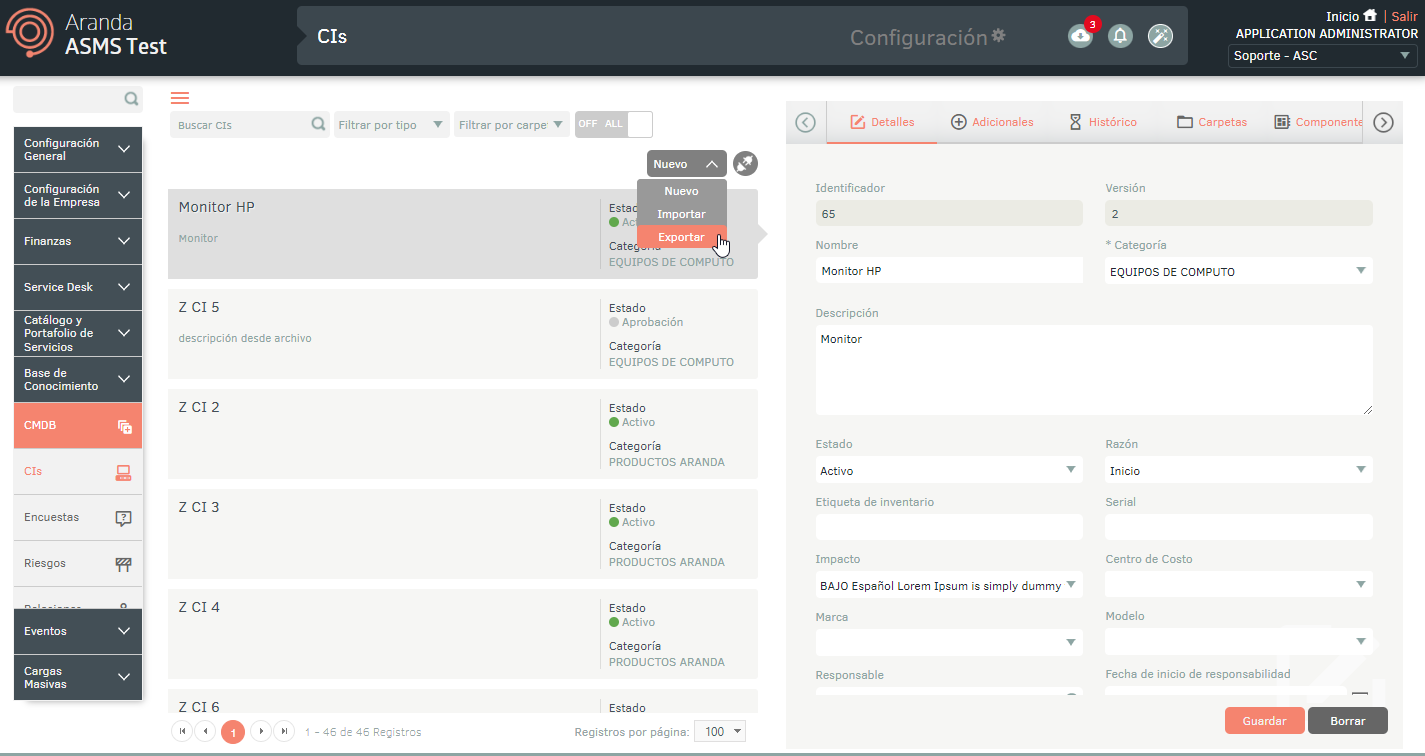
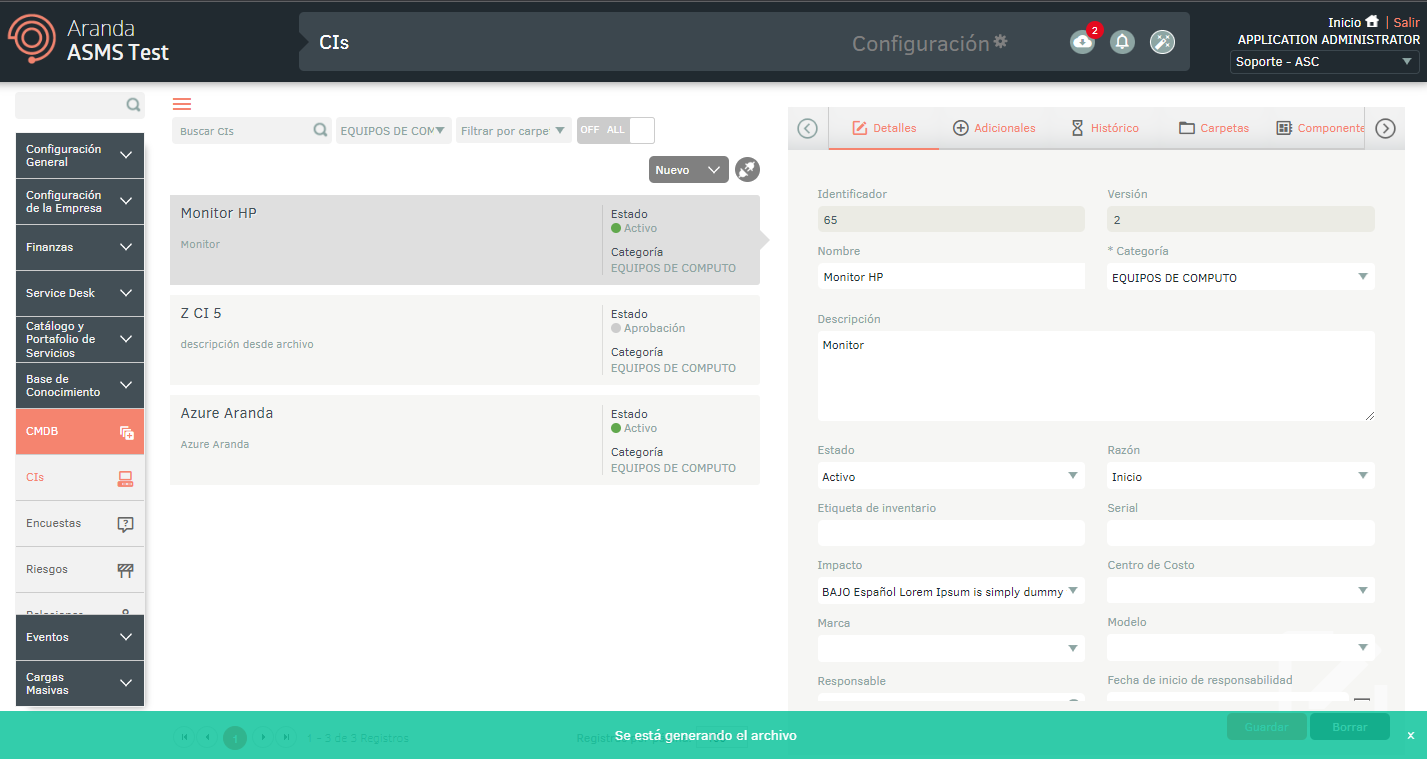
1. To export the CI information, in the CMDB from the main menu, select the Cis. Define a project, and in the information view, select the New/Export Format; this option will allow you to export the information with or without data for updating and/or creating CIs.
⚐ Note: If at the time of exporting the list is filtered by a category, only the data corresponding to that category will be downloaded.
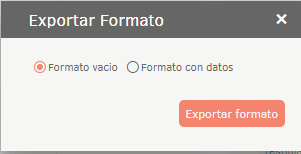
2. The Export Format window is enabled, where you must select whether you need to export the Empty Format (creation of CIs and Relationships) or Format with data (update of CIs and Relationships). Click Export Format.
3. If you downloaded only the empty format for one of the CI types, it is automatically downloaded. If you downloaded the formats for all CI types or one of the CI types with data, the file will be scheduled for download, generating an informational message at the bottom of the screen.
⚐ Note:
- CI files will be downloaded by category.
- Additional fields will be downloaded as part of each IC’s information.
- Importing the format with the Modified Date field empty will set the current date and time to UTC.
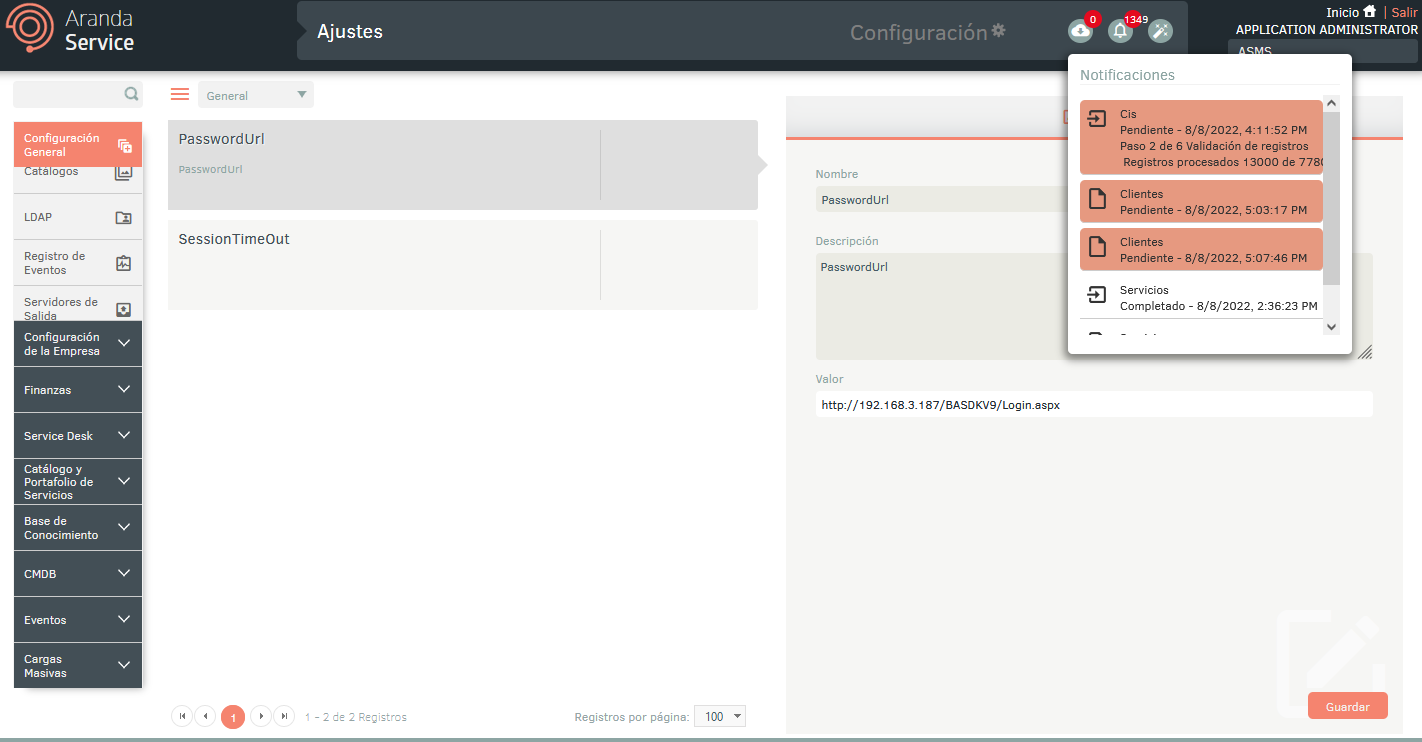
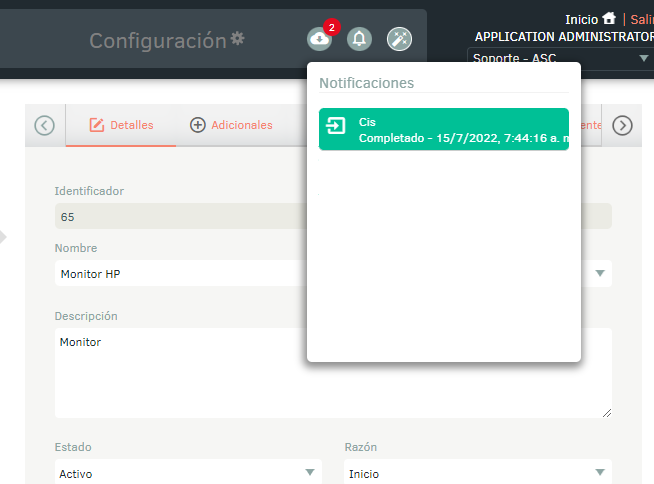
4. From the Admin console header menu, select the Notifications option.
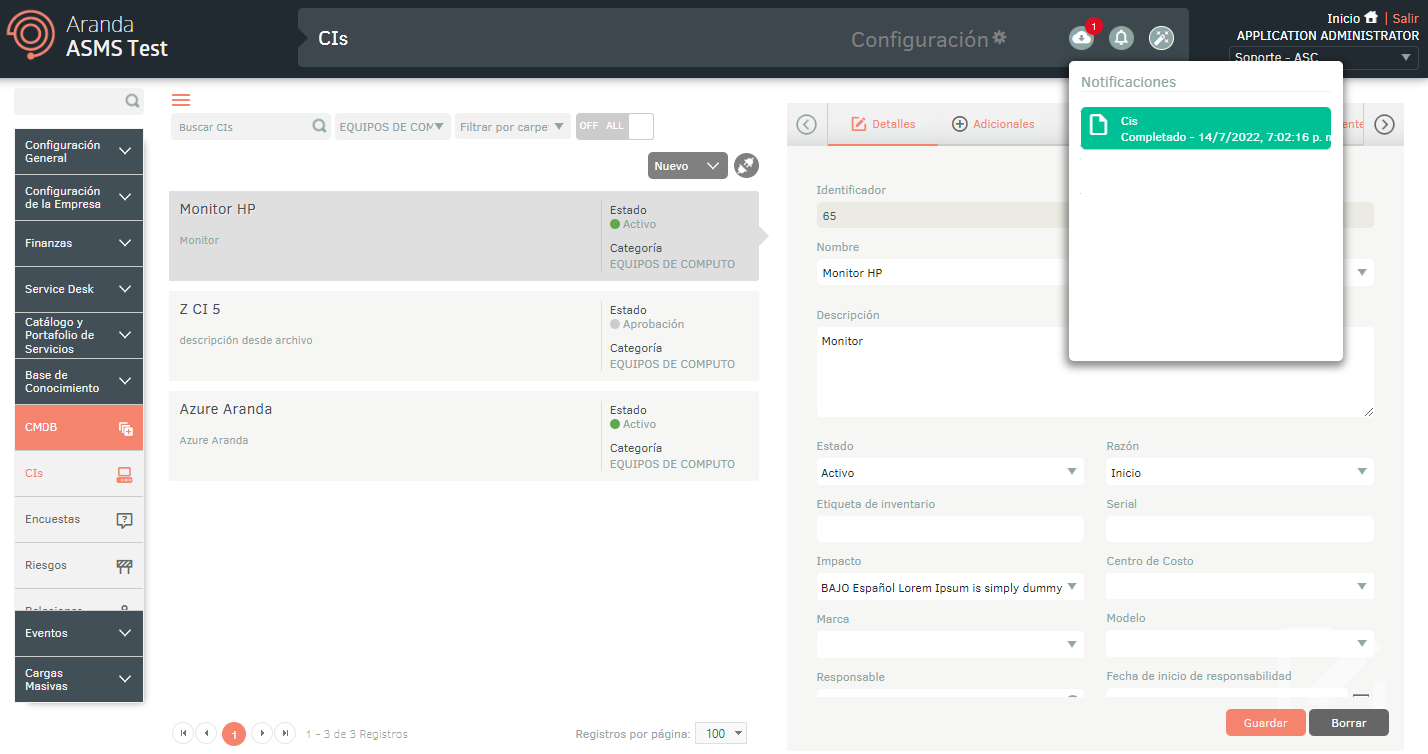
⚐ Note: In the Notifications option you will be able to view the generated format in Pending status (Orange color) and once the export process is finished, it will change to Completed status (Green color) with the download date.
5. By clicking on the notification, you will be able to download the file.
⚐ Note: Downloading the data format will create a .zip file containing one .xlsx file for every 7,000 records exported.
6. Fill out the form according to the sheet Info, which describes in detail the obligation and the information that must be filled in in each field.
7. On the Sheet Ci the data of the ICs that are going to be created or updated must be filled in.
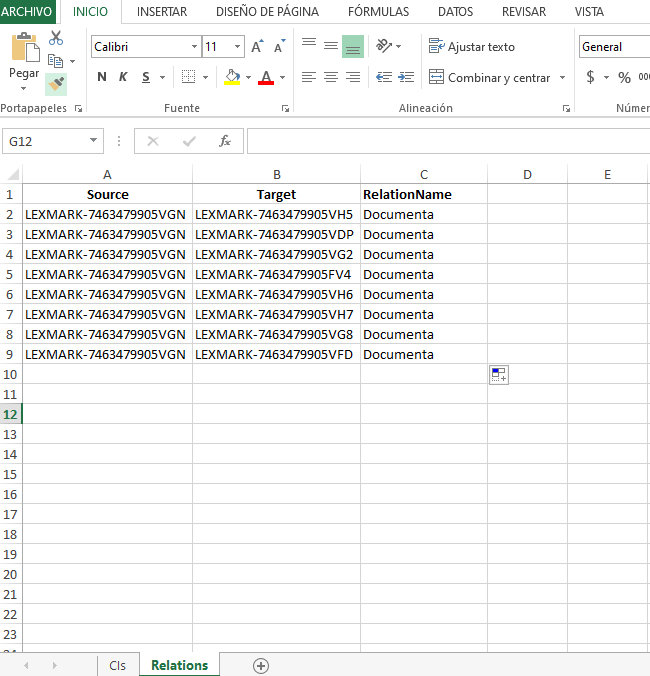
8. On the Sheet Relations it can create relationships in a massive way between the CIs. On the blade, specify the source CI (Source), the IQ to be related (Target) and the name of the relationship (RelationName).
Bulk import of ICs
9. Once the file is saved, click New/Import.
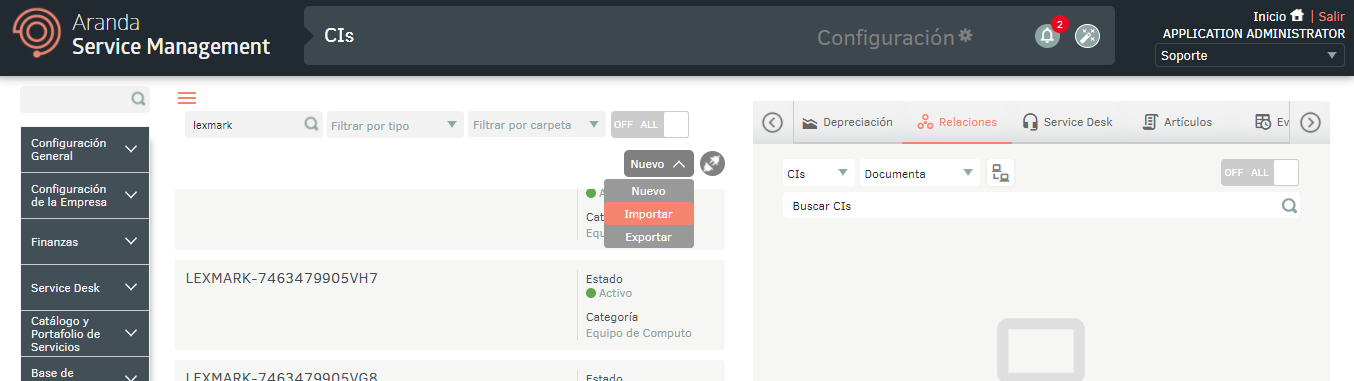
10. In the IC detail view, in the Importicon, select the selection icon to upload the file.
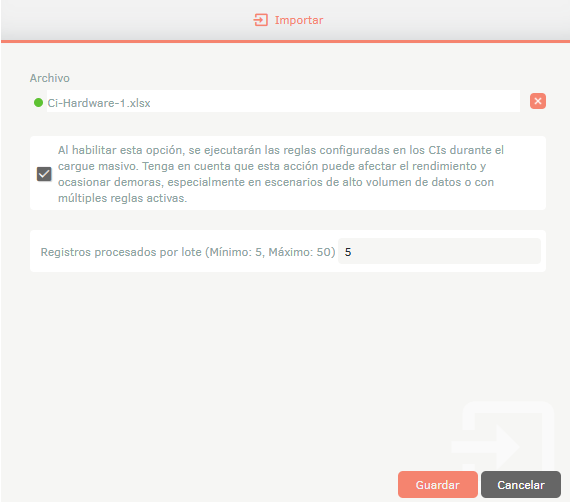
11. In the bulk upload process, you will be able to run rules if they are configured. Activate the checkbox located at the bottom of the File field to schedule the execution of the corresponding rules.
By checking the checkbox, a field will be enabled to configure batch processing, allowing you to define a minimum of 5 and a maximum of 50 batches, which will be processed successively.
⚐ Note:
- By enabling rule execution on bulk upload, processing performance may be affected, resulting in a longer than expected execution time.
- If an error is generated during the bulk upload process, batches that have already been processed will not be affected. The rules will be executed and, at the end, a report will be generated with the records that were successfully processed and those that failed.
12. Click the Save to initiate the IC import or update; The file will be scheduled for import, generating an informative message that you can view at the bottom of the console and in the notification panel.
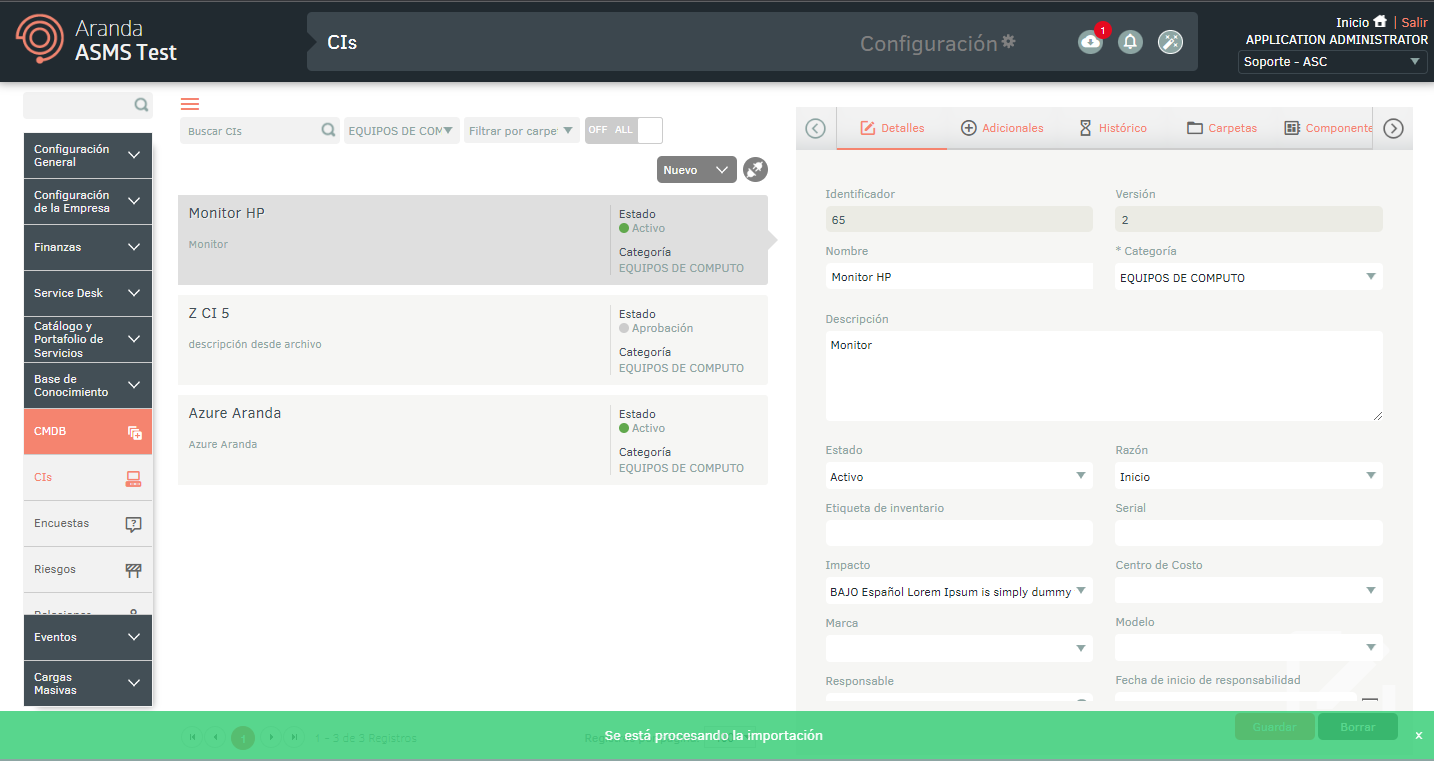
⚐ Note: The CIs will be processed in batches of 3,000 for insertion and 500 for update. Progress is included for this upload and the following steps:
- Step 1: Reading file.
- Step 2: Validate records
- Step 3: Saving Logs
- Step 4: Updating records
- Step 5: Validating Relationships
- Step 6: Keeping Relationships
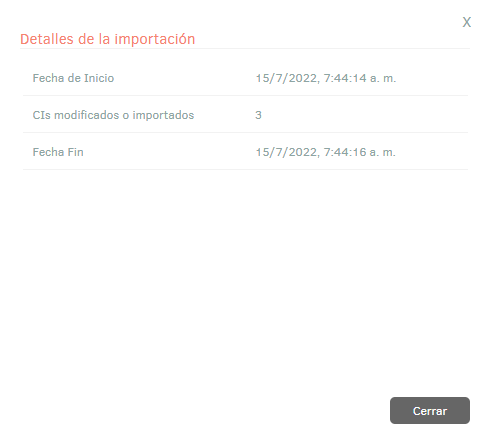
13. When the import is complete, the corresponding notification will change from orange to green, indicating that the import has been completed.
14. When you click on the notification, the window with the import details is displayed.
15. If during the import the file generated errors in one or more of its records, when viewing the import details you can download a file with the information of the records that presented an error.
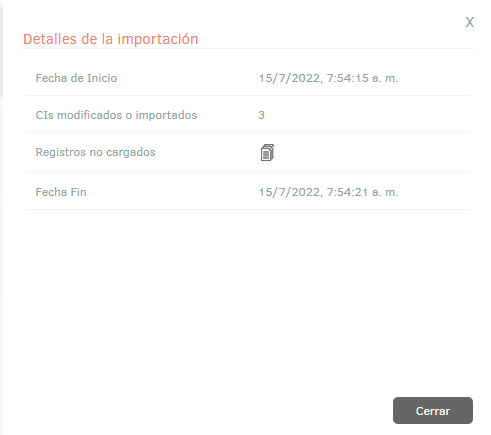
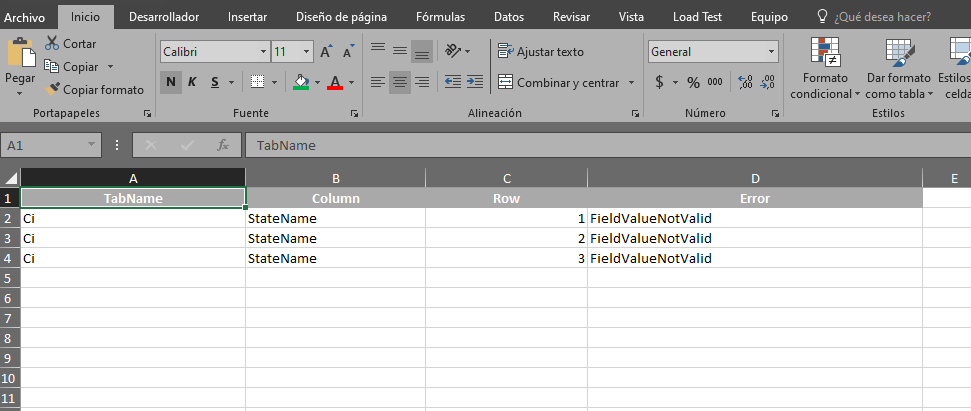
16. In the Import Details window, by selecting the unloaded records icon, you will be able to download an Excel file with the details of the errors generated during the import.
Depreciation of ICs
17. The depreciation section allows you to configure the accounting calculation of the assets recorded in the CMDB, having two methods available:
Straight line: Distributes depreciation evenly over the life of the asset. Calculation: Annual Depreciation = (Price - Value to Save) / Years of Useful Life
- Features: ▪ Easy to implement and understand. ▪ The value of the asset decreases in equal installments each year. ▪ Suitable for assets with constant wear and tear (e.g. furniture, software licenses with stable use).
Sum of digits: It applies accelerated depreciation, higher in the first years and lower in the last ones. Calculation: The digits of the useful life are added (e.g. for 3 years: 1+2+3 = 6). Each year a proportional factor is assigned: Year 1: 3/6 of the base Year 2: 2/6 of the base Year 3: 1/6 of the base
- Features: ▪ It better reflects the loss of real value of assets that become obsolete quickly (e.g. IT equipment). ▪ More complex to calculate. ▪ Useful for assets with high initial and lower depreciation at the end.
Dependencies To implement depreciation, it is necessary to have the following fields filled out to perform the calculation: • IC Details: Date of delivery to the company and IC acquisition price. • Depreciation tab fields: method, years, residual value, and period.
Change History • The CI History tab records changes made to fields that affect depreciation. • By default, the display is yearly and this field is not saved in the database.
Roles To configure the depreciation section in the management consoles, the following specific permissions are required: CI Manager and Administrator role.
Reports (Tables) The depreciation of a CI does not have persistence in the database, but it is possible to download the depreciation performed in the CMDB console.
⚐ Note: The depreciation display can be annual or monthly, depending on the user’s request.