In this module, enter the information of the customers and specialists who will use the ASMS console.
Clients
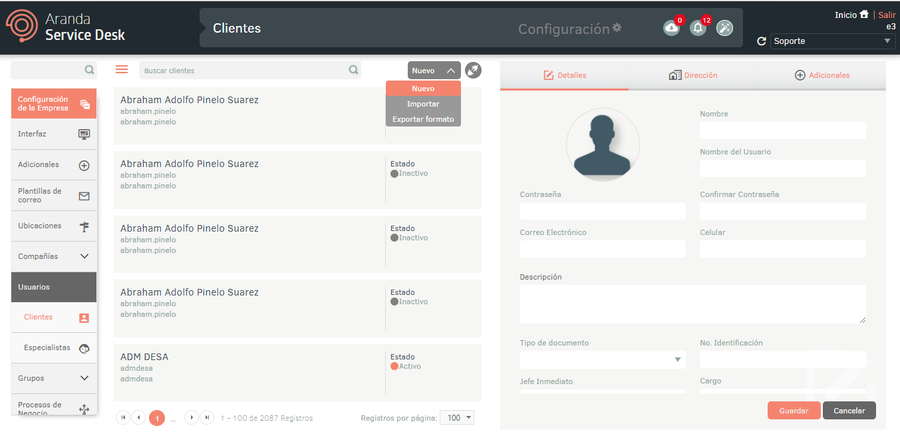
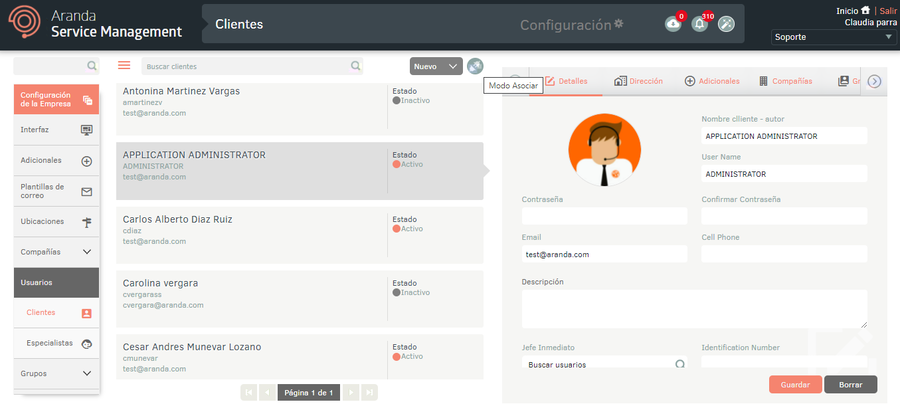
1. To create a client, log in to the ASMS Admin Console in the Company Setup from the main menu, select the Users and the category Clients. Define a project, and in the information view, select the New and in the Detail View you can define the information for customers.
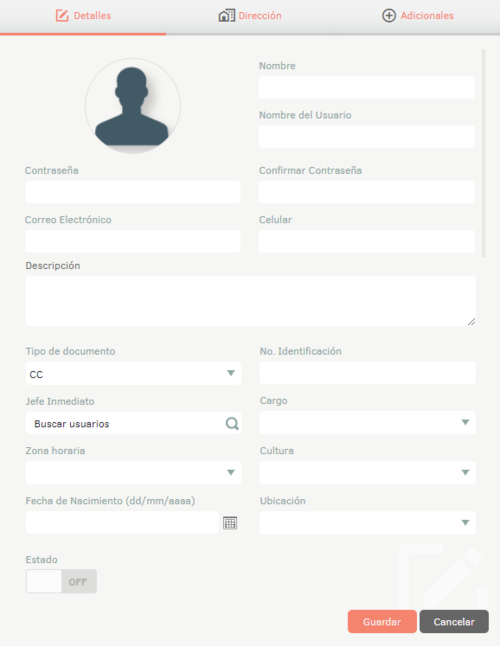
2. In the Clients Detail View in the ASMS Admin Console, select the Details, where you can fill in the general customer details and whether their status is active or inactive. You will also be able to add a photo to complete the profile.
When having password policies configured, they will be displayed in the creation or editing of users by means of a tooltip in the password field, as the password complies with the policies the tooltip text will change color, if the policies are not complied with it will not be possible to save the changes.
By setting the culture field in the customer details, you can define the language (English, Spanish, and Portuguese) in which the information is displayed.
⚐ Note: To ensure the delivery of notifications sent by email, it is necessary for the user to have an email configured for its correct functioning.
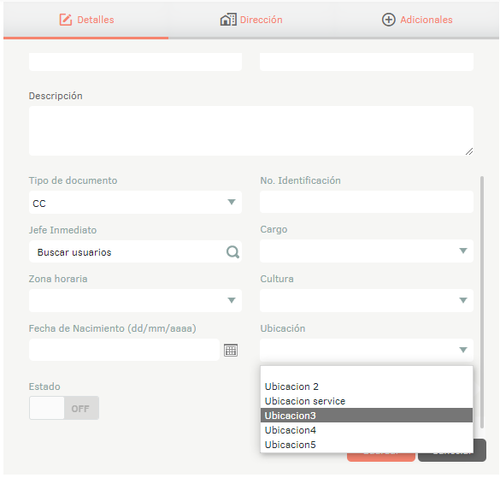
By configuring the location field in the customer details, you will be able to make the association of the location in the Customer data, allowing this information to be updated automatically in the address tab of the selected user.
| Example | Description |
|---|---|
| Example | When selecting a user who does not have a location associated with it, for this example “Carolina Vergara” is selected who does not have a location: - On the Address You should verify that no pre-loaded information exists. - On the Details Select a location from the drop-down list. - Log back into the Address and you will be able to see that the information of the selected location is preloaded. In the pre-filled information you can make adjustments to the data if you consider it appropriate - When you finish setting up the location, select the “Save” button |
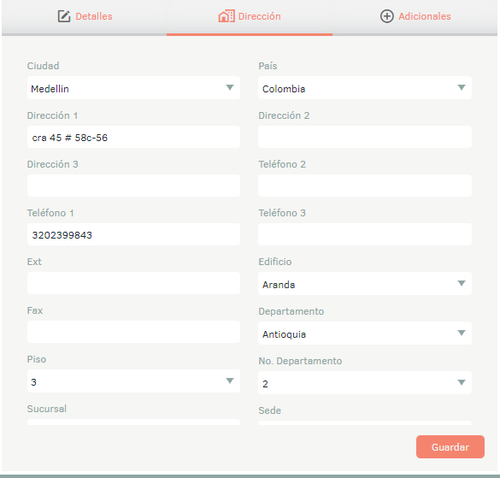
3. In the Clients Detail View in the ASMS Admin Console, select the Address, where you can enter the customer’s physical address information.
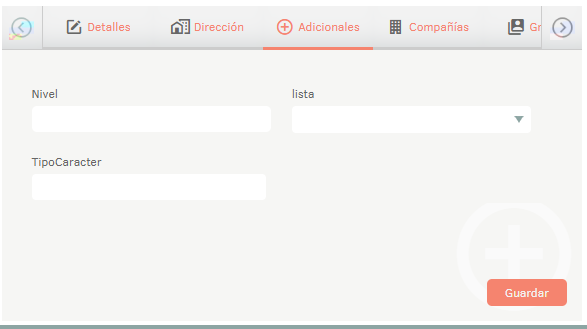
4. In the Clients Detail View in the ASMS Admin Console, select the Additional, where you can enter additional information if you have set up additional fields for customers. See Additional.
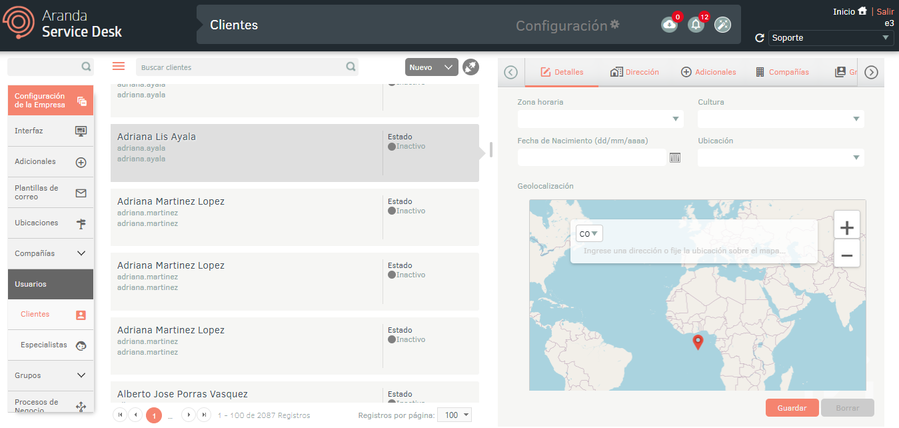
5. When you finish setting up the basic customer information, click Save to confirm changes made; in the Detail View of the ASMS console, tabs are enabled Companies, Groups, Services and Feedback. On the Details the Geolocation section is enabled.
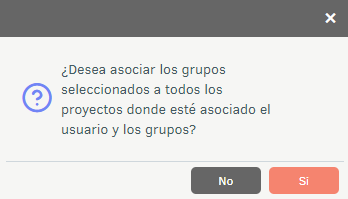
⚐ Note: When associating one or more groups to a user, a window is enabled to confirm or reject the type of association of users to projects.
Manage geolocation and other settings in Customers
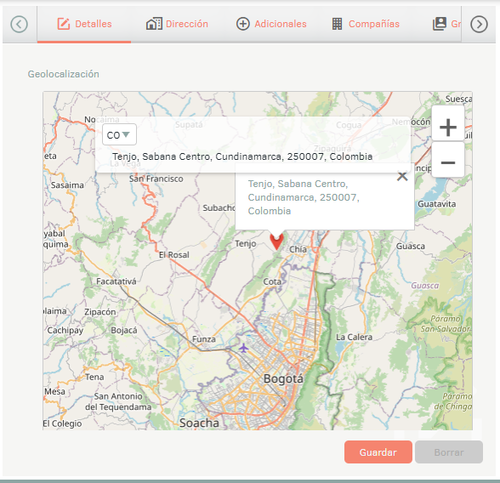
6. In the Detail View of a chosen customer in the ASMS Admin Console, select the Details and in the Geolocation field, the administrator will be able to select the location on the map that will be assigned to the client, using tools such as zoom and the search field
7. In the Clients Detail View in the ASMS Admin Console, select the Companies and associate the organization to which the customer belongs. View Companies.

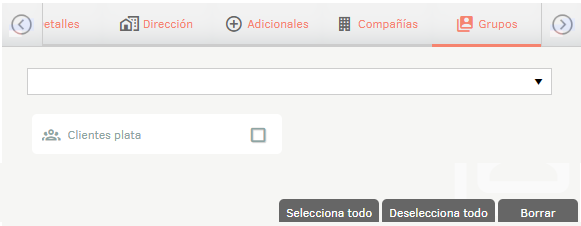
8. In the Clients Detail View in the ASMS Admin Console, select the Groups and include the customer in a customer group. View Customer Groups.
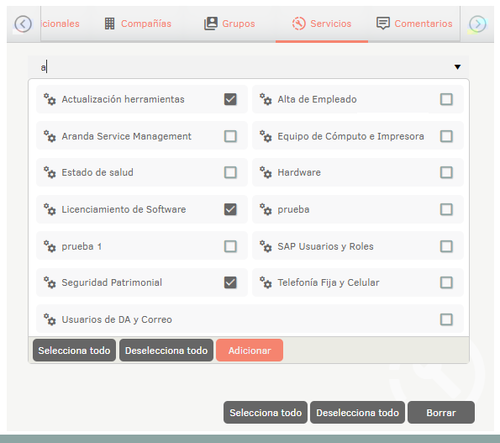
9. In the Clients Detail View in the ASMS Admin Console, select the Services and associate the services that will be provided to the client. View Services.
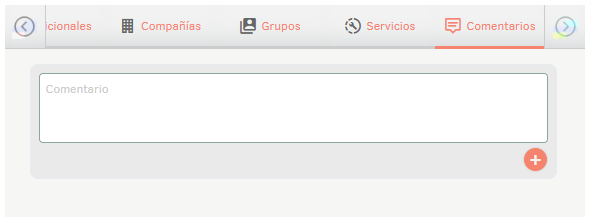
10. In the Clients Detail View in the ASMS Admin Console, select the Feedback where you will be able to enter comments related to the created customer.
11. When you finish configuring the client, click Save to confirm the changes made.
Specialists
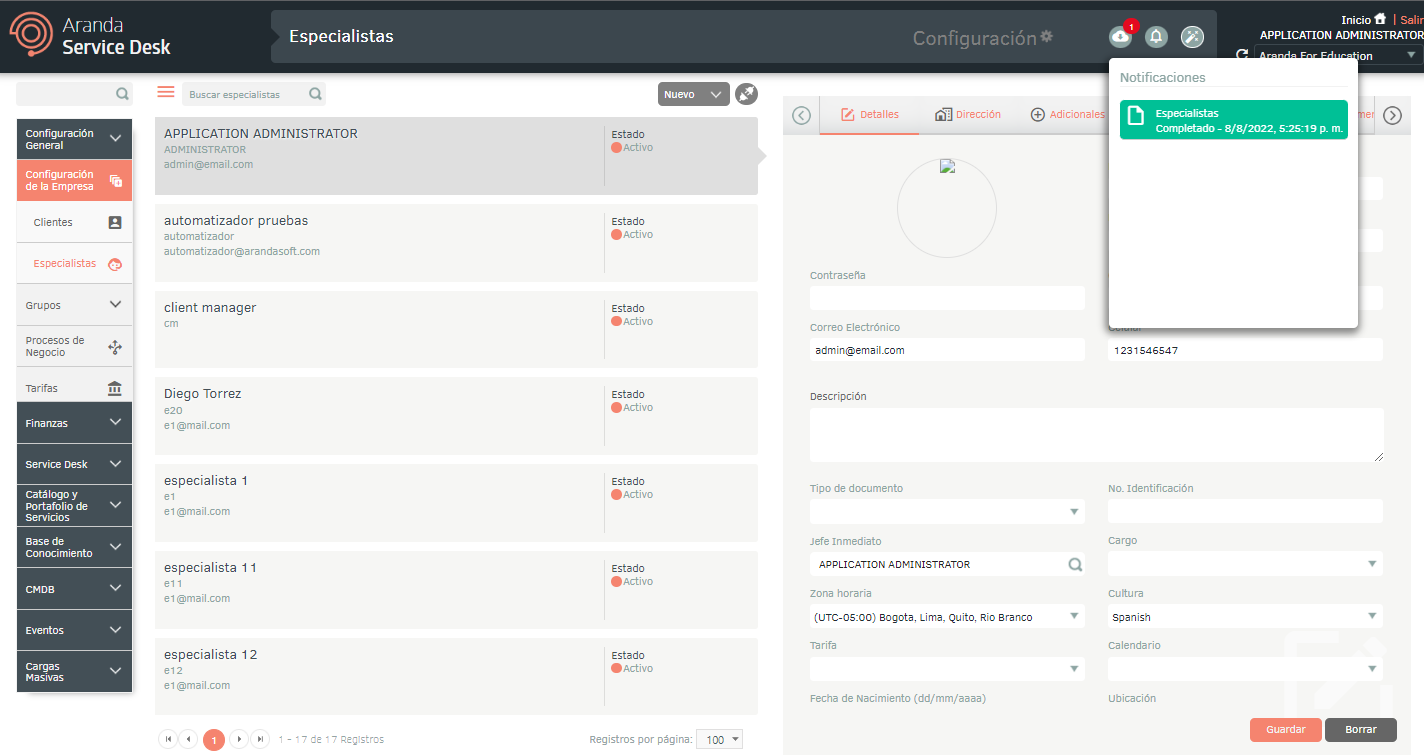
1. To create a Specialist, log in to the ASMS Admin Console, in the Company Setup from the main menu, select the Users and the category Specialists. Define a project, and in the information view, select the New and in the Detail View you can define the information for the specialists.
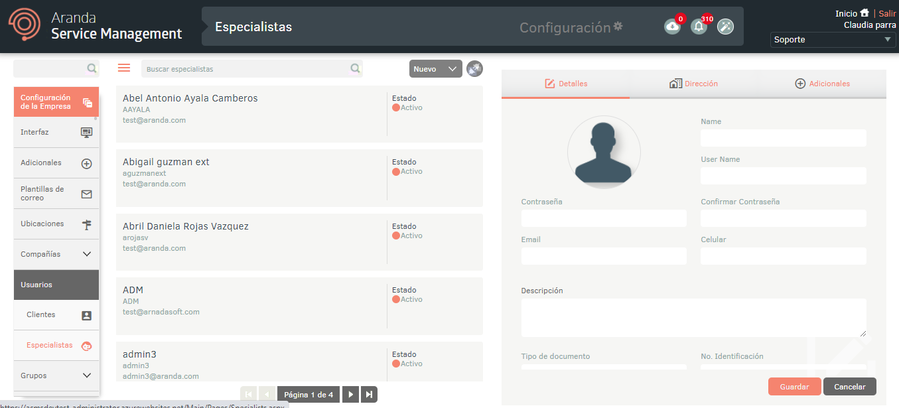
2. In the Specialists detail view in the ASMS Admin Console, select the Details, where you can fill in the general customer details and whether their status is active or inactive. You can add a photo and set the language in the field Culture.
When you have password policies configured, they will be displayed when creating or editing users by means of a tooltip in the password field, if the policies are not complied with, it will not be possible to save the changes.
3. In the Specialists detail view in the ASMS Admin Console, select the Address, where you can fill in the information of the physical address of the specialist. On the Additional, enter the additional information if you have set up additional fields for specialists. See Additional.

4. When you finish setting up the basic specialist information, click Save to confirm changes made; in the Detail View of the ASMS console, the Groups, Roles, Feedback, Shifts and Integration Tokens.
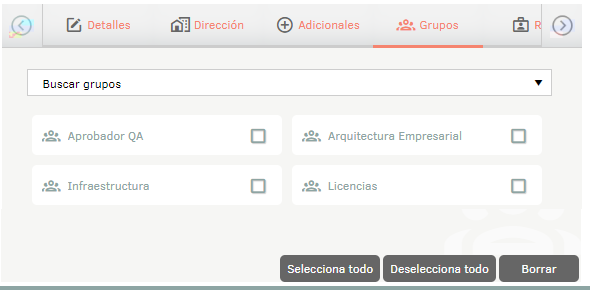
5. In the Specialists detail view in the ASMS Admin Console, select the Groups, search for and associate specialist groups. View Specialist Groups.
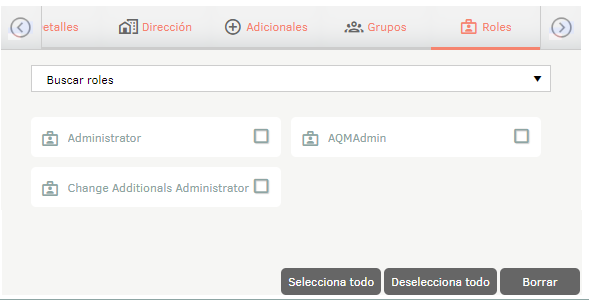
6. In the Specialists detail view in the ASMS Admin Console, select the Roles, search, associate or delete the roles that the specialist will have. View Roles.
7. In the Specialists detail view in the ASMS Admin Console, select the Feedback, add comments related to the created specialist.
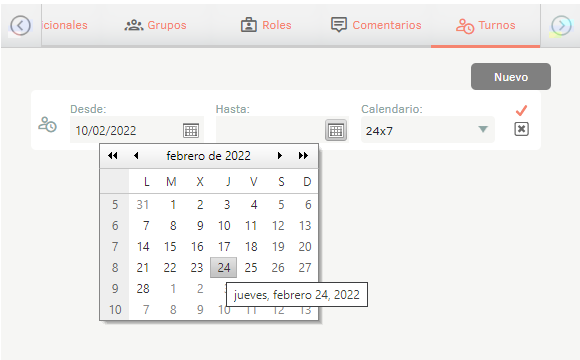
8. In the Specialists detail view in the ASMS Admin Console, select the Shifts, set up and set the specialist for their respective shift. Click the New in the upper right corner and the following configurable parameters will appear:
| Field | Description |
|---|---|
| Since | Date on which the shift begins. |
| Until | Date on which the shift ends. |
| Calendar | Pre-configured. |
9. When you finish setting up the specialist, click Save to confirm the changes made.
Configure integration tokens by specialist
10. In the Specialists detail view in the ASMS Admin Console, select the Integration tokens and click the New to generate the token.
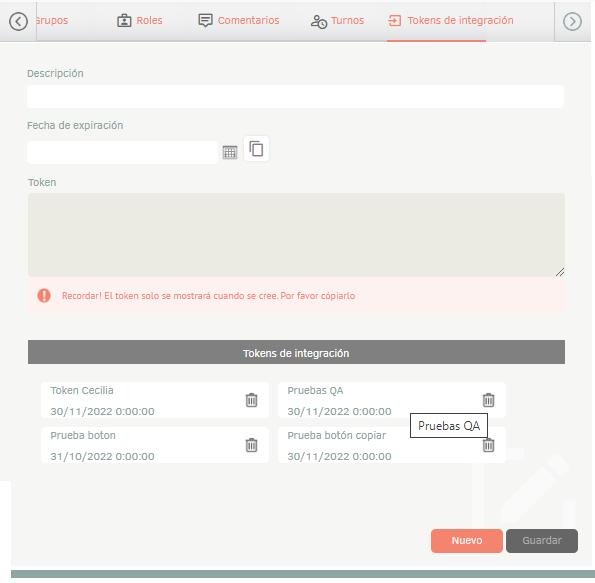
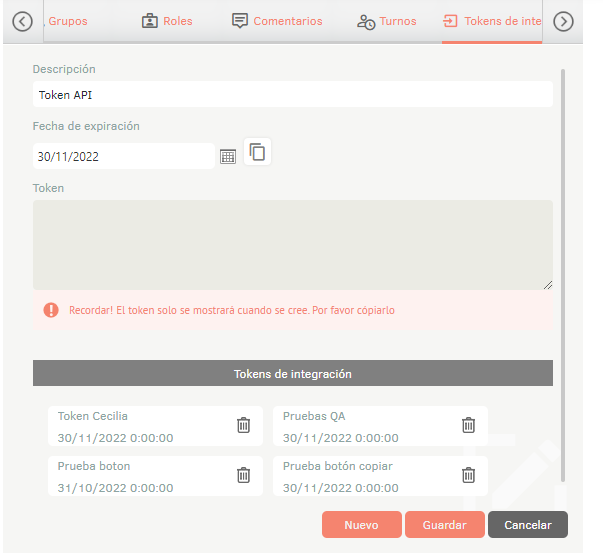
11. Enter the basic token information, such as description and expiration date. The person responsible for this token will be the selected specialist user. To generate the token, click the Save.
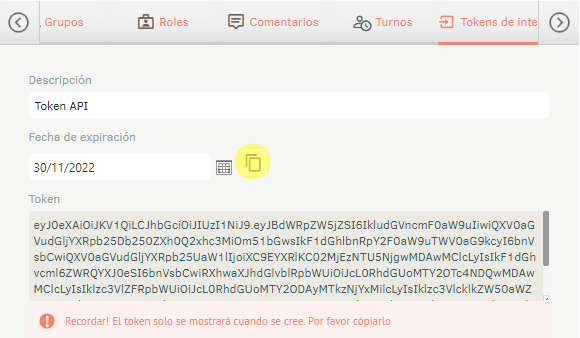
12. Once the token is generated, click the Copy; The token information will be copied to the clipboard.
⚐ Note: The token can only be copied once generated; When you try to check it again, it will not be able to be displayed.
Revoke Specialist Integration Tokens
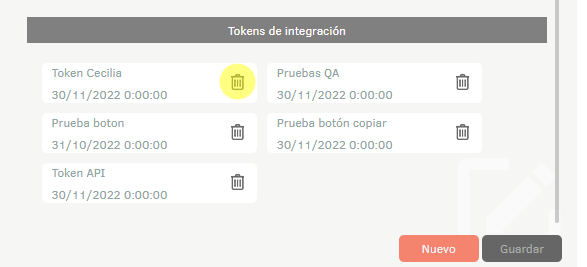
13. In the Specialists detail view in the ASMS Admin Console, select the Integration tokens. At the bottom of the section you will be able to view the tokens that have been generated for the selected specialist user.
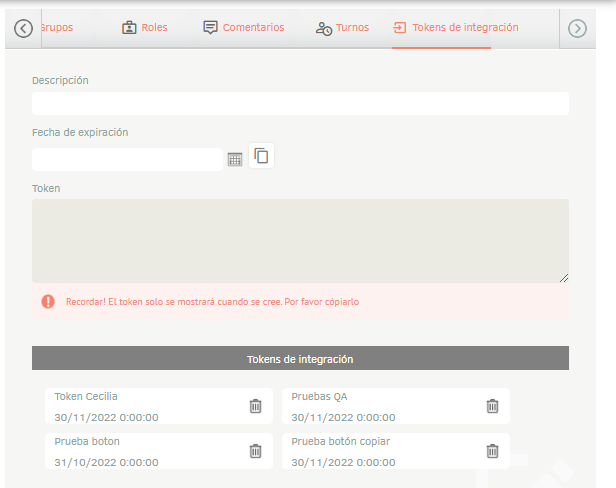
14. Click on the Revoke to delete the associated information. Once this action is performed, the token will be removed from the Specialist user’s list of tokens.
Associate Users with a Project
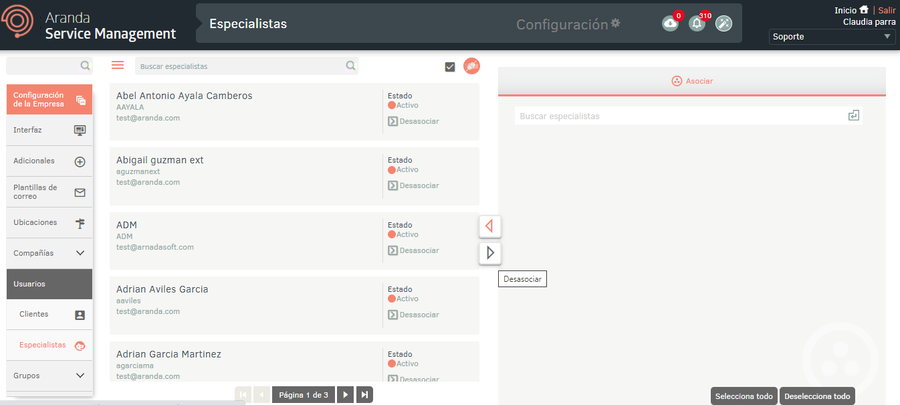
1. To associate users with a project, log in to the ASMS Admin Console, in the Company Setup from the main menu, select the Users and the category Specialists or Clients. Define a project, and in the information view, select the Associate Mode; This option will allow you to associate clients or specialists from other projects with the project that is selected in the upper right corner.
2. When you enable Associate Mode, the Detail view of the ASMS Configuration Console enables the Associate, where you can query the client or specialist by name and associate it with the project, by checking the checkbox and then the Associate.
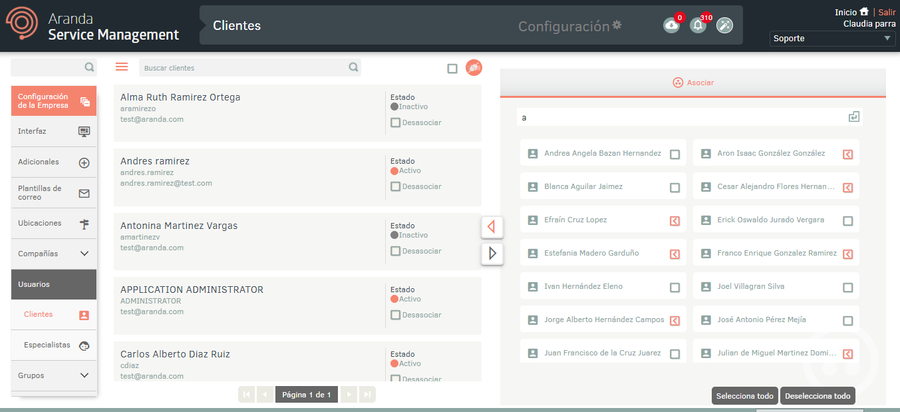
3. You can also unassociate a customer or specialist by checking the checkbox and then clicking the Disassociate
4. If you want to disassociate clients or specialists in bulk, click the box at the top and click Disassociate.
Export Format for Clients and Specialists
1. To export user information, log in to the ASMS Admin Console in the Company Setup from the main menu, select the Users and the category Specialists or Clients. Define a project, and in the information view, select the New/Export Format; This option will allow you to export the information with or without data for updating and/or creating users.
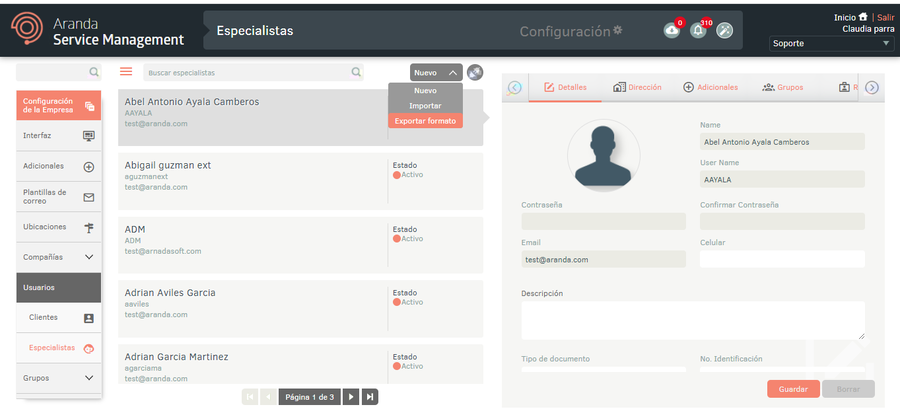
2. The window is enabled Export format where you must select whether you need to export the empty format (creation of users and relationships), with data (updating users and associating concepts) or with data without relationships/shifts (updating users). Click Export Format.
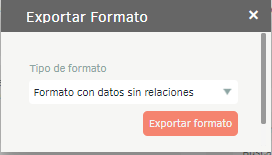
3. If you download the empty format, a file in Excel format is automatically generated. If you downloaded the form with data, the file is scheduled for download, generating an informative message at the bottom of the screen.
⚐ Note: When downloading the format with data, a .zip file is generated that contains a .xlsx document for every 7,000 records that are exported.
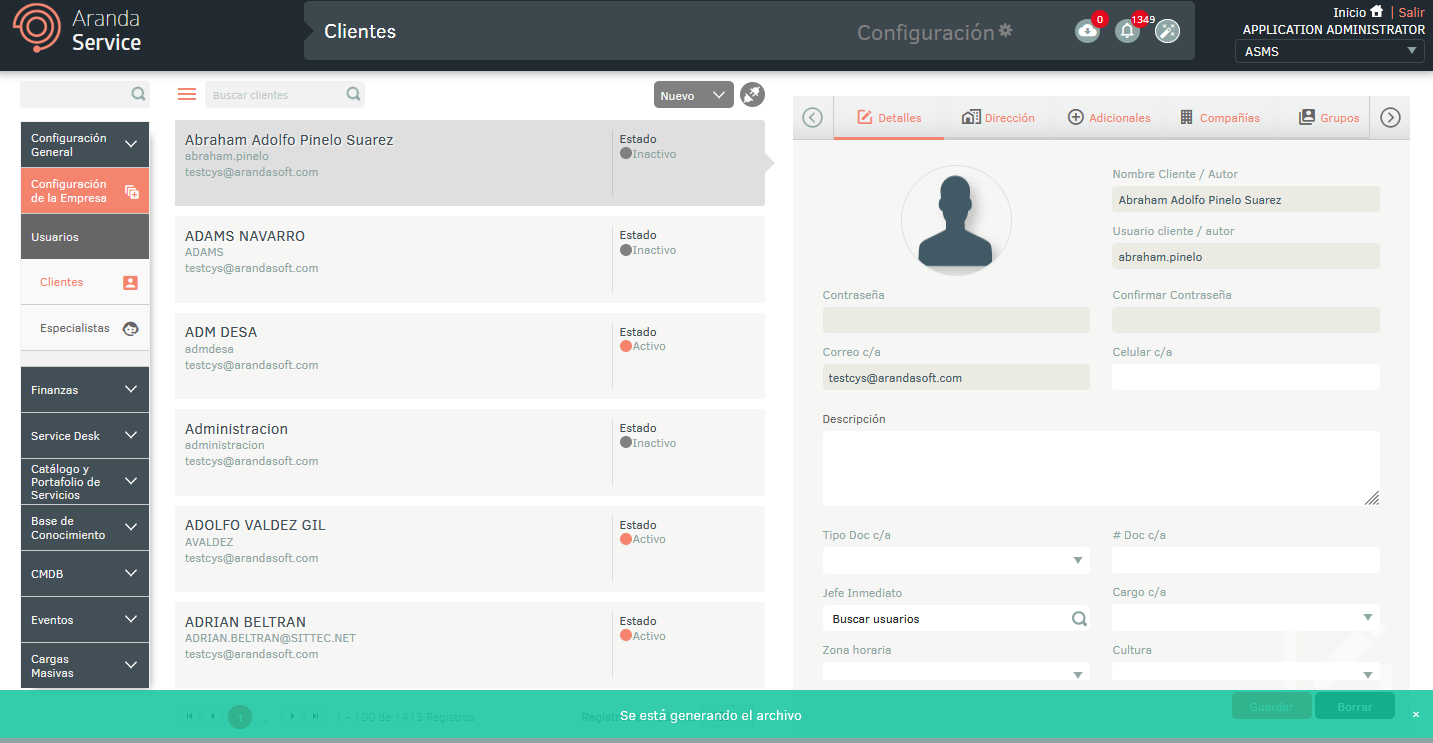
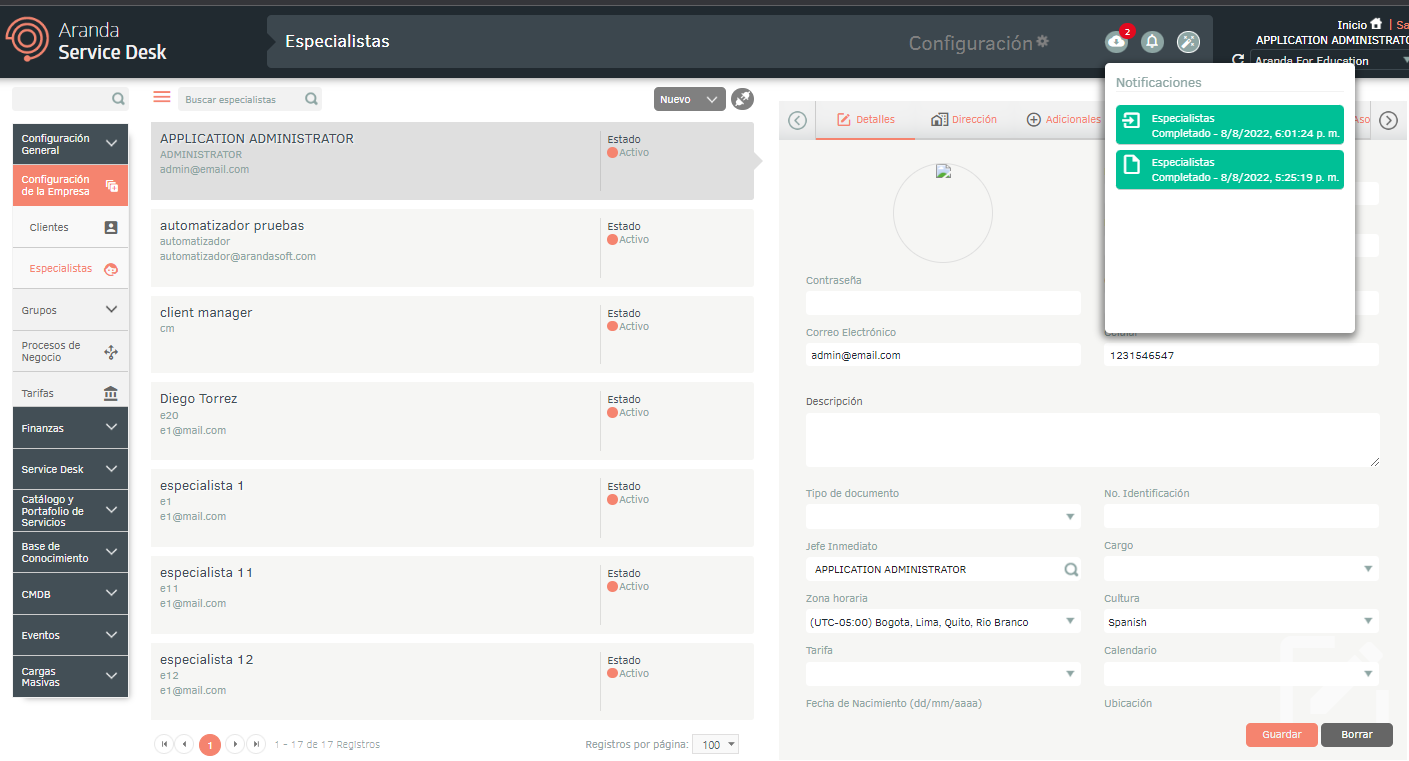
4. From the Admin console header menu, select the Notifications option.
⚐ Note: In the Notifications option you will be able to view the generated format in Pending status (Orange color) and once the export process is finished, it will change to Completed status (Green color) with the download date.
5. Click on the notification to download the file.
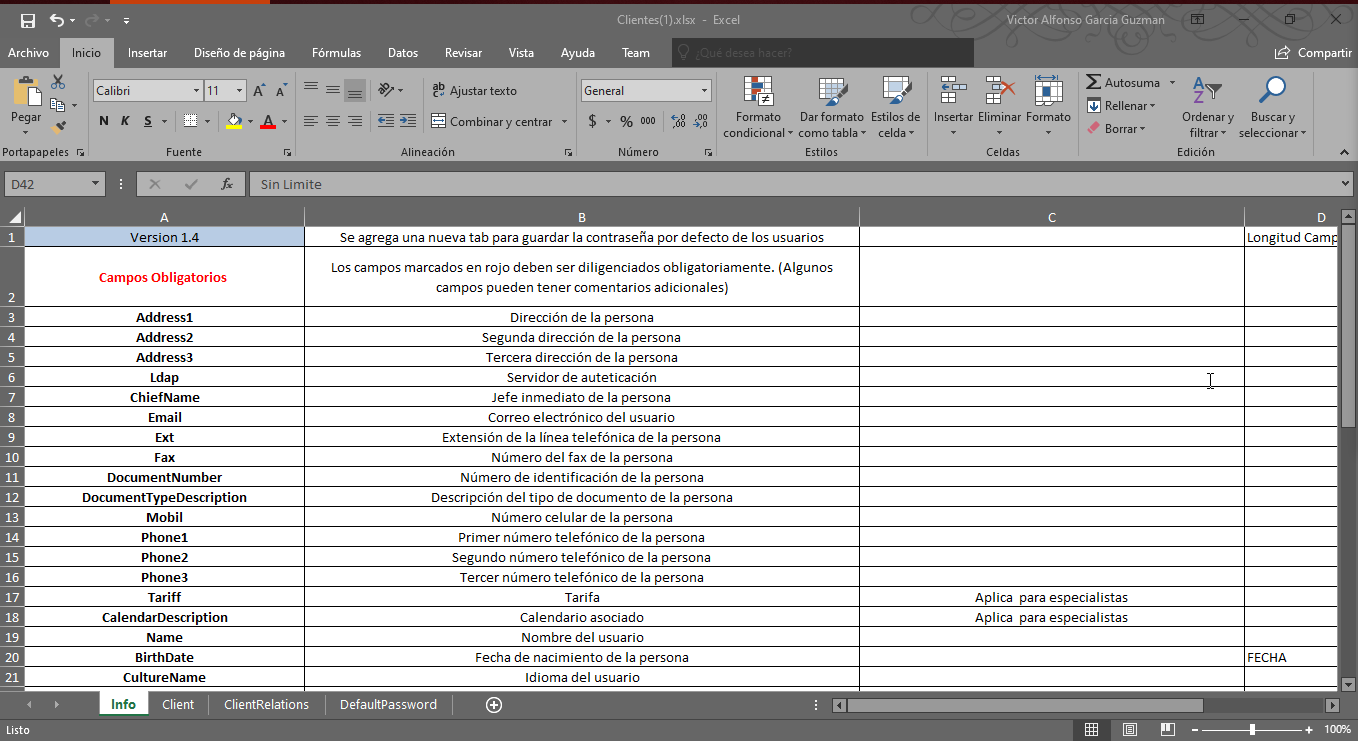
The downloaded file includes all user fields including additional fields; You will also find the fields necessary for the creation and/or updating of users, their relationships and shifts.
The Info tab describes in detail the obligation and information to be filled in on each field.
Import Format for Clients and Specialists
1. Once the form has been completed, enter the ASMS administration console, in the section Company Setup from the main menu, select the Users and the category Specialists or Clients. Define a project, and in the information view, select the New/Import Format.
When having password policies configured, they must be taken into account for the completion of the password field in the file.
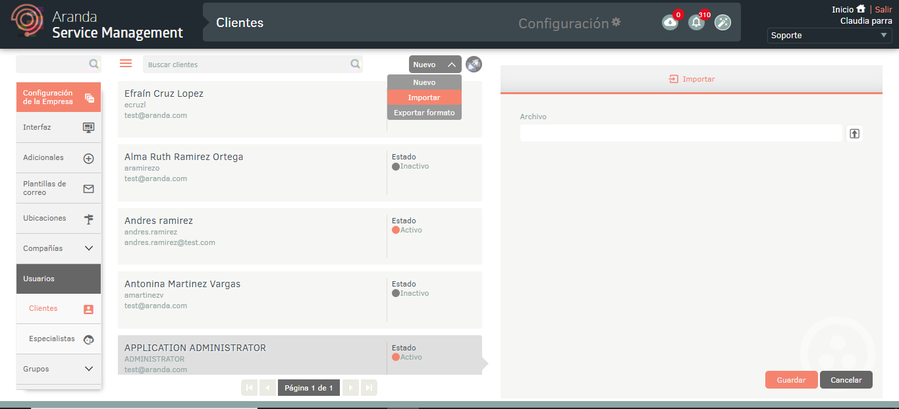
2. In the window Import, upload the file, and click the Save.
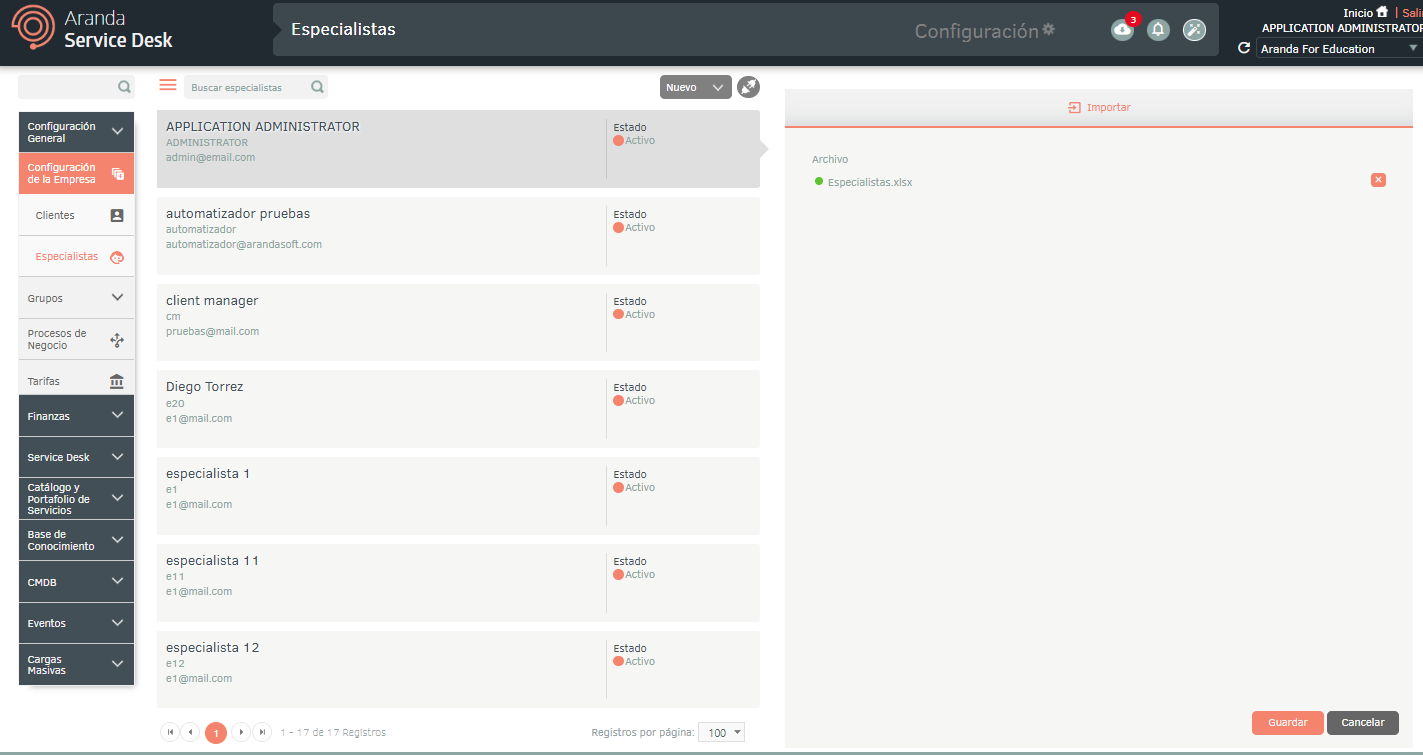
3. By clicking on the save button to start the user import or update, the file will be scheduled for import, informed with a message at the bottom of the screen and added in the notification panel.
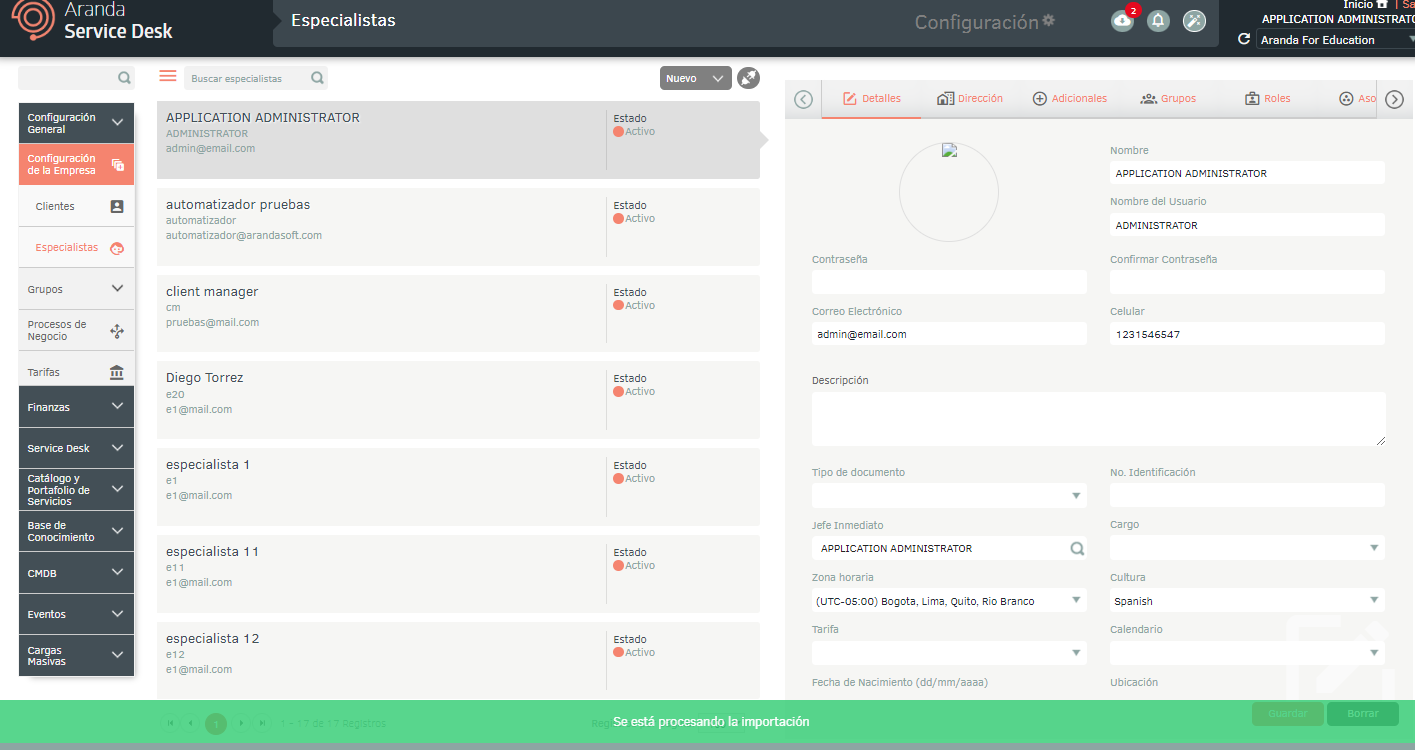
4. When the import is complete, the corresponding notification will change from orange to green, indicating that it has been completed.
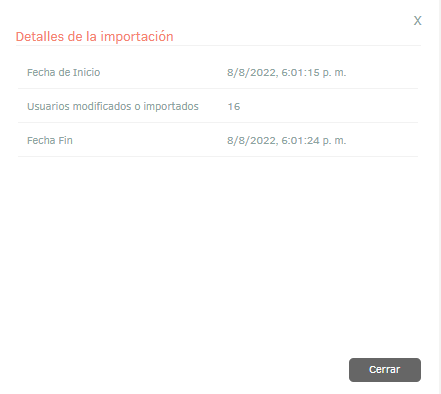
5. Clicking on the notification will display a window where you can view the details of the import.
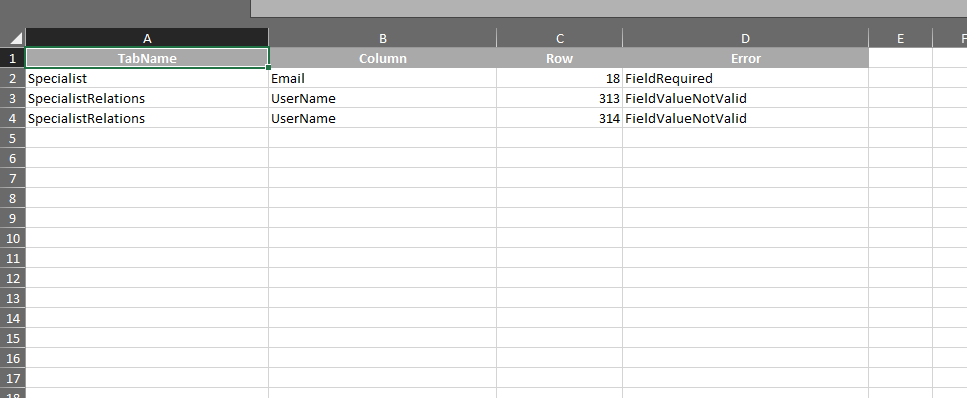
6. If during the import the file generated an error in one or more of its records, when viewing the import details it will be possible to download a file with the details of the records that generated error.
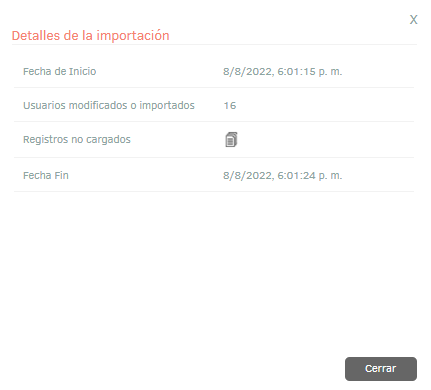
7. In the import details window, by selecting the unloaded records icon, you will be able to download an Excel file with the details of the errors generated during the import.