
A knowledge base article allows users to resolve concerns before going to the service desk.
Creating Articles
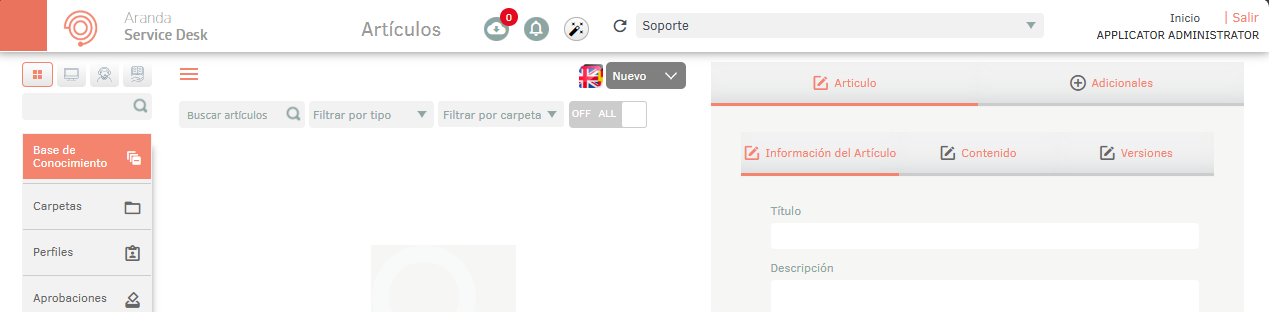
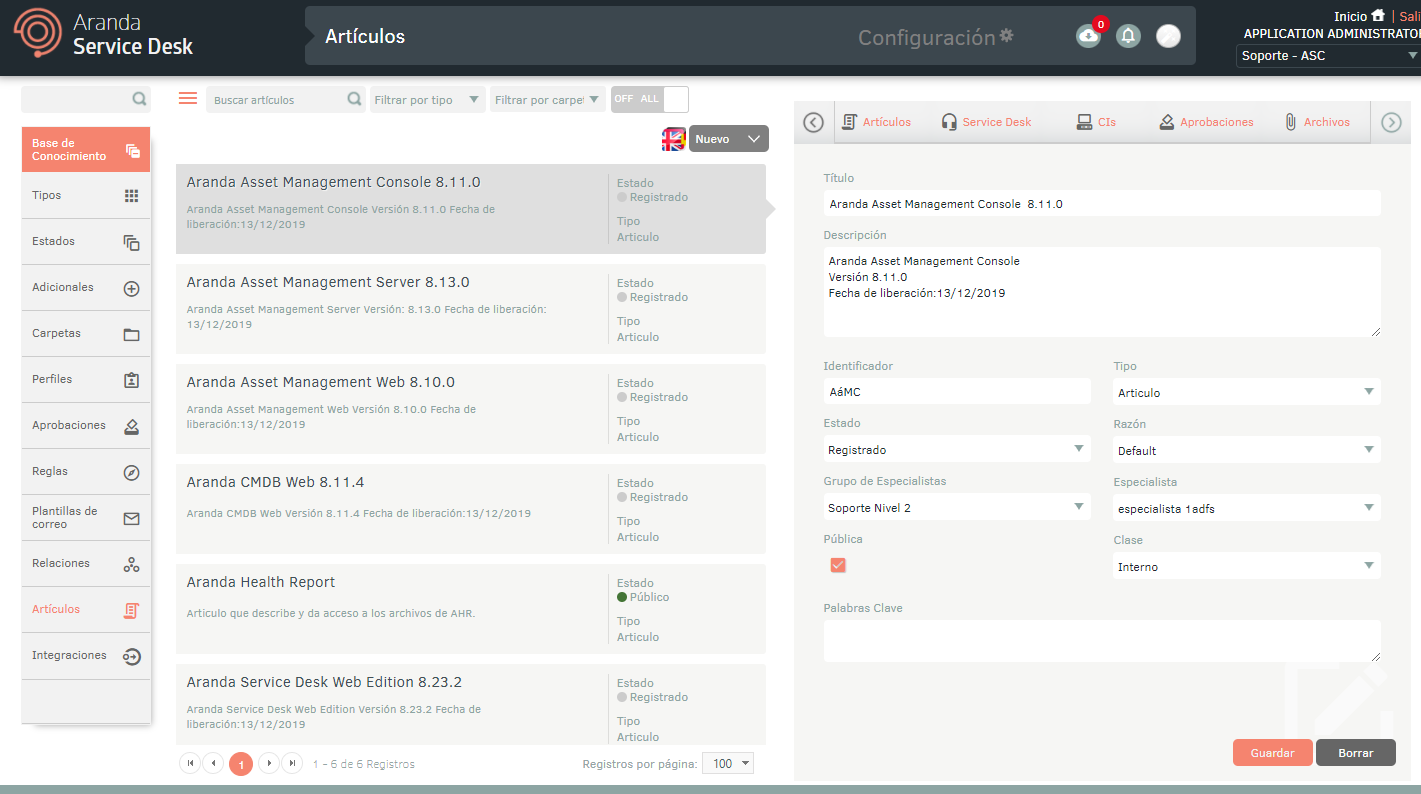
1. To create an article, log in to the ASMS Admin Console, in the Knowledge Base from the main menu, select the Articles . Define a project, and in the information view, select the New; in the Detail View you can fill in the corresponding information.
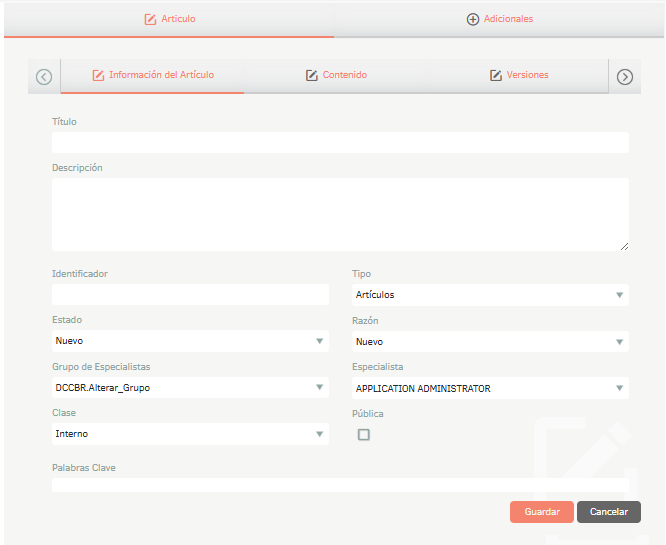
2. In the Items Detail View in the ASMS Admin Console, select the Article, where you will be able to fill in the required item data such as:
Article Information
| Field | Description |
|---|---|
| Title: | Enter the title of the article. |
| Description: | Enter a description of the item. |
| Identifier: | Enter a word that allows you to identify the type of content. |
| Guy | View Types |
| States | View States |
| Reason: | Reason for the initial state. |
| Group of specialists: | Choose a group of specialists. View Specialist Groups. |
| Specialist: | Select the person responsible for the item. View Specialists. |
| Public | Check the box if you want the article to be visible from the user console. |
| Class: | Internal (you create the information in the article) or External (the content of your article refers entirely to a website; in this case, in the empty field, type the URL you want to reference, Example: https://dominio/ruta/). |
| Keywords: | Words that allow you to find the item quickly when searching. |
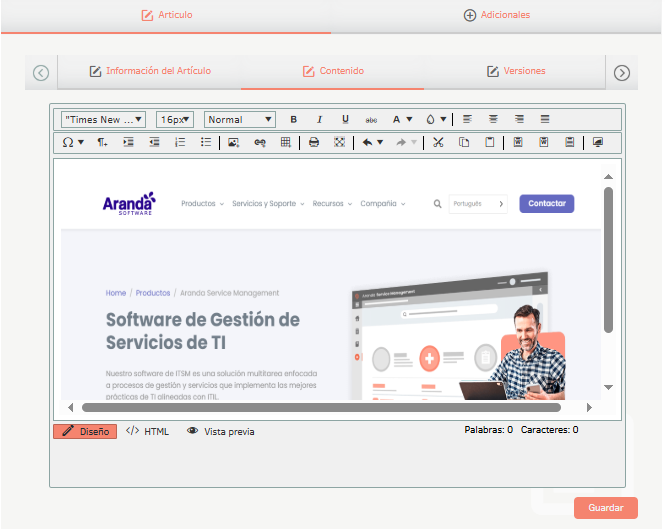
Content
In the Items Detail View in the ASMS Admin Console, select the Content. When it comes to an internal article, in this tab you can create the content using text and image design and editing tools.
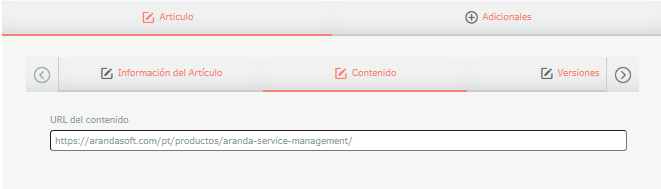
In the Items Detail View in the ASMS Admin Console, select the Content. When dealing with an external article, this tab will display a field to enter the article link.
Versions
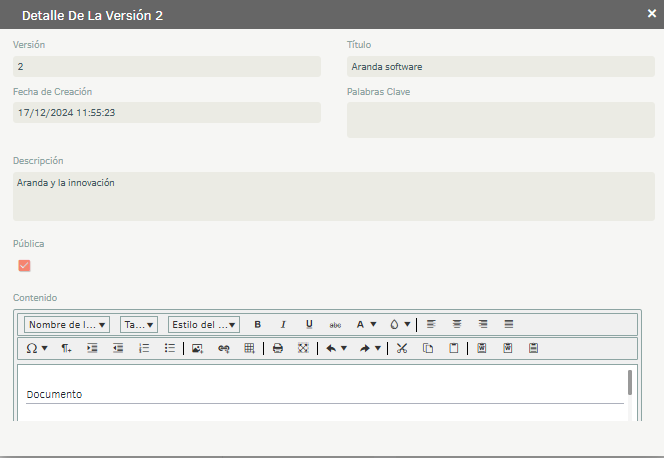
In the Items Detail View in the ASMS Admin Console, select the Versions. This option lists the created versions of the article as current version and previous versions.
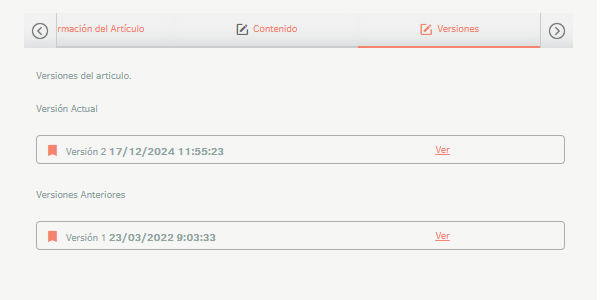
It is possible to generate a new version of the article at the time it enters a status marked as Published.
When viewing the current version of an article, the Public along with item details at the time the release is created. When a new version is generated, this option is checked and the current content of the article version is visible.
Notes:
- When a new version of the article is published, its corresponding translations must also be updated.
- In the client console, the articles that have the brand of Public In the current version and in the article details, if group visibility is active, the customer must belong to one of the groups associated with the article.
- In the specialist console and CMDB, articles that have the Public In the current version, if group visibility is active, the specialist must belong to one of the groups associated with the article.
- Changes made to additional fields will be visible in consoles after the edit is made.
- Files added to the article during editing will be visible on consoles when generating a new version.
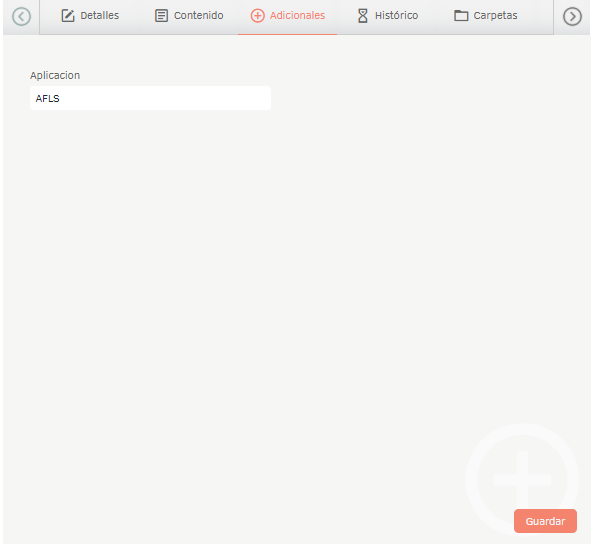
Additional
In the Items Detail View in the ASMS Admin Console, select the Additional. If additional fields were created for the item type, fill them out in this tab. View Additional Fields.
3. When you finish setting up the basic information for the articles, click Save to confirm changes made; in the Detail View of the ASMS console, tabs are enabled Historical, Folders, Articles, Service Desk, Cis, Approvals and Records.
Historical
In this tab you can see the record of all the modifications that are made to the article. You can also add annotations.
Folders
On this tab, you can associate the items with previously created folders. For more information view Folders.
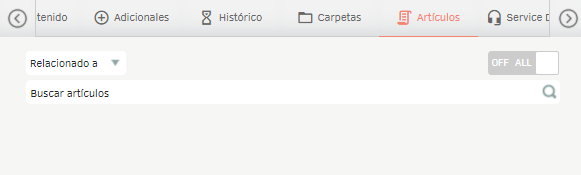
Articles
On this tab, establish relationships between articles. View Relationships.
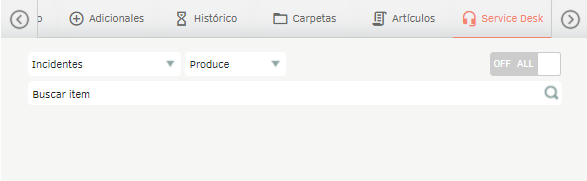
Service Desk
On this tab, you can associate the article you are editing with a case type. View Relationships.
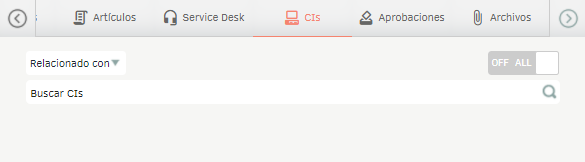
Cis
On this tab, you can associate the item you are editing with configuration items. View Relationships.
Approvals
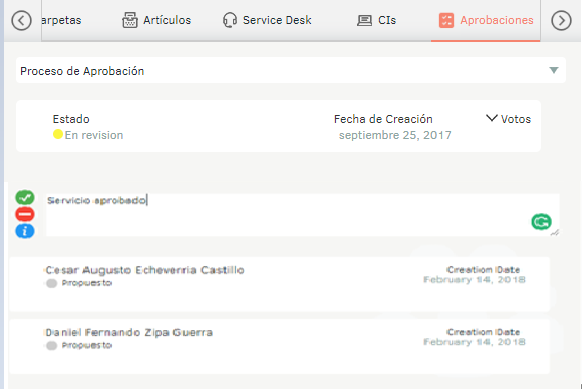
This tab displays the results of the approval processes for articles.
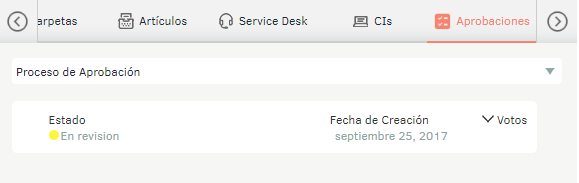
It is also possible to vote on an approval process that is pending. See View Approvals.
Records
In this tab you can attach files related to the article.
⚐ Note: If an article is in published status, it will only be possible to edit the status and public mark.
Visibility
In this tab, you can enable the visibility of the article to certain groups of customers or specialists. Under this new model, the visibility of articles on consoles will be restricted to users who belong to the groups associated with each article.
By enabling group visibility, the article will be visible to users belonging to the active groups associated with the article; If the group view is inactive, the item will be visible to all users according to each console.
⚐ Note: If group visibility is active and has no associated groups, the item will not be visible.
Bulk Item Upload
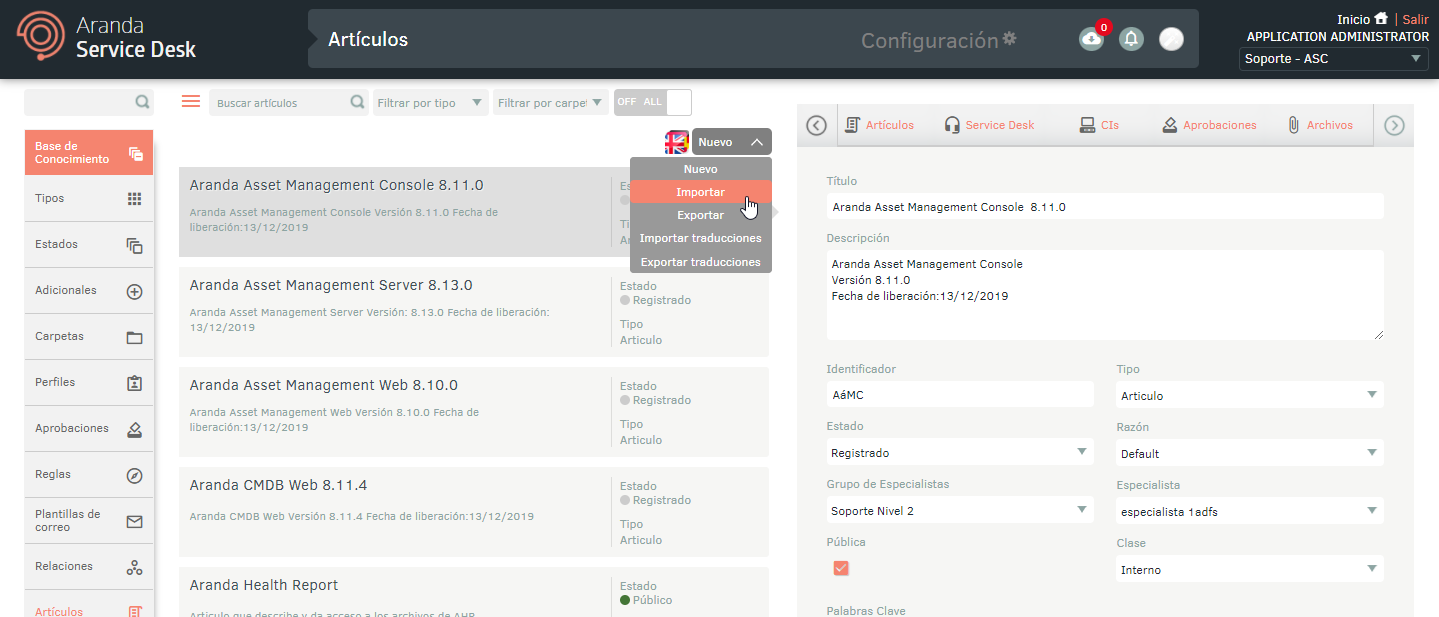
1. To export the Items information, log in to the ASMS Admin Console in the Knowledge base from the main menu, select the Articles. Define a project, and in the information view, select the New/Export This option will allow you to export the information with or without data for update and/or bulk creation of articles.
2. The window is enabled Export format where you must select whether you need to export the empty format (creation of categories) or with data (update or creation of categories). Click Export Format.
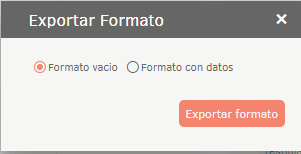
Empty format
3. A file in zip format will be downloaded, which only contains an Excel file with all the necessary fields for the creation of articles with attachments and association to folders.
⚐ Note: To add attachments, you must create a folder with the name of the article identifier to which you want to add the file.

Data Format
3. A file will be downloaded in zip format, which includes a folder for each article existing in the project, this folder does not contain the attachments of each article and an Excel file that contains the data of the downloaded articles without the folder information.
⚐ Note: If you have filtered by article type at the time of downloading the format, only the articles and additional articles corresponding to the type will be downloaded, otherwise all the articles in the project will be downloaded with the additional articles of all types.

4. The Info tab describes in detail the obligation and information to be filled in on each field.
Import Formatting for Articles
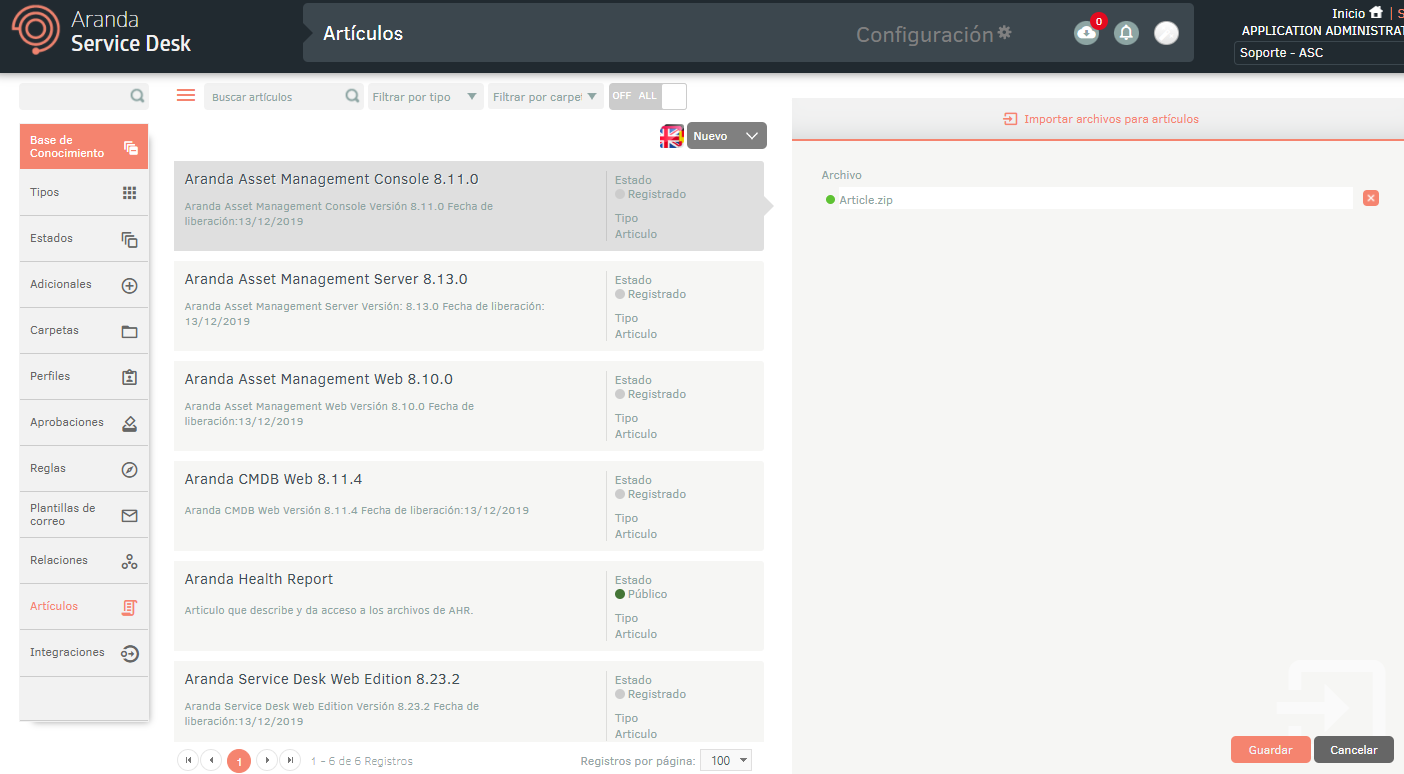
1. Once the form has been completed, enter the ASMS administration console, in the section Knowledge base from the main menu, select the Articles. Define a project, and in the information view, select the Import Format.
2. In the window Import, upload the file in zip format, and click the Save.
3. Once the import is complete, in the ASMS console header menu, click the Downloads icon and select the appropriate import file.
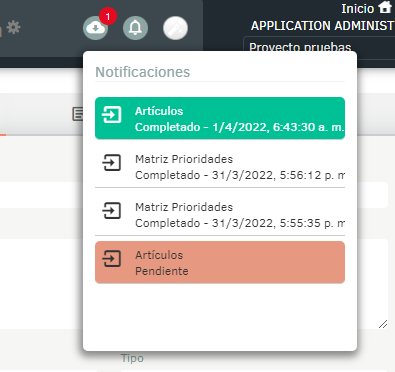
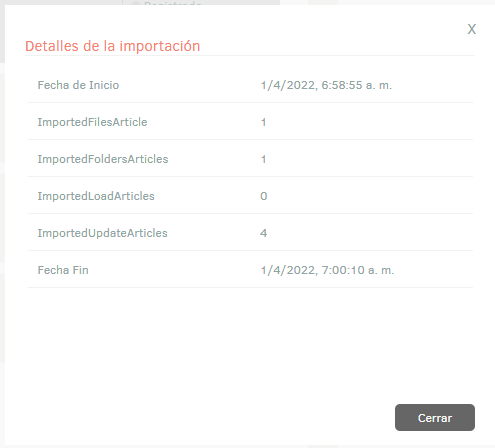
The import details will be displayed with the number of imported records.
Multilanguage
To view the documentation for translations View Multilanguage.