To accurately manage the time of the services, it is necessary to create calendars by configuring the schedule and days in which the groups of specialists will attend to the requirements. Calendars are general for the entire solution, meaning that the same schedule can be used for different projects. E.g.: 7x24 programming may be available for both IT and Call Center projects.
Creating Calendars
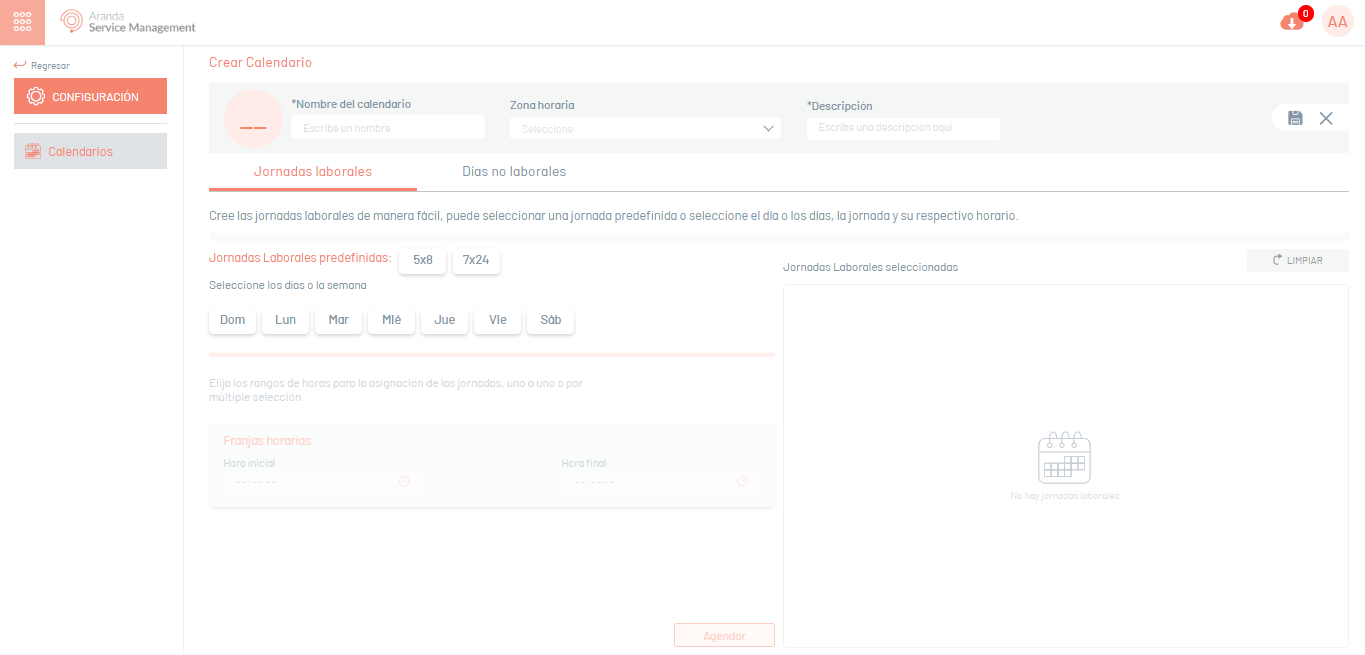
1. To create calendars, log in to the ASMS Admin Console, in the General Settings from the main menu, select the Calendars. A new window will be displayed where the created calendars will be listed, select the New and in the Create Calendar View you can fill in the basic calendar information such as name, time zone, and description.
⚐ Note: You can also define the working days manually or the Predefined working hours
2. When you finish setting up the basic calendar information, there will be two ways to select the working days, one of them being the Predefined working hours, which will be selectable and will take the default value in the console. Click Schedule to confirm changes made; Example (7x24 and 5x8) and then Save.
⚐ Note: For the configuration of the 7x8 workday, the schedule must be taken into account, since hour 0 begins at 12:00 AM and, to comply with a period of 24 hours, it must be configured until 11:59 PM.
Manual Working Hours
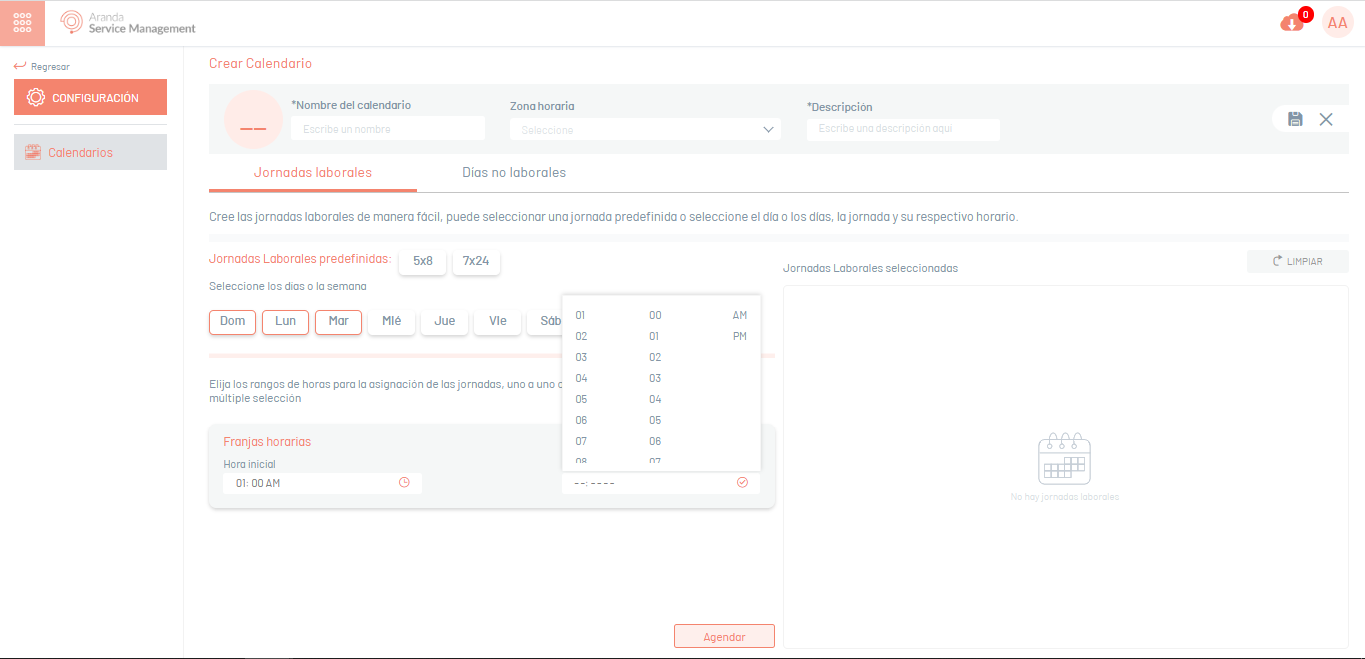
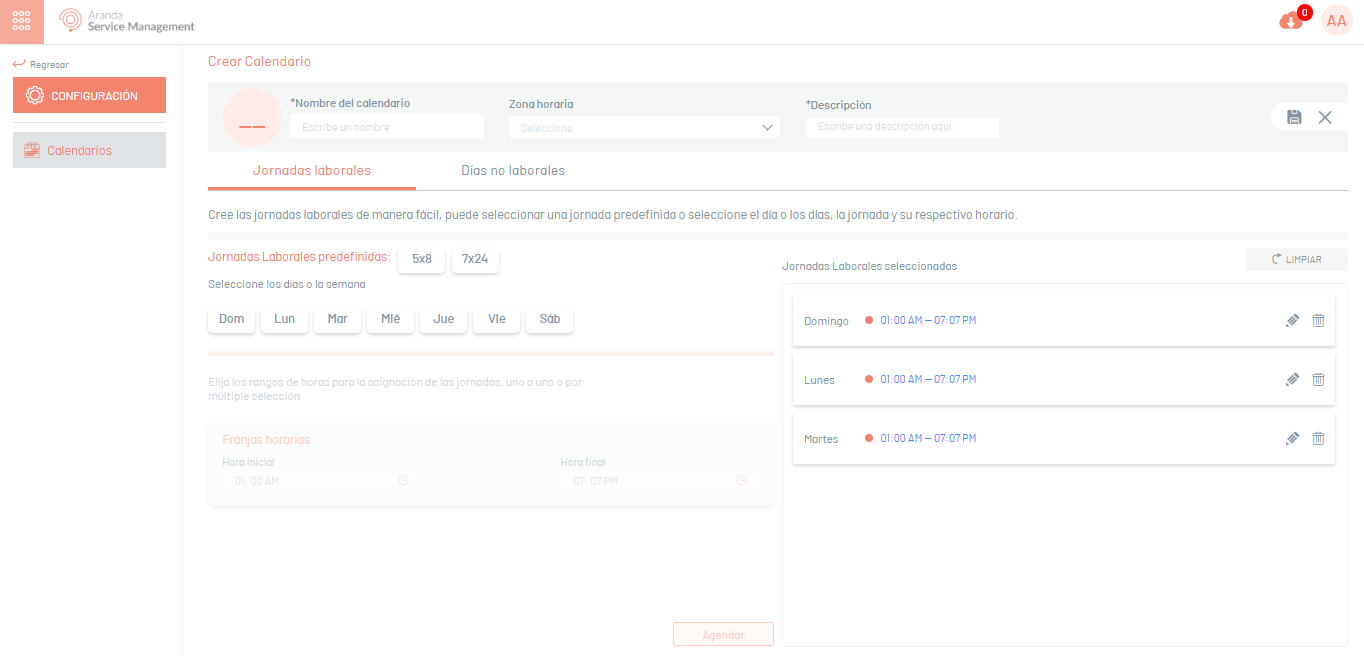
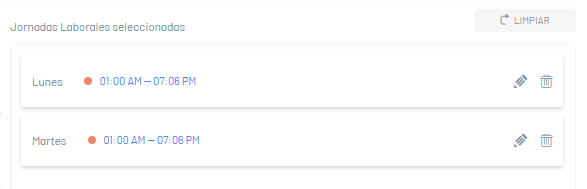
The manual workday will allow the user to configure the schedule they require according to the available time intervals, once the schedule has been selected. Schedule.
3. To confirm the changes made, click on the Save
⚐ Note: If the user needs to edit the selected workdays, they must click on the (Pencil); If you want to delete one of the settings, you will need to click on the icon (Trash) and, if you need to delete all settings, click the button (Clean).
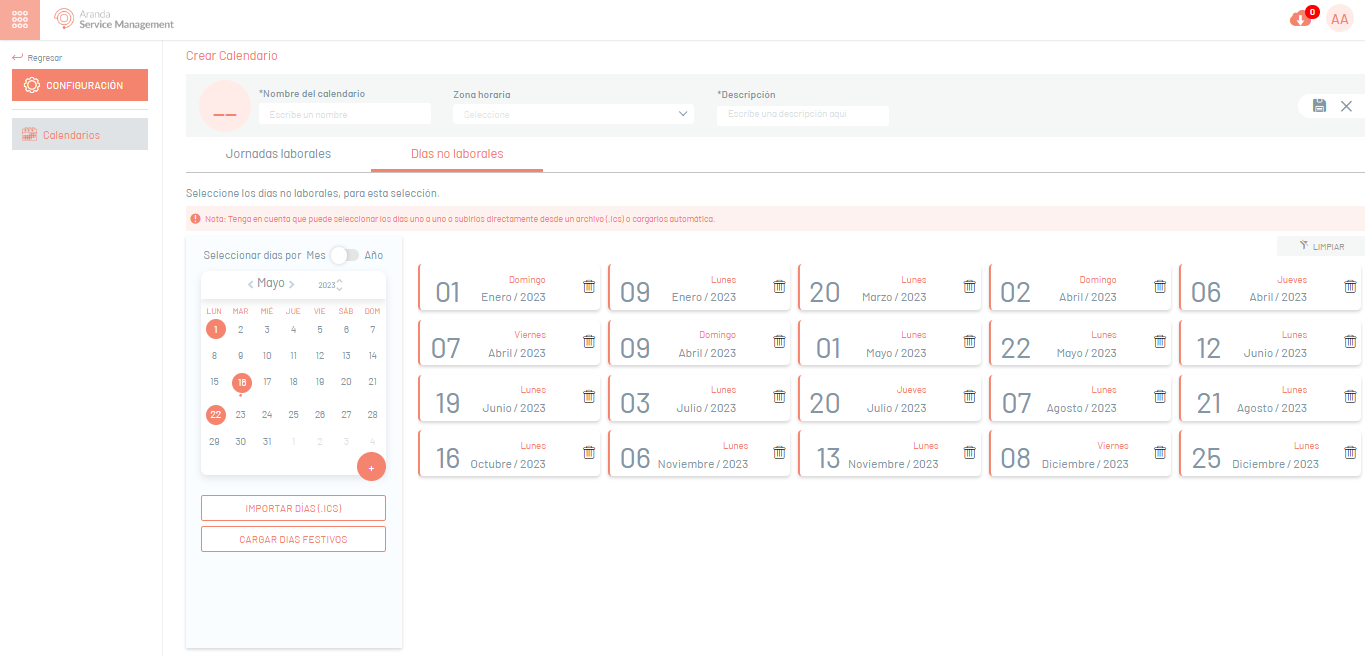
Non-working days
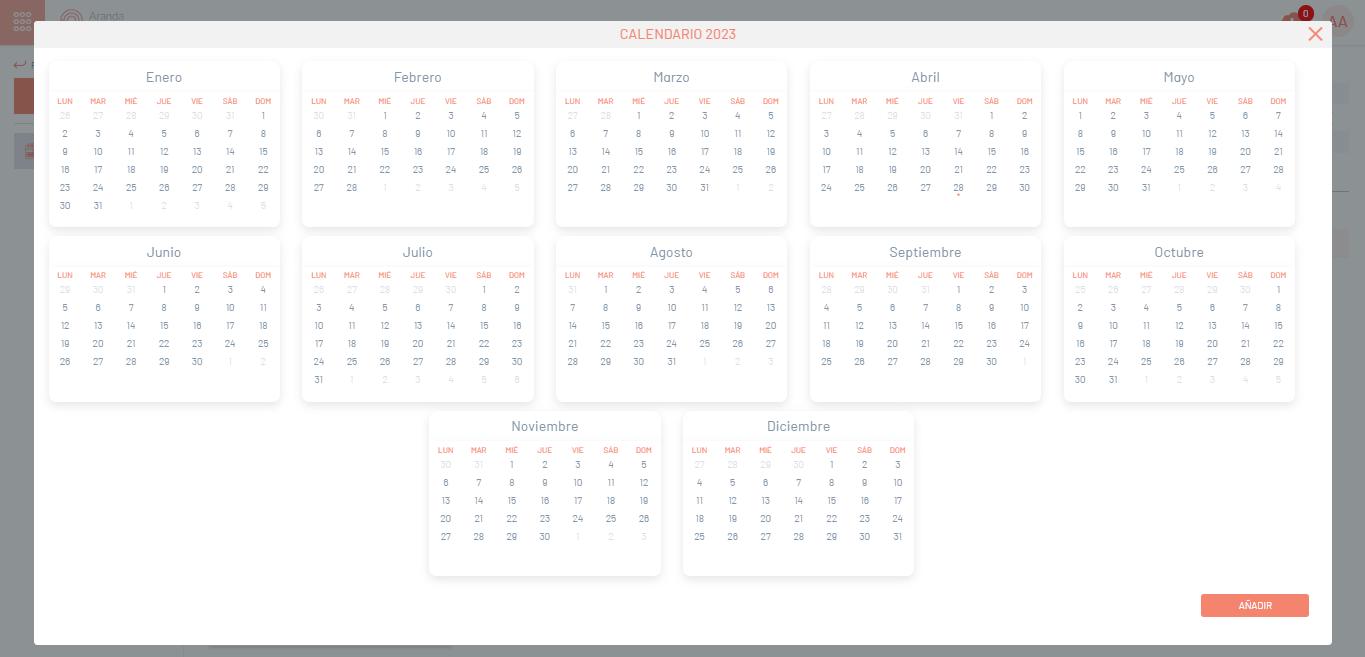
To configure the working hours that will not be available, you must go to the Non-working days, where a calendar will be displayed where non-working days can be added 1 by 1.

To set non-working days in a multiple selection, enable the filter (Select Days by Month - Year) and when choosing the days, click Add.
Import Days (ICS)
If the user needs to import ICS files, they will need to go to the Google calendars previously configured for import.
1. If you need to create a new calendar, go to your Gmail email and in the application menu choose the option (Calendars).
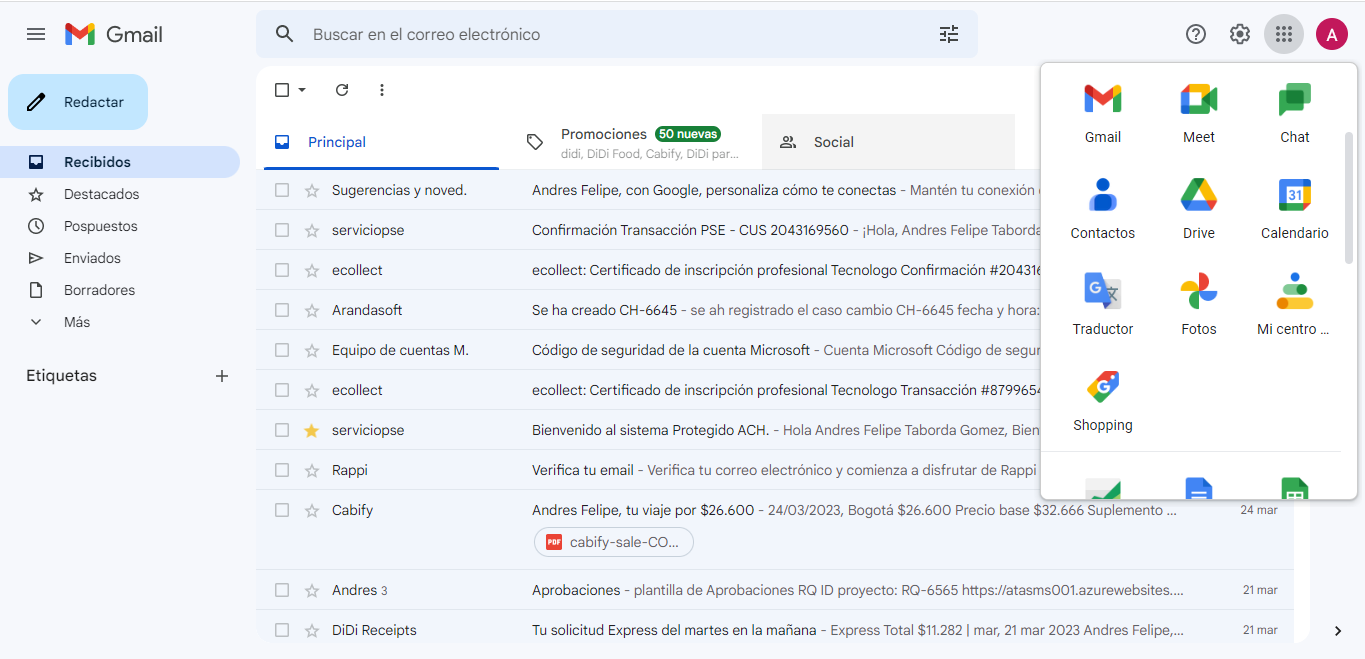
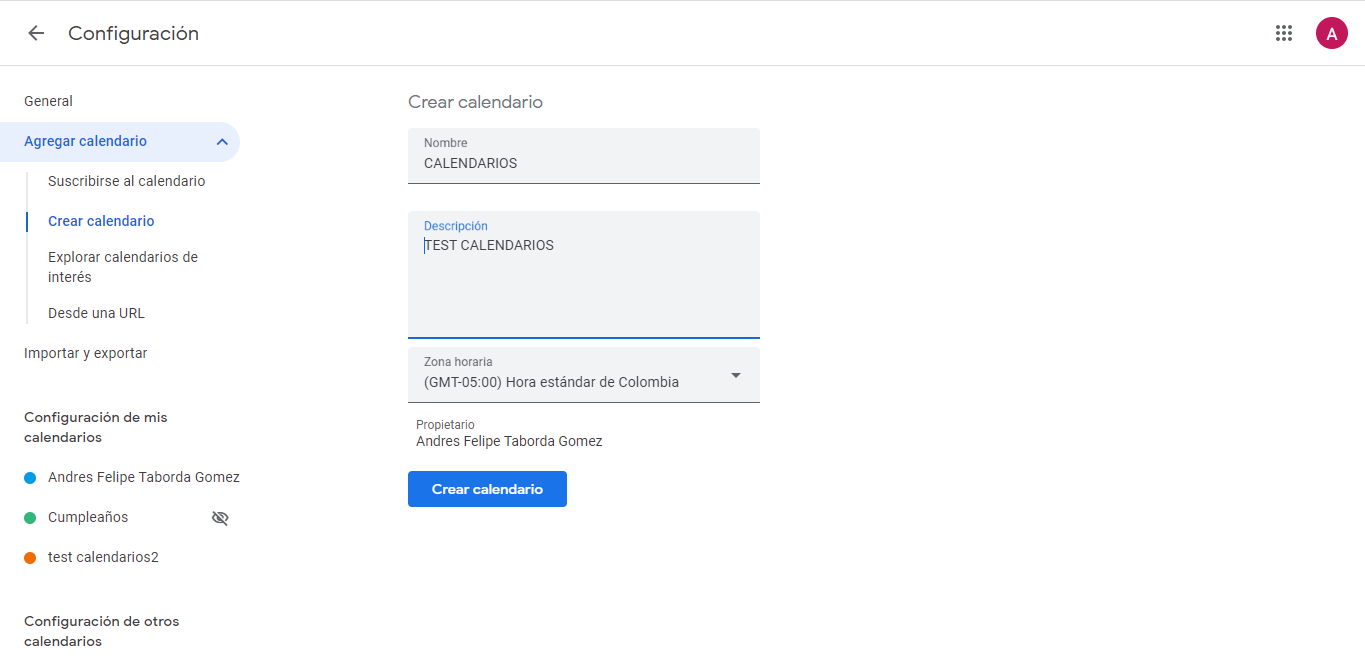
2. When entering Google calendars, go to the option (Other calendars), then the icon (+) choose the option Create Calendar.
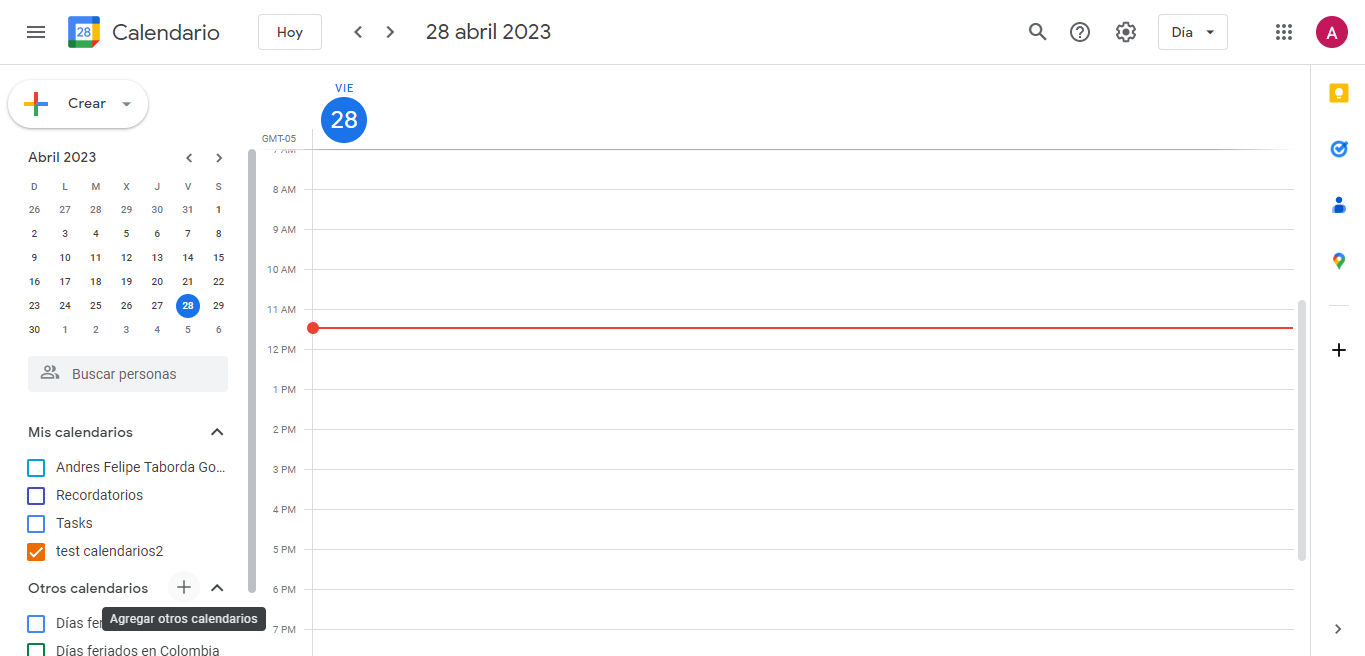
3. Once you enter the creation of the new calendar, fill in the Name, Description and Time Zone fields, then click on Create Calendar.
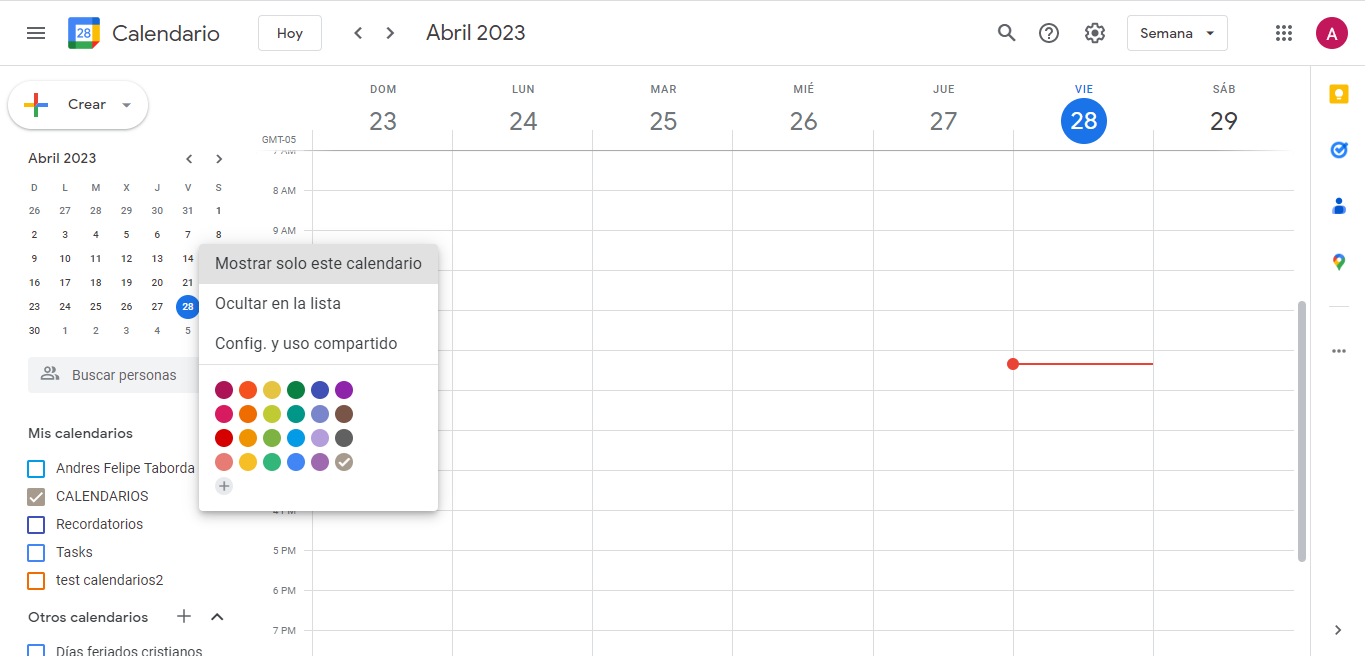
4. After creating the calendar, we go back to the beginning and select the previously created calendar, filter by years, months or days in which we are going to schedule events for the Non-working days.
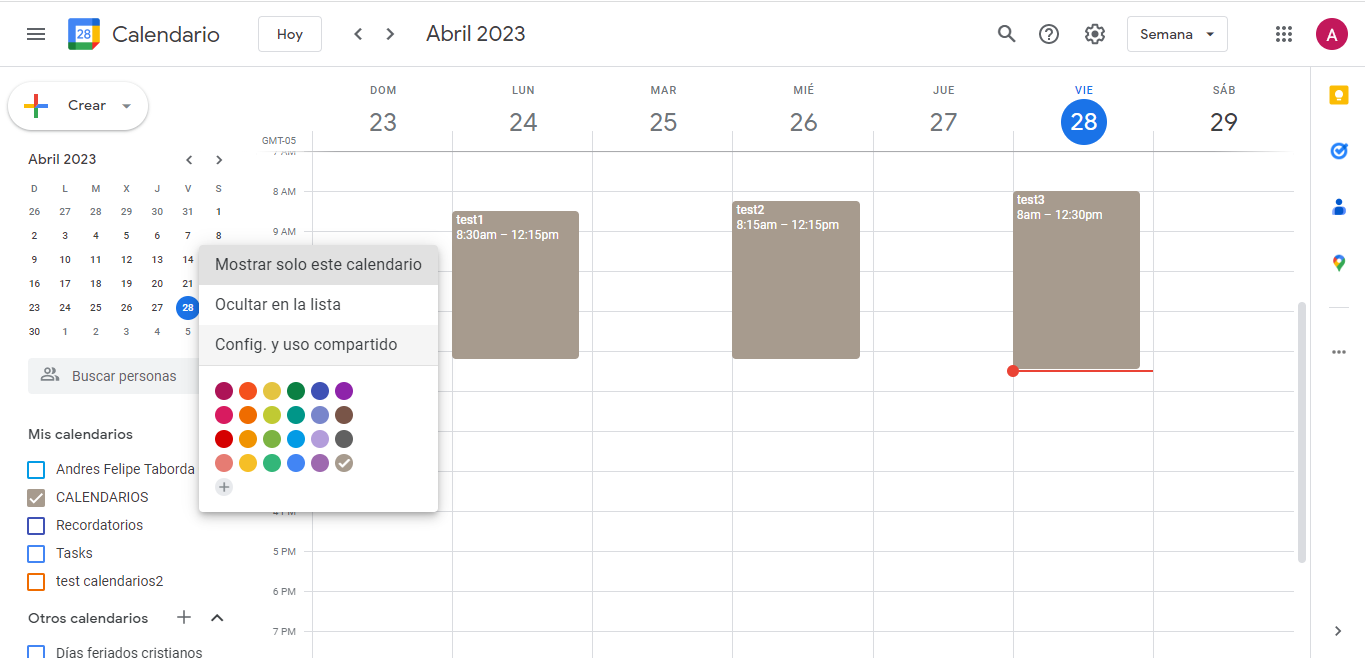
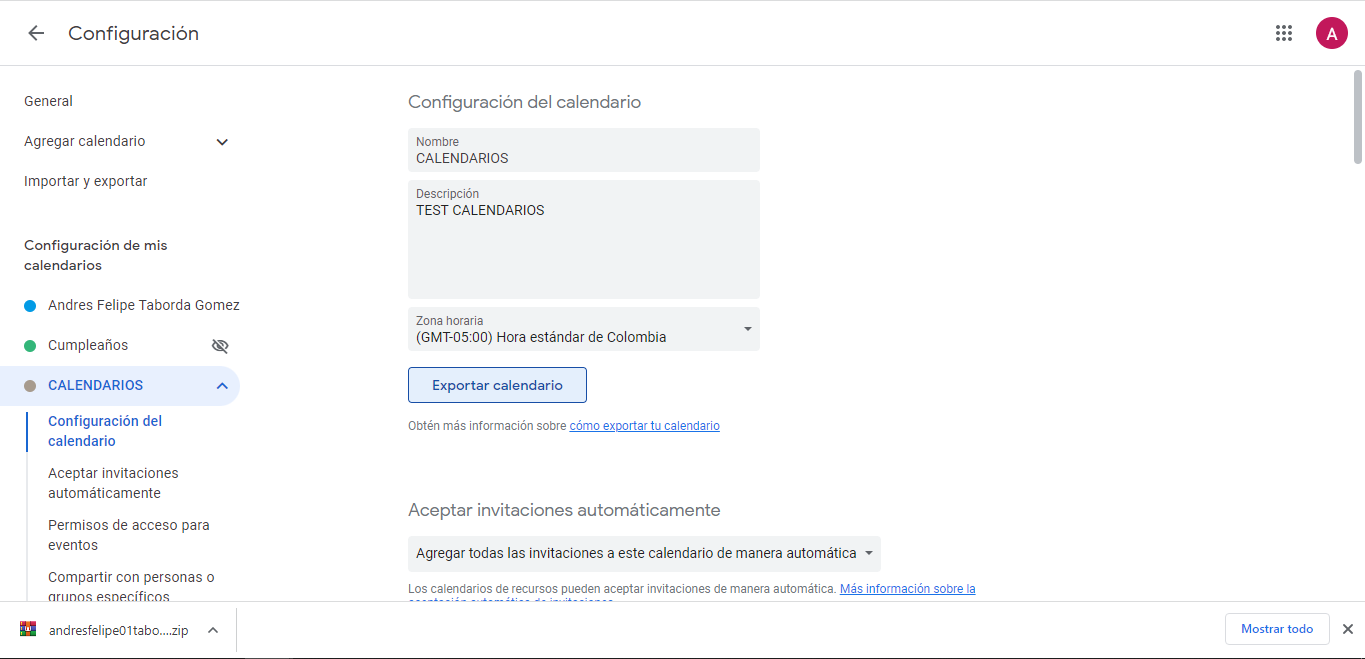
5. Once the Non-working days have been selected, we go to (Settings and sharing) of the calendar, Then (Export Calendar).
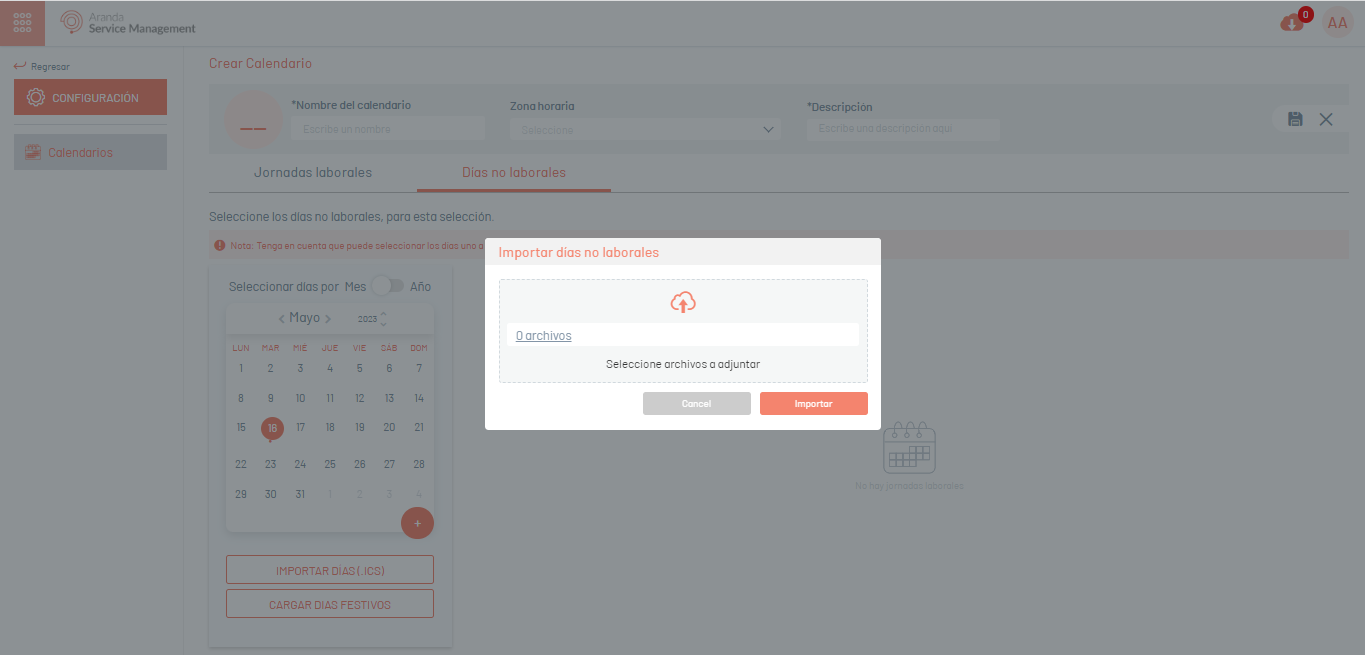
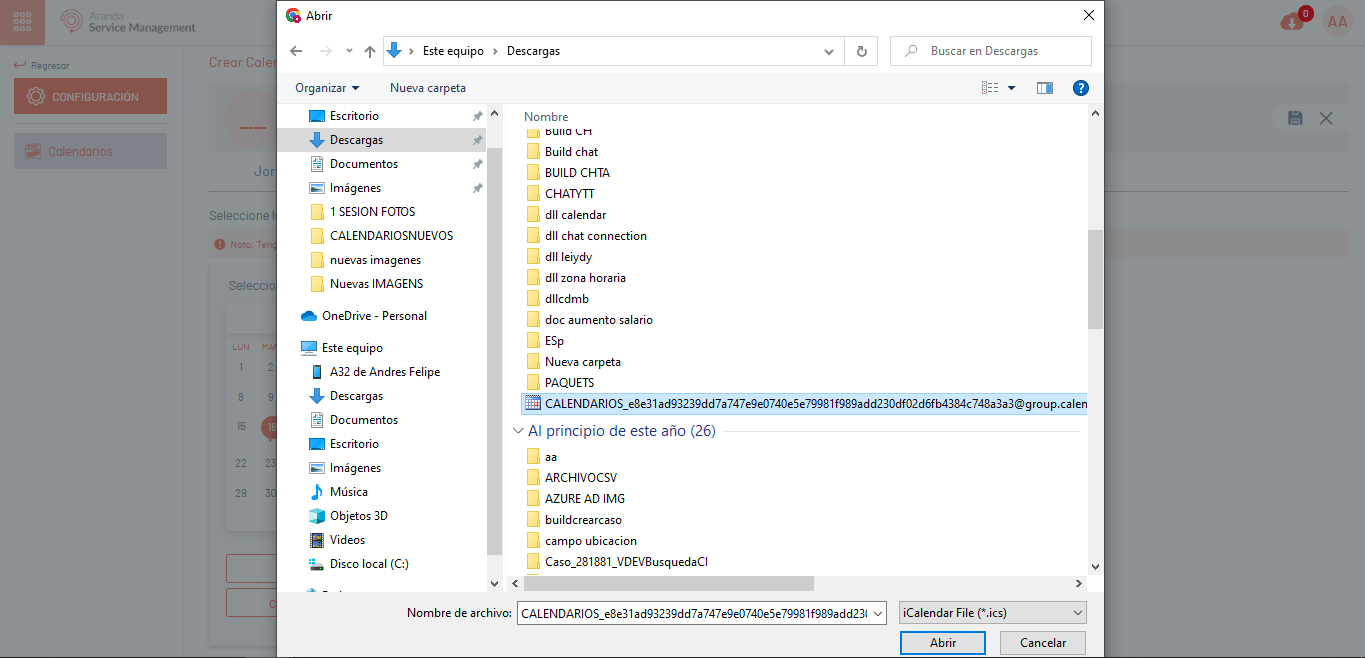
6. To import the ics file, we must extract the .zip file, click on (Import Days. ICS) upload the file and import.
7. After selecting the file, the configured days will be imported and displayed as follows:
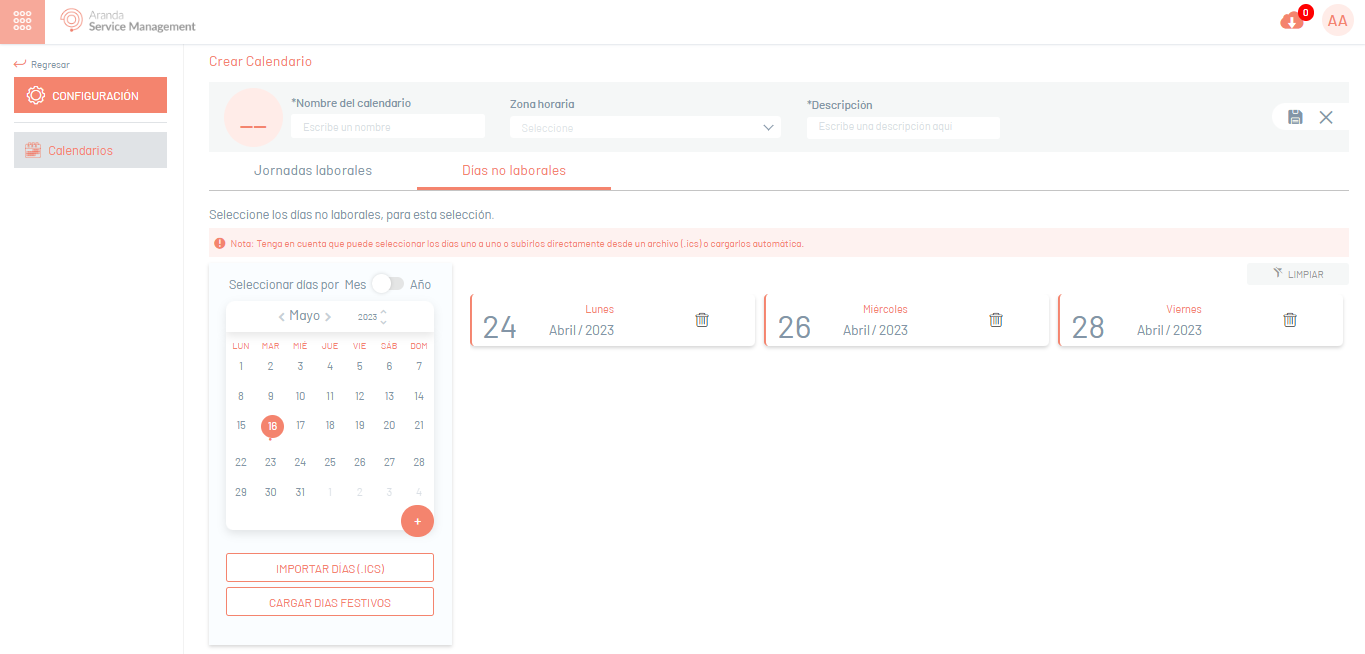
⚐ Note: If you need to delete any imported dates, click the (Trash) icon, if you need to delete all imported dates, click the (Clean) button.
Load Holidays
1. To load holidays into the console, go to the Non-working days and click the (Load Holidays).

2. Then in the window (Load holidays automatically), select the country and year to be considered for the holiday upload, and click (Carry).
It will be displayed as follows:
3. To confirm the uploaded information, click (Save).
Export Format for Calendars
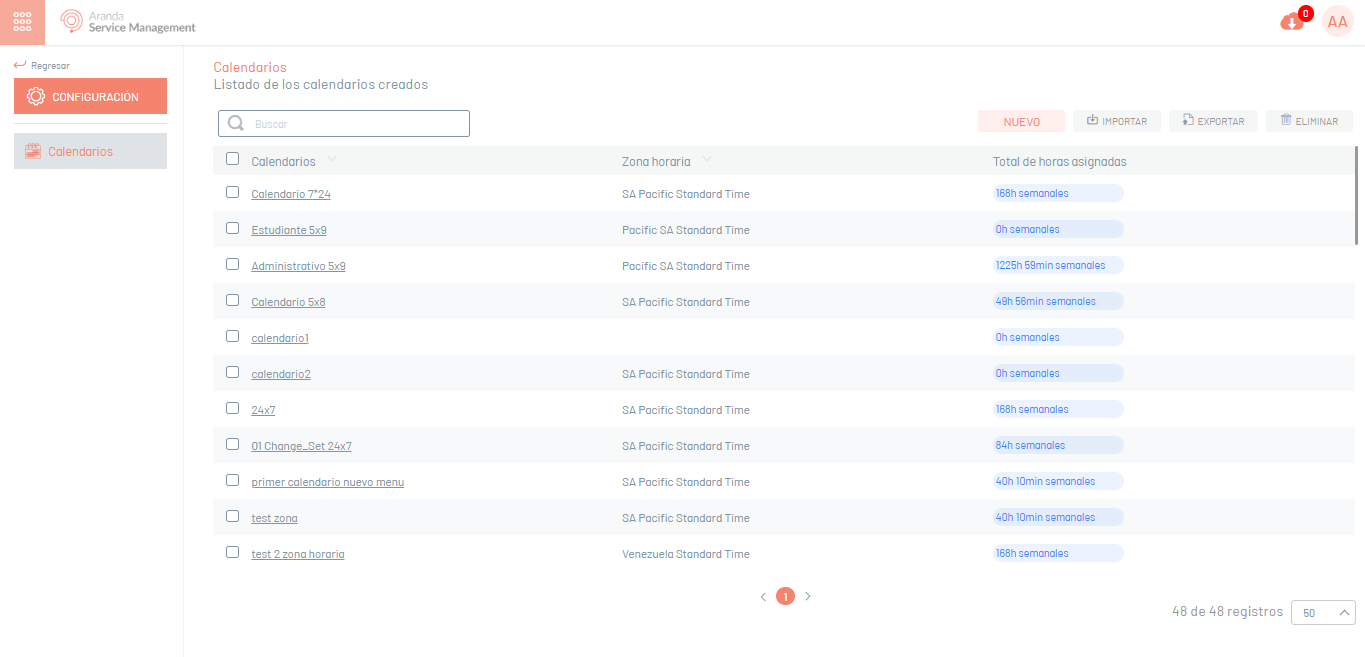
1. To export the calendar information, go to the List of Created Calendars, select the Export this option will allow you to export the information with or without data for updating and/or creating Calendars.
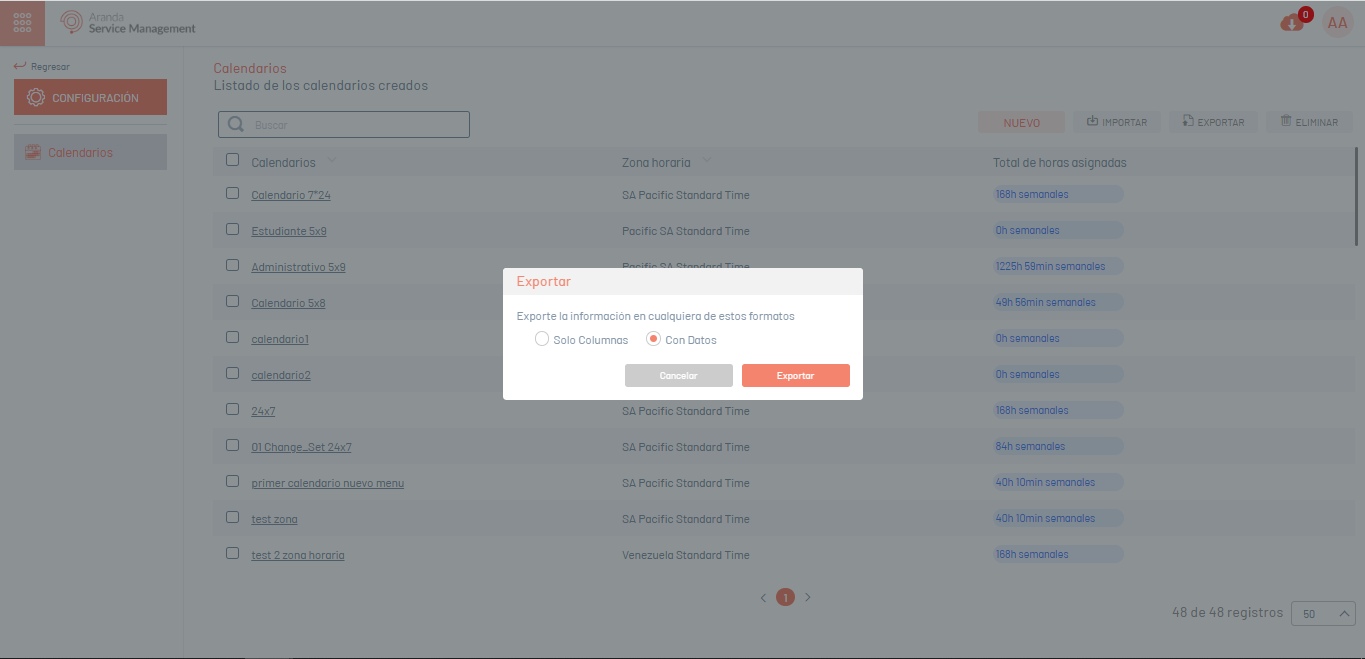
2. The window is enabled Export where you must select whether you need to export the empty format (calendar creation) or with data (calendar update). Click Export.
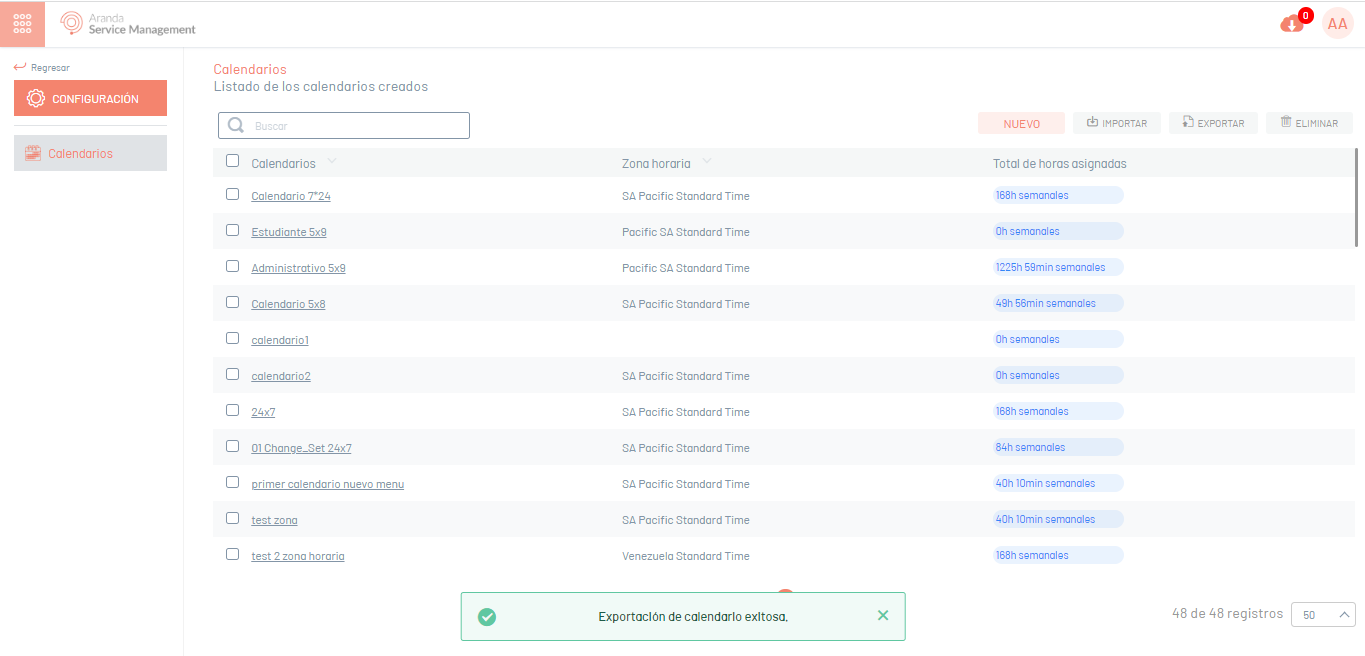
3. If you download the empty format, a file in Excel format is automatically generated. If you downloaded the form with data, the file is scheduled for download, generating an informative message at the bottom of the screen.
4. From the Admin console header menu, select the Notifications option.
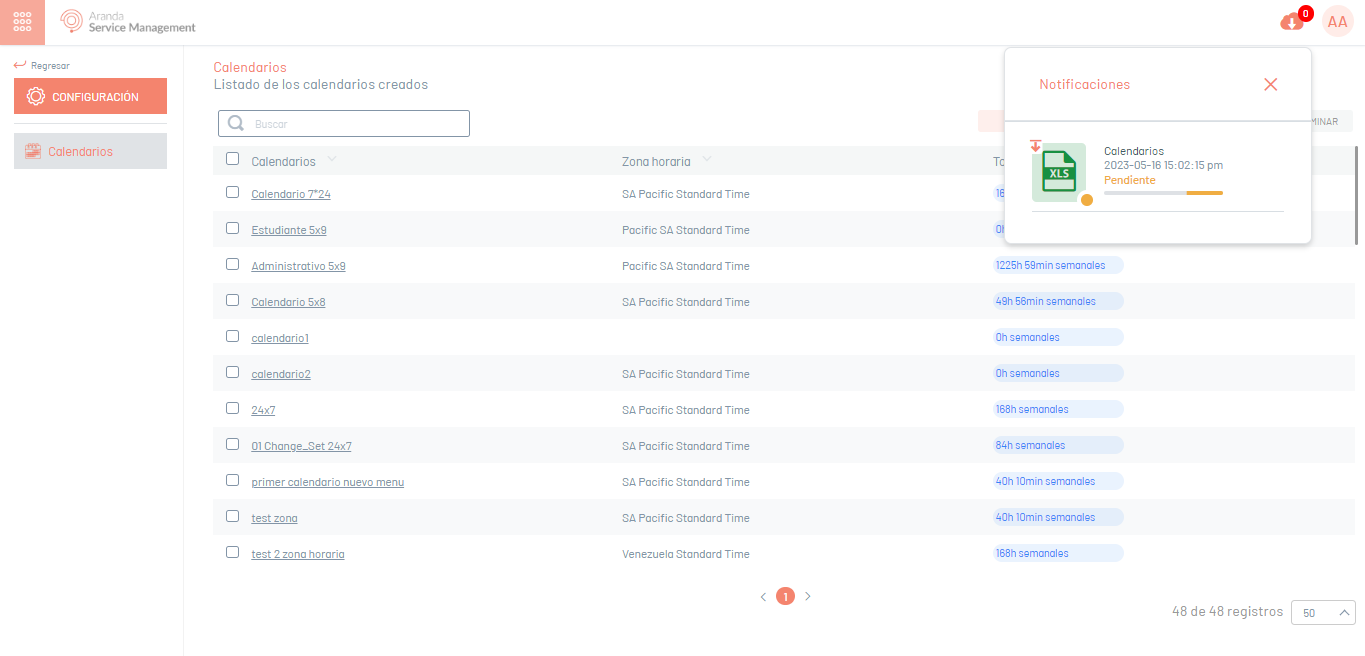
⚐ Note:In the Notifications option you will be able to view the generated format in Pending status (Orange color) and once the export process is finished, it will change to Completed status (Green color) with the download date.
5. Click on the notification to download the file.
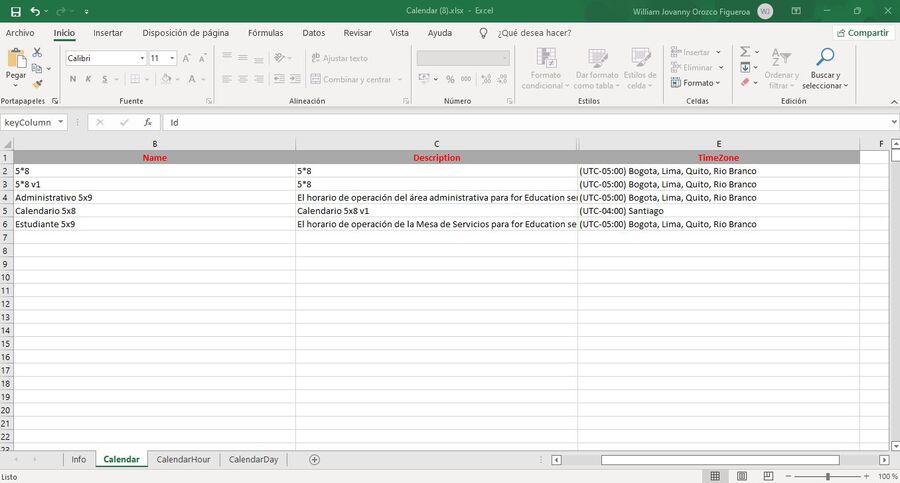
The downloaded file includes all the fields of the calendars; You will also find the fields needed for creating and/or updating calendars.
The Info tab describes in detail the obligation and information to be filled in on each field.
Import Format for Calendars
1. Once the form has been completed, enter the list of calendars and select the Import.
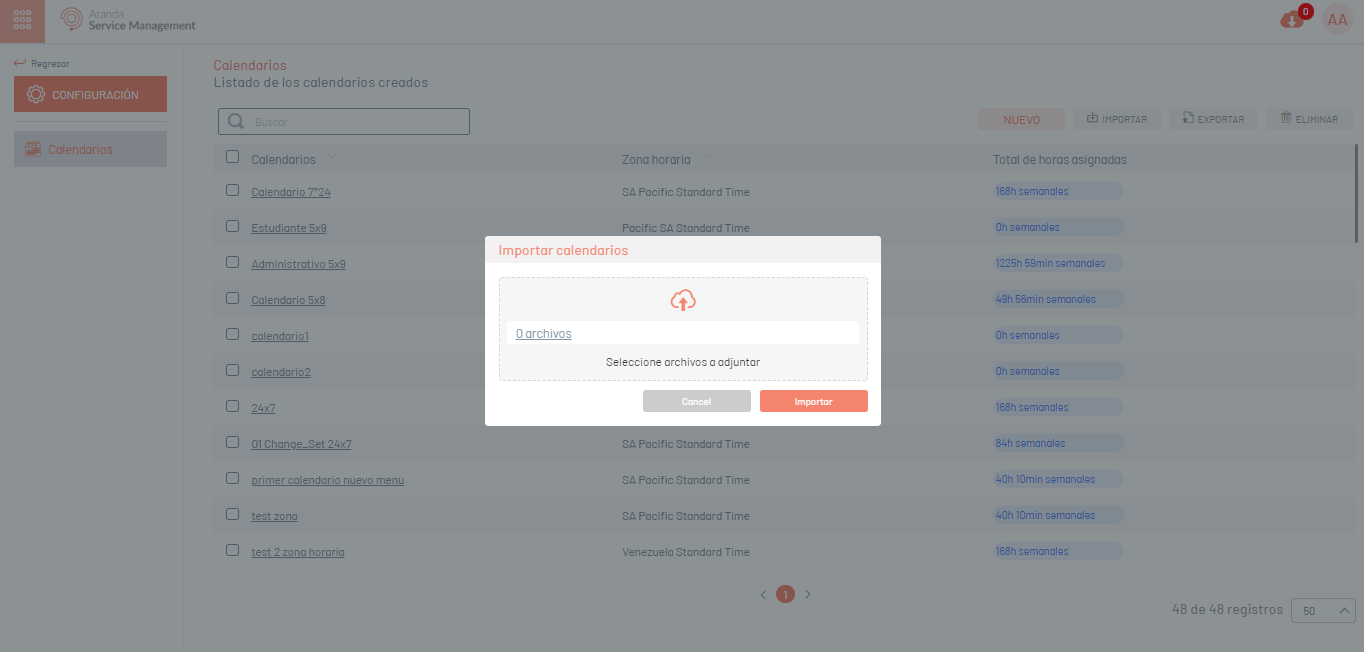
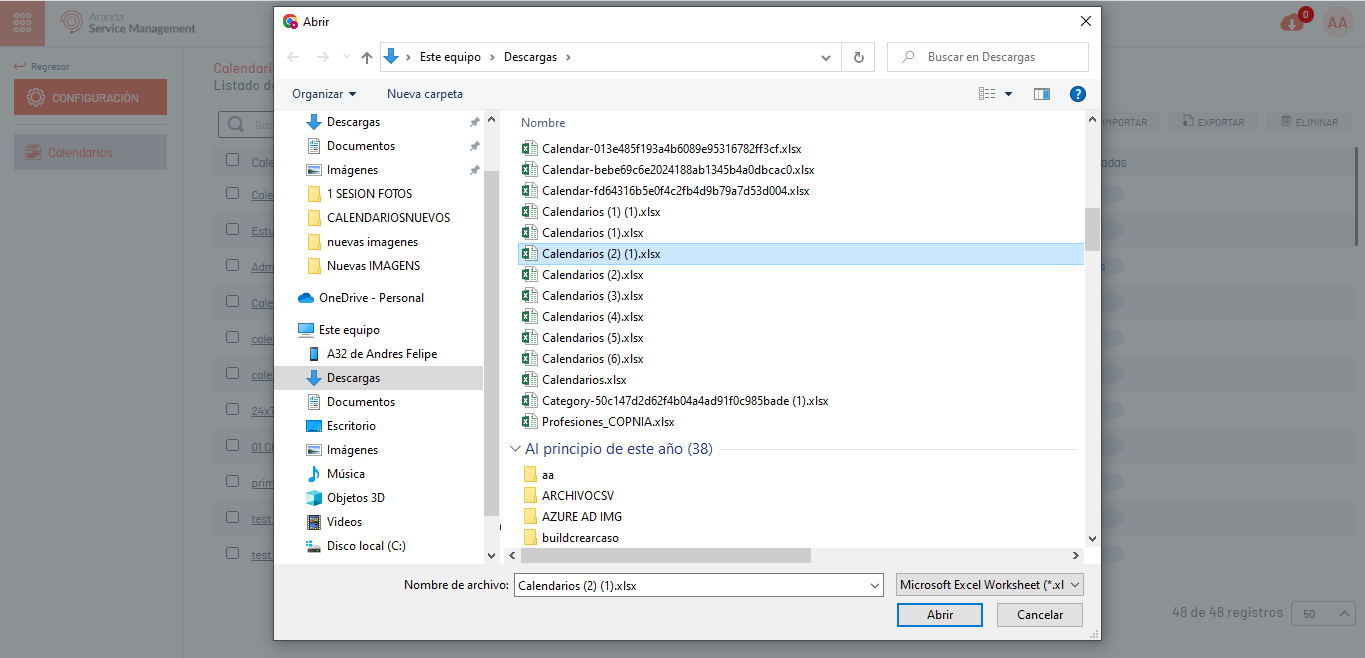
2. In the Import window, upload the file and click the Import.
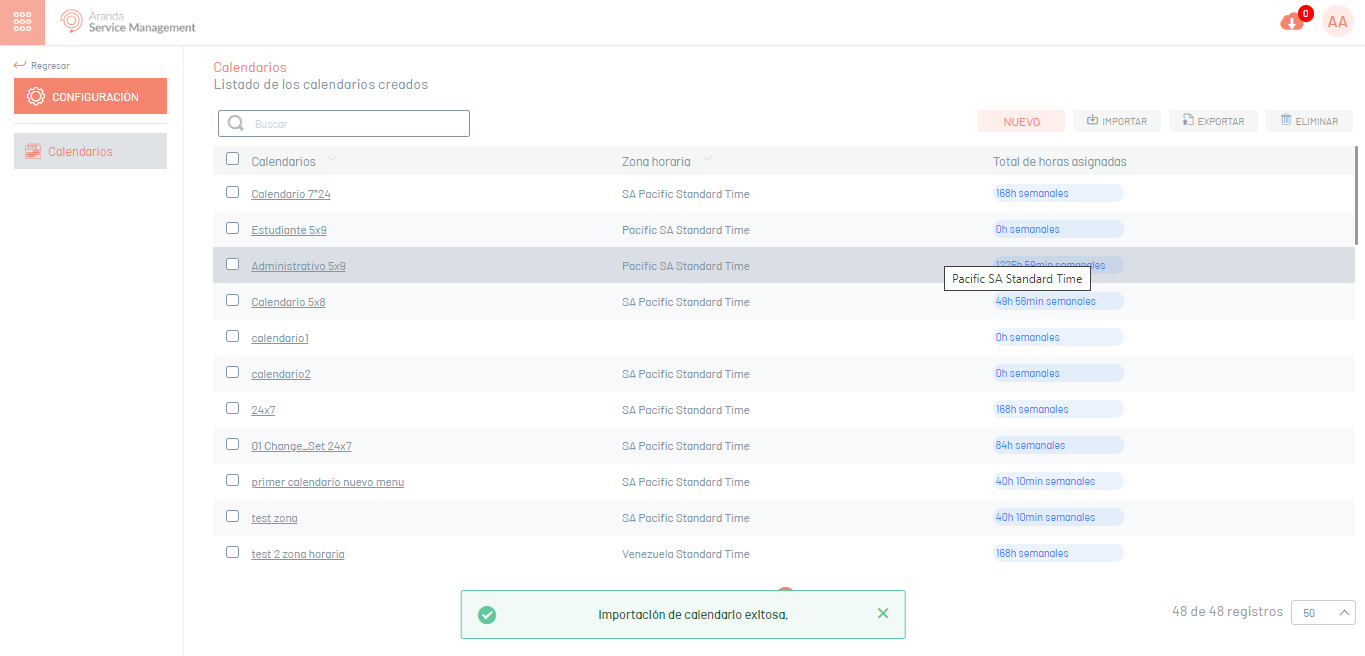
3. When you click the import button to start importing or updating Calendars, the file will be scheduled for import, informed with a message at the bottom of the screen and added to the notification panel.
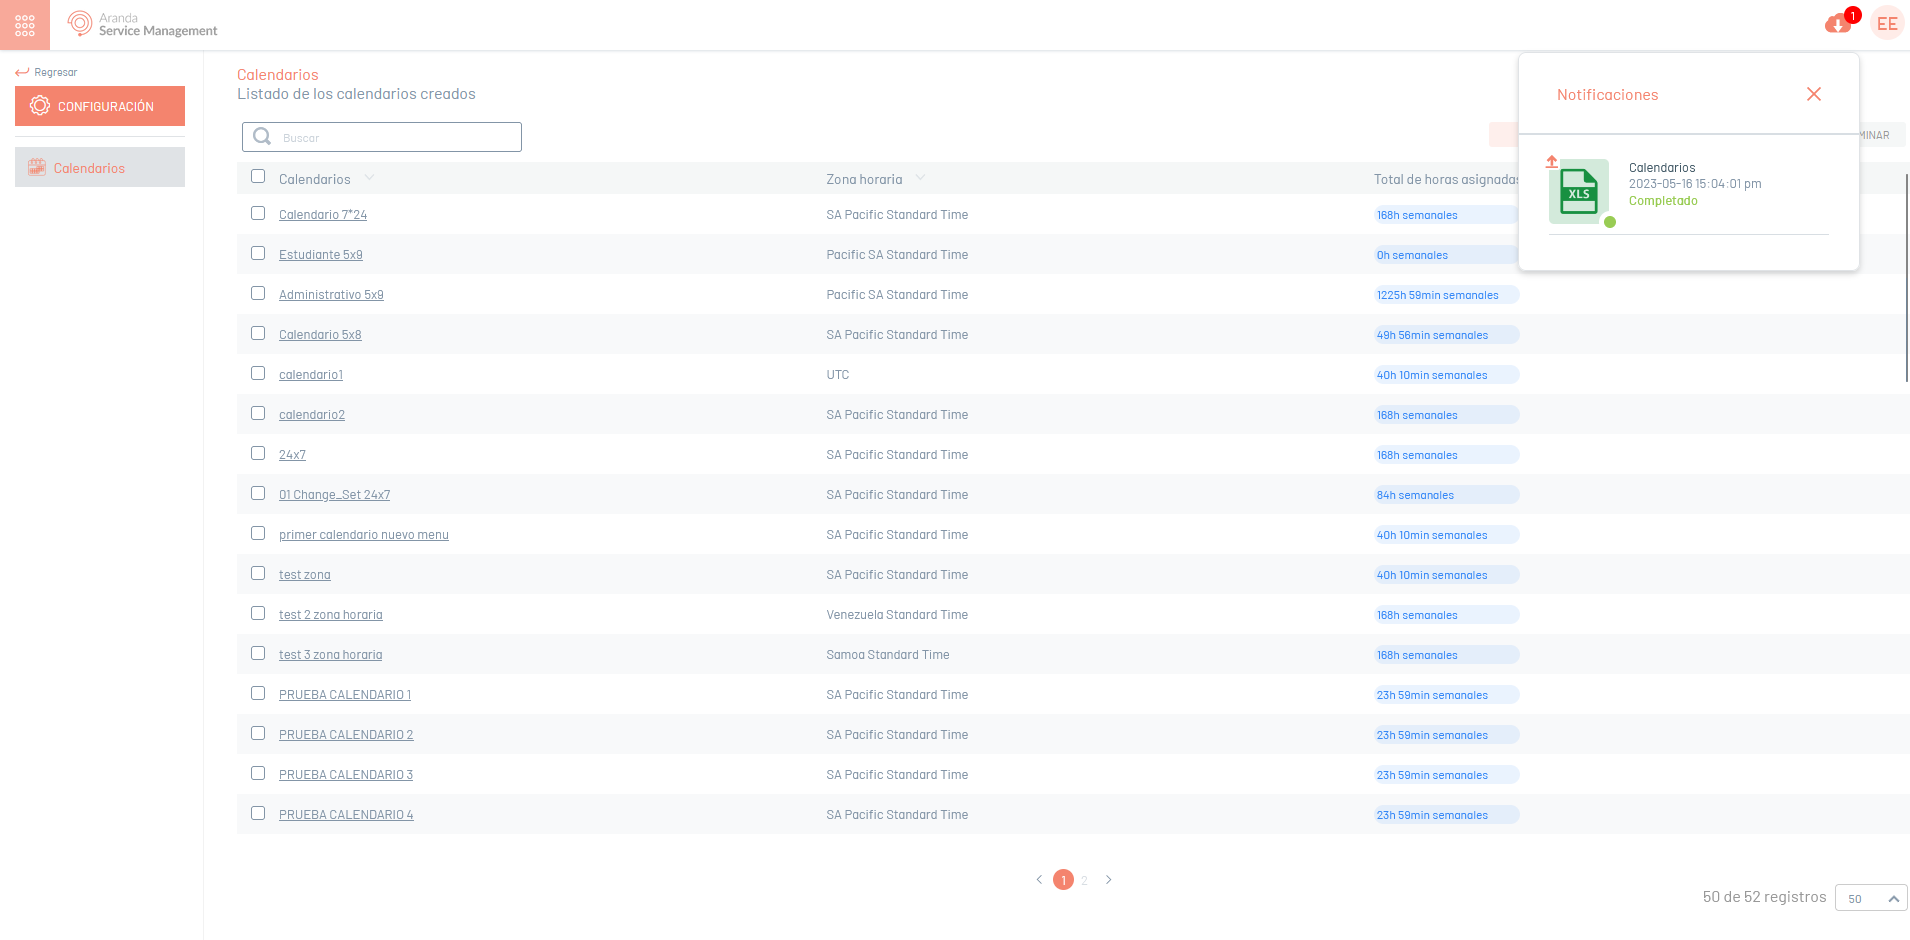
4. When the import is complete, the corresponding notification will change from orange to green, indicating that it has been completed.
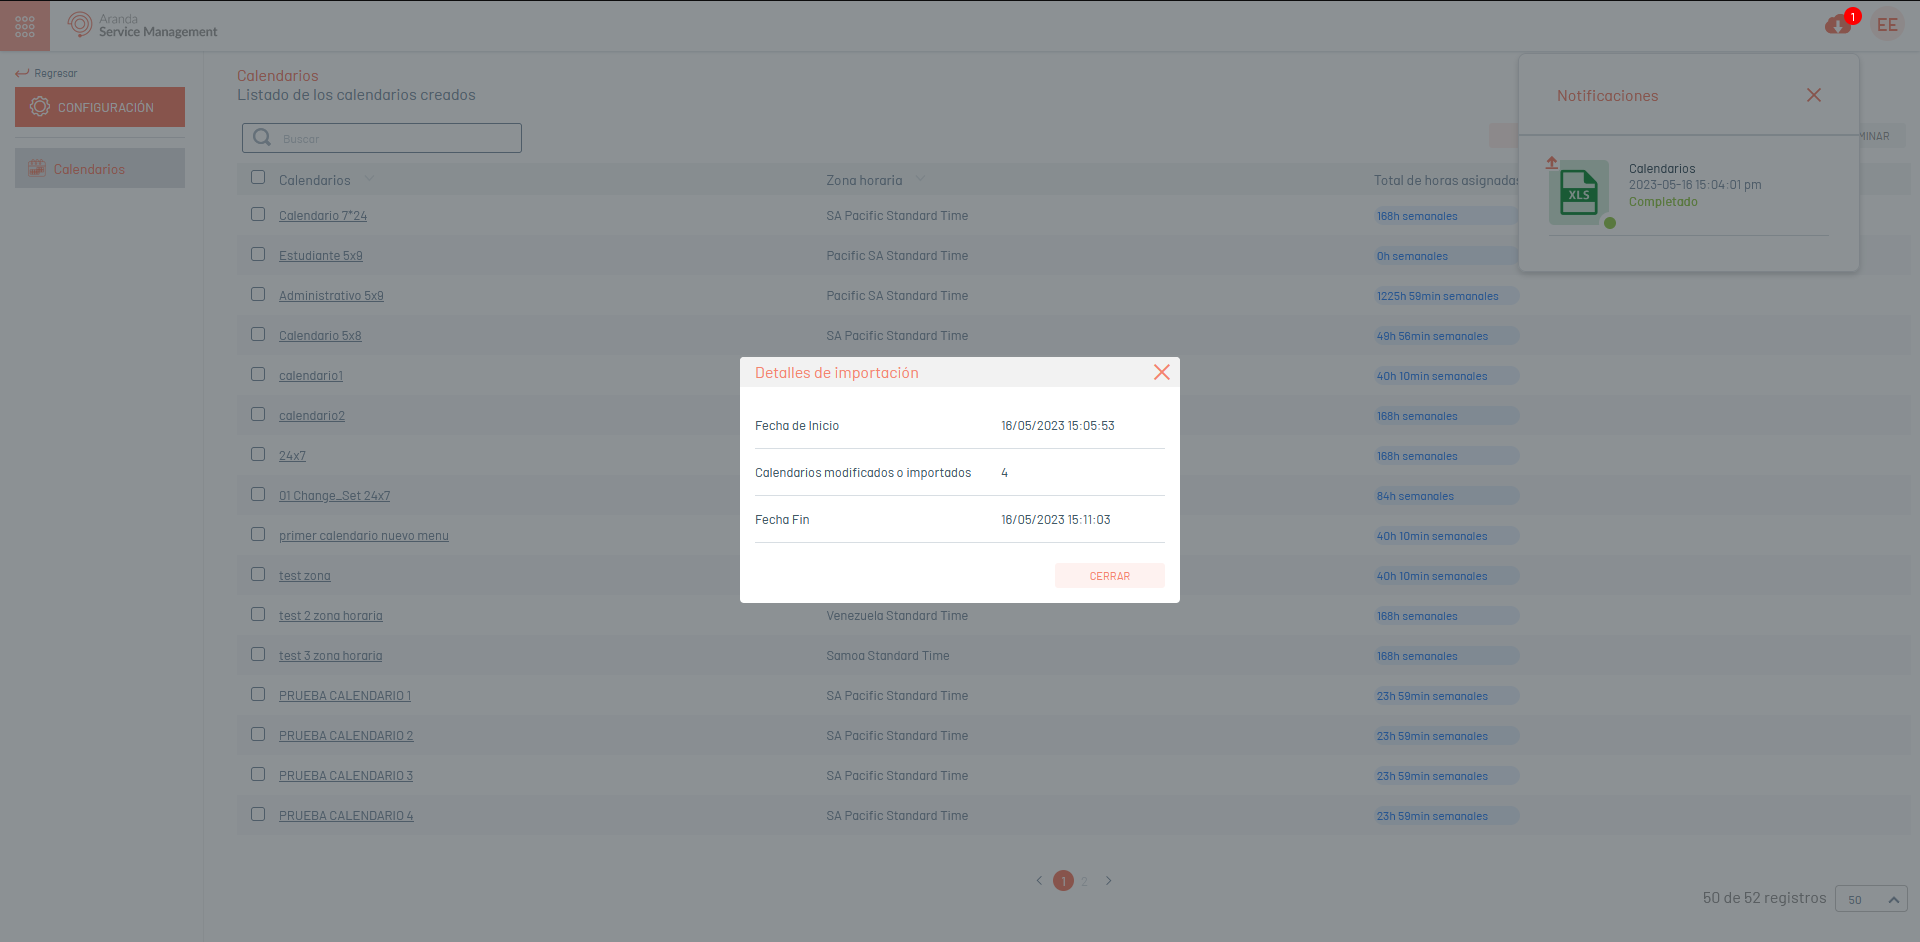
5. When you click on the notification, a window will be displayed where you can view the details of the import.
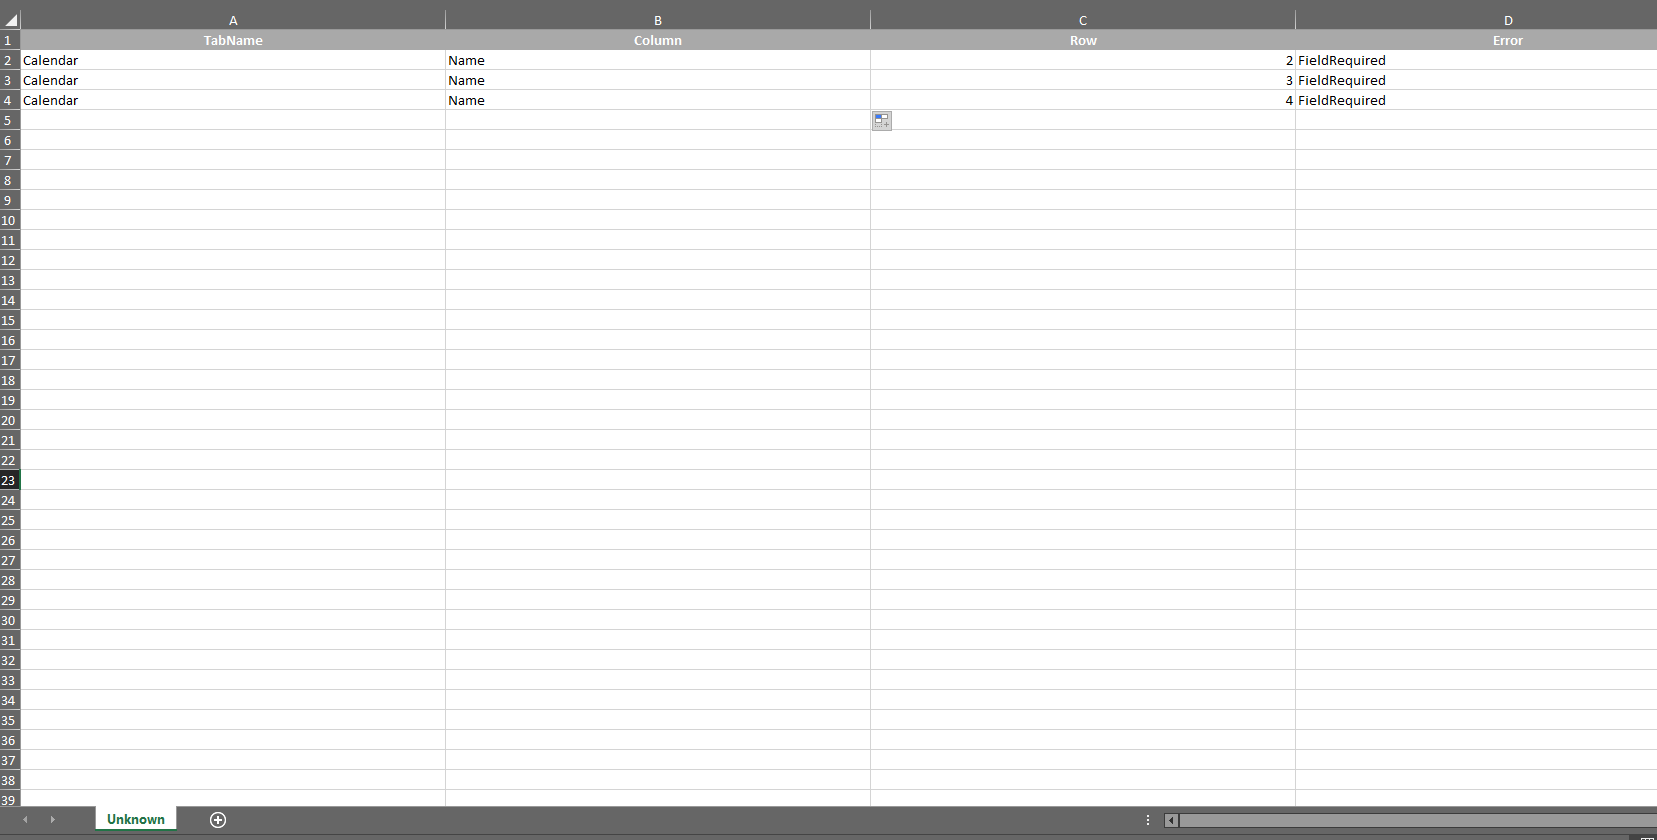
6. If during the import the file generated an error in one or more of its records, when viewing the import details it will be possible to download a file with the details of the records that generated error.
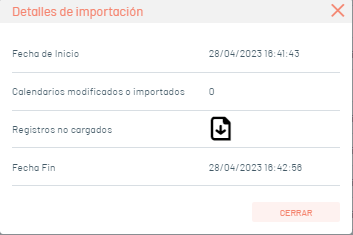
7. In the import details window, by selecting the unloaded records icon, you will be able to download an Excel file with the details of the errors generated during the import.