
In this module, you configure the additional fields necessary to add complementary information to the concepts Customers, Specialists, Companies and Suppliers.
Creating additional fields
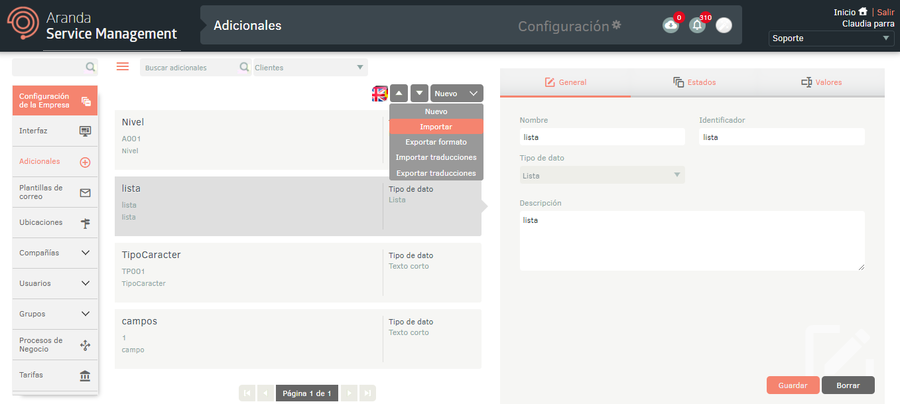
1. To create additional fields, log in to the ASMS Admin Console, in the Company Setup from the main menu, select the Additional. Define a project and a concept (customers, specialists, company or supplier) to which you want to create the additional field; In the information view, select the New and fill in the general information for the fields.
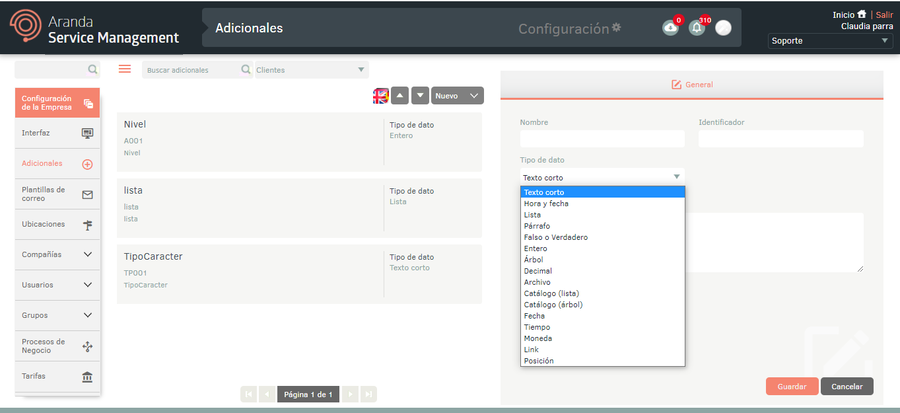
| Field | Description |
|---|---|
| Name | Enter the name of the additional field. |
| Identifier | Enter an identifier for the field (reference for internal use of the solution) |
| Data type | Choose a data type for the field. See Glossary - additional fields section |
| Description | Enter a field description |
2. When you finish setting up the basic information for the additional fields, click Save to confirm changes made; in the Detail View of the ASMS console, tabs are enabled States and Values (the latter only for field types that require selecting a value).
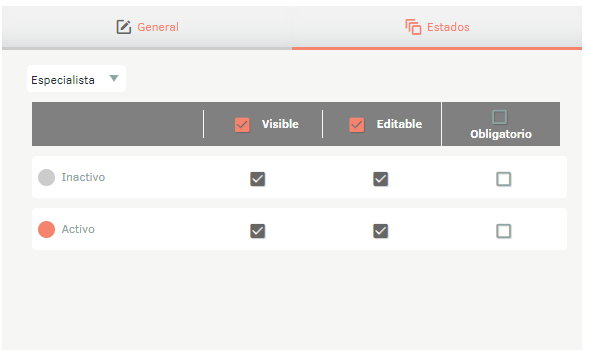
3. In the Additional Fields Detail View in the ASMS Management Console, select the States, where you can specify whether the fields will be visible, editable, or required for specialists, customers, or administrators during their active or inactive state.
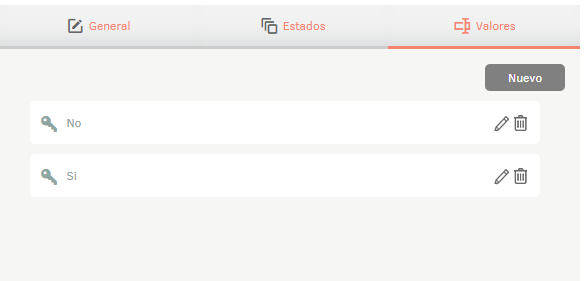
4. In the Additional Fields Detail View in the ASMS Management Console, select the Values, where you can specify the items contained within the catalog of options to be selected.
5. When you finish setting up the additional fields, click Save in the Detail View of the ASMS Management Console to confirm the changes made.
Export Format for Additional Fields
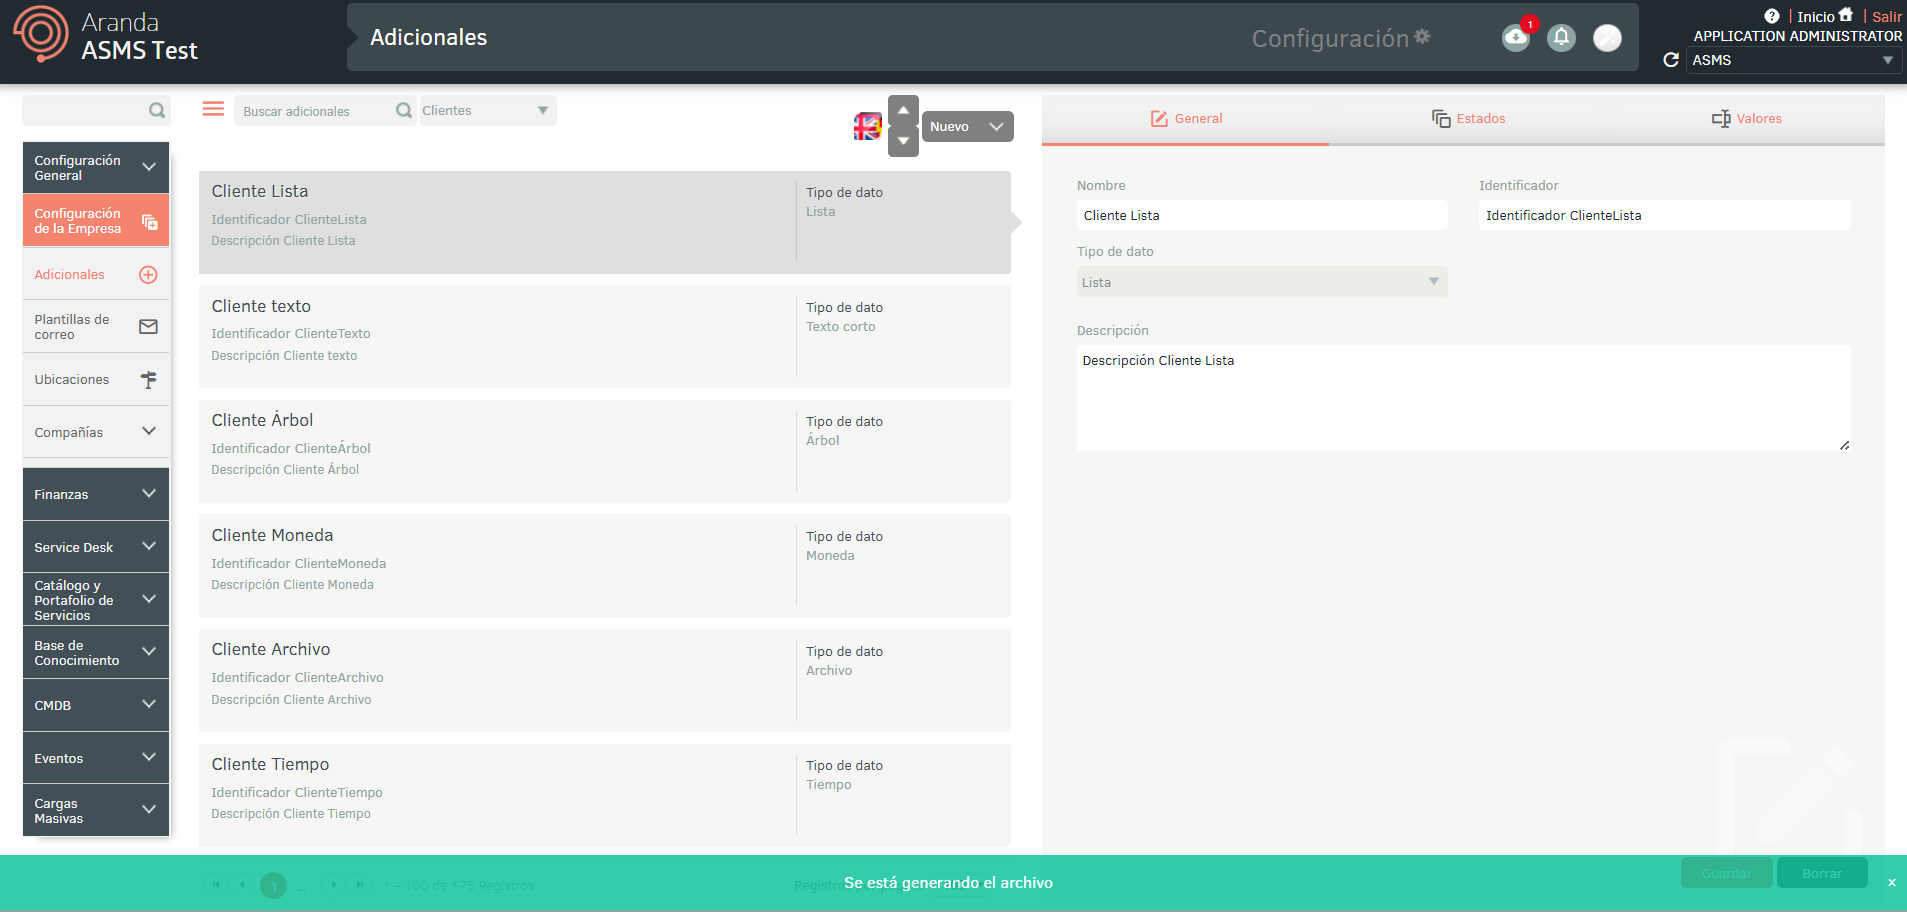
1. To export the information for the additional fields, log in to the ASMS Admin Console in the Company Setup from the main menu, select the Additional. Define a project, and in the information view, select the New/Export Format; This option will allow you to export the information with or without data for updating and/or creating additional fields.
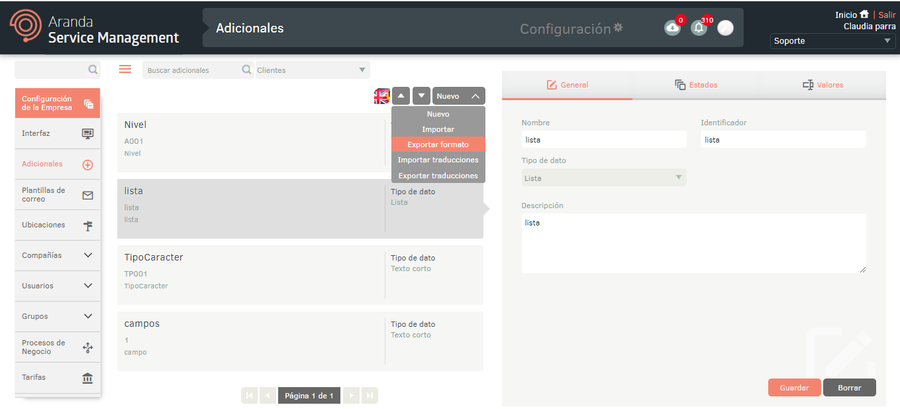
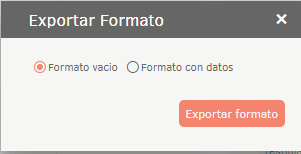
2. The window is enabled Export format where you must select whether you need to export the empty format (creation of additional fields) or with data (update of additional fields). Click Export Format.
3. If you download the empty format, a file in Excel format is automatically generated. If you downloaded the form with data, the file is scheduled for download, generating an informative message at the bottom of the screen.
4. From the Admin console header menu, select the Notifications option.
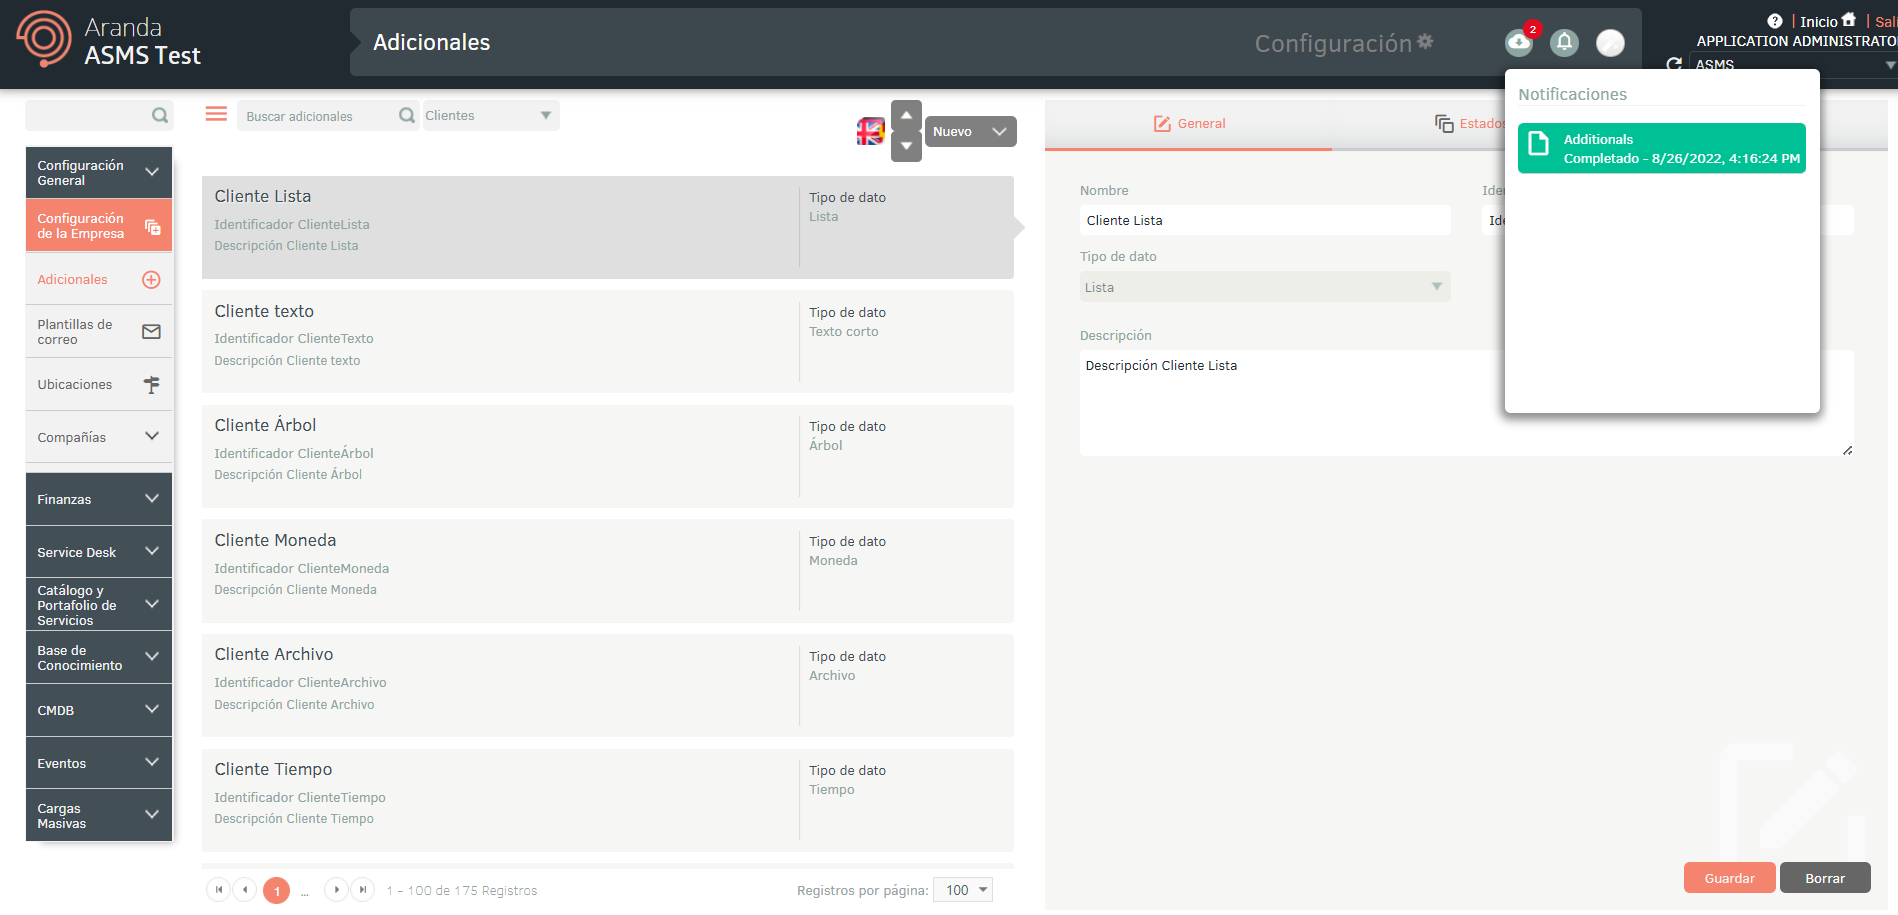
⚐ Note: In the Notifications option you will be able to view the generated format in Pending status (Orange color) and once the export process is finished, it will change to Completed status (Green color) with the download date.
5. Click on the notification to download the file.
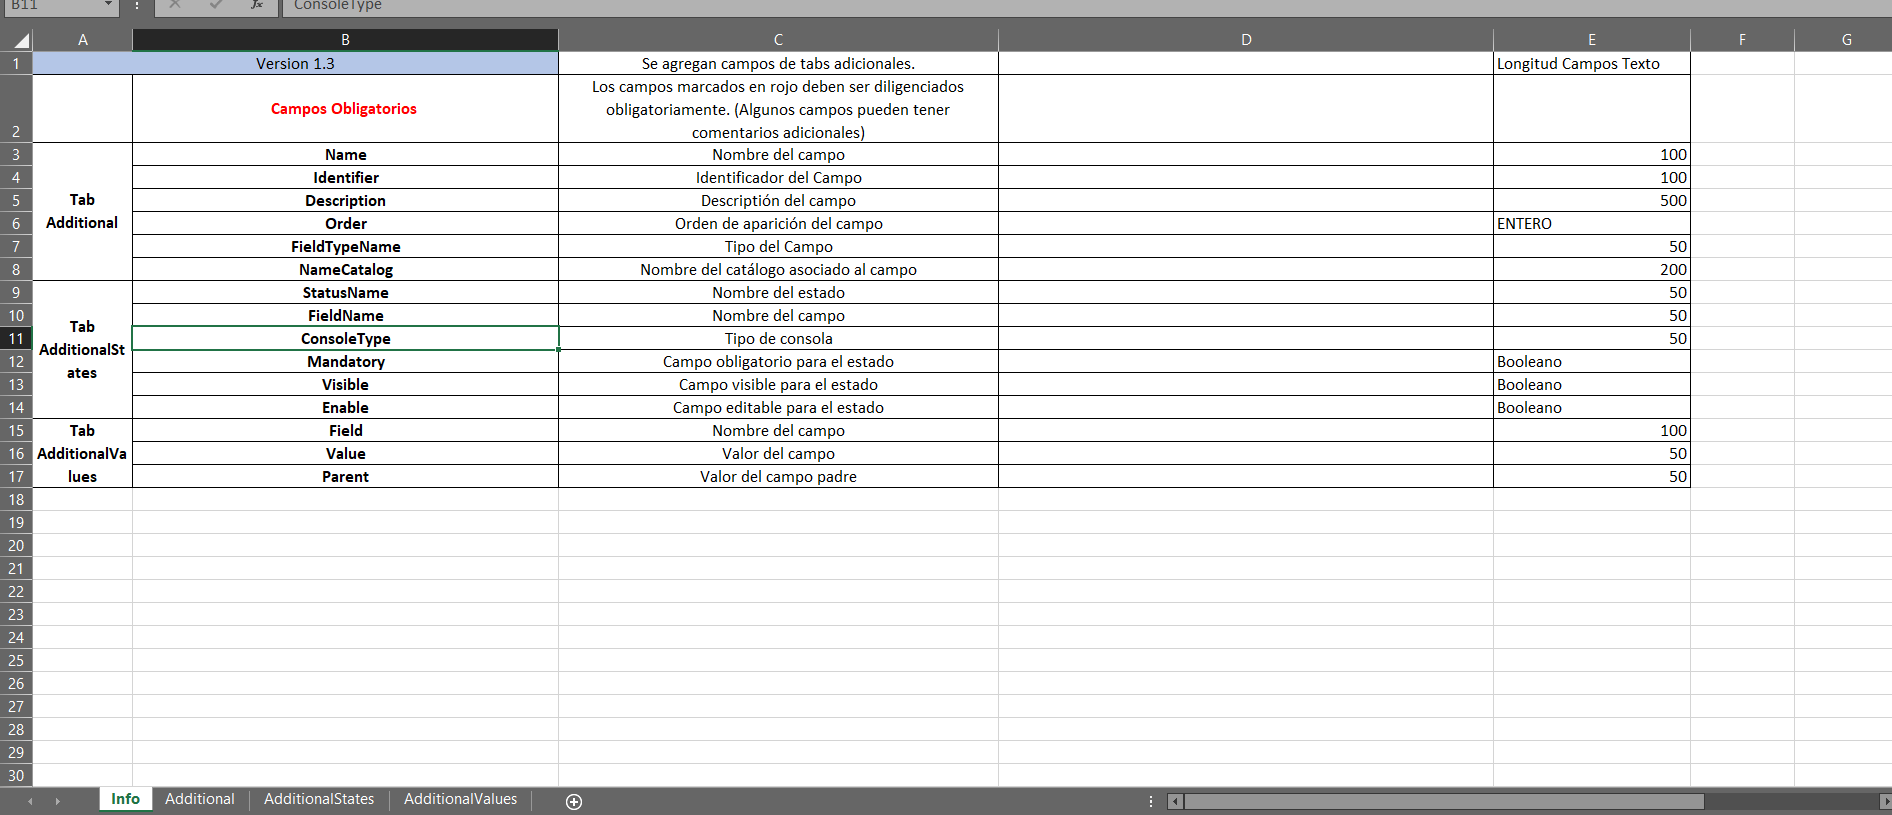
The downloaded file includes all the fields of the additional fields; You will also find the fields required for the creation and/or updating of the additional fields.
The Info tab describes in detail the obligation and information to be filled in on each field.
Import Format for Additional Fields
1. Once the form has been completed, enter the ASMS administration console, in the Company Settings section of the main menu, select the option Additional. Define a project, and in the information view, select the New/Import Format.
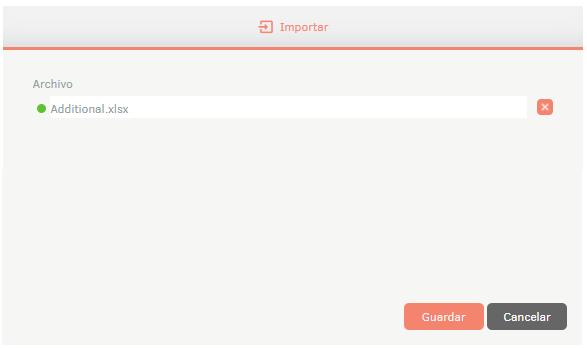
2. In the window Import, upload the file, and click the Save.
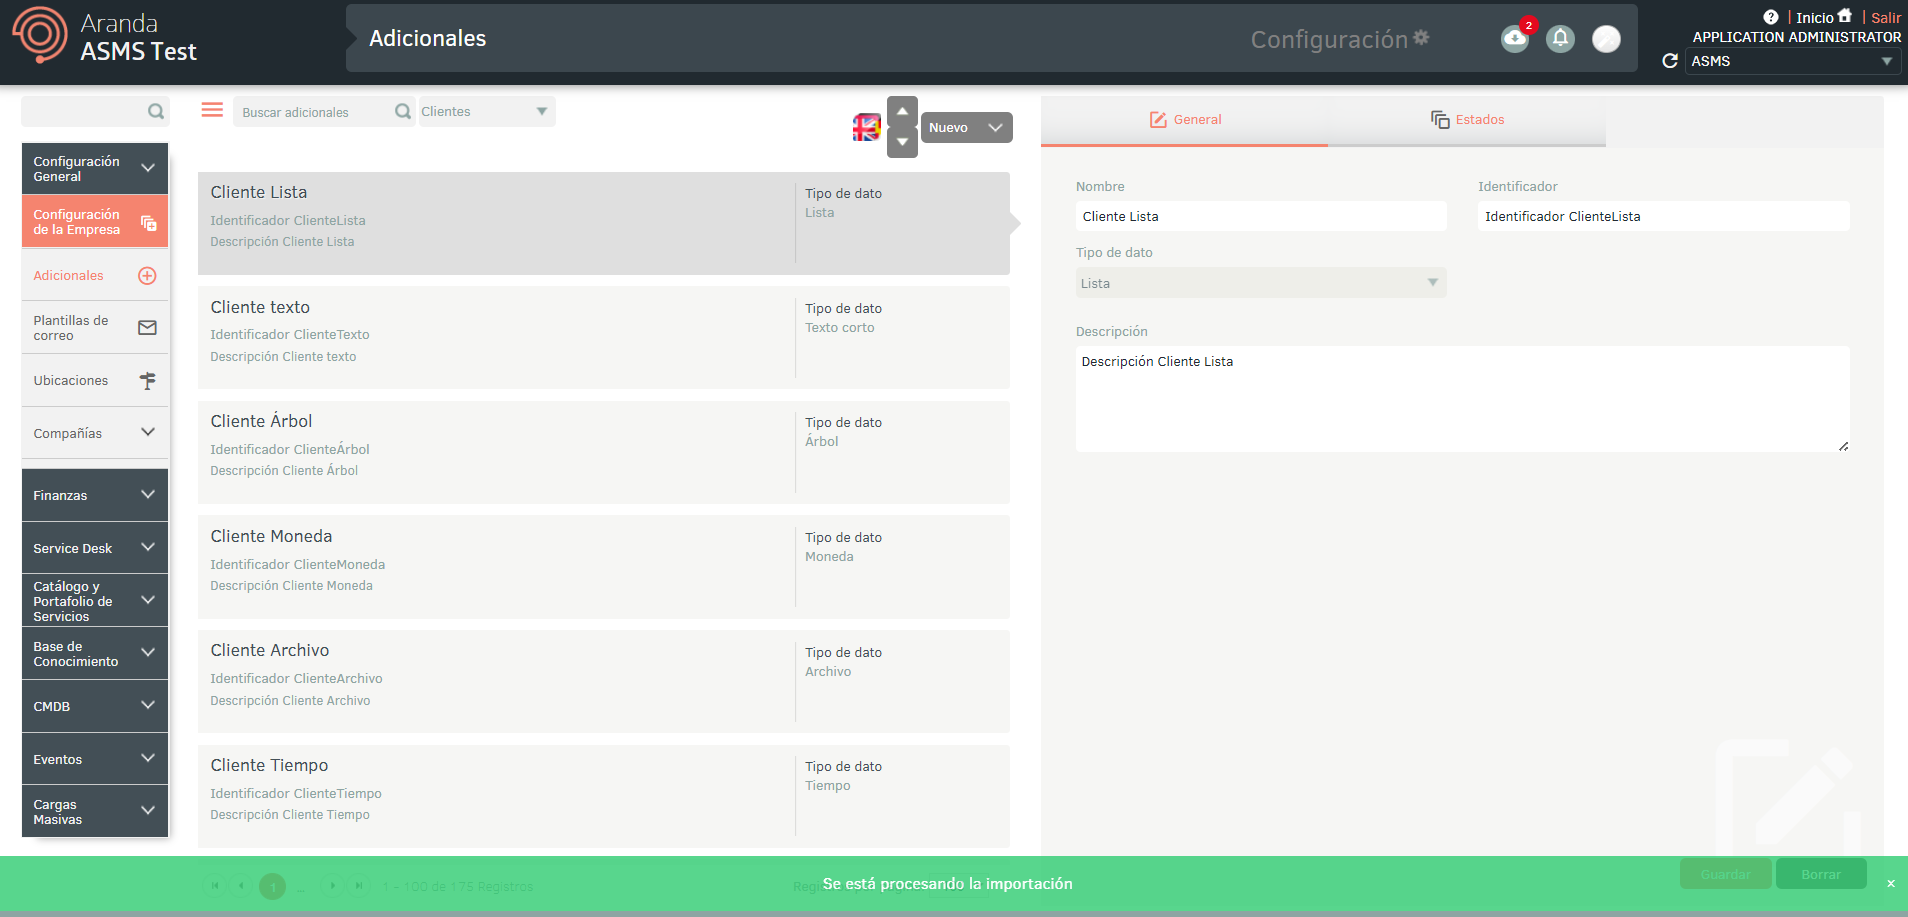
3. Clicking the save button to start importing or updating additional fields will schedule the file for import, prompting with a message at the bottom of the screen and added in the notification panel.
4. When the import is complete, the corresponding notification will change from orange to green, indicating that it has been completed.

5. When you click on the notification, a window will be displayed where you can view the details of the import.
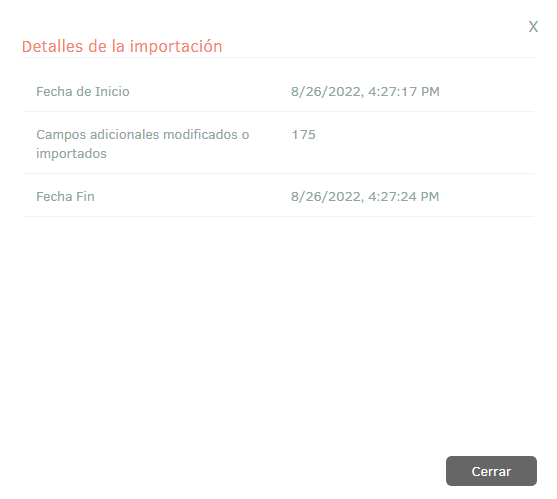
6. If during the import the file generated an error in one or more of its records, when viewing the import details it will be possible to download a file with the details of the records that generated error.
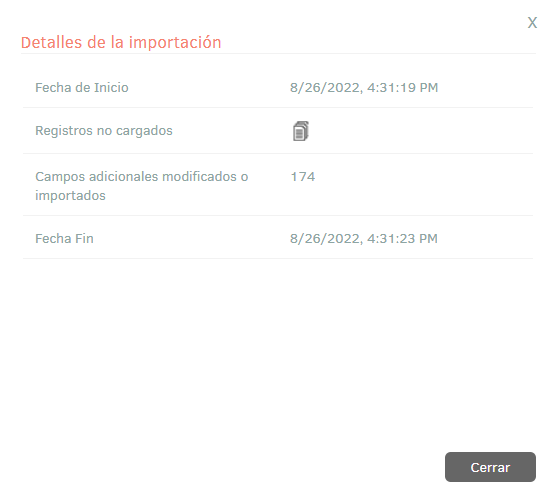
7. In the import details window, by selecting the unloaded records icon, you will be able to download an Excel file with the details of the errors generated during the import.

Multilanguage
To set up the multilanguage option in additional company fields, you must consider the documentation for translations. View Multilanguage.