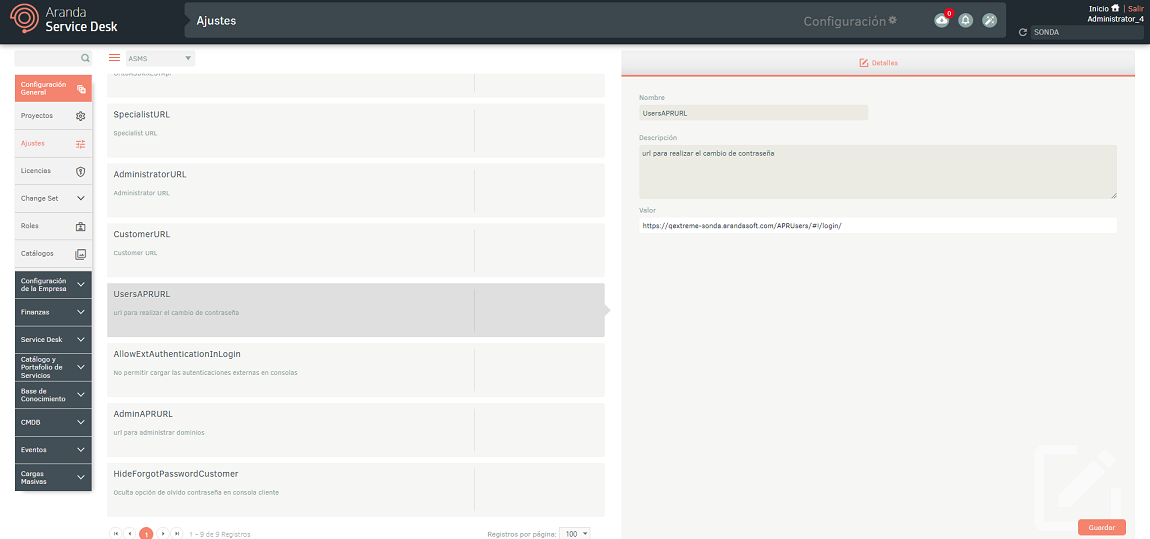
Here, the configurations of the internal products are carried out of ASMS. For example: the URL of the password reminder (the URLs where the user did the installation). The items are established as factory for the customer to enter the respective values for each one of them.
Values for options APIurl, SpecialistURL and CustomerURL must be previously configured in order to have access to the specialist and customer consoles once the Configuration of the entire project.
⚐ Note: To integrate external solutions to Aranda Service Management using the available REST API, the base URL is
https://dominio.com/ASMSapi/, regardless of the type of deployment in ASMS.
Examples:
-
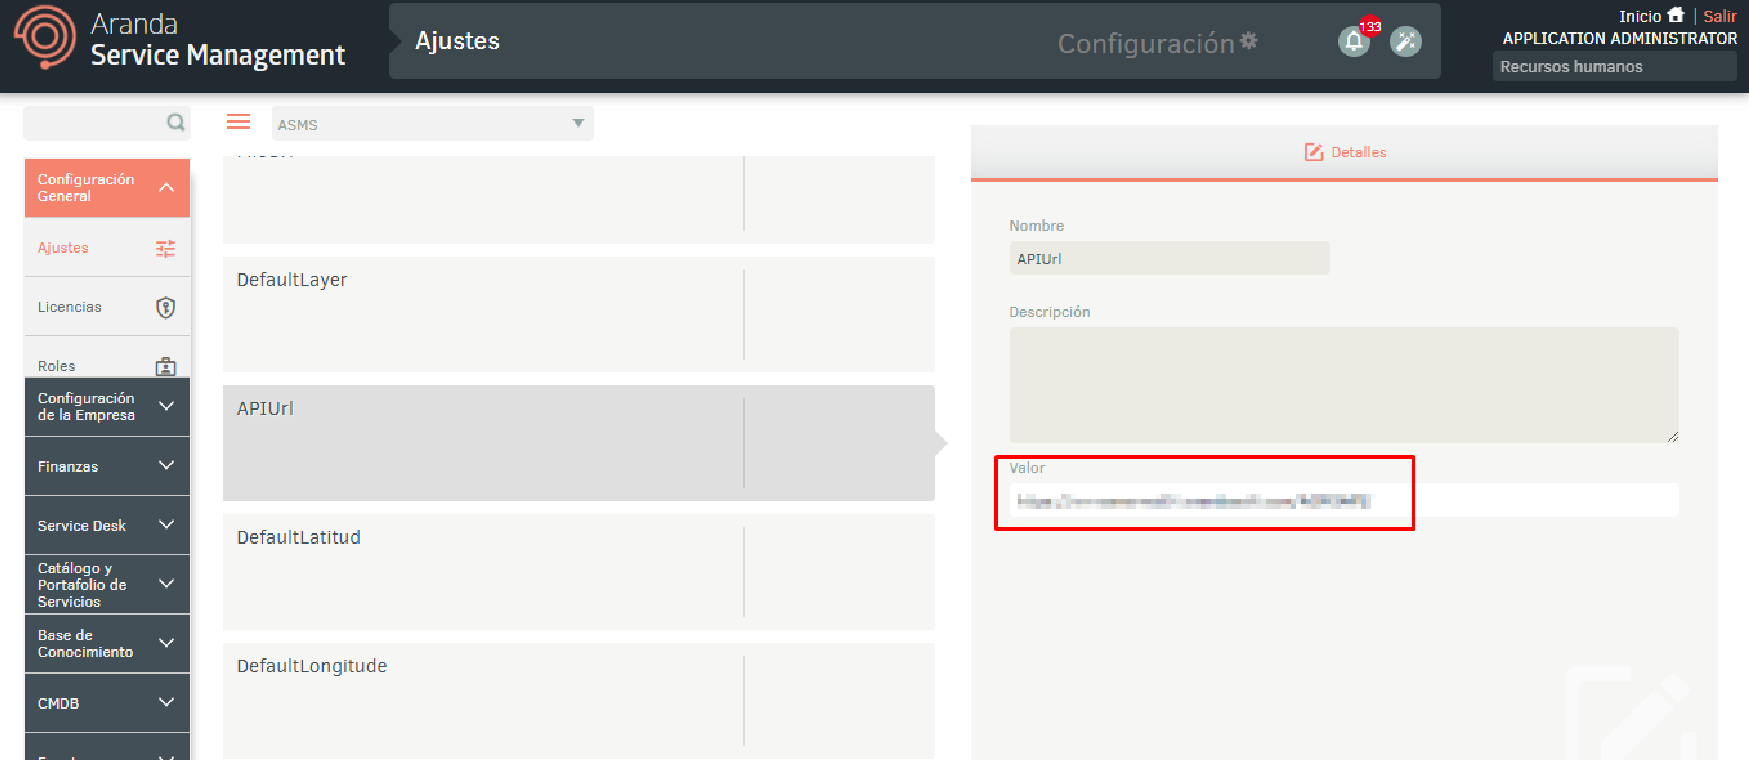
APIurl: Enter one of the following URLs according to the type of deployment of your Aranda Service Management:
SaaS:
https://dominio.com/asmsconsole
On-Premise:https://dominio.com/ASMSapi/ - SpecialistURL:
https://dominio.com/asmsspecialist/ - CustomerURL:
https://dominio.com/asmscustomer/
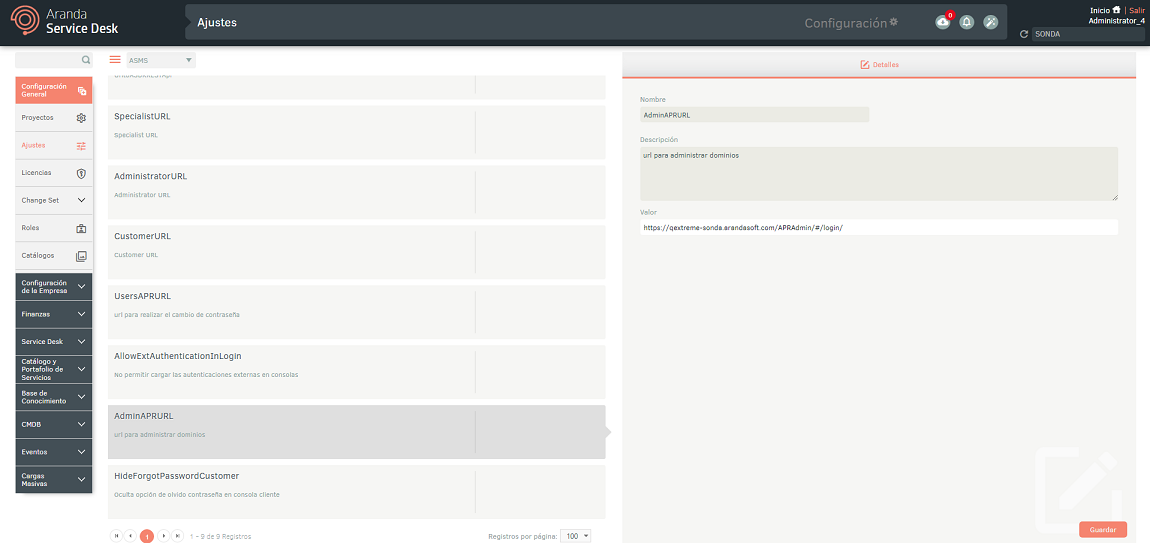
To access APR consoles, configure the AdminAPRURL and UserAPRURL.
Examples:
- APRAdmin:
https://dominio.com/apradmin/ - APRUsers:
https://dominio.com/aprusers/
General
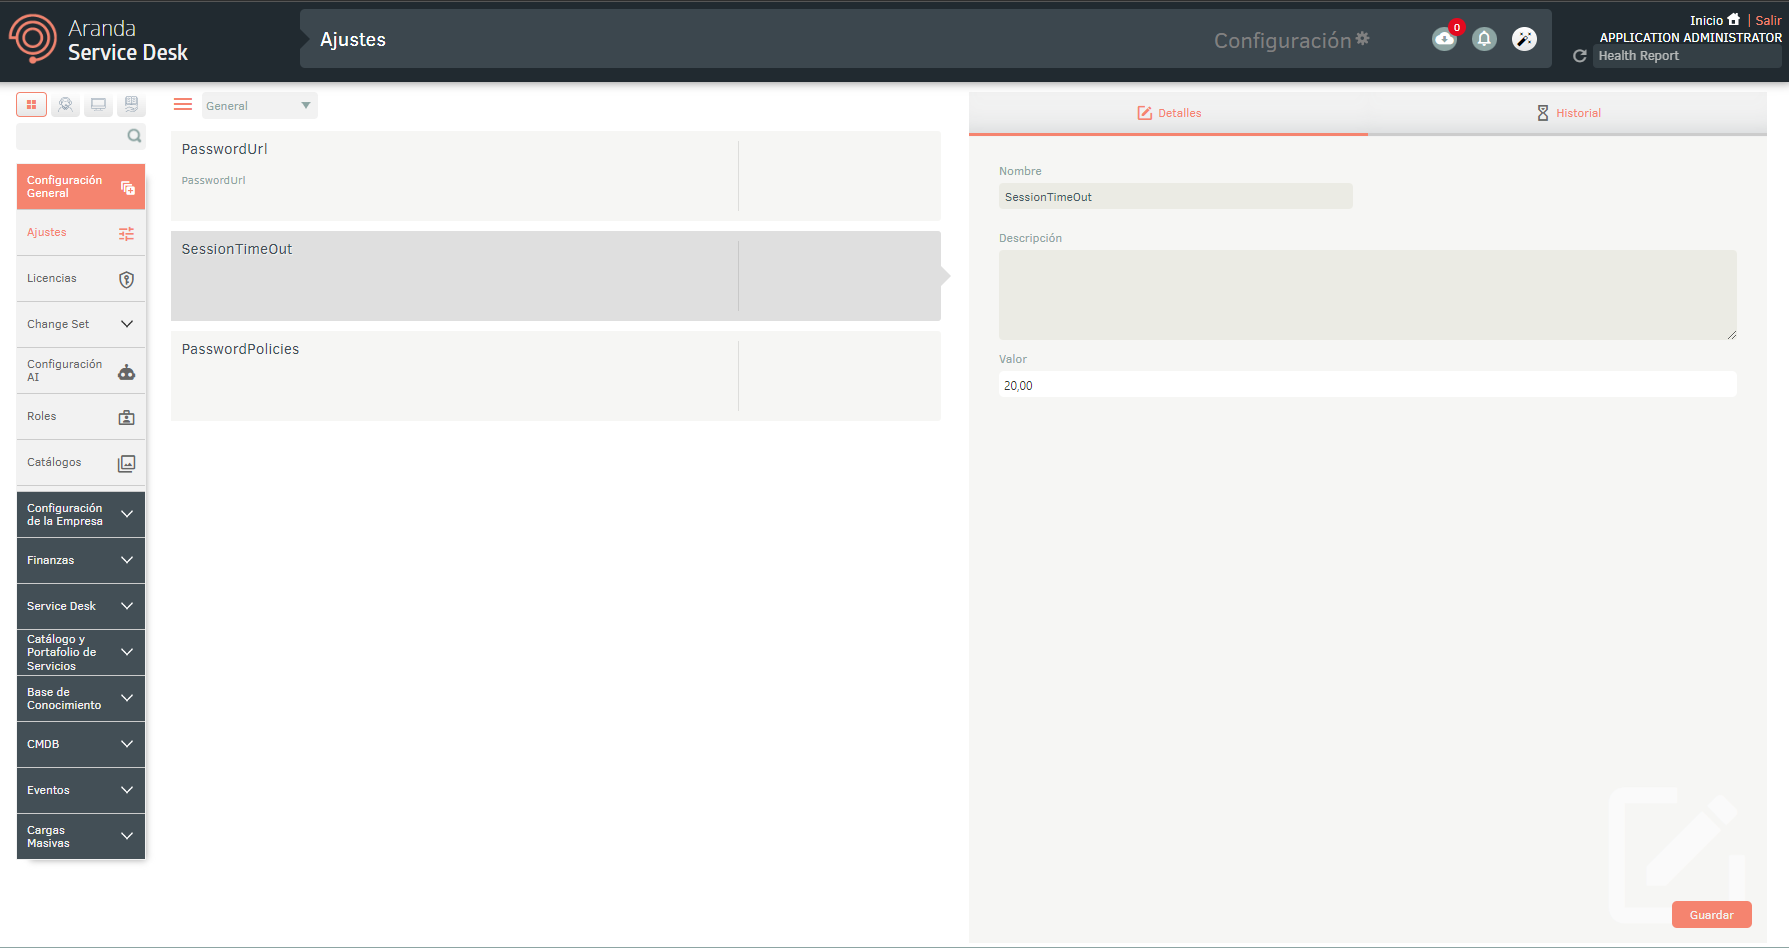
Logging Out
The Option SessionTimeOut Allows you to configure the logoff time on consoles due to inactivity. The minimum configurable value is 20 minutes and the maximum is 1440 minutes.
⚐ Note: When you try to save a value that is lower or higher than the limits you set, the console will automatically adjust the value to the minimum or maximum allowed.
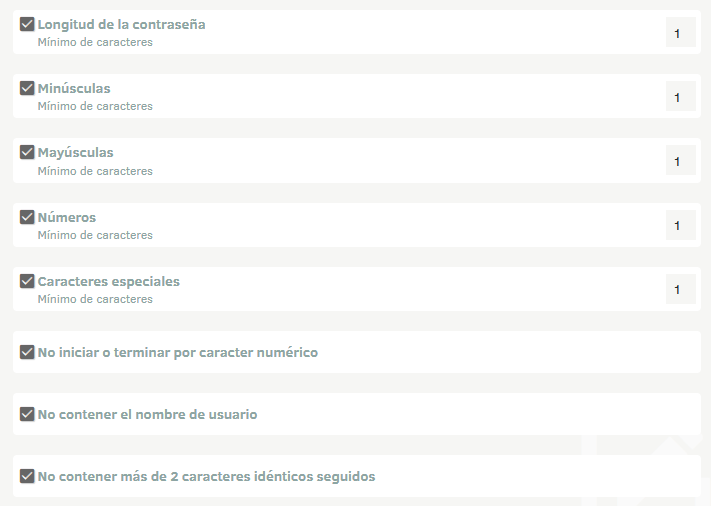
Password Policies
The Option PasswordPolicies allows you to configure the policies that the password of local users must comply with (ARANDA Authentication), the configurations can be activated or deactivated according to needs; The available options are:
- Password length
- B
- B
- Numbers
- Special characters
- Do not start or end by numeric character
- Do not contain the username
- Contain no more than two identical characters in a row
⚐ Note: The validation of not containing the username is carried out taking into account: Part of the user’s name or the full user.
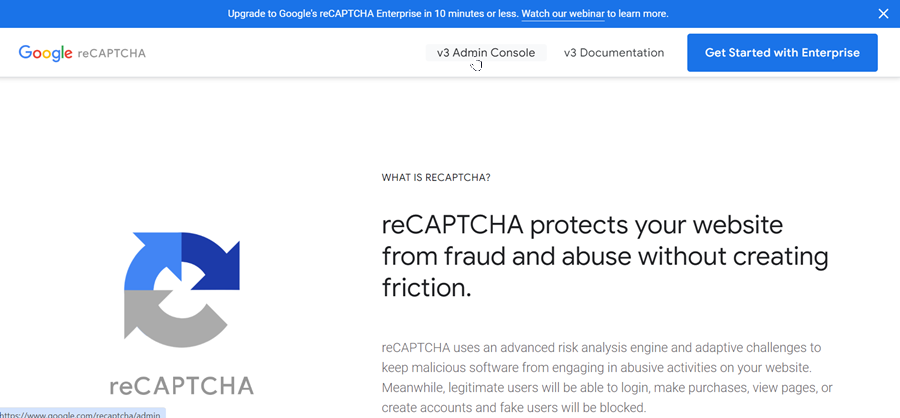
Setting up reCAPTCHA on Google
Google’s reCAPTCHA system is a security solution that protects websites against bots and malicious activity.
⚐ Note: The requirement to use reCAPTCHA in ASMS is to use local authentication (ARANDA credentials).
1. Access the reCAPTCHA management console at the following link: reCAPTCHA configuration.
2. Click on the “V3 Admin Console” option and sign in with the corresponding Google account.
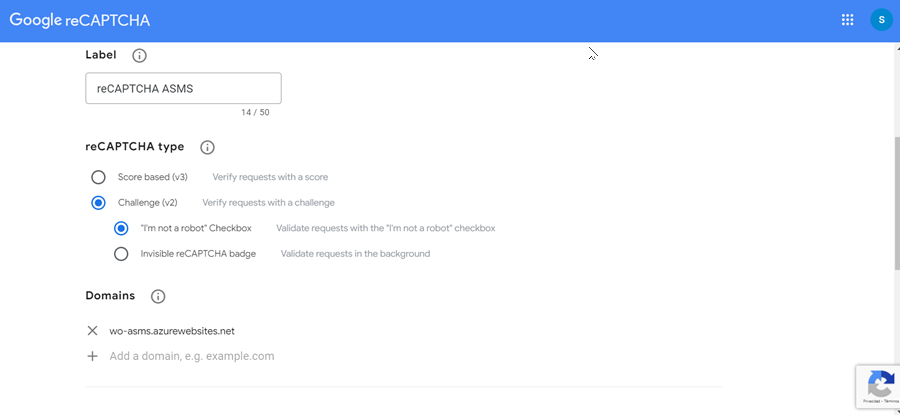
3. Once in the console, complete the following fields in the registration form:
- Label: Give the configuration a descriptive name.
-
Type of reCAPTCHA: Choose the type of reCAPTCHA:
- Based on Score (v3): Verifies requests with a score
- Test (v2) / “I’m not a robot” box: Validate requests with the I’m not a robot checkbox
- Domains: Enter the domains where reCAPTCHA will be used.
- Project Name: Enter a name for the project.
- Terms of Service: Accept the terms of service.
- Click “Send”.
4. Once registered, you will receive two keys: Site Key and the Secret Key. Save these keys as they are required later for configuration on the ASMS administration site.

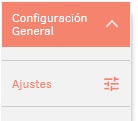
5. On the ASMS administration site, in the “General Settings” from the main menu, select the
“Adjustments”. From the list, choose the option “General” and place yourself in the option “reCAPTCHA”.

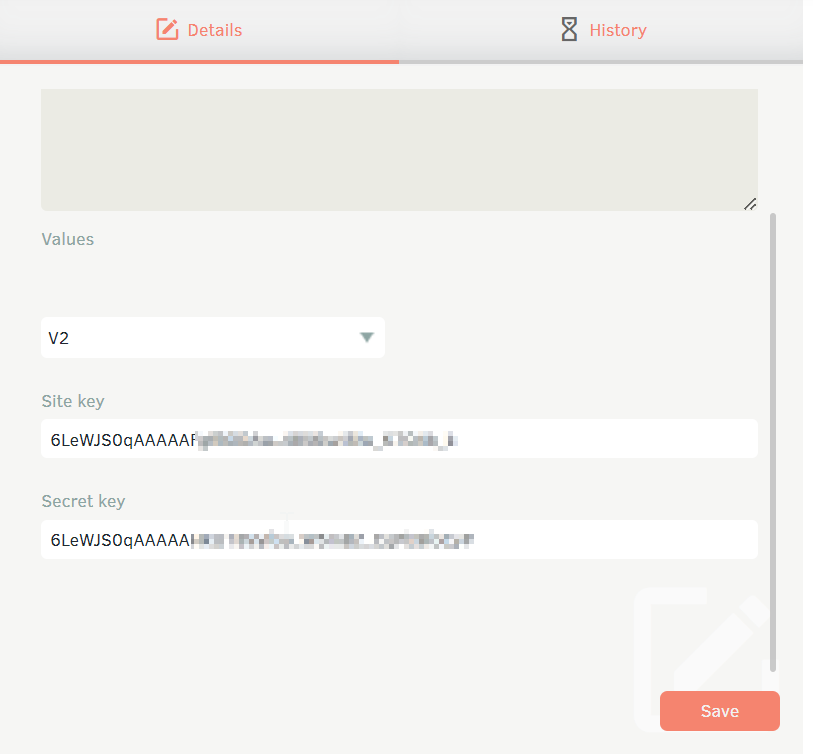
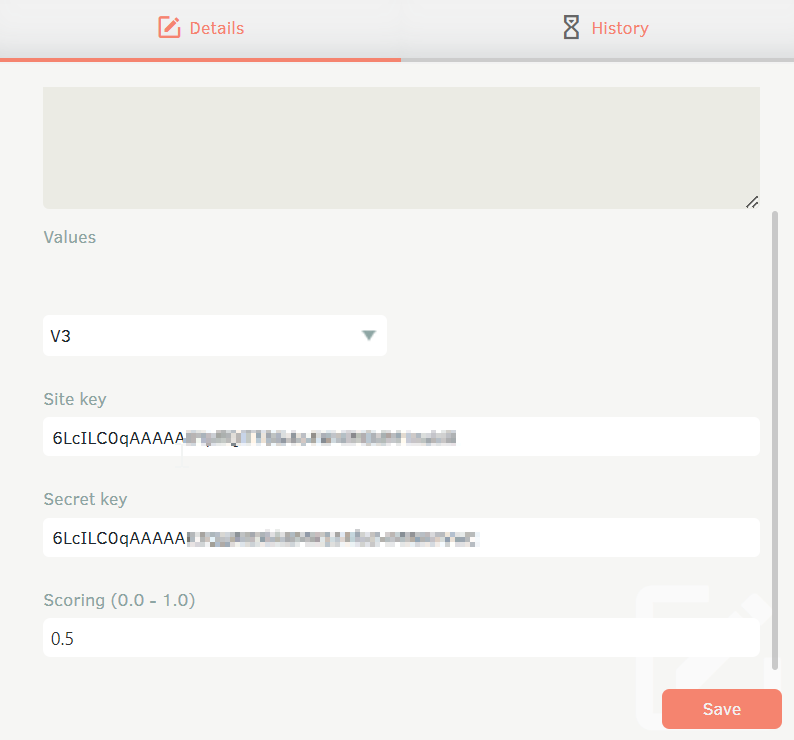
6. On the “Details”, select the version of reCAPTCHA to use:
- Version 2: The previously obtained site key and secret key will be requested.
- Version 3: The previously obtained site key and secret key will be requested. For the score, choose a value between 0.0 and 1.0. For more information about scoring, please refer to the official documentation: Interpret punctuation.
7. Once the configuration is complete, the reCAPTCHA will be activated on the login screens of the
Aranda Service Management (Administration, Specialist, User Portal and CMDB), in the mobile applications (Assist Me and ASMS Mobile),
and in the Teams and WhatsApp bots (ALBI). In addition, it will be available in the “Forgot your password” option in each of these systems.
Service Management
Maximum file size
The Option FileMaxSize Allows you to set the maximum attachment limit in different consoles.
1. On the ASMS, in the General Settings from the main menu, select the Settings. From the list, choose the option Service Management and place yourself in the option FileMaxSize.
2. On the Details, in the field Value Enter the maximum size allowed for files on different consoles keeping in mind that the maximum size is 500 MB.
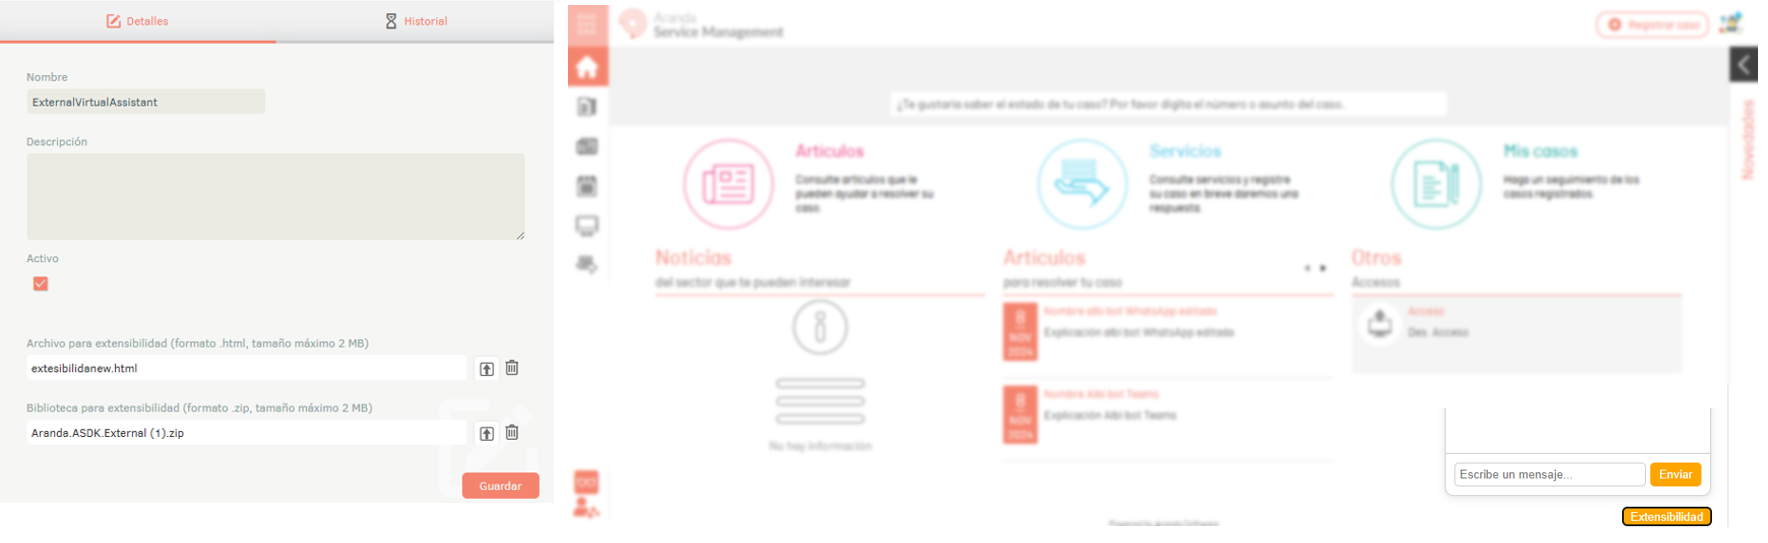
External Virtual Assistant
The Option ExternalVirtualAssistant allows you to embed pages in the ASMSCustomer, making it easy to customize the virtual assistant according to the needs of the end user.
1. On the ASMS, in the General Settings from the main menu, select the Settings. From the list, choose the option Management and place yourself in the option ExternalVirtualAssistant.
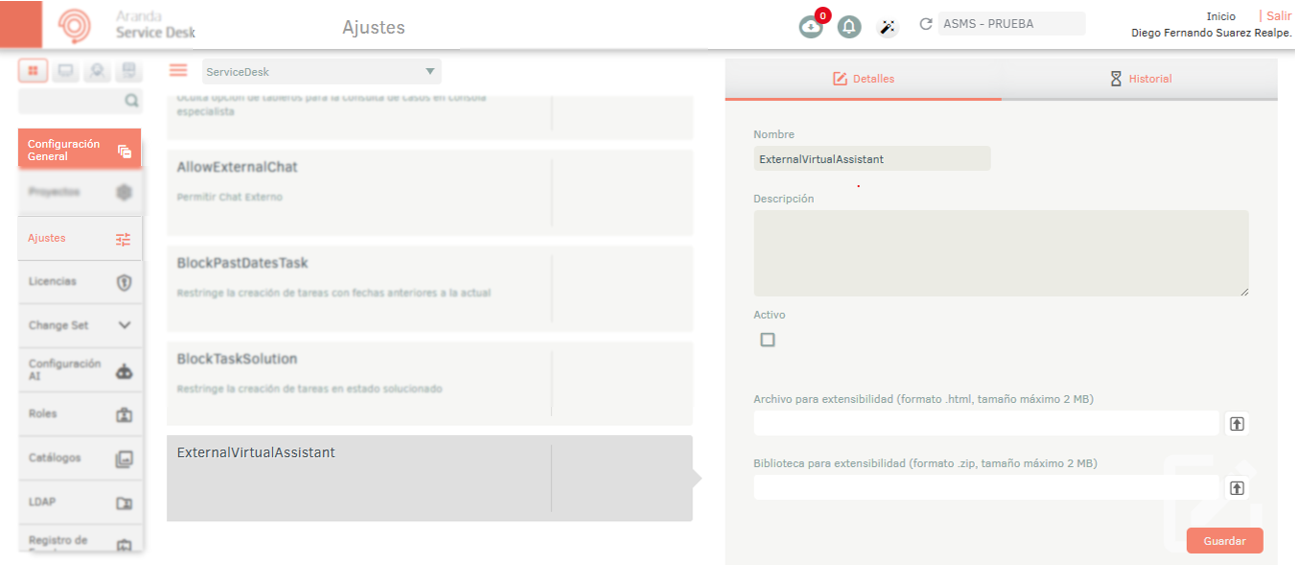
2. On the Details, check the option Active and upload the files required for the virtual assistant setup. The required formats are:
- HTML: File for extensibility (.html format, maximum size 2 MB)
- Dll: Library for extensibility (.zip format, maximum size 2 MB)
3. Once the required files have been configured, enter the ASMSCustomer, where the content of the Embedded HTML corresponding to the personalized virtual assistant.
⚐ Note:
- For proper functioning, the html file must not have the background-color in the body and property Position it must have the absolute value.
- If the setting ExternalVirtualAssistant is active, but none of the required formats have been loaded, the console will continue to display the default wizard of Aranda.
- If the required formats are attached and the setting ExternalVirtualAssistant is active, the default Aranda wizard will be hidden, and the embedded HTML settings will be applied.
- Entering the login page or logging in to the ASMSCustomer console generates the corresponding token. At that point, the library configured in ExternalVirtualAssistant is loaded to enable custom virtual assistant functionality.
- The generated token can be validated by accessing the browser’s developer console (F12). On the Console, type the ExternalToken to verify the value of the generated token.
- File settings HTML and DLL For the custom wizard, it is the responsibility of the end user, who validates that the content of the files corresponds to the content displayed in the configured wizard.
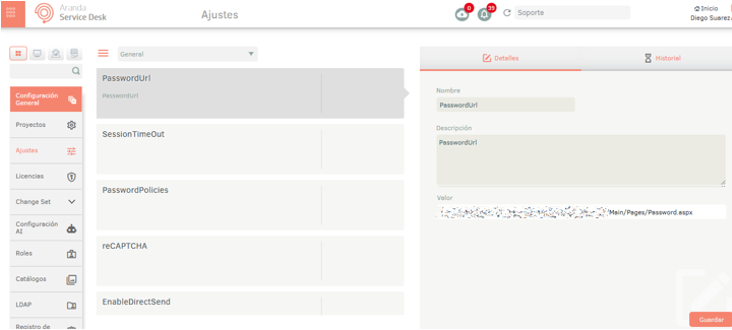
Password Change
The Option PasswordUrl allows you to configure the URL to perform the password change process for type users Aranda.
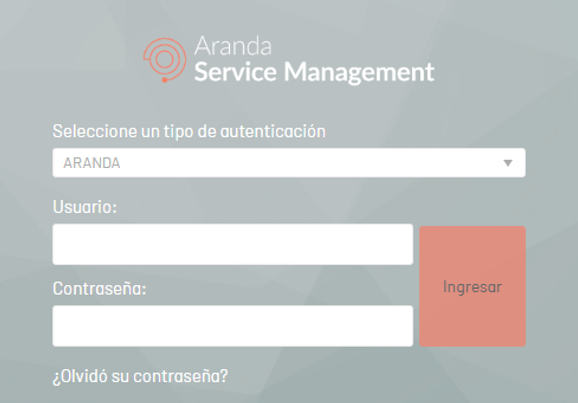
1. To perform the password change process, click on the option Forgot your password?
2. In the window that is enabled, enter the name of the user you are logging in with and click Send.
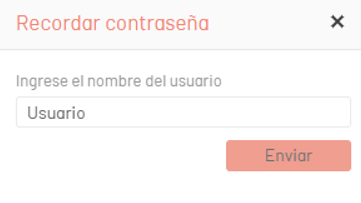
The console will notify you by means of an alert that the email has been sent.

⚐ Note: The user who performs the password change process must have an email configured, since this user will be sent the link to carry out the change process.
3. Once the email arrives, you will find basic user information in the description. Click the text that contains the hyperlink; This will redirect you to the interface to perform the password change.
3. Enter and confirm the new password, click OK. You will be redirected to the console interface of ASMS Administrator.
Advanced Shifts
The Option AdvancedShiftManagement Available in ASMS Enables the Advanced Shift Management to set up shifts by Specialist group since Projects > Defaults.See Defaults
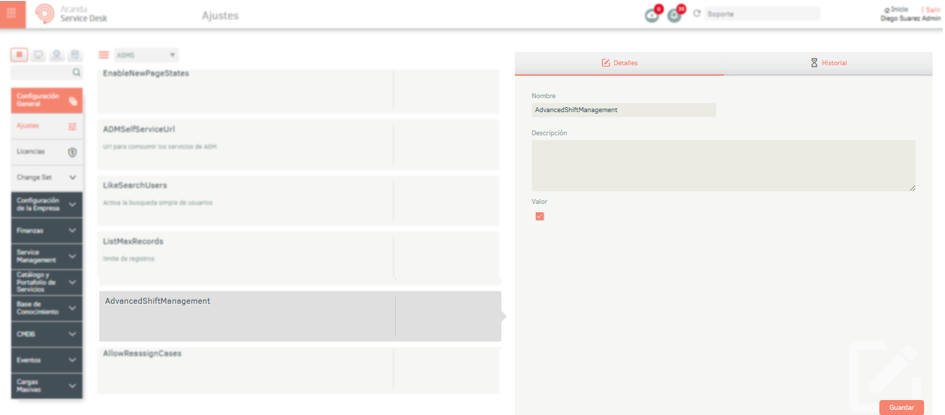
⚐ Note: When activating AdvancedShiftManagement:
- The configuration of Shifts will be hidden in the Specialists and Specialist Groups.
- The Option Calendars is hidden in the Specialists and Specialist Groups.
- The time zone that applies in advanced shifts is taken from the calendar of the Specialist Groups.
- If a previous basic shift setting exists, when you turn off AdvancedShiftManagement it is automatically restored.
- If the setting AllowReassignCases is active, cases can be reassigned to any specialist in the group during off-peak hours. Advanced Shift Configured.
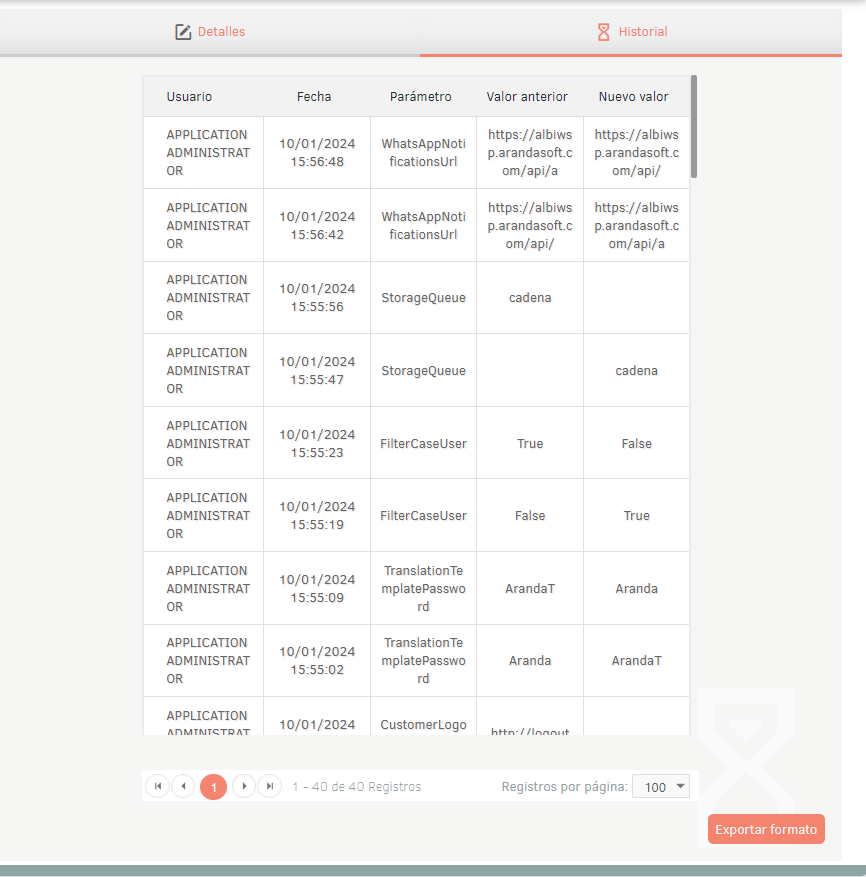
History
To view the history of changes on configuration parameters click on the History tab. In this tab you can consult the following information: User, Date, Parameter, Previous Value and New Value.
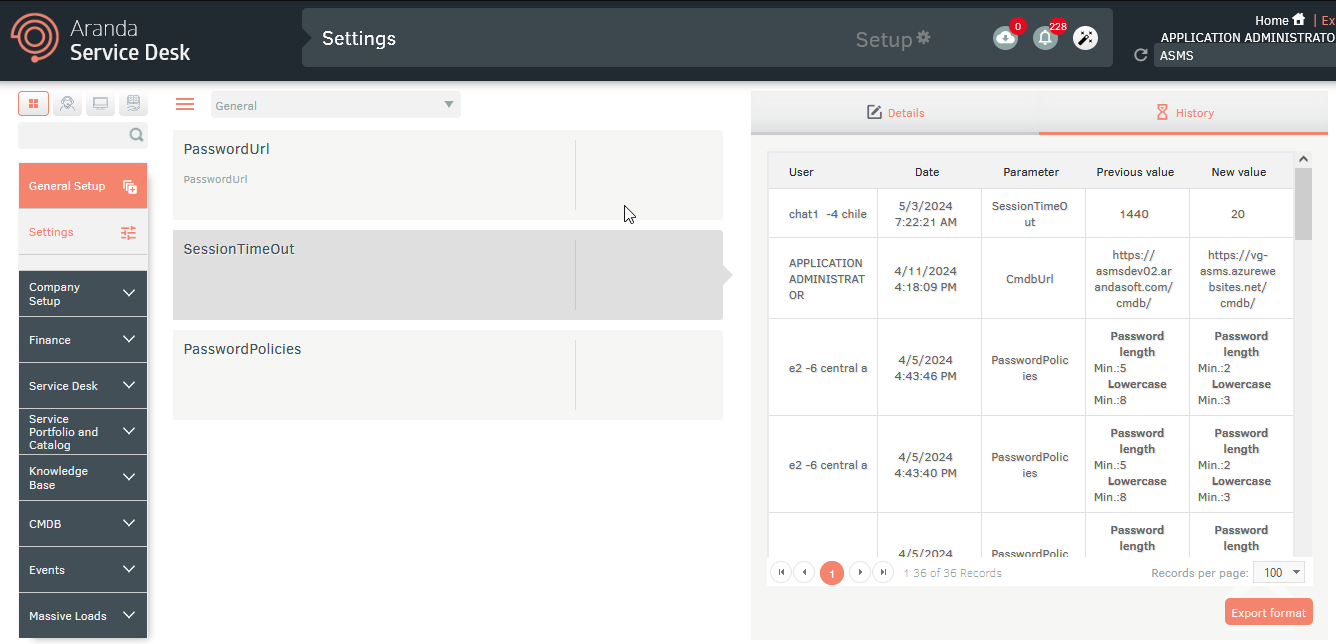
To export history in an excel file (.xlsx) click the button Export format.