


View Customers
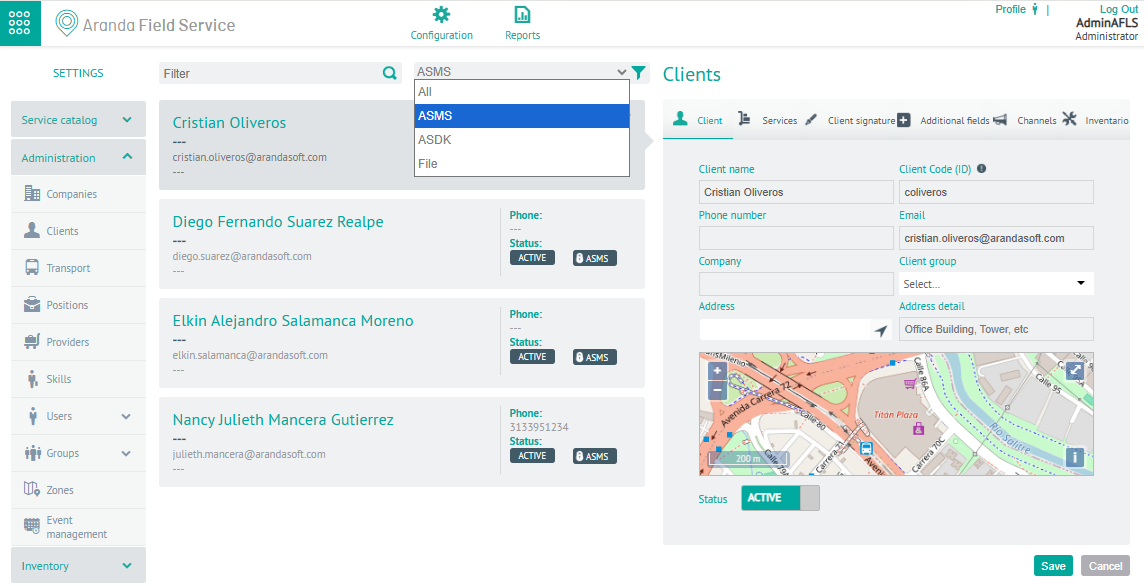
1. To view clients, with the Monitor role, enter the AFLS configuration console, in the Administration from the main menu, select the Clients.
2. In the customer information view, you can use query filters
- In the Query filter, you can search for customers by customer name or code. Add the query value and press the “Enter” key or select the
 .
. - The Filter by Client Type will be able to search for imported clients either from ASDK, ASMS or by File
 .
.
Create Customers
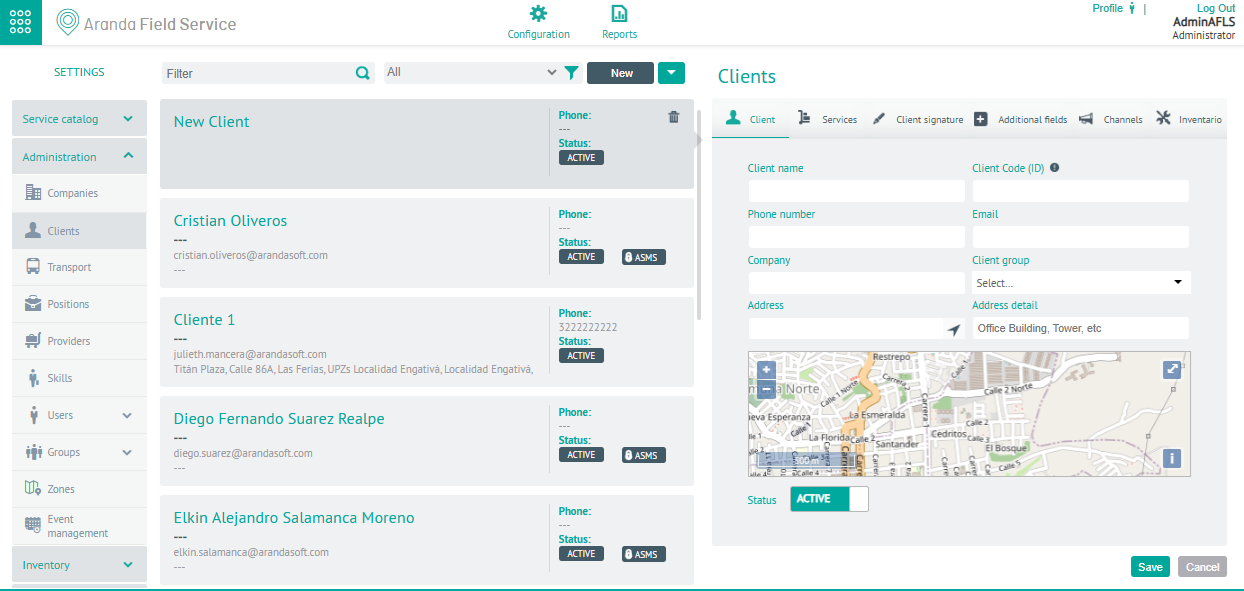
1. To Create a Customer, go to the AFLS configuration console, in the Administration from the main menu, select the Clients. In the information view, select the New.
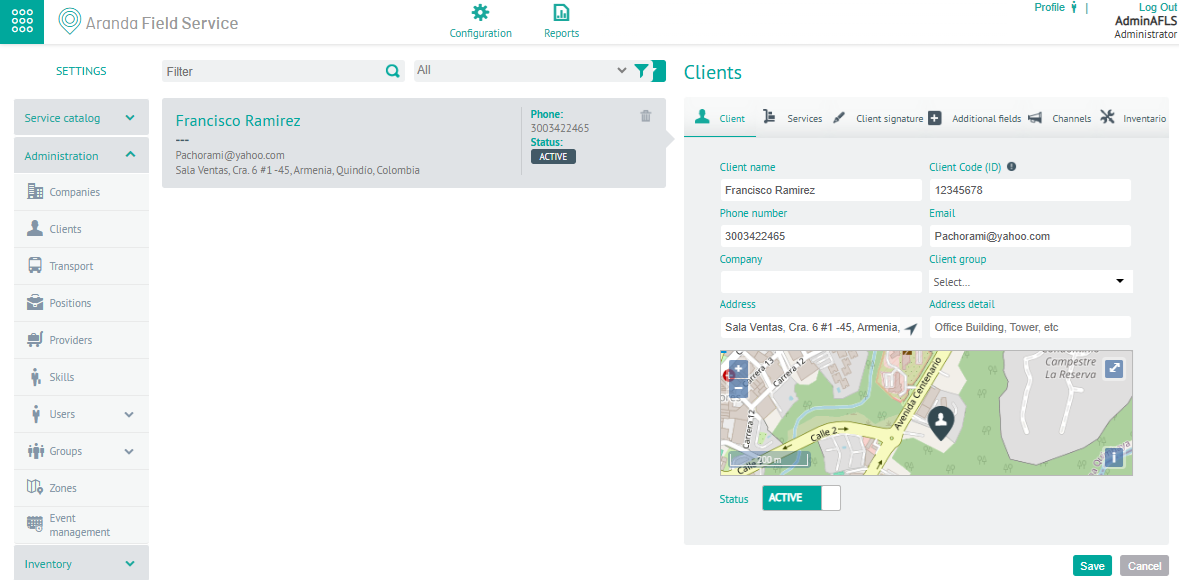
2. In the Customer Detail View you can define the following fields: Customer name, customer code, phone number, email, company to which it belongs, address and address detail (to specify other address data such as office, apartment etc.).
Services
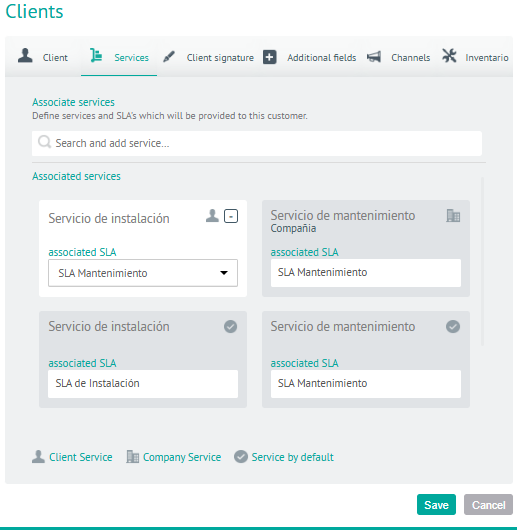
3. In the Clients Detail View in the AFLS configuration console, select the Services, where you can associate and activate any of the services already configured or the customer may have such services inherited by the company.
Client’s Signature
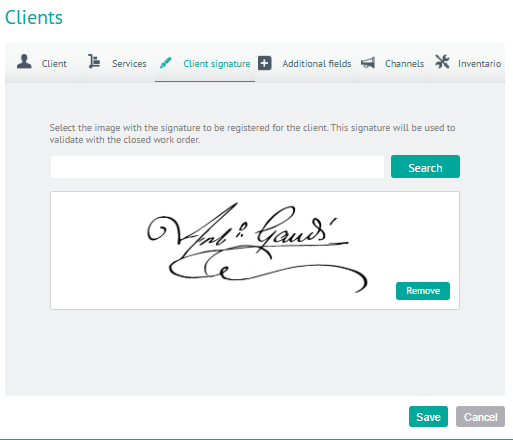
4. In the Clients Detail View in the AFLS configuration console, select the Client’s Signature, where you can upload the file containing the customer’s signature that will be used to be validated against the closed work order.
Additional Fields
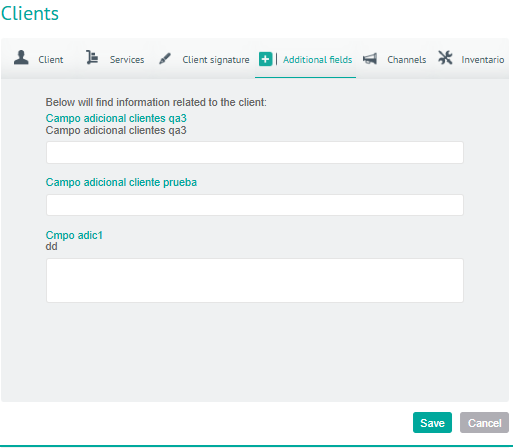
5. In the Clients Detail View in the AFLS configuration console, select the Additional Fields, where you will be able to view the additional fields that have been configured in the customer configuration module and are enabled to be used at the time of creating the customer.
Canals
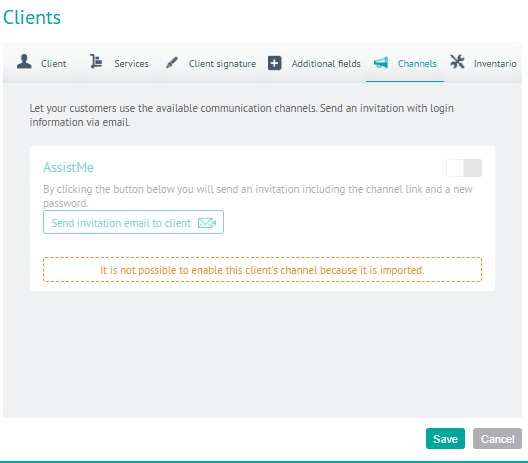
6. In the Clients Detail View in the AFLS configuration console, select the Canals, where you will be able to view the communication channels available to the customer. For now, only the AssistMe channel is available. In order for the customer to access the channel, it is necessary to send an invitation with the access information via email, additionally it is necessary that the channel is active.
Inventory
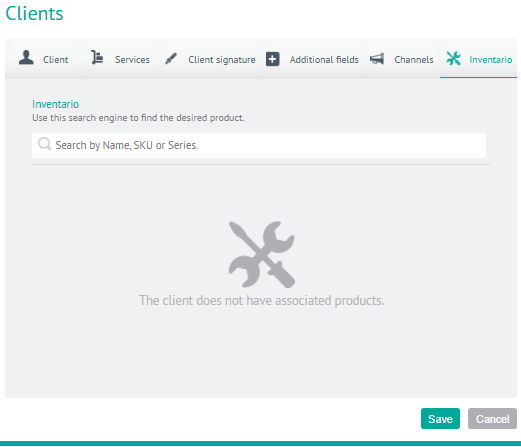
7. In the Clients Detail View in the AFLS configuration console, select the Inventory, where you will be able to view the customer’s unique type of inventory; This inventory must be delivered by a specialist at the time of processing a work order from the client.
8. When you finish configuring the client, click Save in the Detail View of the AFLS Configuration Console, to confirm the changes made.
Edit Clients
9. To edit a customer, in the information view of the AFLS website, select a record from the list of existing customers, and in the detail view you can modify the required information (fields)
Delete Customers
10. To delete a customer, in the information view, select a record from the list of existing customers and select the Eliminate to delete the associated information.
A confirmation message is triggered to delete the records, with the following options:
| Message Warning | Description |
|---|---|
| Customer Only | Delete the selected customer, as long as it doesn’t have any related data |
| Remove Completely | Validate that the user does not belong to the web or Mobile profile, if so, the button is enabled and allows the user to be removed from the Aranda suite. |
| Cancel | Delete the selected customer, as long as it doesn’t have any related data |
Bulk Client Import
Customer import is a feature that allows you to upload customers in bulk to Aranda FIELD SERVICE AFLS, by means of a file .csv of Excel, with a specific format in order to manage and create your work orders with your customers’ information much faster.
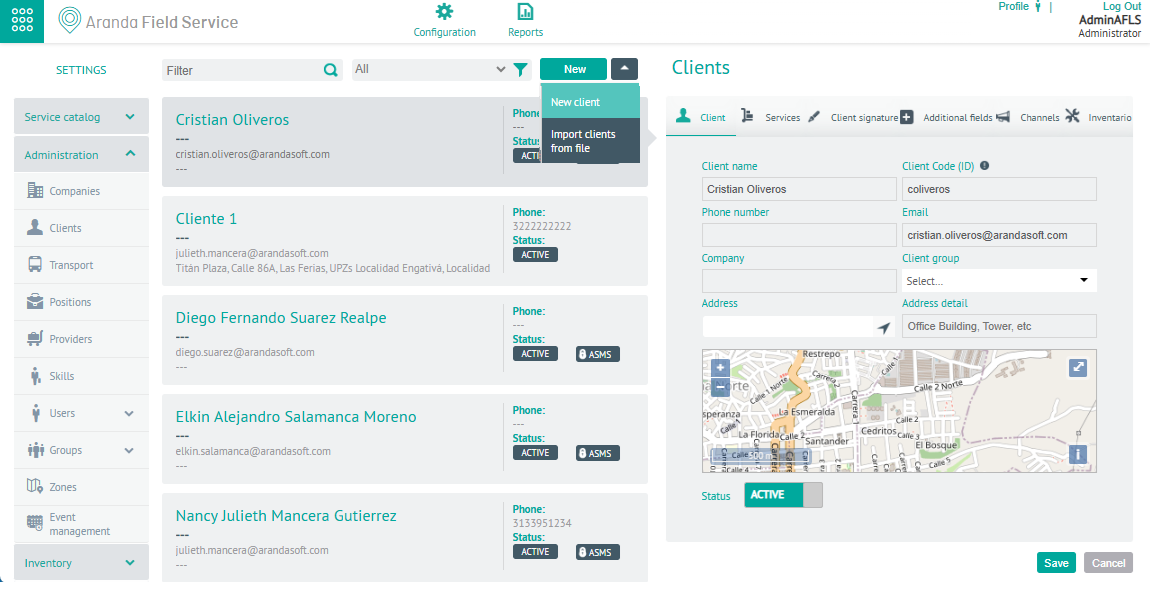
1. To perform a bulk import of clients, go to the AFLS configuration console, in the Administration from the main menu, select the Clients. In the information view in the drop-down menu select the option Import Client from File.
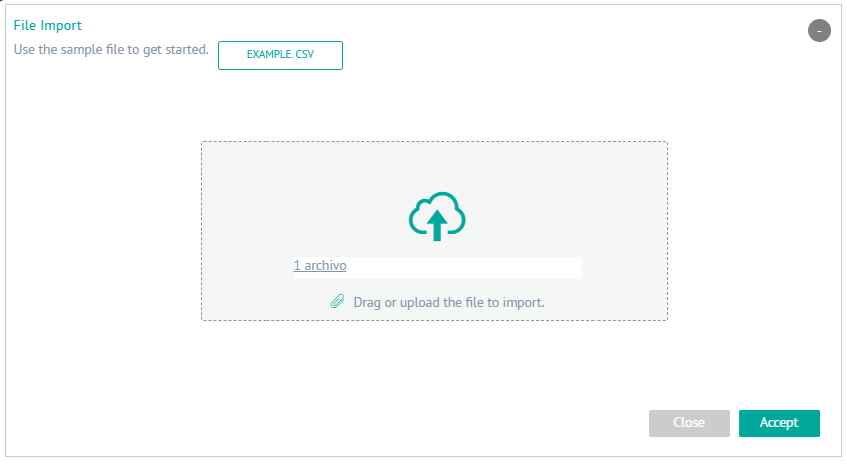
2. The window is enabled Import File you will be able to upload a file of the clients you want to add or by selecting the EXAMPLE. CSV You will be able to download a template to import. Select the option Drag or upload the file you are importing to access customer records and upload the information to be imported.
3. In the Windows Explorer window where you can browse and select the .csv.
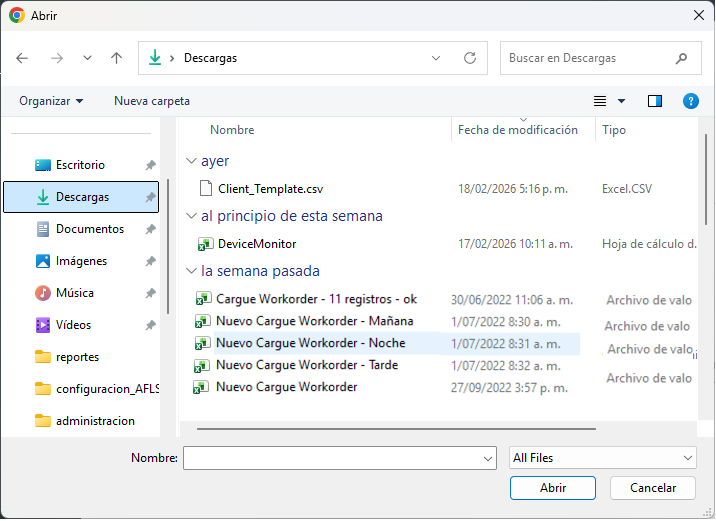
⚐ Note: The Excel file must be .csv (comma-separated values) and saved with UTF-8 encoding.
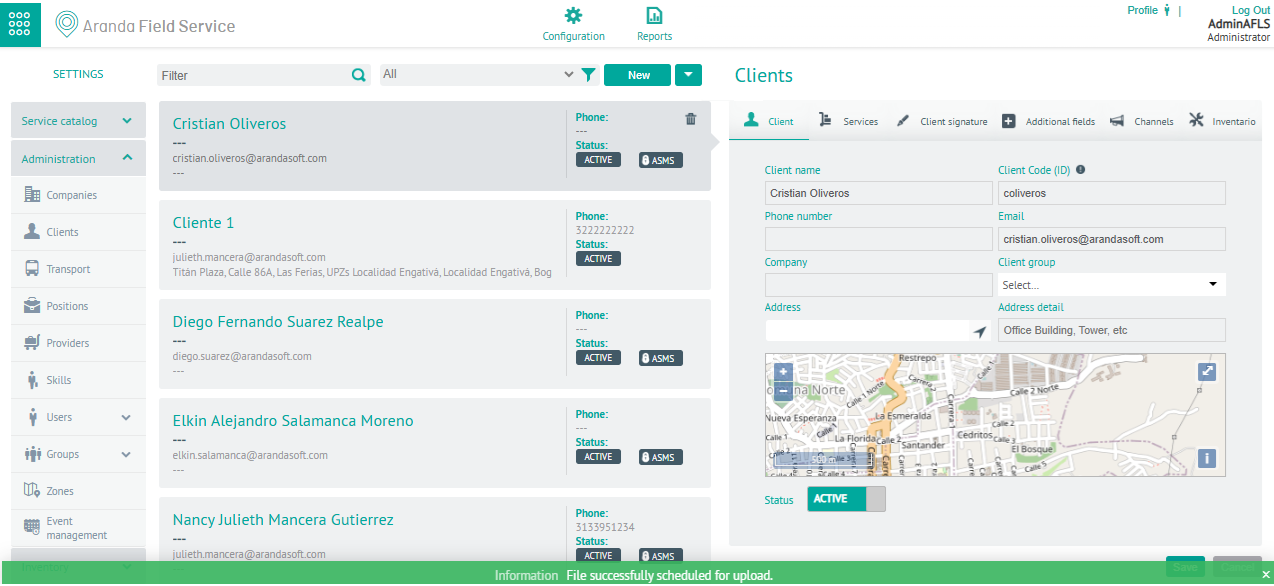
4. After selecting and uploading the client import file in the Import File window, click Accept to confirm the changes made and the system will schedule the processing of the file.
Structure of the client file to be imported
Client import files (*Client_Template.csv**) should maintain the suggested structure:
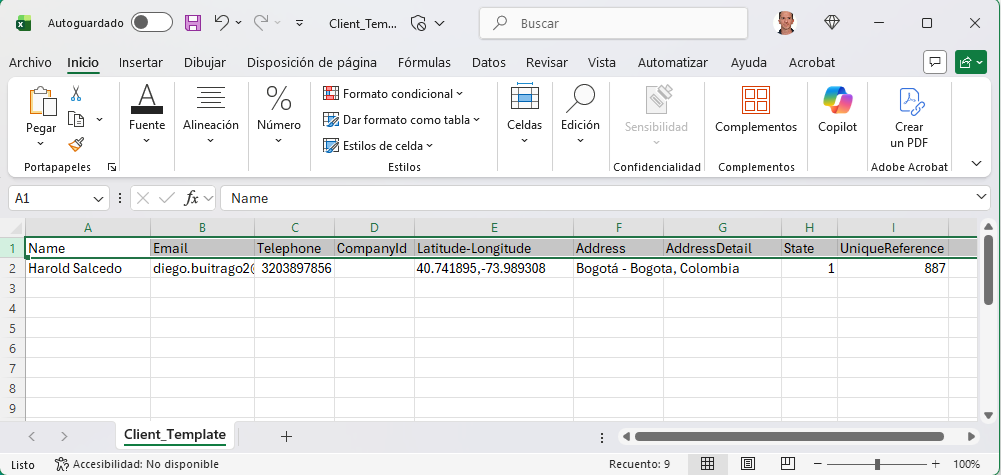
| Options | Description |
|---|---|
| Name | Customer Name |
| Customer Mail | |
| Telephone | Telephone associated with the customer. |
| CompanyId | Company to which the client is associated. |
| Latitude | Longitude: customer’s latitude and longitude, must be separated by “,” Example 40.741895,-73.989308 |
| Address | Customer address. |
| AddressDetail | Address detail, such as apartment, house, etc. |
| State | Status, (Active 1 / Inactive 0) |
| UniqueReference | Unique customer code (ID or NIT) |
⚐ Note: When importing customers with the .csv file, it is necessary that the address specifies the City followed by “,” and the country. Example Cra. 71st #75b-24, Bogotá, Colombia. Keep in mind that with the new map providers you have to be more specific in the directions, include neighborhood and/or locality.
5. In the bulk upload information view, during the AFLS event management setup, you can view the list of existing records and validate the result of the successful upload of the import file.
For more information, see the process of Bulk Uploads
⚠ Warning: If you fail to successfully import clients, the application will allow you to view, modify, and retry uploading the logs or download the file to visualize the reason for the non-import.