


Create Web Users
1. To create the web users, go to the AFLS configuration console, in the Administration from the main menu, select the Users and the category Web Users. In the information view, select the New or New User
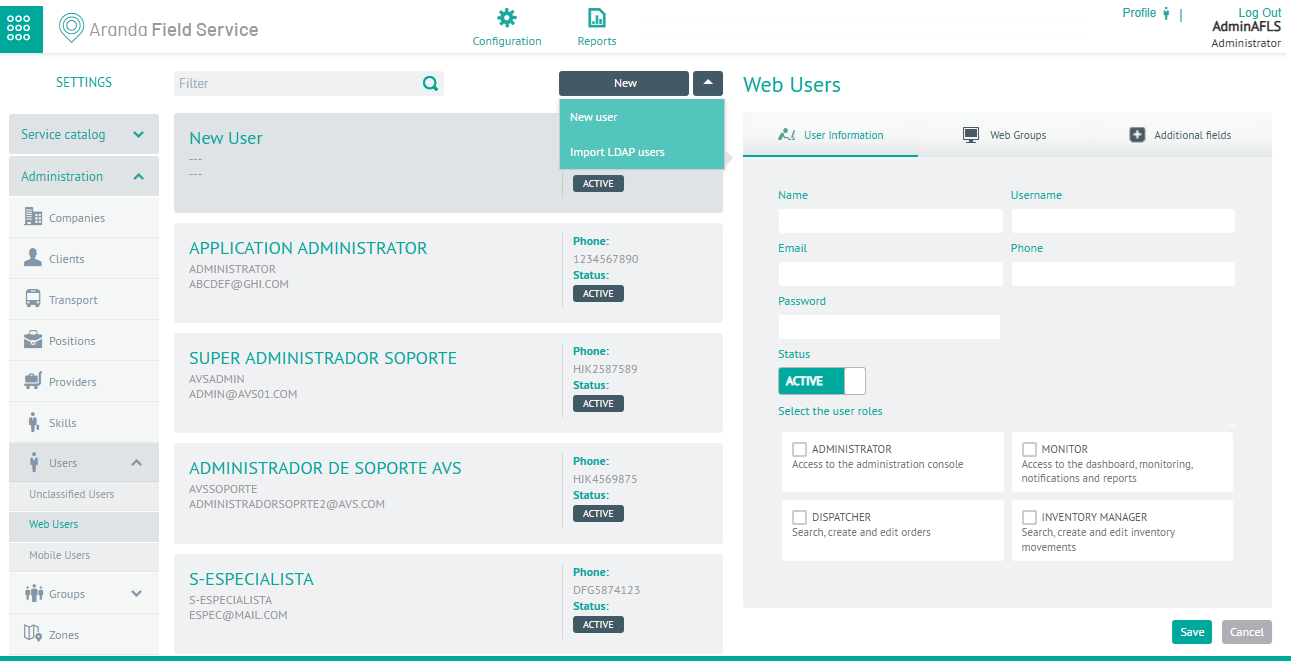
User Information
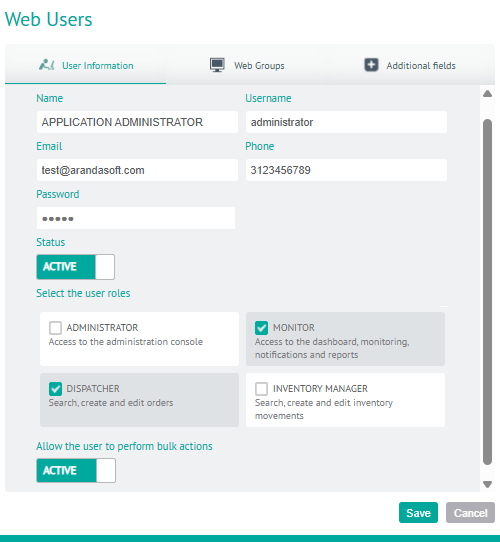
2. In the Web Users Detail View, select the User Information, where you can fill in information such as name, username, email, phone, password, status and the user’s role.
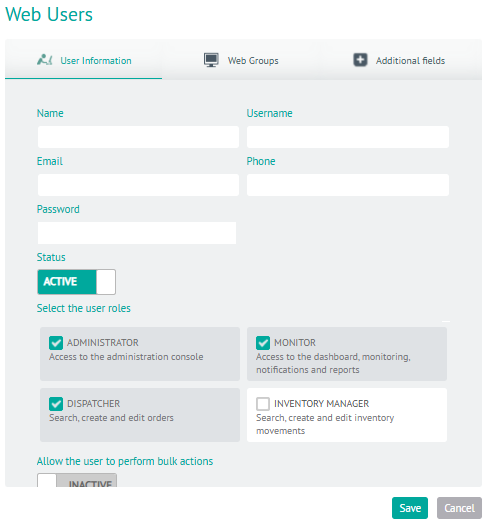
The web user roles that you can activate for the attention of a service are:
| Roles | Description |
|---|---|
| Administrator: | Responsible for the configuration and definition of the service, the spare parts to be used, companies, customers, means of transport, positions, users and organizations. |
| Dispatcher: | Responsible for the creation of the work order associated with the service, assignment and scheduling of specialists to attend to the order and assignment of previously configured spare parts. |
| Monitor: | Responsible for supervising the field specialist’s travels and monitoring the evolution of the service process. |
| Inventory Manager: | Responsible for managing items, measurements, locations, making inbound or outbound movements, transfers between warehouses and viewing inventory reports by locations. |
Bulk Actions Permission
⚐ Note: For web users with the Dispatcher or Monitor the option will be enabled for them Allow the user to perform bulk actions, which allows the Dispatcher to activate permissions in the Orders module to perform bulk uploads and select the bulk actions option, while the Monitor directly enables the execution of bulk actions. All users defined for the management of the service will be in state “Active”, for the attention of the work order.
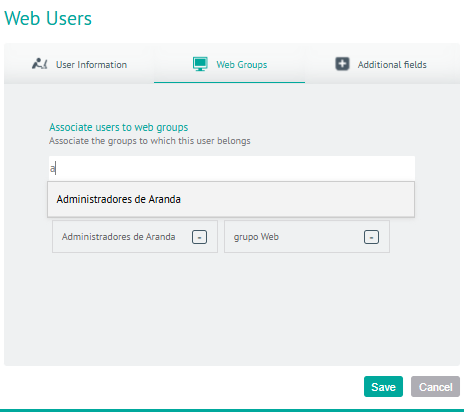
Web Groups
3. In the Web Users Detail View in the AFLS Configuration Console, select the Web Groups, where you can associate, if required, the groups to which the user belongs. Each user with the role of administrator, dispatcher, monitor and manager may be associated with different groups according to their characteristics and conditions.
Additional Fields
4. In the Web Users Detail View in the AFLS Configuration Console, select the Additional Fields, where you can view the additional fields that have been configured in the AFLS Web User Configuration module and are enabled to be used at the time of user creation.
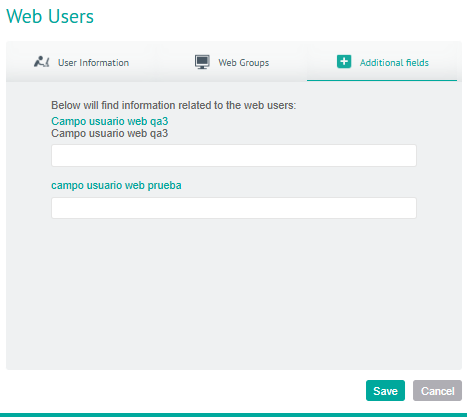
5. When you finish configuring the web users, click Save in the Detail View of the AFLS Configuration Console, to confirm the changes made.
Edit Web Users
6. To edit a web user, in the information view, select a record from the list of existing web users, and in the detail view you can modify the required information.
Delete Web Users
7. To delete a web user in the information view, select a record from the list of existing users and select the icon to delete the associated information.
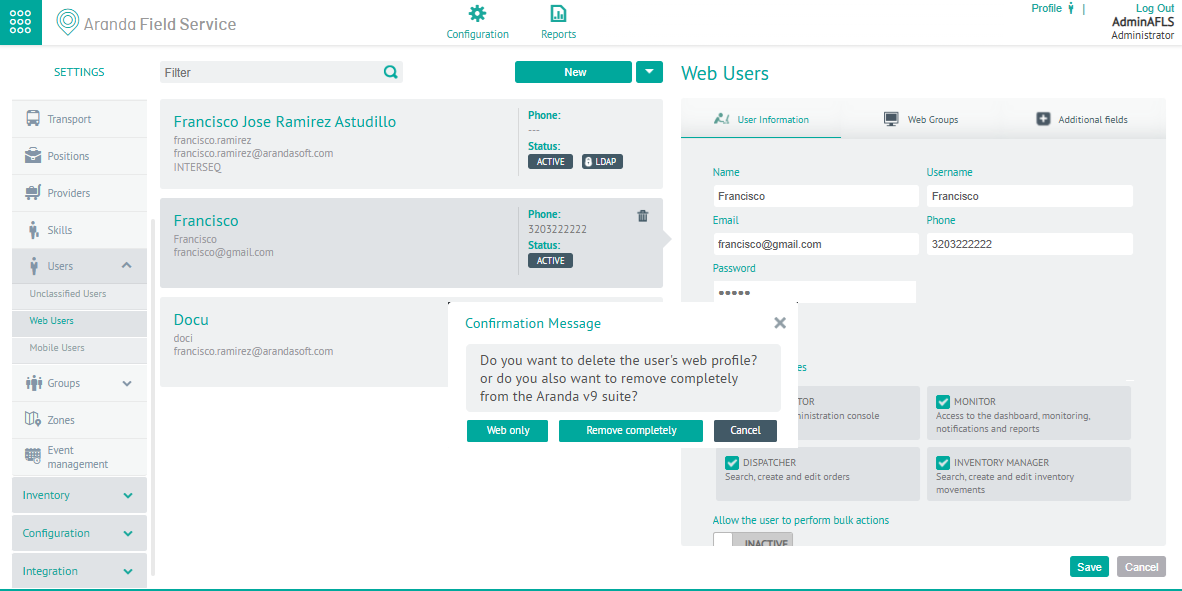
8. When you delete the web user, you will be able to see a confirmation message with the following options:
| Confirmation Message | Description | Button |
|---|---|---|
| Mobile Only | Selecting this option removes the roaming profile of the selected user |  |
| Remove Completely | By selecting this option, you validate that the user does not belong to the roaming profile, that they are not a customer or LDAP user; if so, the button is enabled and allows the user to be removed from the Aranda suite |  |
| Cancel | Selecting this option cancels the delete action |  |
⚐ Note: You can only delete records for web users and mobile users.