


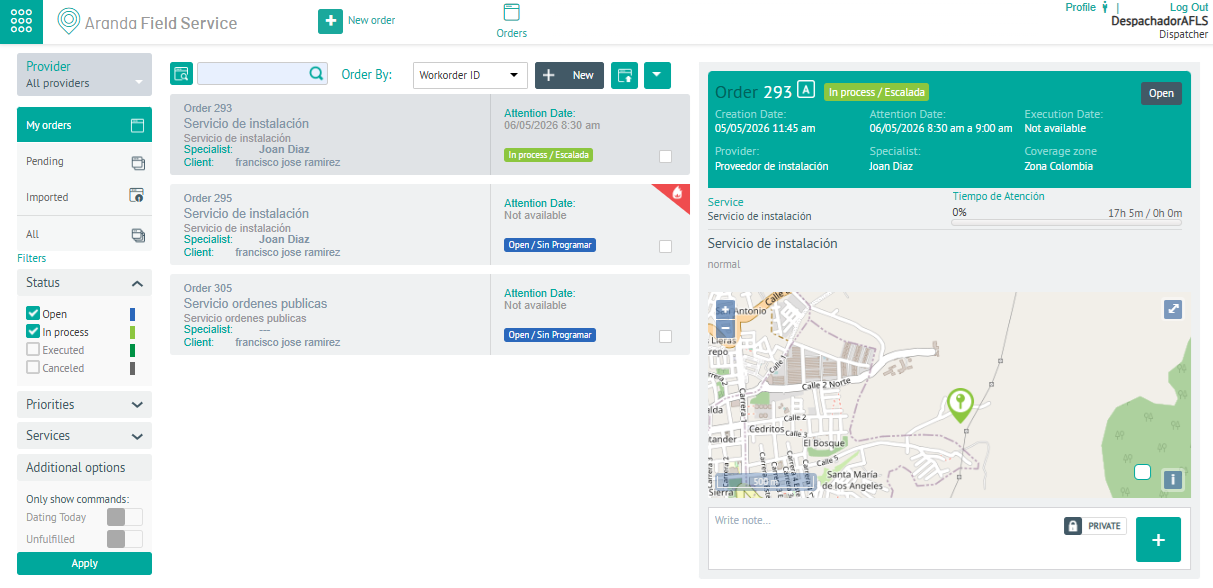
1. To create a work order, with the Dispatcher role enter the AFLS web console, select the option Orders from the main menu,
2. In the order information view, select the New Order, where you can access the New Order Detail view
Basic Facts
3. In the order detail view, you can fill in the basic order data
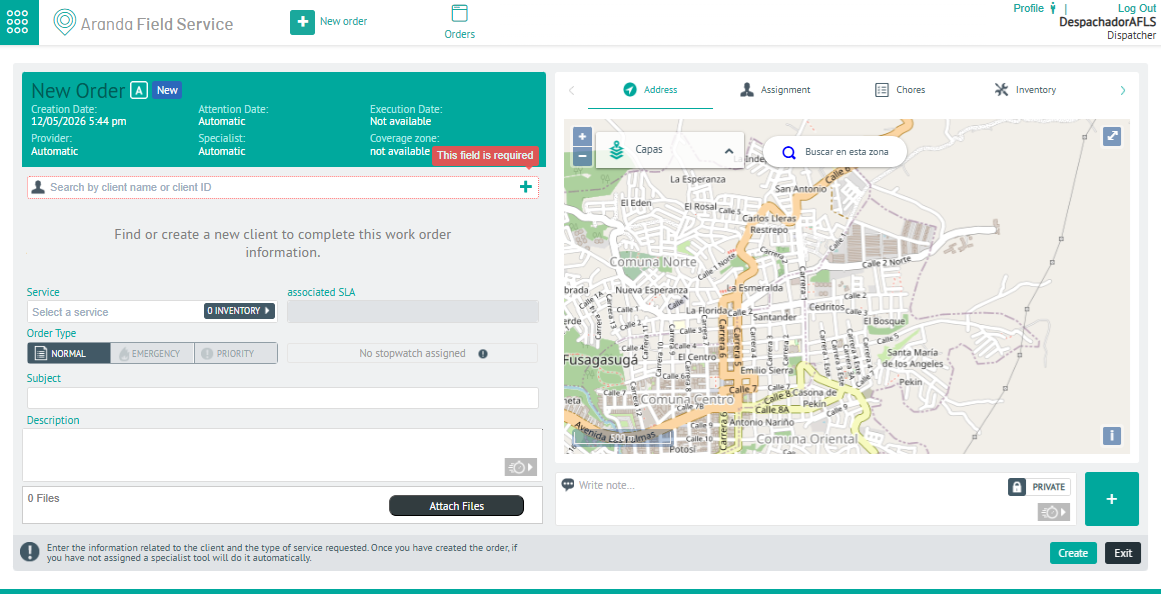
| Fields | Description |
|---|---|
| Search by customer name or code | Search and select the configured client that will be loaded automatically. Basic customer data such as name, telephone, email, address and address detail are enabled. For more information, see the Configuring Clients in AFLS |
| Service | Select the type of service that the customer requires. - Standard In this service, the basic data entered by the dispatcher is kept in the form. - Displacement In this service, the following fields are displayed: Destination address and Destination Address Detail, to enter the information of the point to which the customer is going. The destination address allows the dispatcher to define a shift from point A to point B and visualize it on the map. Inventory This label shows the amount of inventory configured by default in the service. 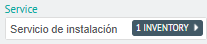 For more information, see the Configuring Services in AFLS |
| SLA Service Level Agreement | The configured agreement for the selected service is displayed, which will depend on the configuration of the service for the customer, the customer’s company, or by default in the service. Note: If an SLA is expired, the creation of orders for the service will not be allowed, it is necessary to change the dates in order to view it. |
| Order Type | you will be able to select whether the order is Normalof Emergency or Priority. The order type can only be changed if this option has been configured in the service. |
| Affair | It corresponds to the subject defined in the service, but can be changed if required. |
| Description | You will be able to detail the tasks to be executed in the work order or expand the characteristics of the service. |
| Attachments | In this option, you can perform the following actions: - Attach Files: Select file to attach to the order.  - Delete Attachments Remove attachments from the order.  - Download Download a copy of the attachment.  - Georeferencing Point This option is enabled for files uploaded from the mobile app that do not exceed 10 MB.  Note: File types that can be added to the work order include .doc, .docx, .xls, .xlsx, .ppt, .pptx, .png, .jpg, and .pdf, and should not exceed 10 MB in size. |
⚐ Example: If the field specialist attaches a file to the work order from the mobile console, the dispatcher from the web console will be able to consult the files attached to the order and by selecting the Georeferencing icon to view in the Address the geographical point where the photo, video or audio was taken from the mobile application.
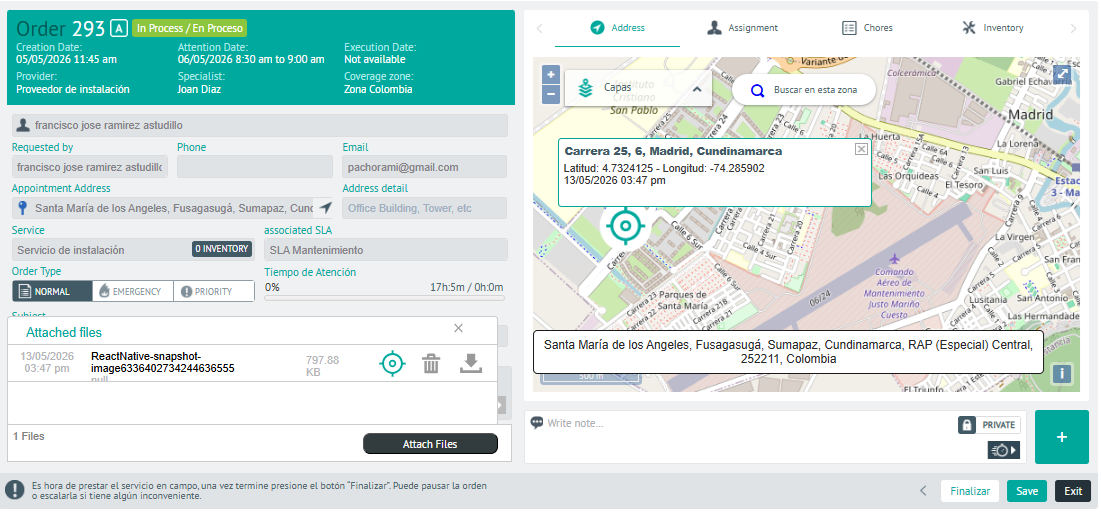
⚐ Note: Attachments from the web application will not be georeferenced, therefore the enabled button is not displayed.
4. In the Detail View of the work order, the Address, Assignment, Tasks, Inventory, Costs, Comments, Timers, Alerts, Additional Fields, Customer Signature, and Relationships tabs are enabled.
⚐ Note: The detailed information of the work order can be viewed in the tab of each component of the order, as follows: (Click on each icon)





5. In the work order detail view, for each component of the order, you will have the field enabled for add Private or Public Notes.
6. When you finish configuring the work order components, click Save, to confirm the changes made.
⚐ Notes:
- When the work order data is completed, AFLS associates the indicated supplier and specialist.
- The new order is left with the generation creation date and after the assignment of the supplier and specialist, the solution date is defined according to the Service Level Agreement.
-After creating the order and assigning those responsible and resources, the specialist will have information to attend to the order, the monitor will be able to monitor and control, and the dispatcher will be able to consult, edit, reassign and close the order.