


Create Customer Groups
1. To create the Client Groups, go to the AFLS Configuration Console, in the Administration from the main menu, select the Groups and the category Client groups. In the information view, select the New.
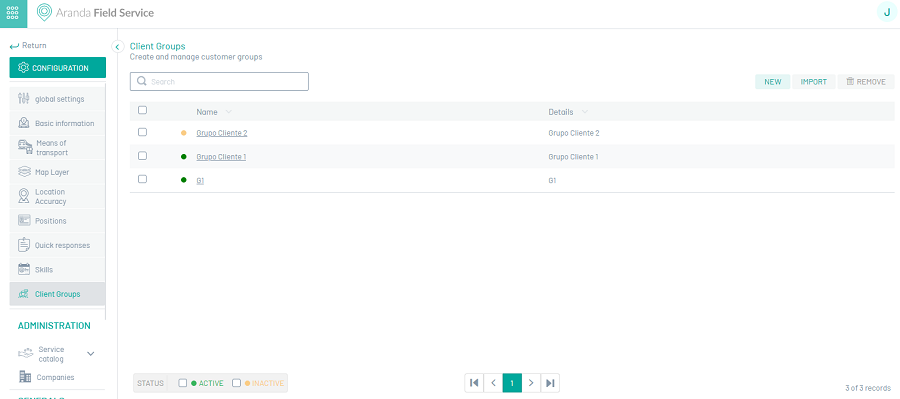
2. In the detail view of Customer Groups you can fill in information such as group name, description, status, search, associate and disassociate customers that belong to the group.
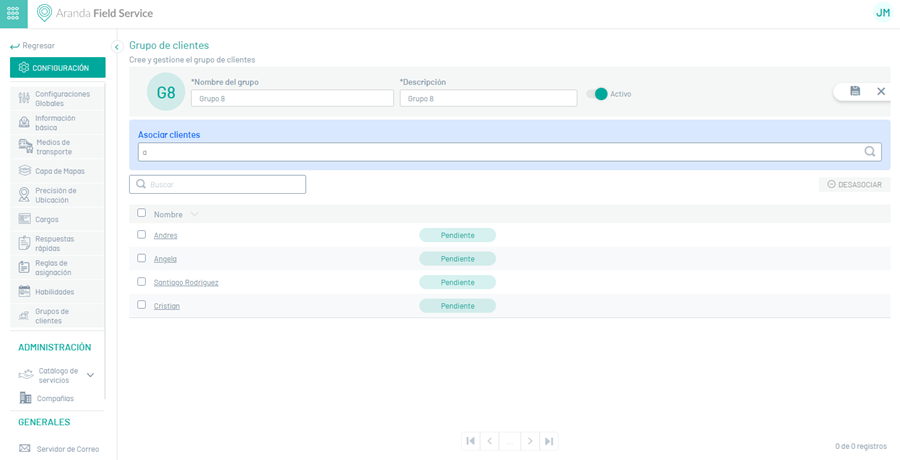
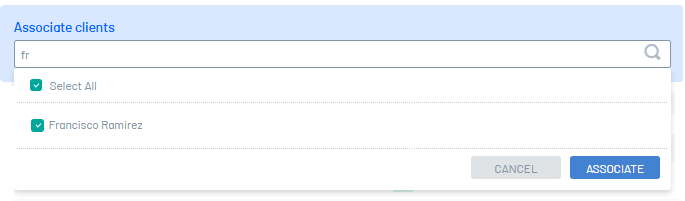
3. To associate customers, in the respective field, enter and select a customer name. Click the Associate
4. When you finish setting up the group, click Save  to confirm the changes made.
Edit Client Group
2. To edit a group, in the group configuration list, select the name of the record you want to edit, in the detail view you can modify the required information or disassociate one or more clients from the group.
Delete Client Group
4. To delete a group in the group configuration list, select the check of one or more records and select the button to delete the associated information.
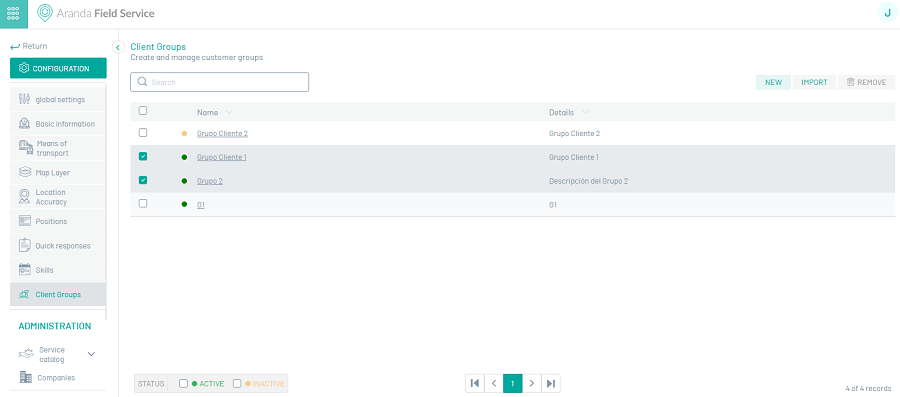
⚐ Note: A client group cannot be inactivated if it has one or more associated clients.
Bulk import of customer groups
The import of client groups allows you to upload groups in bulk to Aranda FIELD SERVICE AFLS, by means of a file .csv of Excel, with a specific format in order to manage and create information, as well as to make the assignment between clients and groups.
1. To perform a bulk import of customer groups, go to the AFLS configuration console, in the section Administration from the main menu, select the Groups and then Customer Groups. Select the Import.
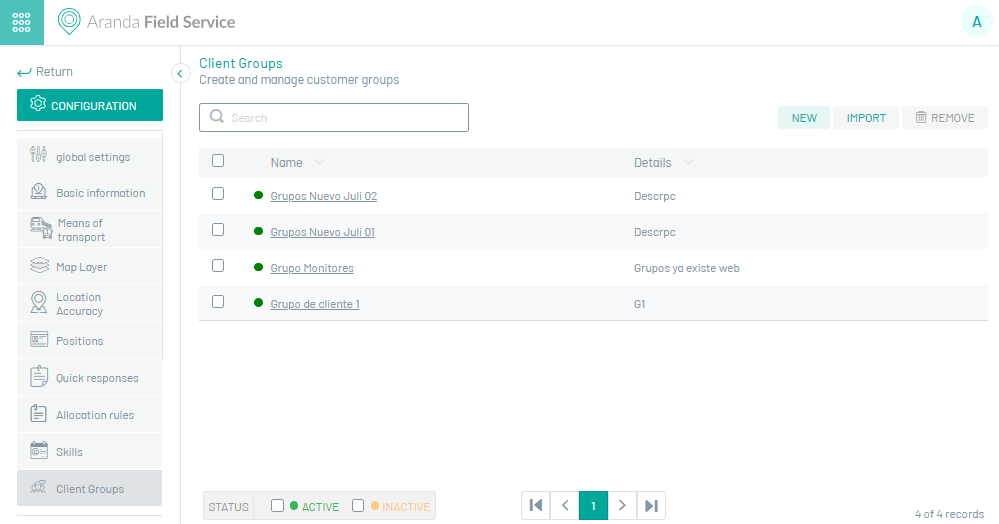
2. The window is enabled Import File you will be able to upload a Customer Groups file that you want to add or by selecting the EXAMPLE. CSV You will be able to download a template to import. Select the option Drag or upload the file you are importing to access the logs upload the information to be imported.
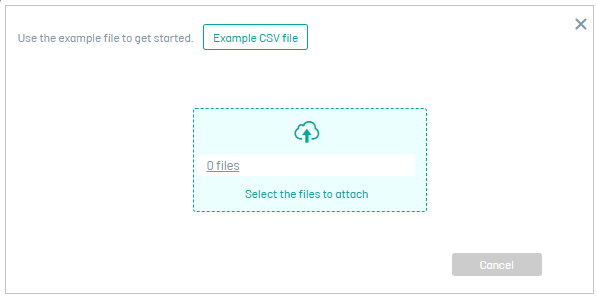
3. In the Windows Explorer window where you can browse and select the .csv file.
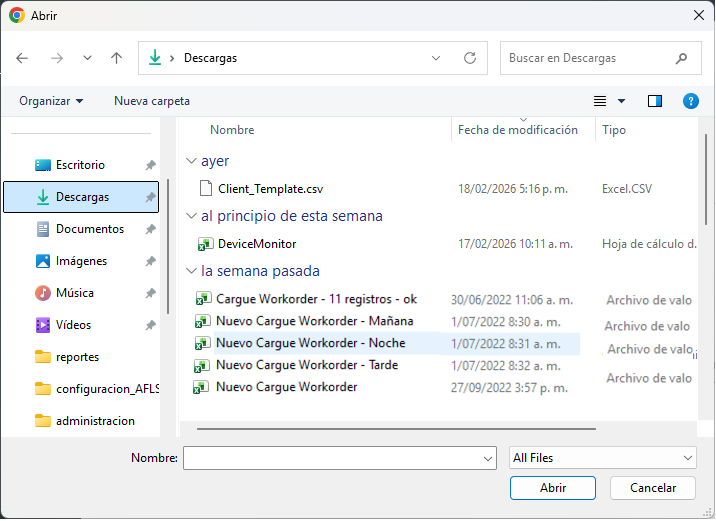
⚐ Note: The Excel file must be .csv (comma-separated values) and saved with UTF-8 encoding.
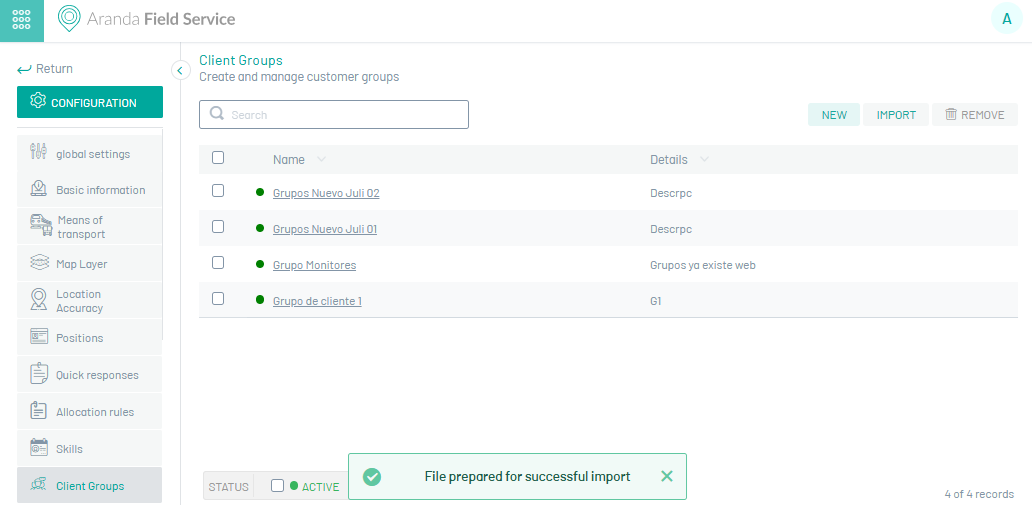
4. After selecting and uploading the customer group import file, click Accept in the import view, to confirm the changes made and the system will schedule the processing of the file.
File structure of customer groups to be imported
Client group import files (Groups_Client_Template) should maintain the suggested structure:
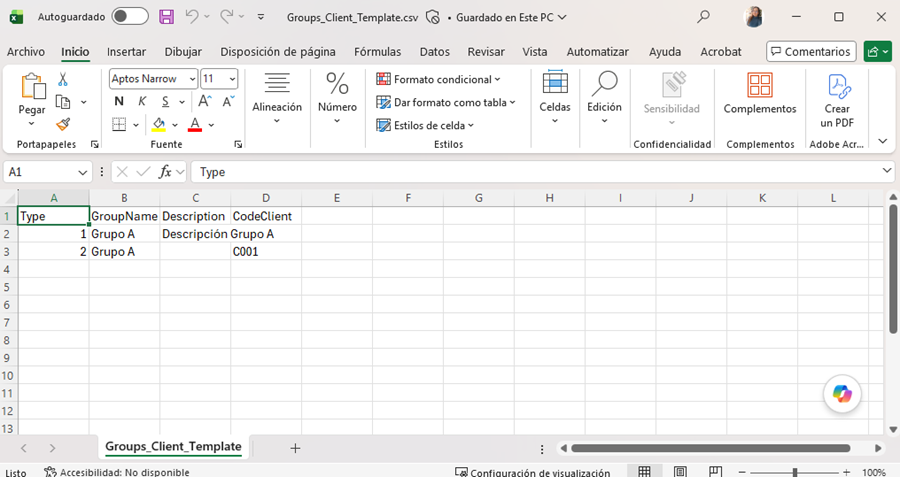
| Options | Description |
|---|---|
| Type | Type of request to be made: 1 - Create group or 2 - Associate group to customer. |
| GroupName | Name of the customer group. |
| Description | Description of the customer group. |
| CodeClient | Customer Code. |
5. In the bulk upload information view, during the AFLS event management setup, you can view the list of existing records and validate the result of the successful upload of the import file.
For more information, see the process of Bulk Uploads
⚠ Warning: If you fail to successfully import customer groups, the application will allow you to view, modify, and retry uploading the records or download the file to visualize the reason for the non-import.